Swann SWDVK-449802 Pro Series HD Surveillance Kit Review
Bohs Hansen / 7 years ago
User Interface Continued with Remote Settings
The time has come to take a closer look at the various settings which are available to us.
Display
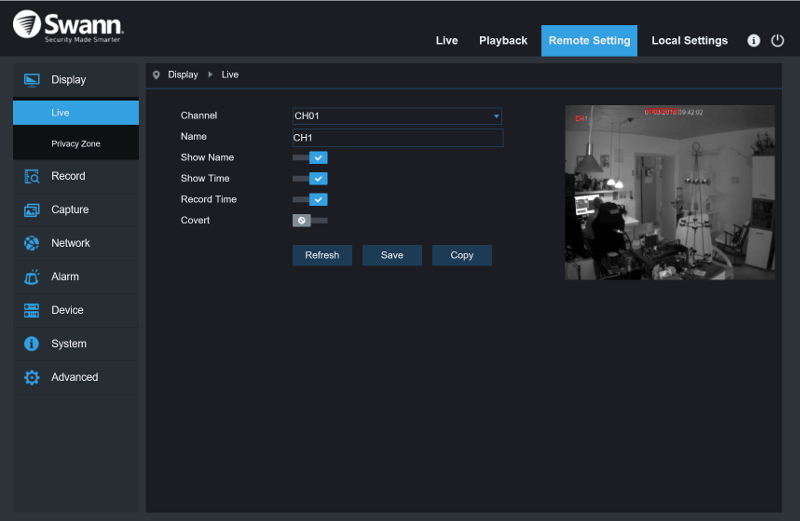
The display settings contain two things, the live view settings and the privacy zone. For the live view, you can change channel names and select which overlays you want active.
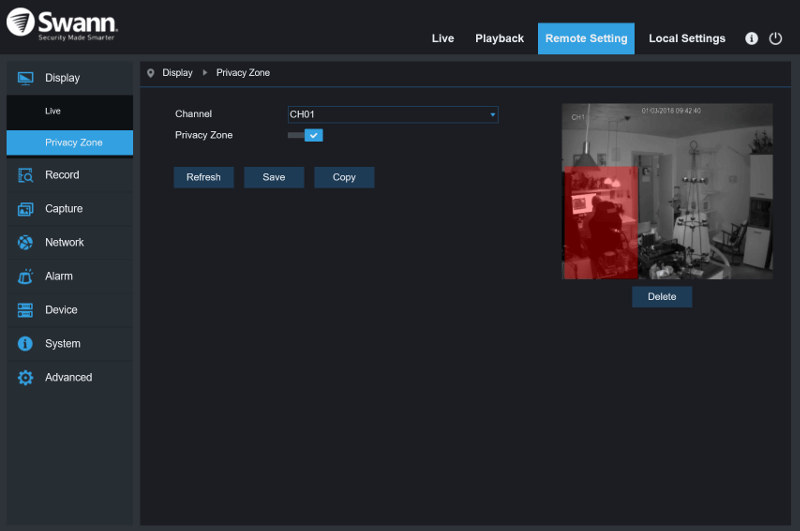
The privacy zone allows you to block out a sensitive area. That could be a keyboard, a keyboard, or similar things you never want on the record.
Recording
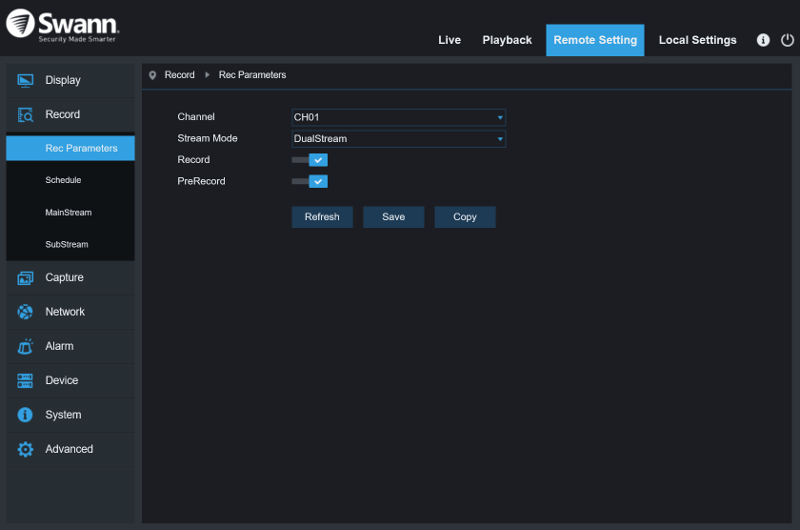
The recording options are divided into four sections where the first is the record parameters. You can select whether you want to record a single stream, main or sub, or both. Selecting a single one will save local storage, but limit your options regarding the recorded videos.
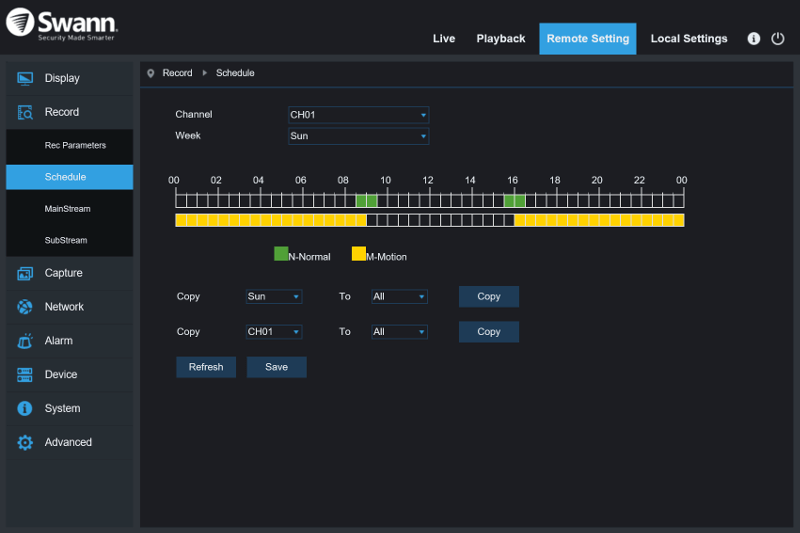
The schedule section allows you to tell what camera to what when. You can set each camera individually, and you also have the option to copy a channels settings to all other, or selected ones. A feature which makes the setup a lot easier and faster.
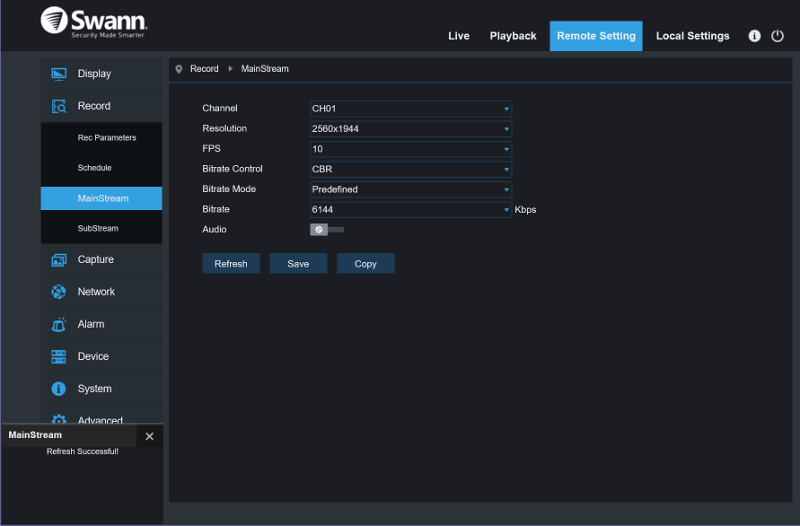
The two streams can be adjusted independently. The available FPS depends on the resolution. For this high-resolution setting, 10 FPS is the limit. But dropping the resolution down to full-HD increases the FPS to 25. It’s up to you which you want to trade-off for the other, FPS or pixel.
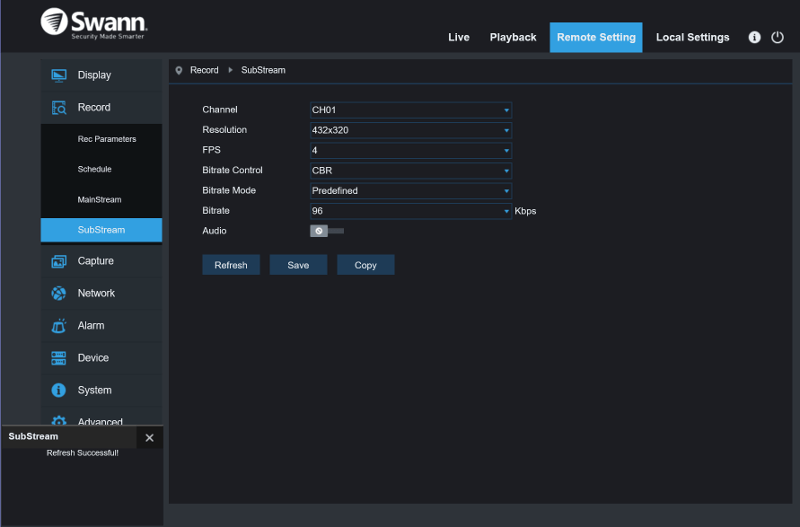
The sub-stream records in much lower settings, but these are adjustable too.
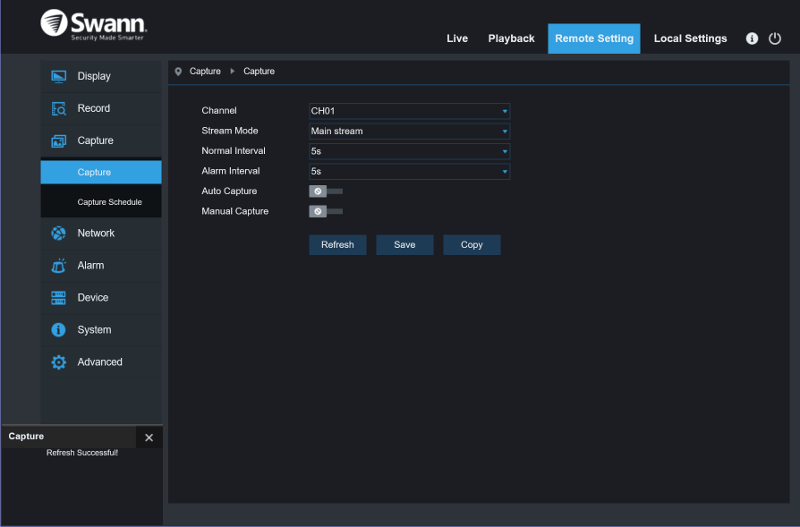
Capture
Capturing snapshots upon events is another useful feature. As with all the other settings, these can be configured independently for each channel.
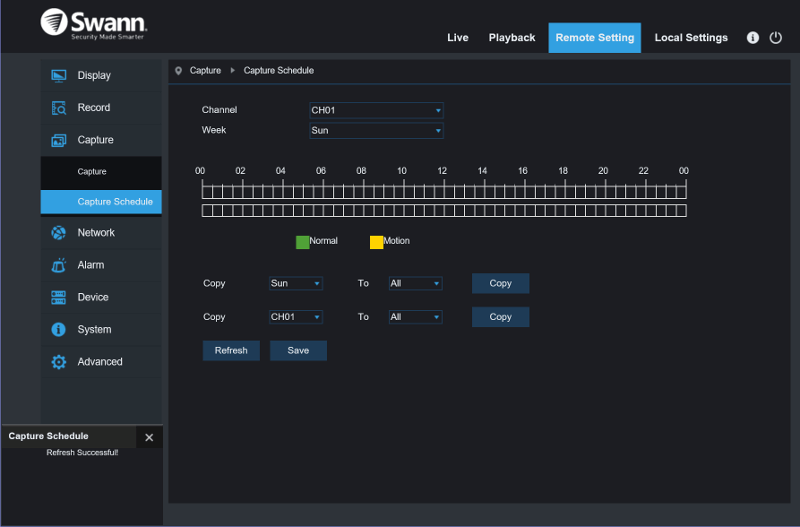
The capture feature can run on schedules too, and it contains the same options as the previous scheduling page.
Network
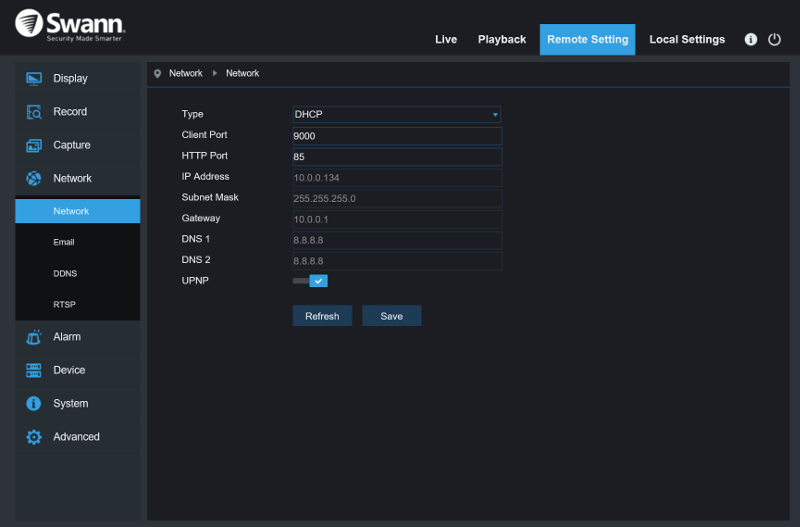
In the network settings, you can change the default connection port to something else than 85, if you want to. The rest of the settings are locked, at least if you stick with DHCP. You can naturally also select a manual setup and define it all yourself.
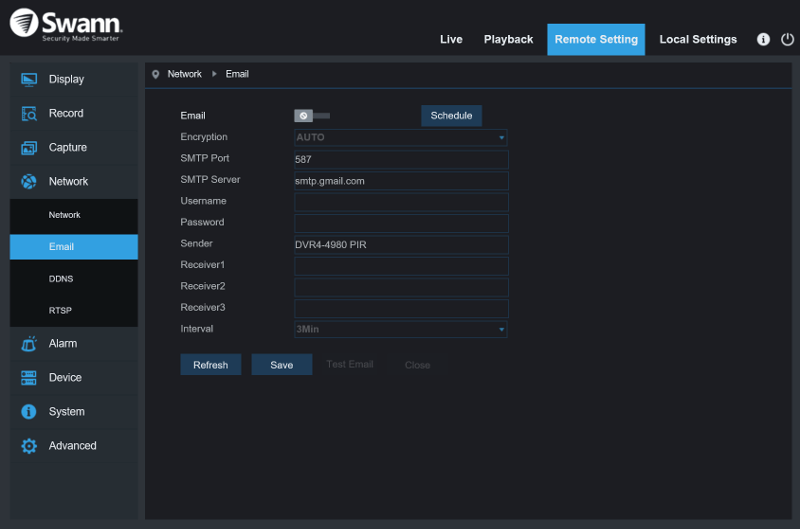
Email notification is built into the Swann DVR too. Gmail is even set as default server which means that you’ll only need to enter your username, password, and receiving email addresses.
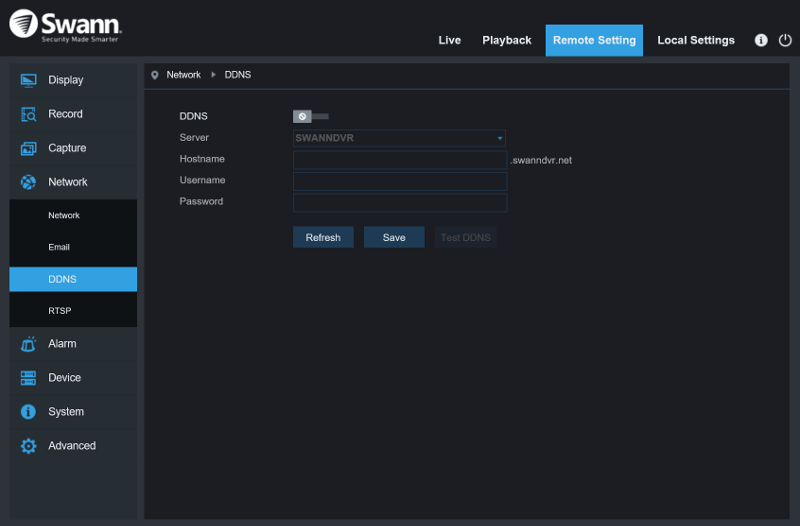
Remote connections when you’re away from home are made easy with the free and built-in DDNS service provided by Swann themselves.
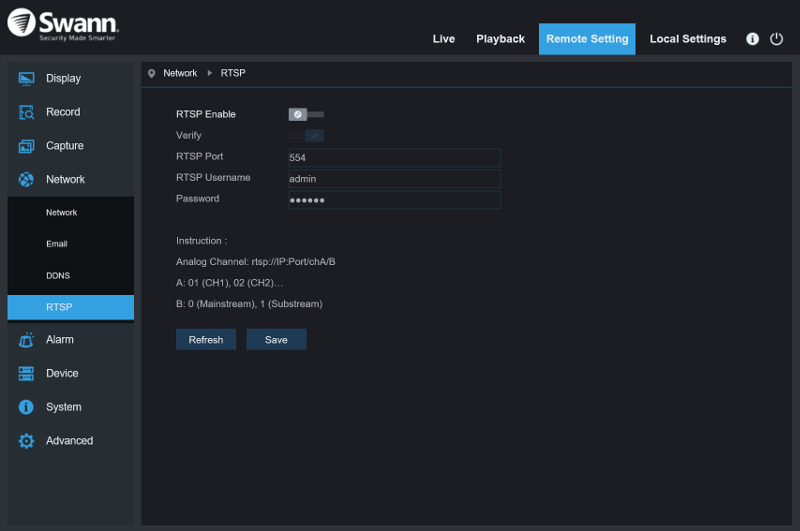
The RTP Control Protocol (RTCP) is a sister protocol of the Real-time Transport Protocol (RTP), and we can also use that as a connection option.
Motion Detection
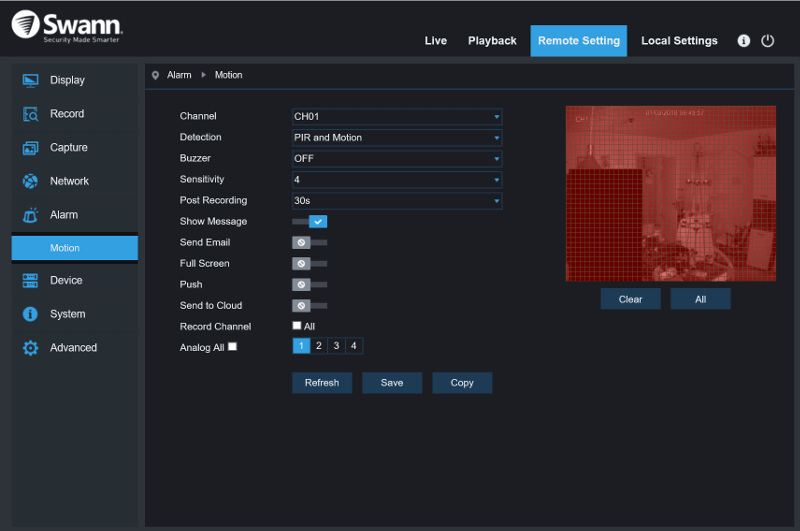
Now we’re getting to the juicy parts, the motion detection. After all, that is one of the selling points of this set. By default, a combined PIR and motion detection is set, but it can be limited to either or. Post-recording allows you to capture all of the events happening, not only the time after. By recording constantly, the DVR never misses a thing. However, the video will only be saved to the drive when an alarm is triggered, thus saving valuable drive space. You can also limit the are in which motion should be detected. That’s done by simply dragging a square where you want it to detect.
Device
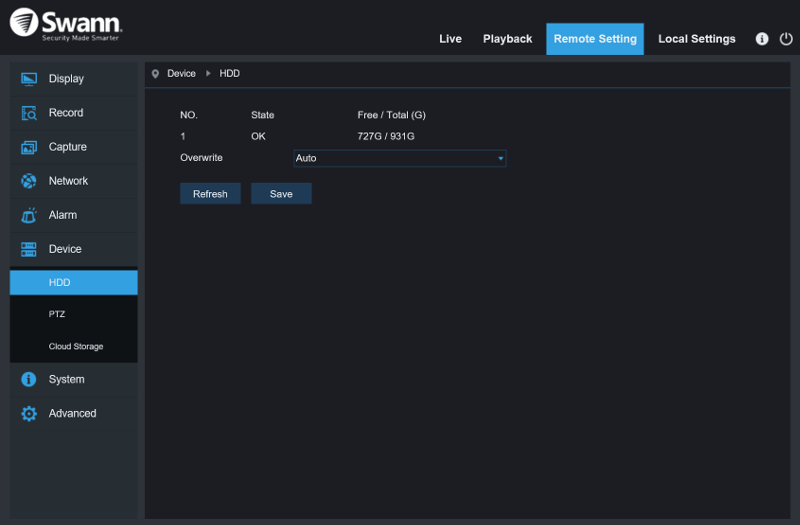
The device settings refer to the DVR box itself. The first page gives you a view of your allocated storage. After months of usage, the drive isn’t full yet and that despite the fact that the cameras are located in the most trafficked areas of the office.
With the overwrite feature, the oldest recordings will be removed and replaced as space runs out.
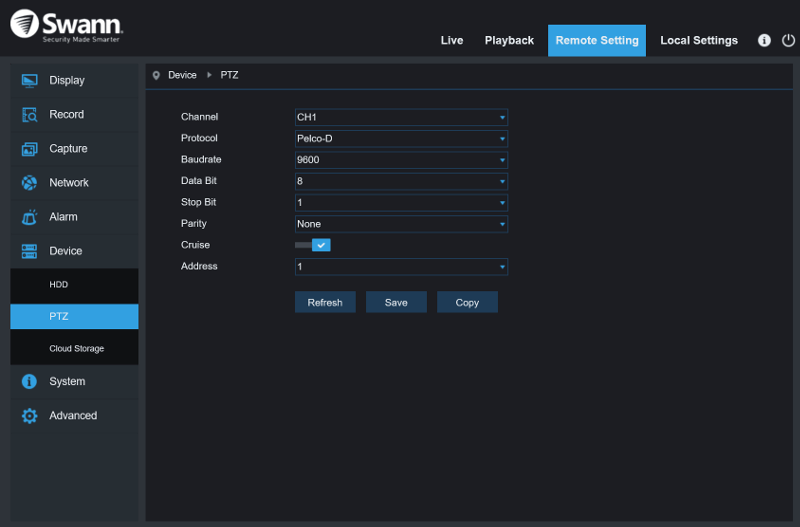
PTZ stands for pan, tilt, and zoom which pretty much explains this page.
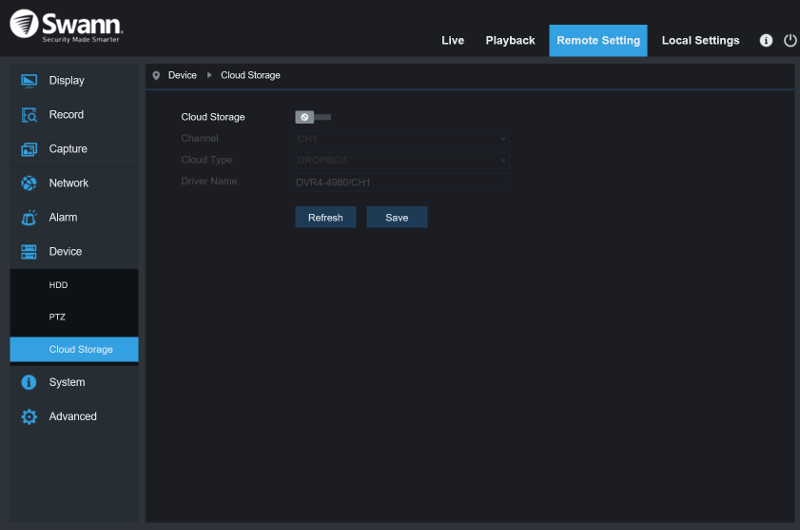
Cloud storage is another option built into the Swann DVR. Whether you want to upload videos automatically or not, that is your choice. In the end, it comes down to how sensitive the recorded area is.
System
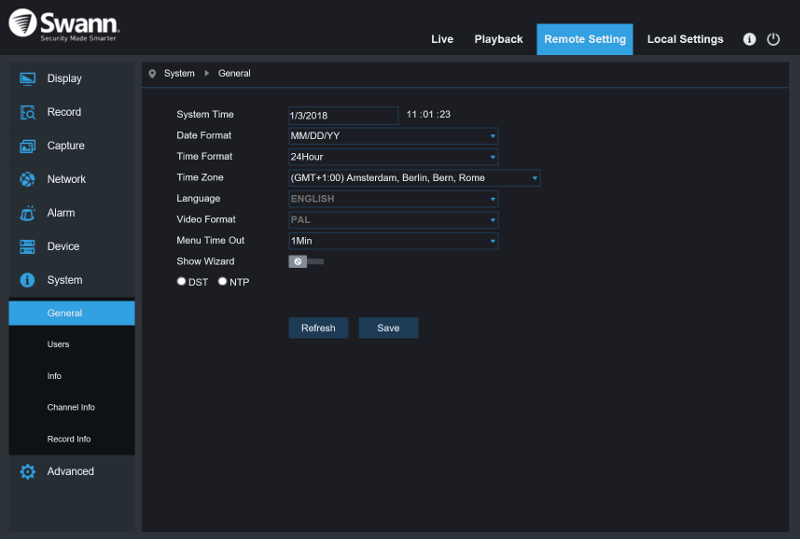
The system settings is a continued part of the device settings, but more user-oriented. The first page allows you to set the date, time, and timezone as well as language and menu timeout.
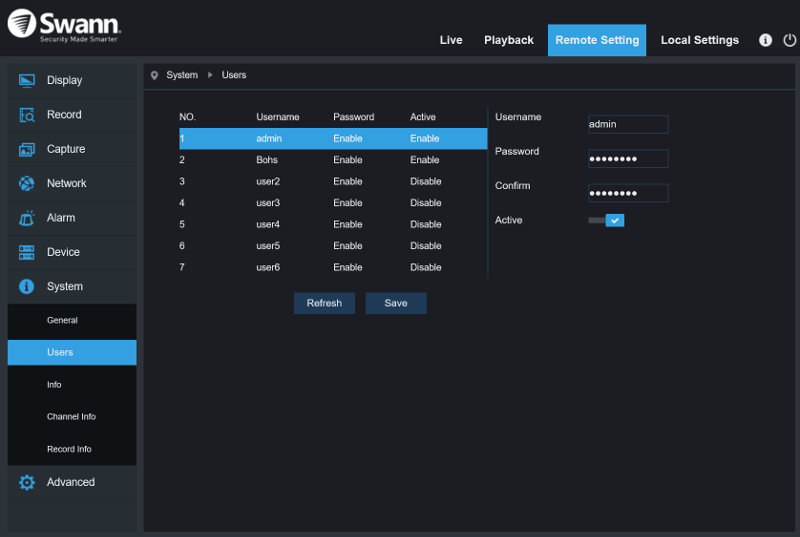
The admin user is a default, but more users can be created. I would always create one additional user and not use the general admin user for everyday tasks.
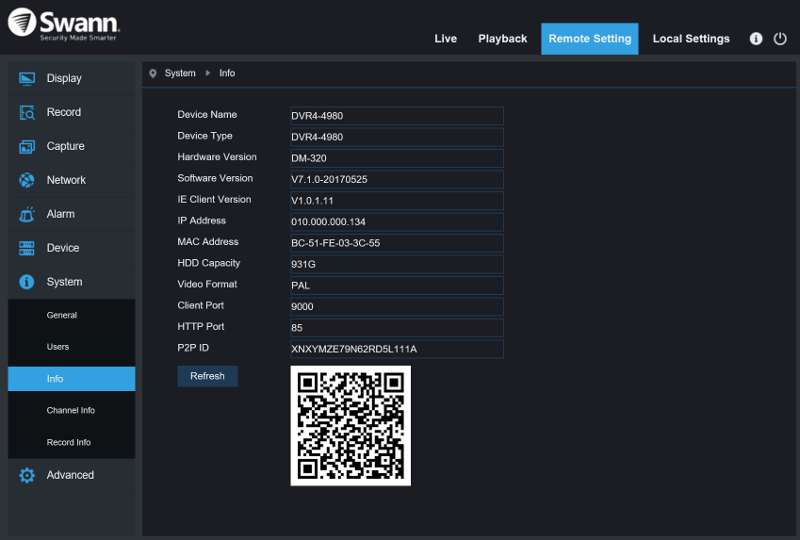
A full system overview with firmware version and other important information can also be found in this section.
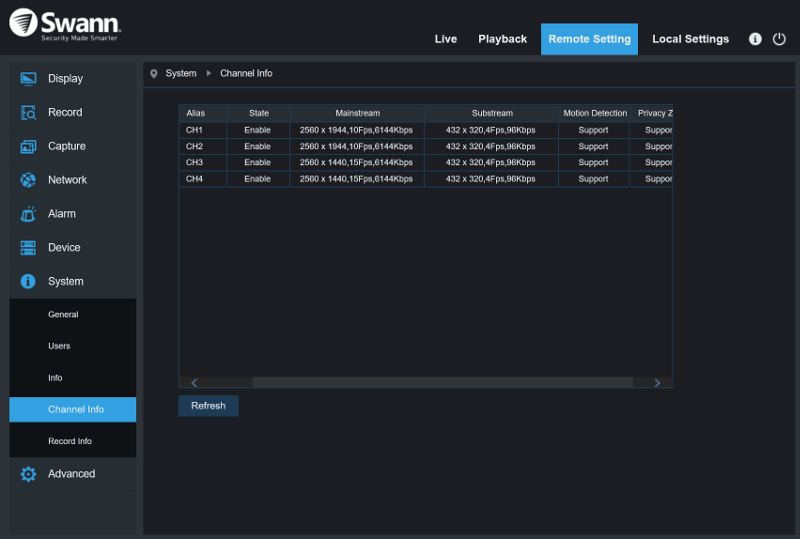
The channel setup can be viewed at a single glans for all four channels.
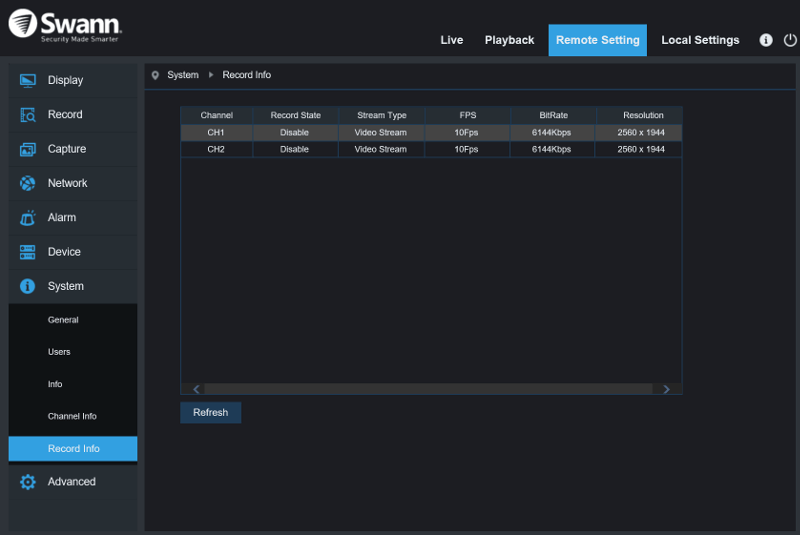
The same goes for the recording information.
Advanced
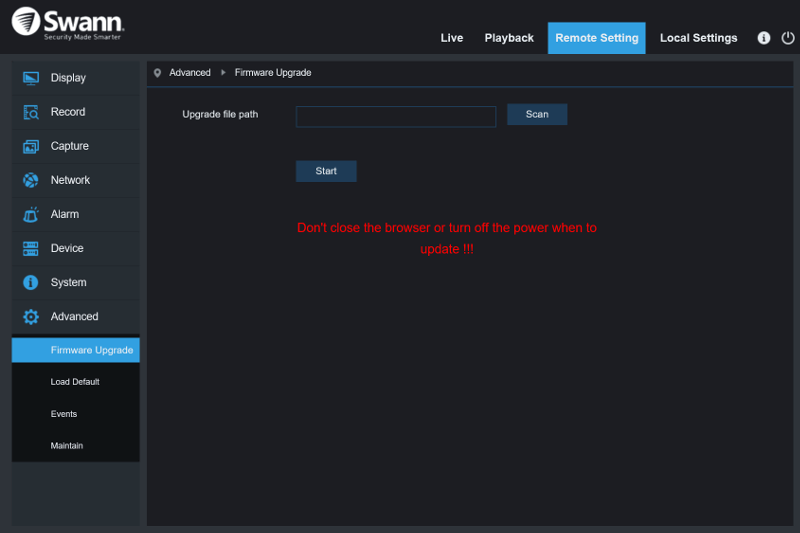
The last part is for general maintenance. You can update the firmware from here when a new version is released.
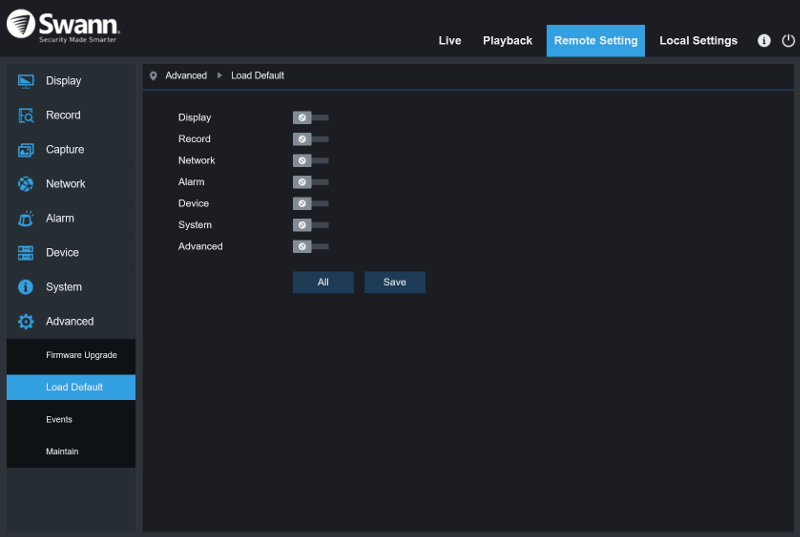
It’s also possible to reset parts of the system, or all of them, to their default settings. A quick fix when you messed something up or just want to start from scratch.
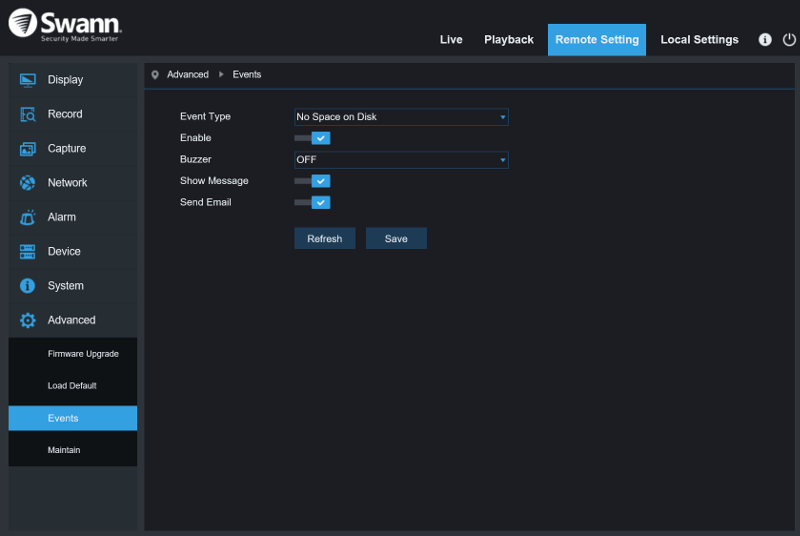
Events can also be configured from there, what happens and when.
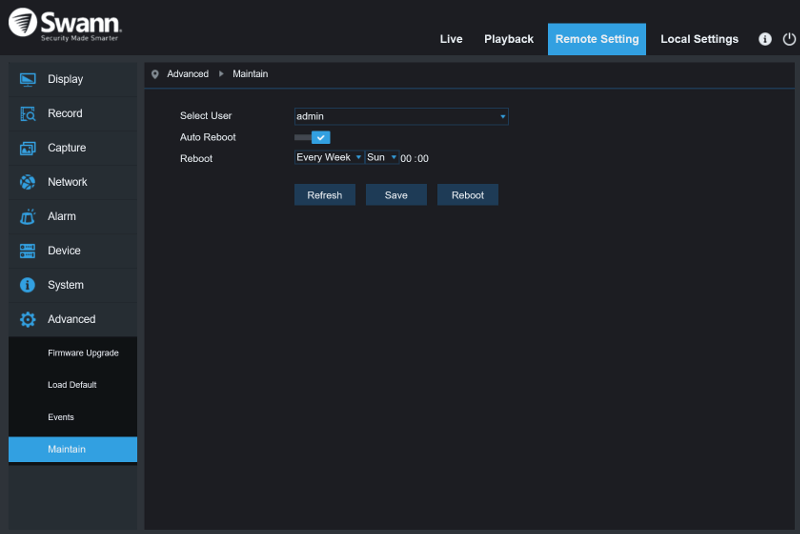
Last, we have reboot and automatic reboot features. Prevent system hiccups by rebooting it automatically at given intervals.
