Synology DiskStation DS116 1-Bay Value NAS Review
Bohs Hansen / 9 years ago
Setup – Users, Shares, Services, and Network
Up until now we only created our basic setup and got one administrator user, and that is something we need to change. The logical next step would be to create users, groups, and shared folders. All three of these settings are found in the Control Panel and then in the File Sharing group.
User Accounts
You should never use your administrator account for everyday usage, simply for security reasons. You shouldn’t let people share accounts either and there is no need to. You can basically create as many user accounts as you want to and every one of them will have their own options available.
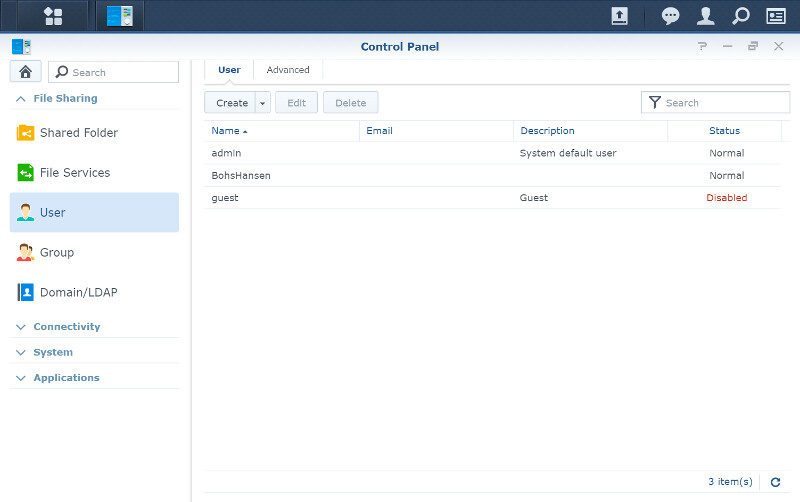
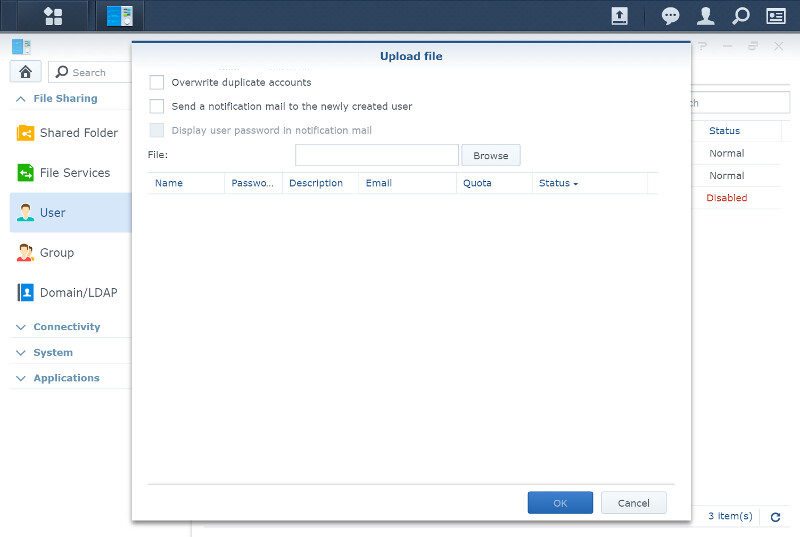
Besides the manual creation method, there’s also the option to generate a batch of users at once through the use of a text file.
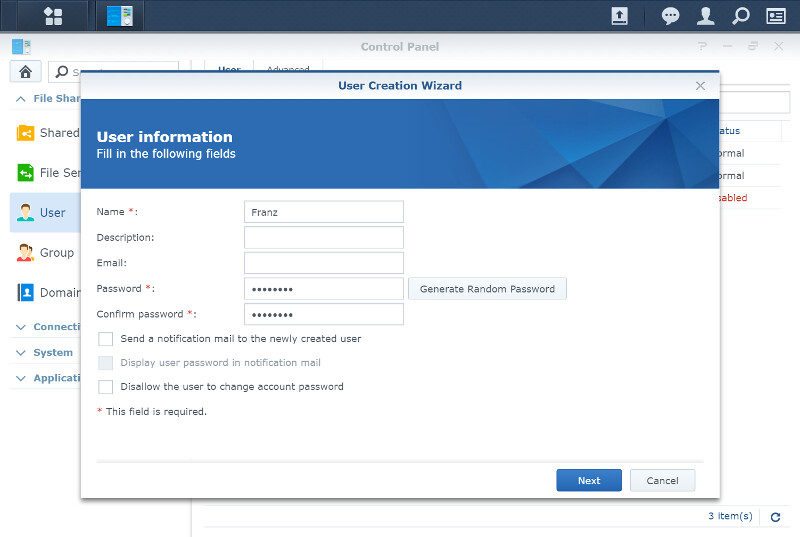
But the main way to create a user is through the normal creation option. The only mandatory fields are the username and password, and the password can be automatically and randomly generated.
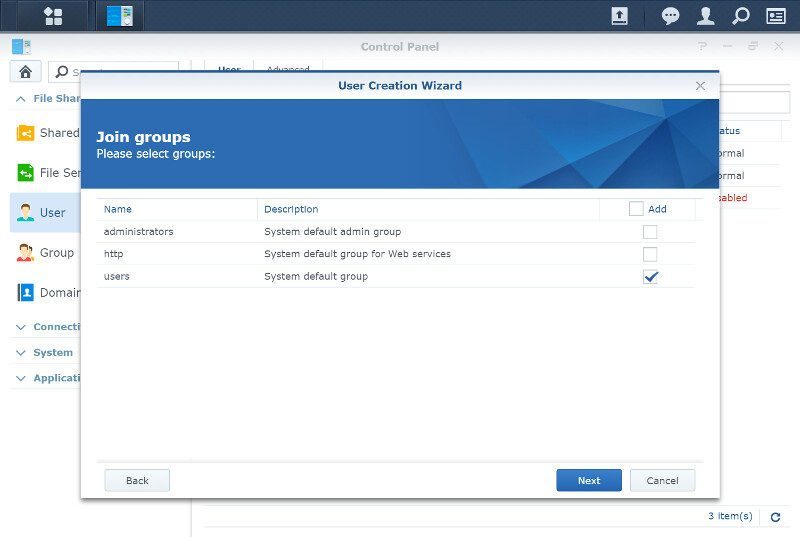
You can assign the user to a group right away if you already created some. There are a few default groups available already.
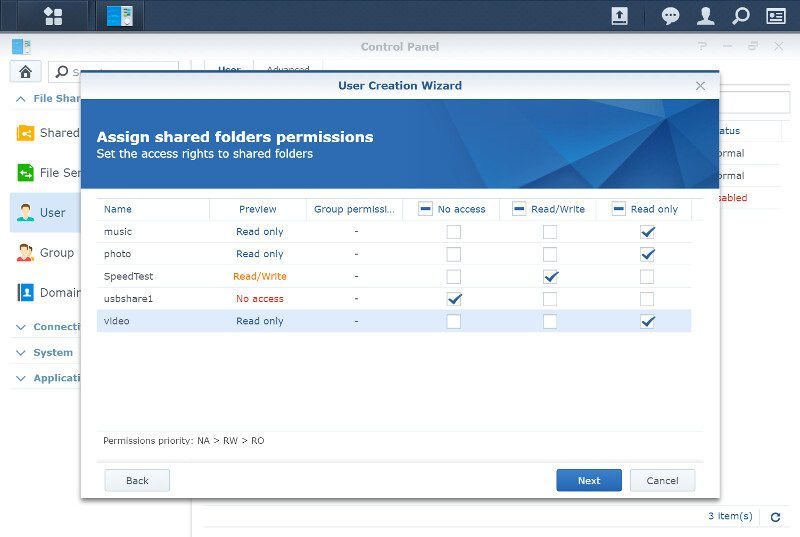
Each user has their own access rights for the shared folders on the system. Deny access, give read only access, or read and write permissions where it’s needed.
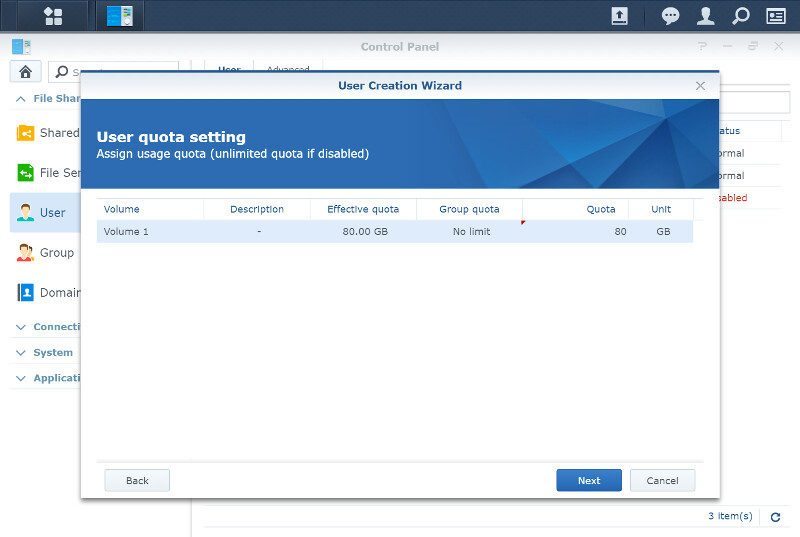
Each user can also have their own user quota, the amount of space that they are allowed to use.
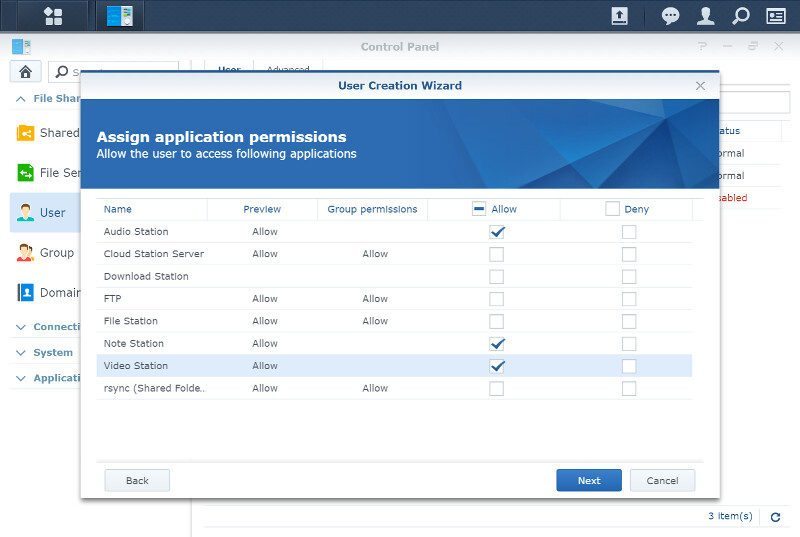
Similar as with folders, you can also specify which apps the users should have access to and which they shouldn’t.
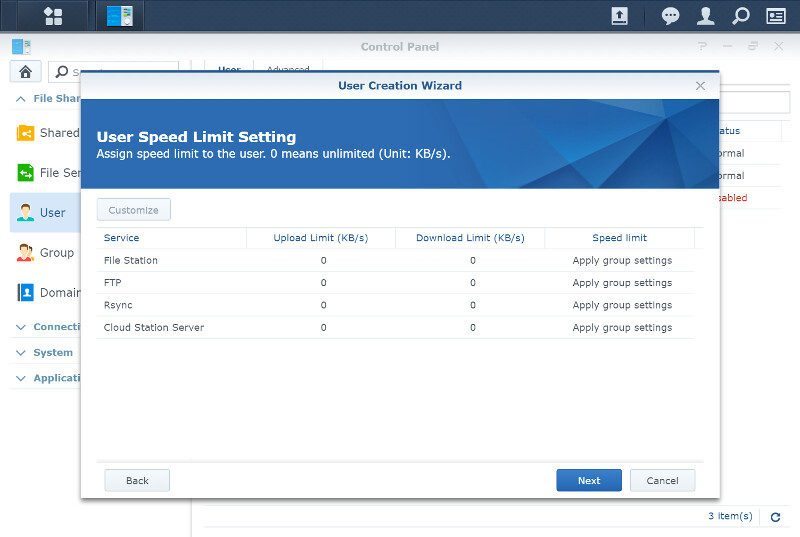
Last but not least, you can limit transfer speeds for each service individually for every user. And that’s it, after this page you’ll only get a confirmation of your settings before you apply them and create the new user.
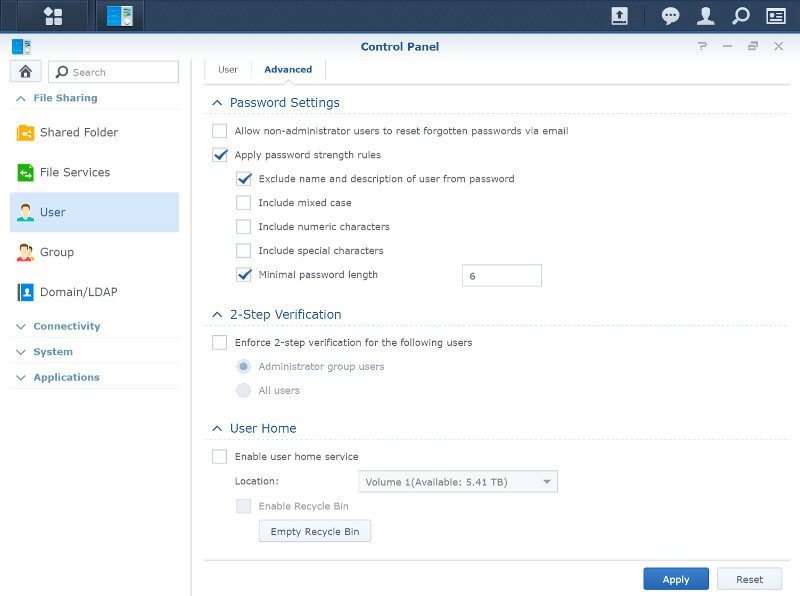
There are also a few global users settings in the Control Panel, to be found under the User Advanced Settings. These include password settings, 2-step verification, and home directories for users.
User Groups
A lot of users are great, but it can also be a lot to manage. User groups make that a lot easier as you can set the same rules as we’ve just seen for users, but for a whole group of users.
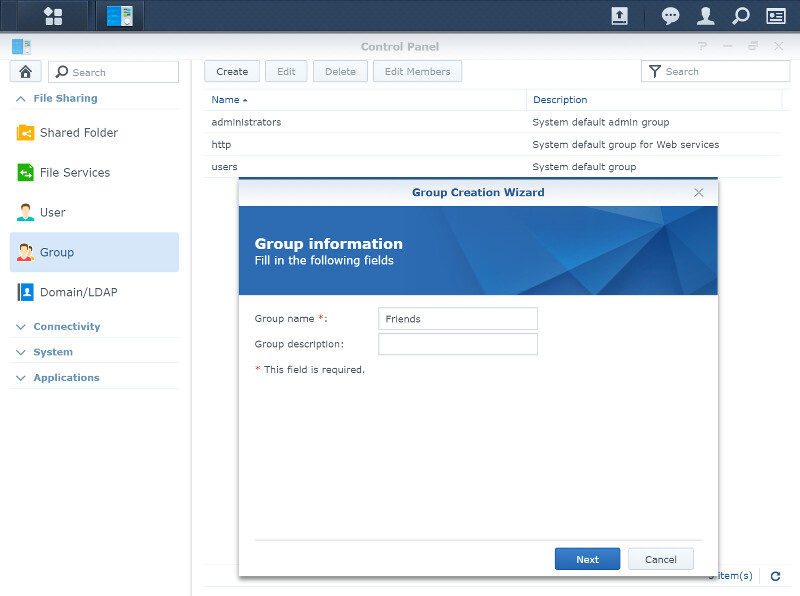
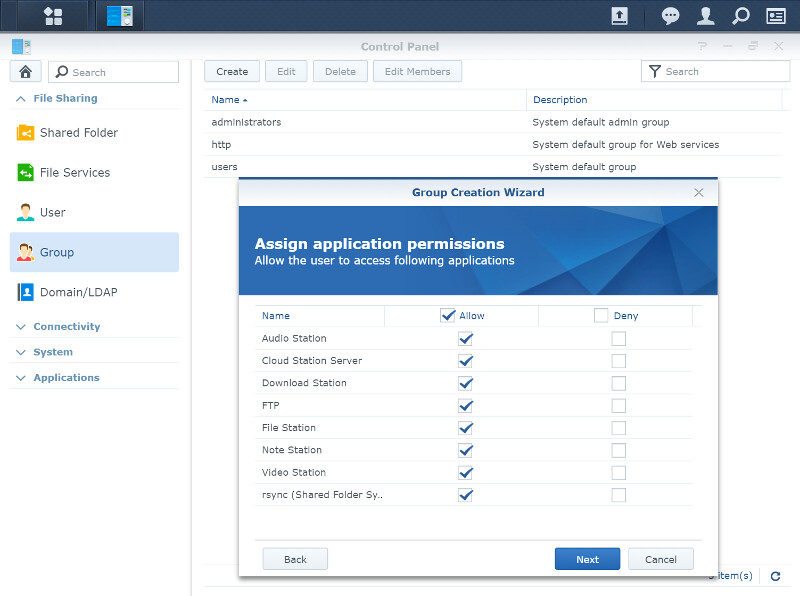
Shared folder and Application access can be set for an entire group, allowing you easy maintenance and quick changes that affect everyone in a group.
Domain and LDAP
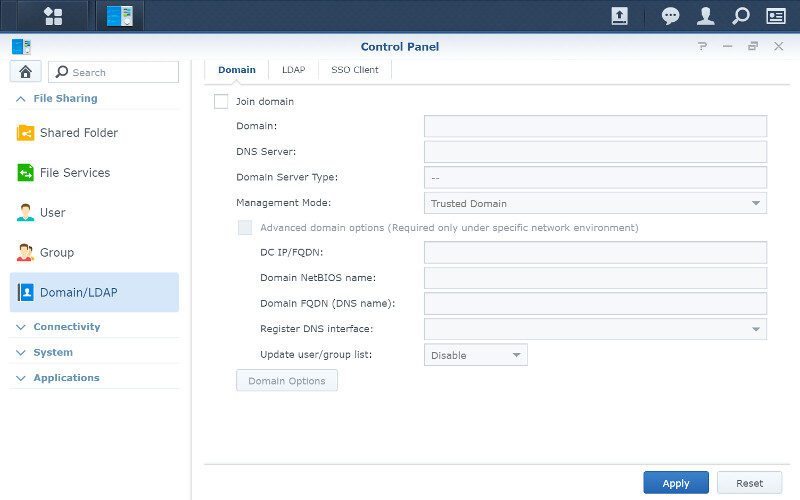
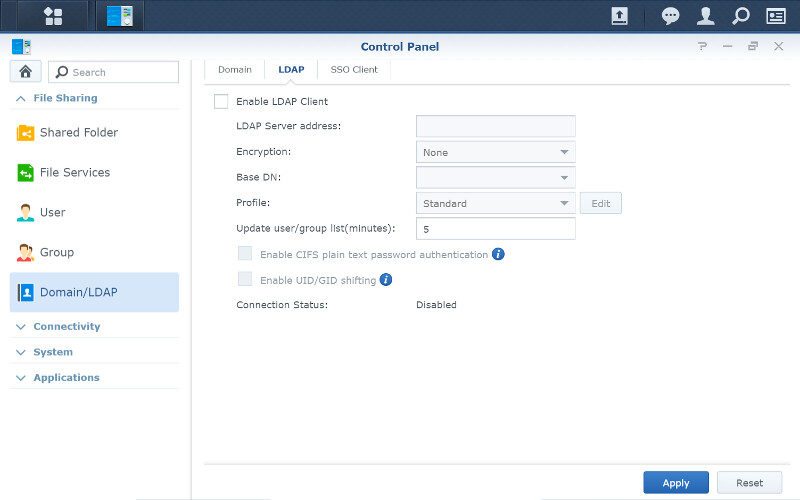
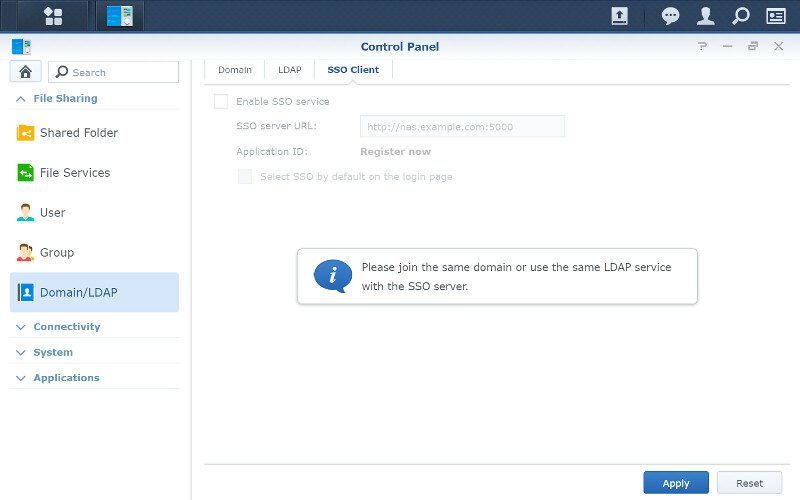
Should your setup already contain a Domain or LDAP setup for your credentials, then that’s just as easy connected as you would expect it to. Enter the details and hit apply … and you’re done.
Shared Folders
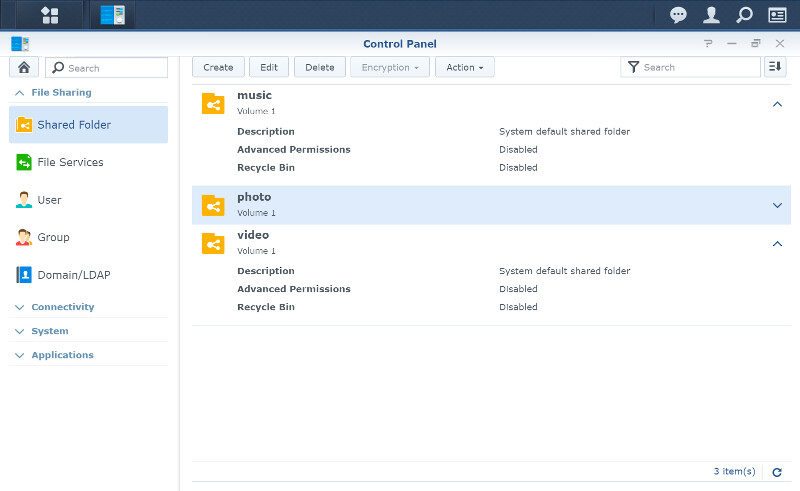
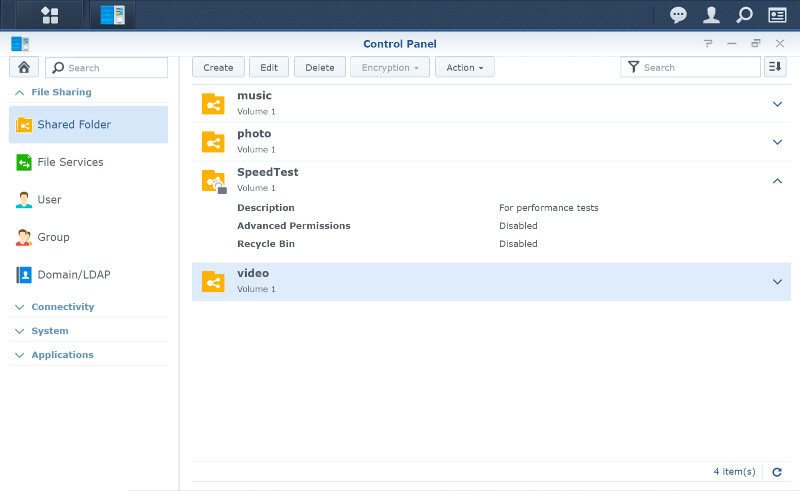
The Shared Folders are kind of the backbone of your NAS. These are the folders that you’ll see in the network environment and that you’re able to mount on your various systems. There are some created by the various apps installed and you can create as much more as you’d like.
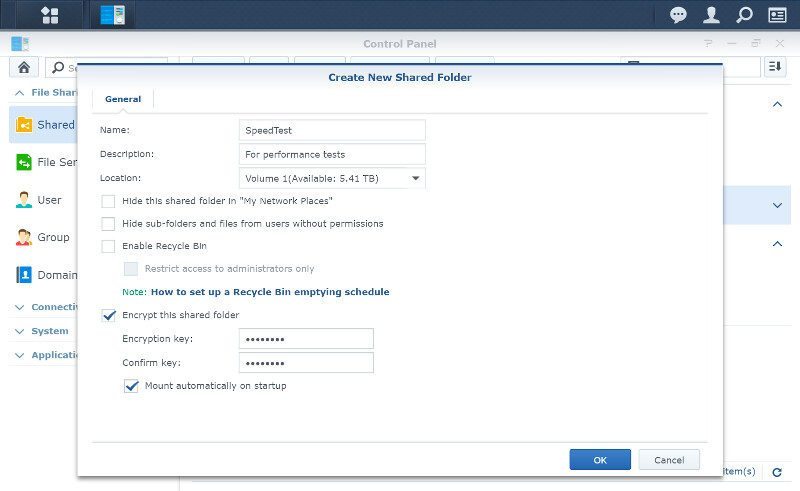
Creating a new shared folder is quick and painless. The name is the only required thing to add, the rest can be left as it is. You still got a lot of options, such as network recycle bin, encryption, and the ability to hide shares from being visible when the server is browsed.
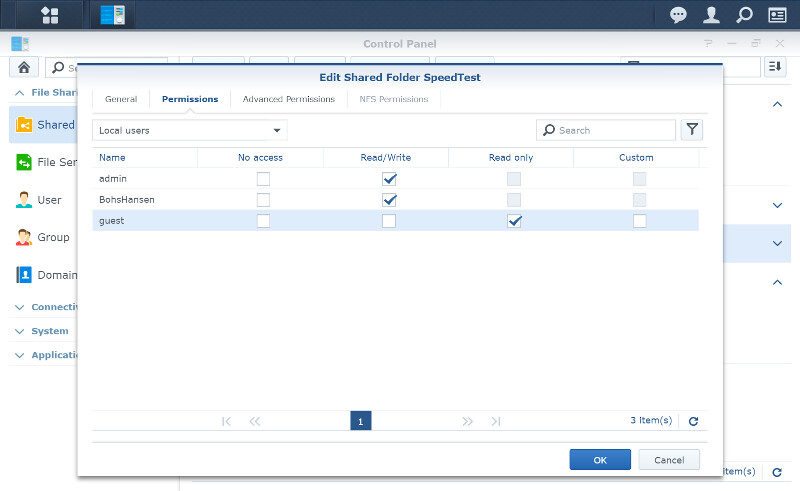
You can set both user and group permissions during the creation process, so there is no need to go back and edit it later.
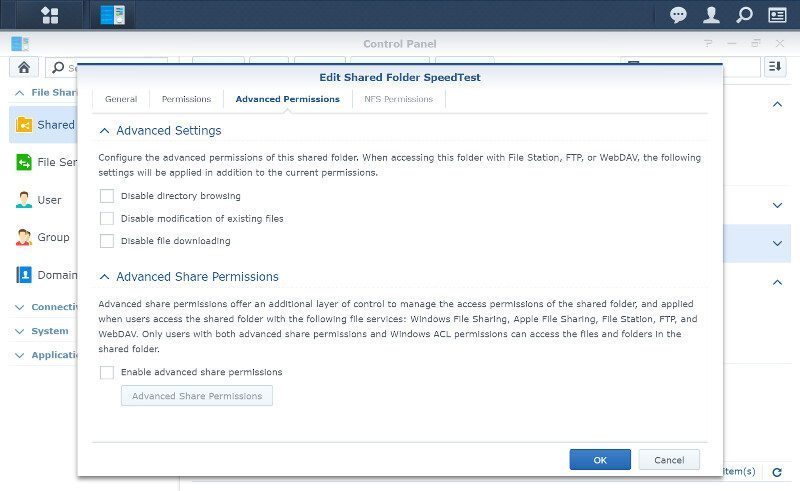
The advanced permissions tab contains a few more settings that most will skip, but they’re great to have when needed. You can disable features such as directory browsing, modification of existing files, and even prevent file downloads.
And that is how you create a new shared folder, in this case, an encrypted one. After all, the DS116 supports hardware encryption.
Services
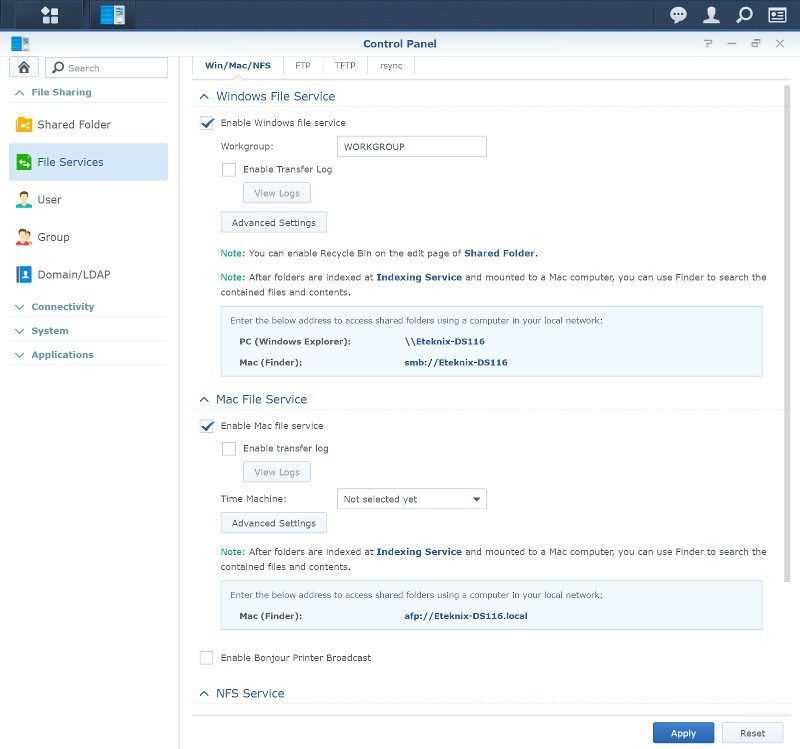
The services are all collected in a single page with four panes in Synology’s DSM, so there’s no need to browse a lot around to find them all. The basic file sharing settings such as Windows, Mac OS, and NFS are found on the first tab and each of them has their respective advanced function via popup.
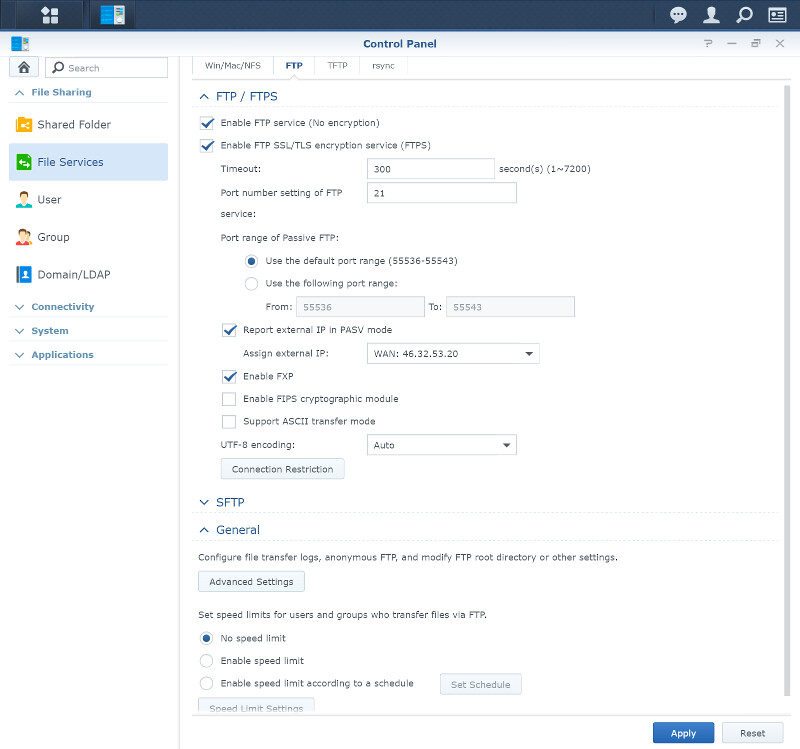
DSM also comes with a very good FTP server built in. It supports SSL connections as well as FXP transfers, SFTP and speed limitations on the entire scale. This is a comprehensive solution for a built-in one and something that scores a lot of points in my book. FTP is probably my personal preferred method of file transfers from system to system.
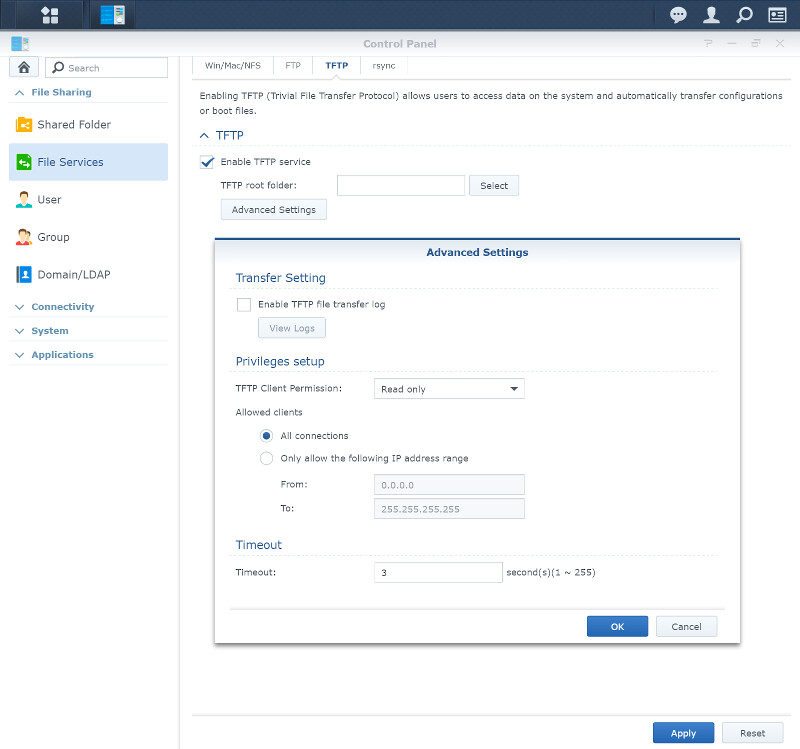
TFTP is great for those who need it, but it’s probably not a feature used much on this specific NAS. Still, there is no need to remove it and users that might need it will be happy to find it. It’s a basic feature, but it works and it’s proven.
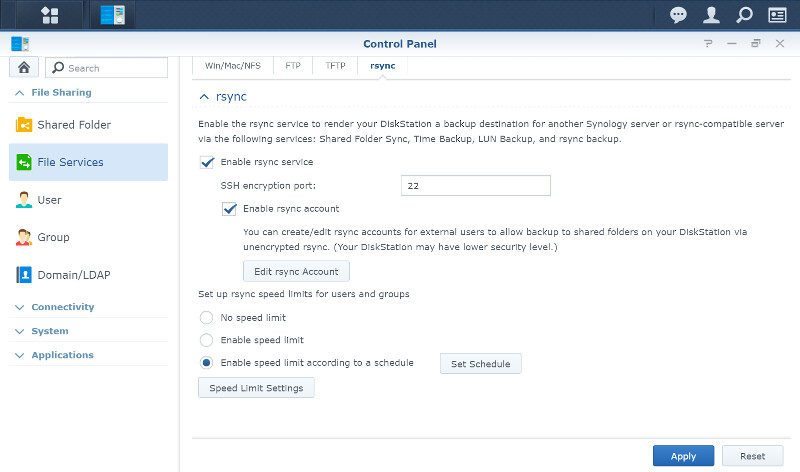
Rsync is also found here and not in the Backup app, something that seems a bit off. On the other hand, it’s a vital file service in my opinion, which makes it positioned right. Rsync is a great and efficient way for automatic file synchronization and backups and it is one that is supported by virtually any system.
Network Configuration
The DS116 only has one LAN port and as such there isn’t that much to be done in the Network settings. Well, that might be what you’re thinking, but in fact, there are a lot of things here that you might want to take a look at.
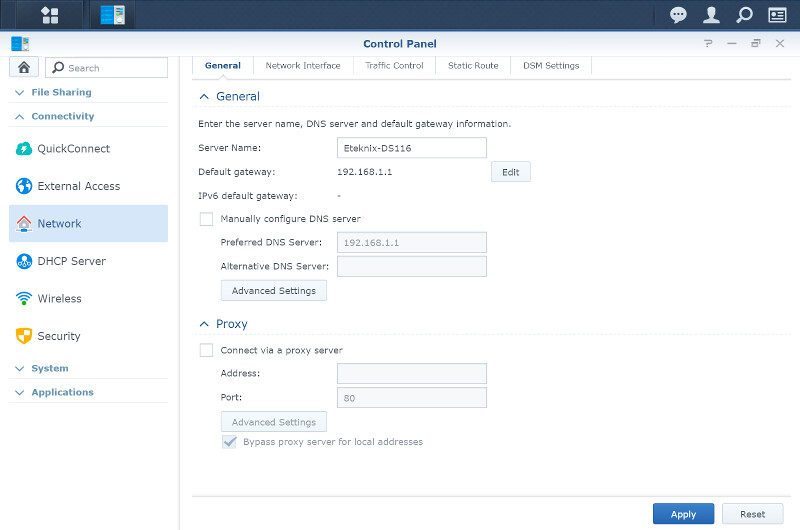
The first pane has the default network settings such as server name, gateway, DNS, and proxy settings. In 99% of all cases, this is set as it should be by default.
The Network interface pane is where we usually bond our network connections on the systems with more than one LAN port.
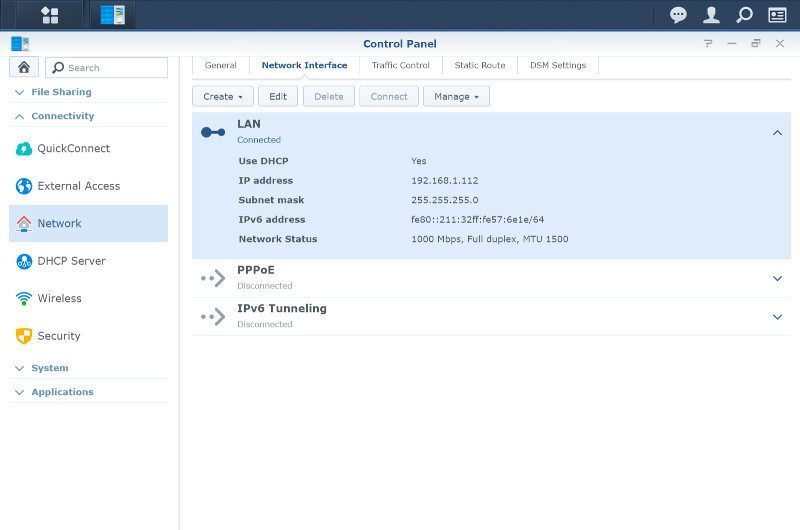
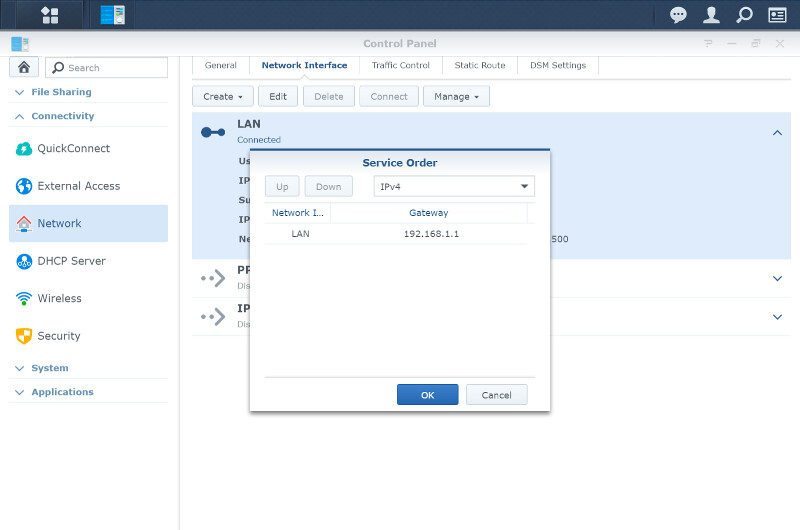
We can still do things here such as set the Service order. This becomes particularly useful when a USB WiFi dongle has been connected, giving the NAS an extra connection.
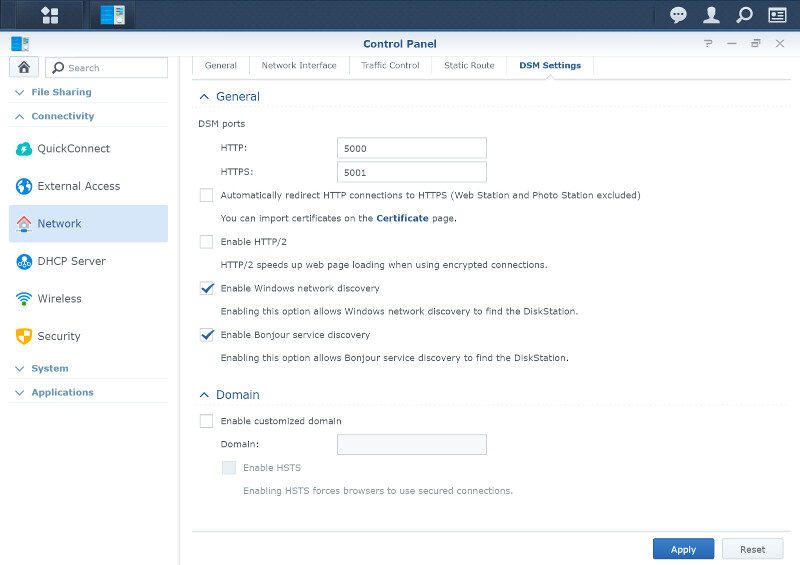
The Traffic Control and Static Route features explain themselves and the last pane is filled with connection options for DSM itself. You can change the default ports, force specific type connections, and disable discovery methods.
There are more network features in the Wireless area, but those are only accessible when a USB dongle has been connected to the system.
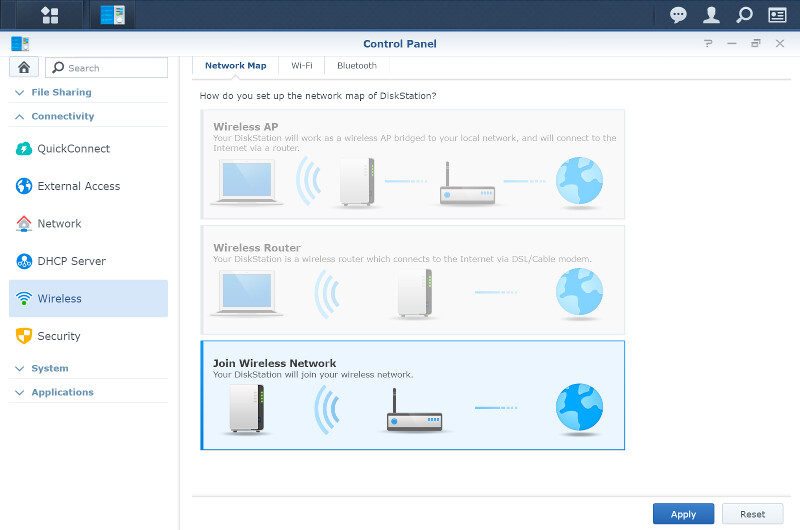
Connecting to a wireless network from here is no different than any other place. Scan for available networks or manually add one and hit the connect button.
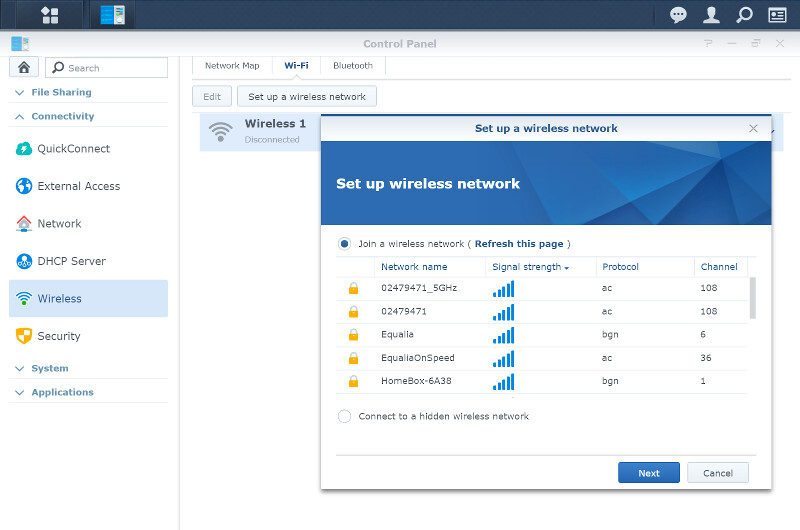
Once connected, you have all connection settings available in the same place.
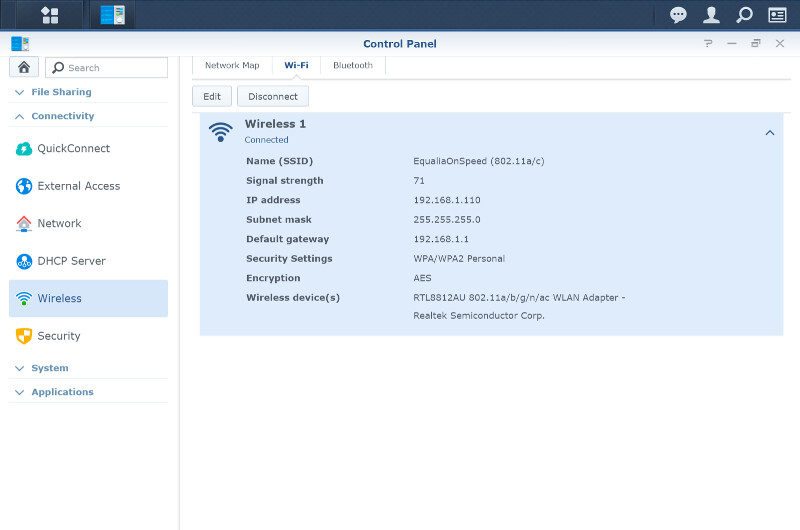
Bluetooth works the same way, but my adapter doesn’t support Bluetooth.


