Synology DiskStation DS218play 2-Bay Multimedia NAS Review
Bohs Hansen / 7 years ago
Packaging and A Closer Look
The Synology Packaging
The packaging is the least exciting thing about any product, that’s a given. It’s still worth highlighting as it is the first level of information in the storefronts around the world. Synology has simple packaging, being a brown box with a couple of stickers. I like this for a NAS. It saves both the environment from unnecessary prints, and it’s less expensive to produce.
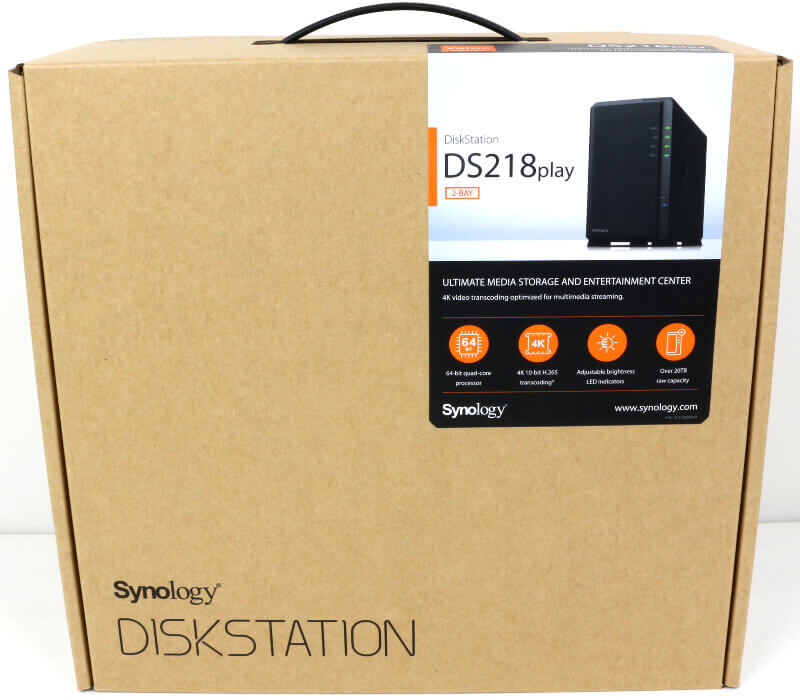
The front sticker has the included units feature highlights as well as a picture of the unit. In this case, the highlights are the CPU, the transcoding abilities, the adjustable LEDs, and the capacity options above 20TB.
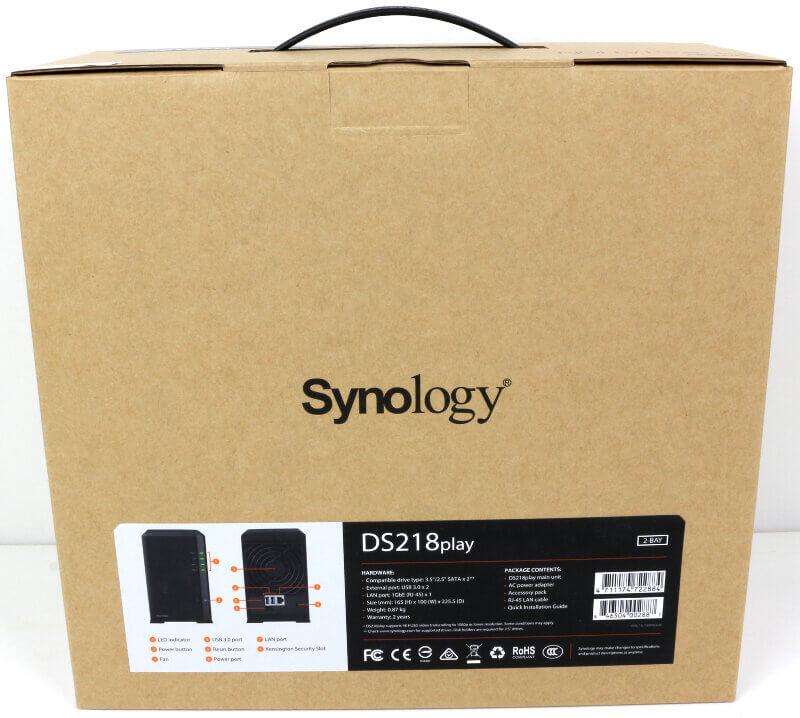
The sticker on the rear side has more details such as the available LEDs, connectors and other features. This is also where you can read more about the included hardware and the package content.
Included Accessories
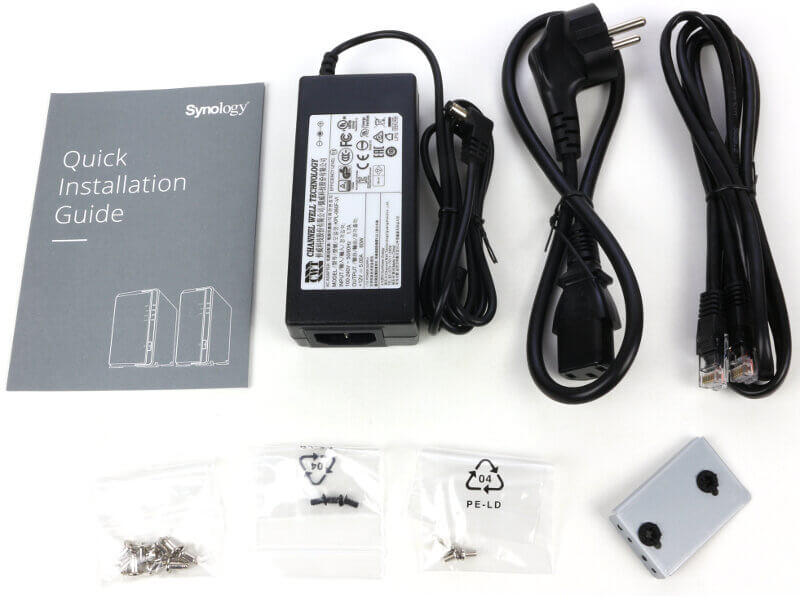
Included with the NAS are a network cable, a power cable for your region, and a 60W AC/DC power adapter. The tiny metal piece is an extra HDD stabiliser which you can mount inside the NAS. There are screws for 3.5-inch drives, the device, and the extra HDD stabiliser. There’s naturally also a quick start guide which will help you set the NAS up and get it initialised. The quick installation guide has gone through changes and looks better now.
The Front of the DS218play
Now that we have seen what’s in the box, let’s have a look at the unit itself. Synology’s DS218play will look familiar to fans of the brand. It is the same quality enclosure that we’ve seen in previous models. Sometimes it is white and sometimes it is soft matte-black as it is here.
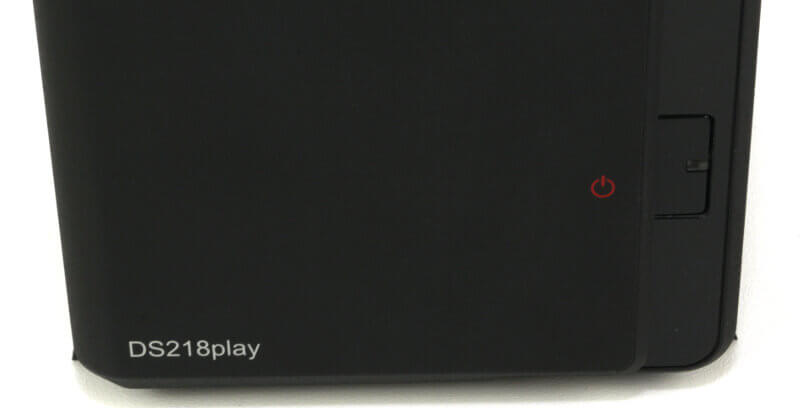
The front features LEDs for the status, LAN activity, and individual LEDs for the two drive bays. The LEDs can be dimmed through the operating system in the event that they’re too bright for your liking.
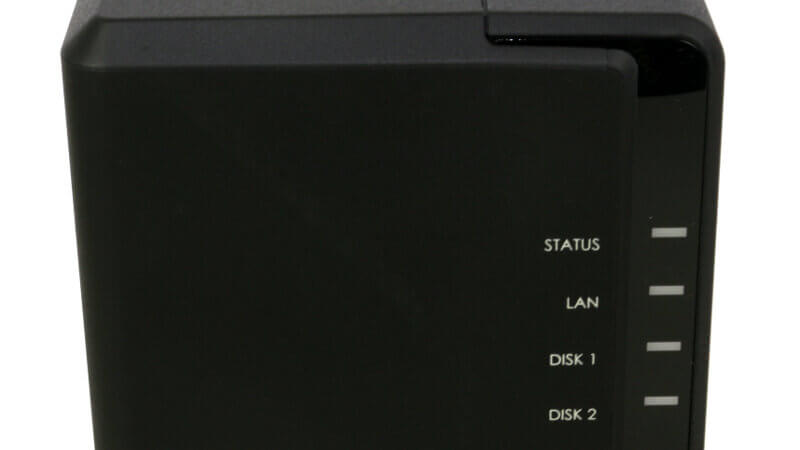
Further down the front is the power button which also has a built-in LED indicator.
The Rear-side of the NAS
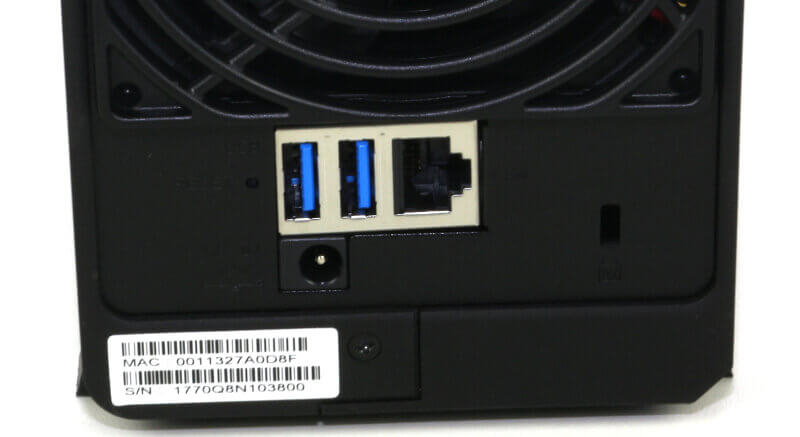
All the connections are on the back of the DS218jplay. Here you’ll find two USB 3.0 ports along with an RJ45 Gigabit Ethernet network port. There’s naturally also a DC-In for the power and a Kensington lock options for physical security.
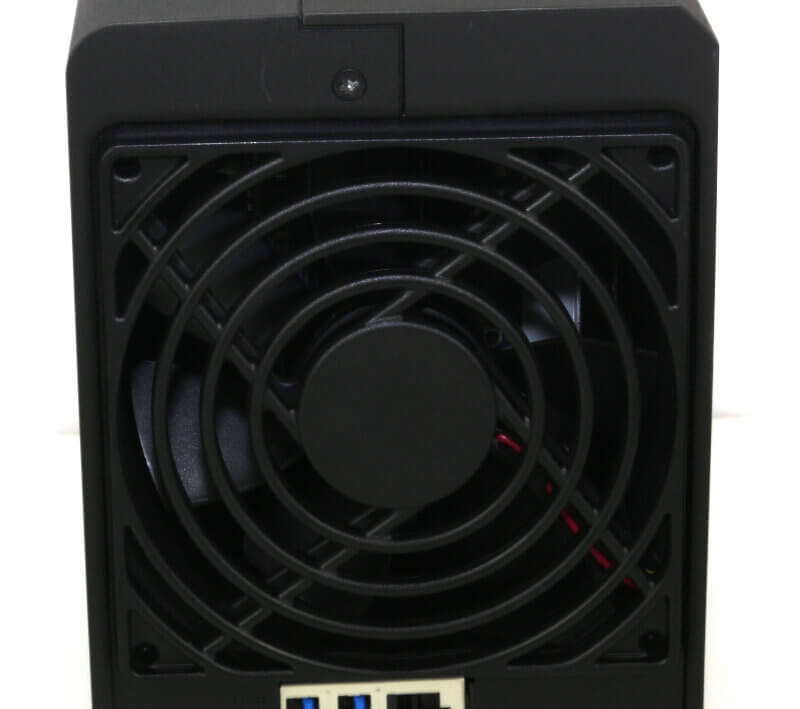
Above the connections is the 92mm system fan which keeps everything running cool and quiet.
Drive Trays
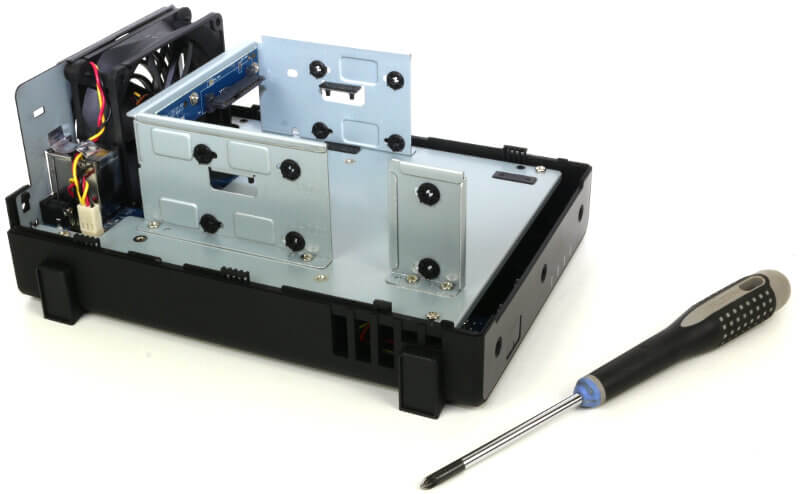
The DS218jplay doesn’t have drive trays, instead, the drives are screwed directly into the NAS. The extra stabilising bracket can be mounted at the front of the system where the base of the mounts doesn’t reach.
Internals
When you unpack your new DS218play, you don’t need to unscrew anything to get started. The two parts slide apart with ease, allowing you to install your drives. Simply slide them into place and secure them with the included screws.
The extra mounting bracket will give extra support to the drives. It helps reduce the stress on the connectors when heavy drives are installed as well as giving general support.
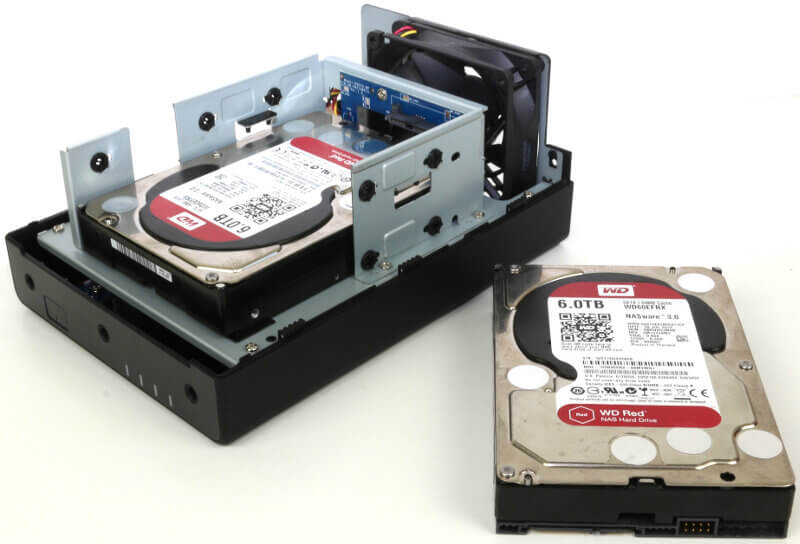
When the drives are screwed safely in place, you close up the NAS and add the two included screws for the casing. Now everything is ready and you can connect the network and power. All that’s left after that is to power it on and get started with the initialization.


