Synology DiskStation Manager (DSM) 6.0 Review
Bohs Hansen / 9 years ago
Cloud Station
The Cloud Station actually consists of multiple parts that all work with each other to give you the perfect combination of service, privacy, and function. The backbone is the Cloud Station Server which works together with the Cloud Station Drive and Cloud Station Backup applications on your other systems and the DS cloud app for iOS and Android.
Update Highlights:
- Added support for setting user and group speed limit.
- Integrated with DSM application privilege settings.
- Offers Intelliversioning version rotation algorithm.
- Run Cloud Station Server without enabling home service.
- Enforce 2-step verification to strengthen identity security.
- Supports renaming shared folders when Cloud Station Server is running.
- Supports symbolic links.
- Supports files containing “/” characters on Mac.
- Now allows you to select multiple files/folders for restoration in Version History.
- Raised concurrent file transfer number to 10,000 on selected models (RS18016xs+, RC18015xs+,
- RS3614xs+, RS10613xs+, RS3614xs, and DS3615xs; memory expansion to 32GB required).
- Optimized small file processing performance.
- Optimized 1st-time synchronization performance.
- Optimized as a backup target.
To use the Cloud Station you need to have set up your QuickConnect ID first, but we already did that initially so we’re all set. The first page you see when opening the Cloud Station Server is the Overview page which shows the current status along with download links for the companion apps.
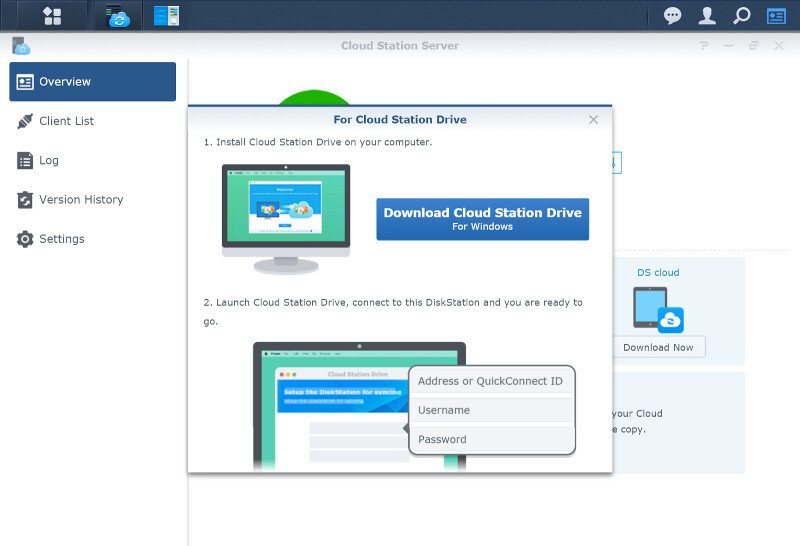
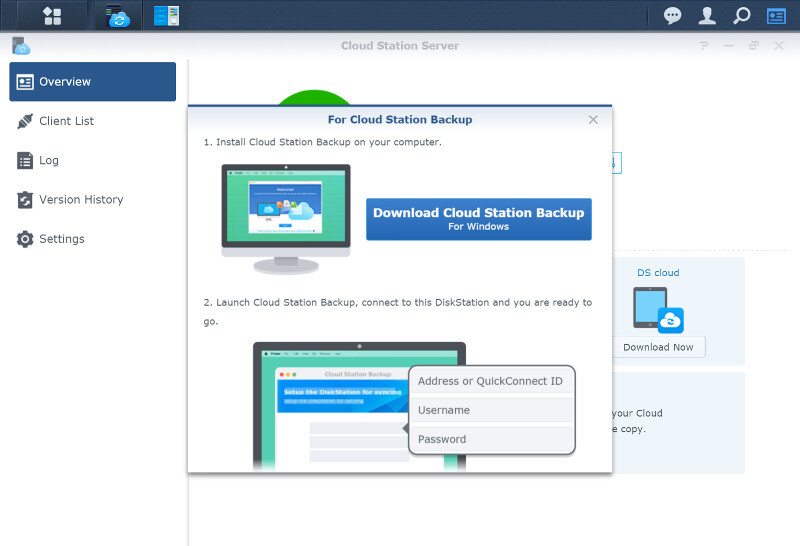
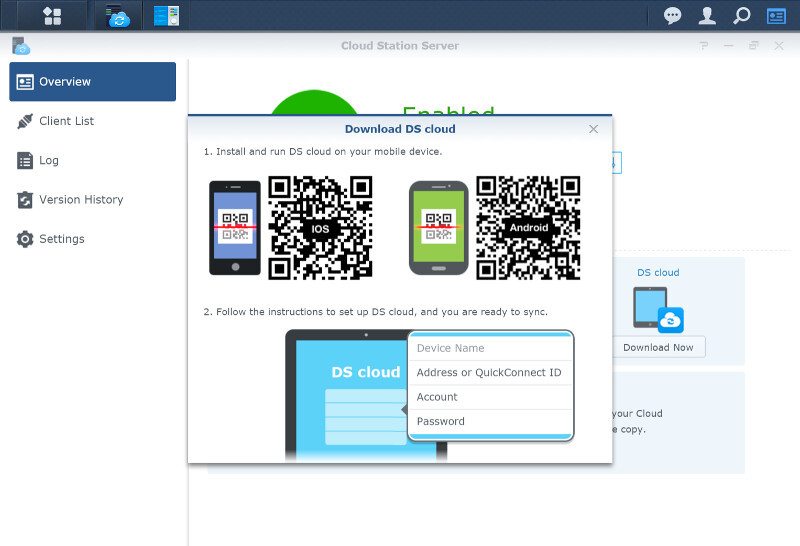
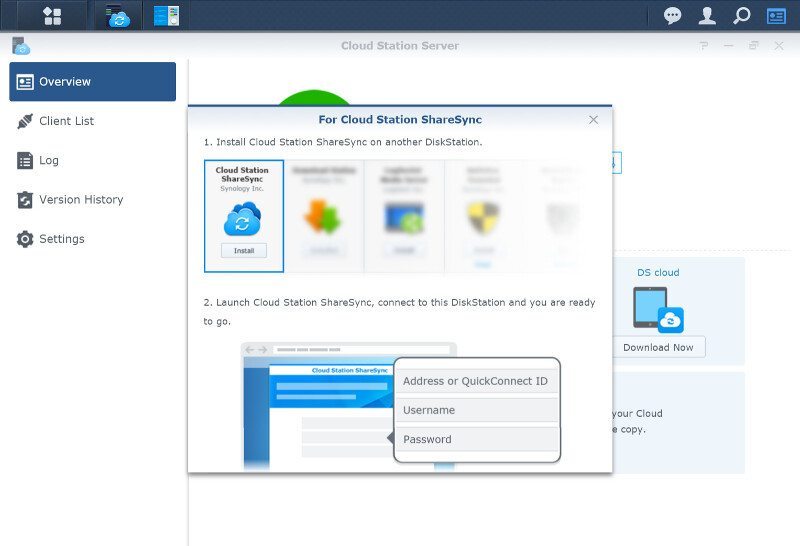
You can expand the functionality even further with the extra Cloud Station ShareSync app from the DSM package center.
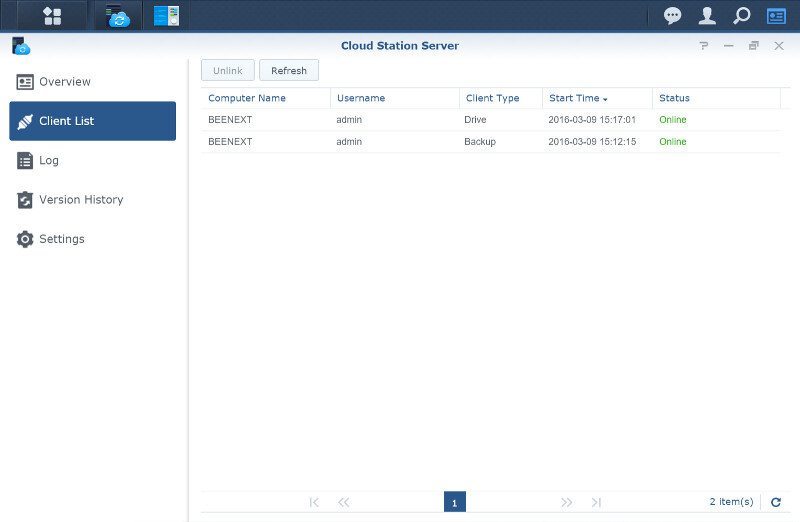
The server provides a quick view of connected devices, what users are connected from them and what type of client they’re using.
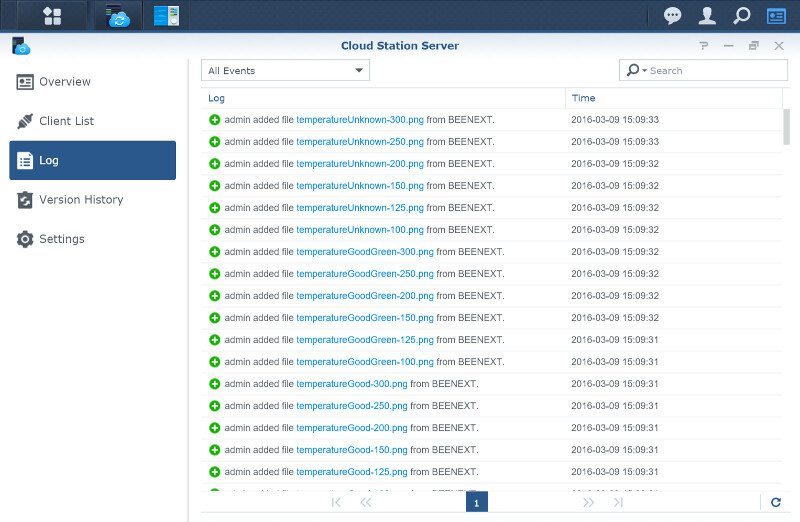
I’ve already installed the apps on my system and added sync targets, which explains the already populated log file below. We’ll get to the apps themselves in a little bit. The event log can be easily filtered and searched to find the relevant matches.
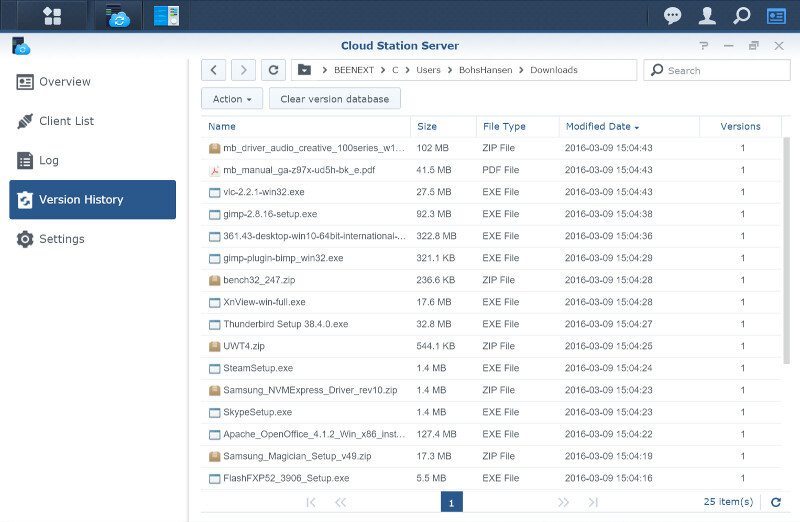
Keeping an eye on the version history is just as easy as anything else – it’s so straight forward to use that it barely needs an explanation. Synology has done a great job with all these Station apps and they look better than ever before.
There are a few settings you can change, but they aren’t many. Most settings are handled by the jobs you set rather than the server itself that the jobs are running in.
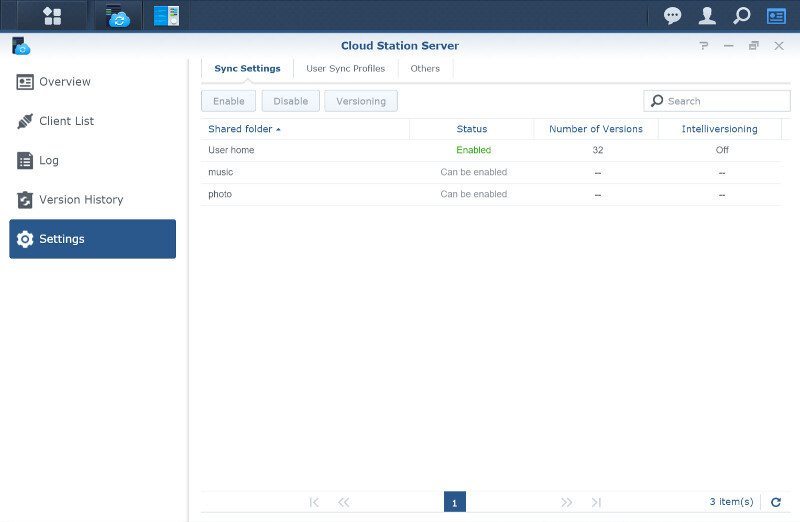
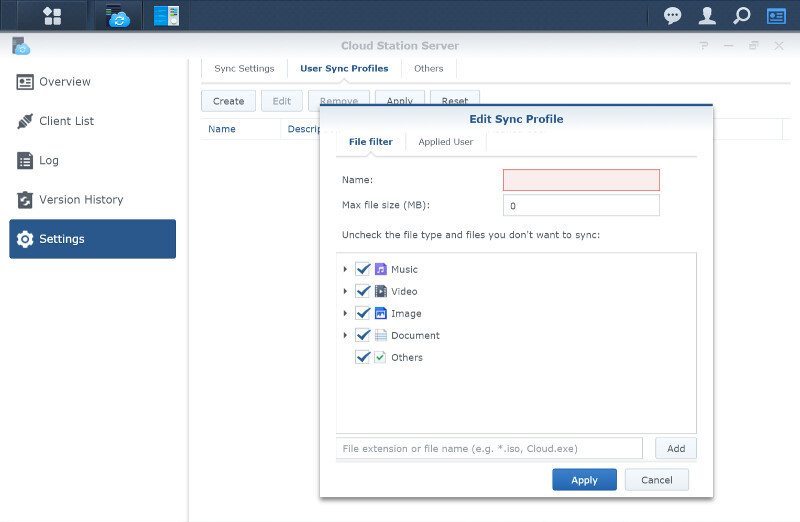
You can create Sync profiles and assign them to specified users too.
That was the server part, but we’re far from done with DSM’s cloud features. You can also use Cloud Sync in order to further sync your files with public cloud providers on top of your own personal cloud. The list of supported companies and services is as long as it ever has been and we got Microsoft OneDrive and Office365, HiDrive, and Amazon S3 on top of the already long list.
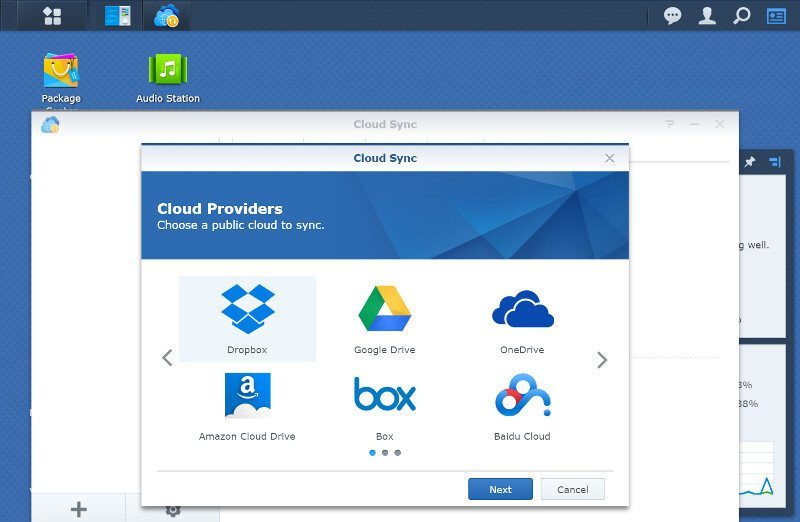
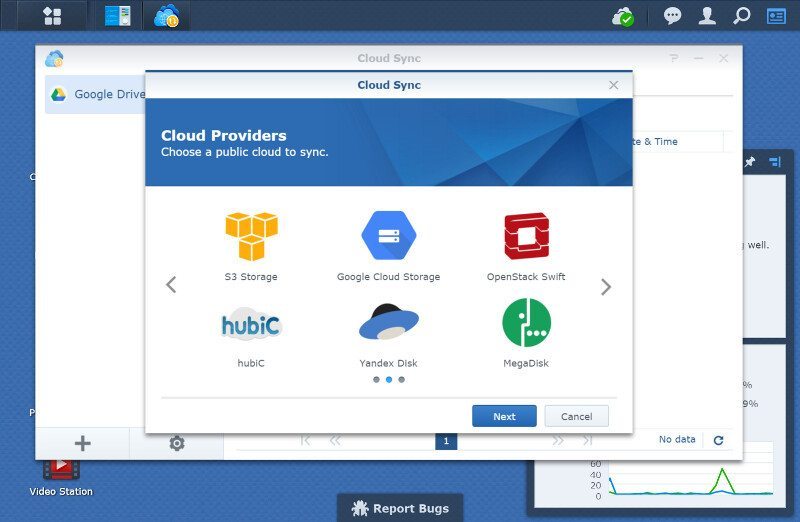
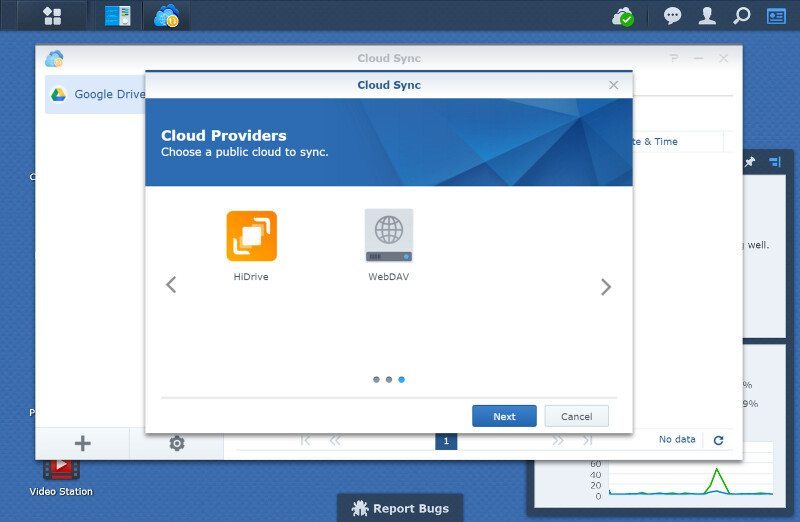
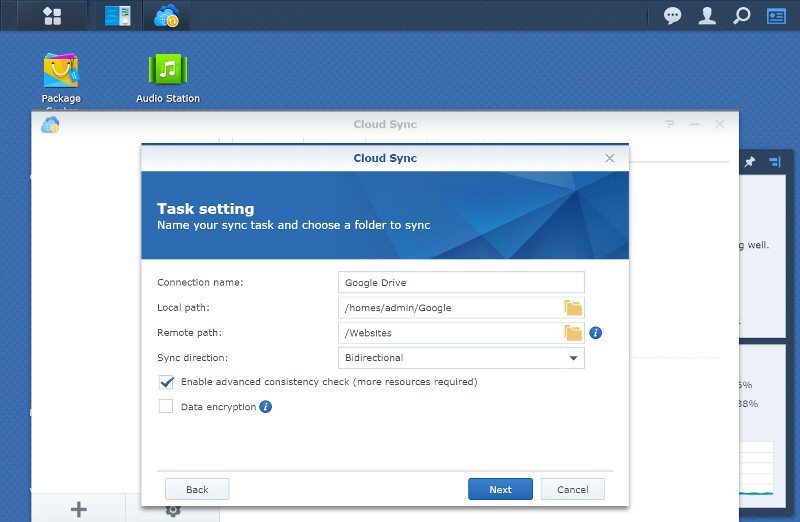
I already have a Google Drive account with plenty of storage space available, so it is the obvious choice to use for my tests. The setup is quick and easy. You might be prompted for permission access to the service you’re connecting to during the setup, which is a logical security setting.
You don’t need to remember any path or folder names on either side of this configuration, you can easily browse both sides from the setup where you also can set the sync direction.
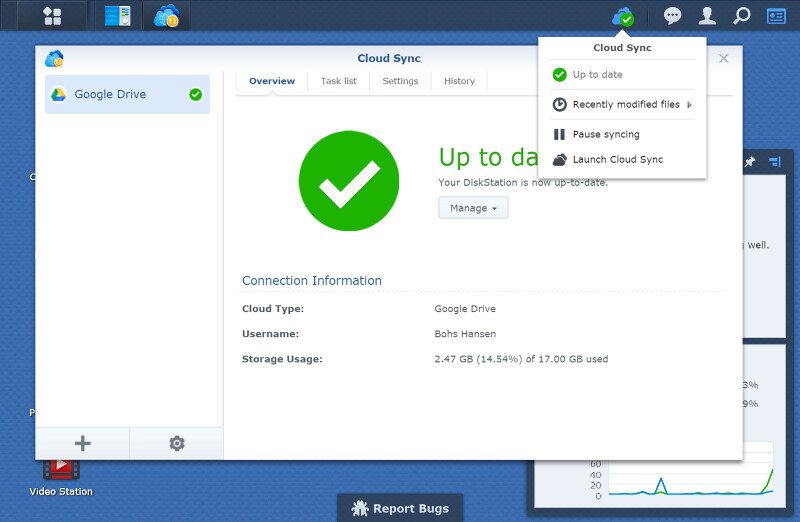
When Cloud Sync is running, you can keep a constant eye on it through the top DSM taskbar. As you might already have spotted in the screenshot below, you can add more cloud services with different rules to use for different scenarios.
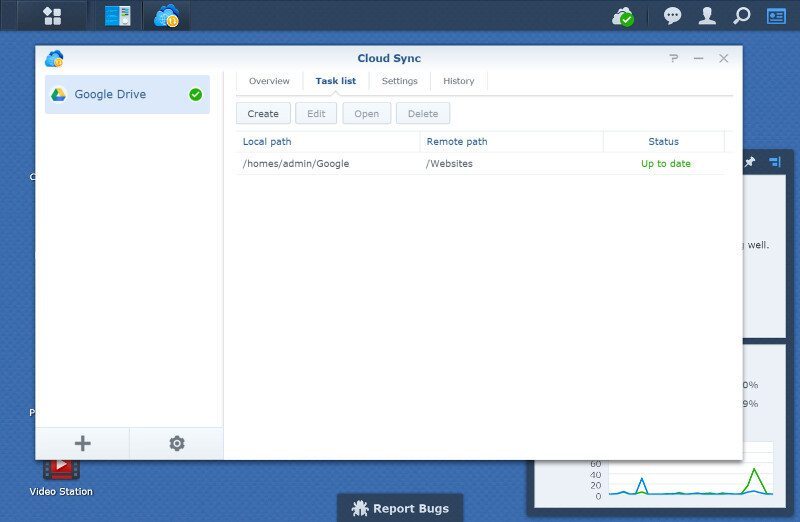
The settings are for each Cloud connection and you can as always edit any of the information at any point, create new tasks, or delete old ones.
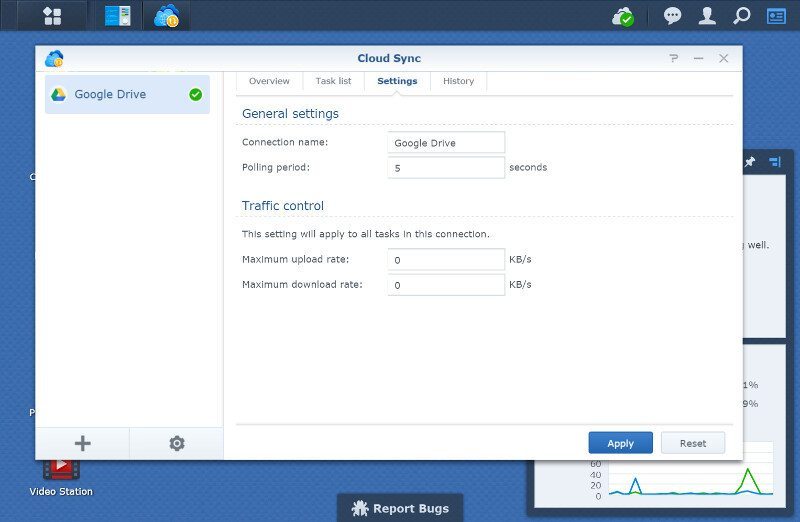
Two of the most important settings are found in the actual settings tab and those are the polling period and the traffic control. Depending on your type of internet connection and sync jobs, you’ll want to limit this so you don’t bottleneck everything else on your network that tries to get out.
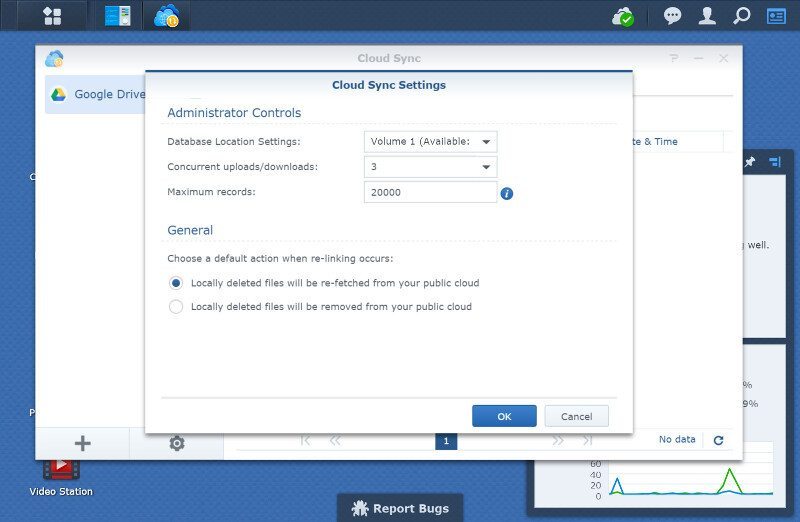
The main Cloud Sync app settings are found at the bottom next to the Add Cloud Provider button and open up the overall sync settings. There isn’t’ much to be found here, but they’re vital settings to have access to.
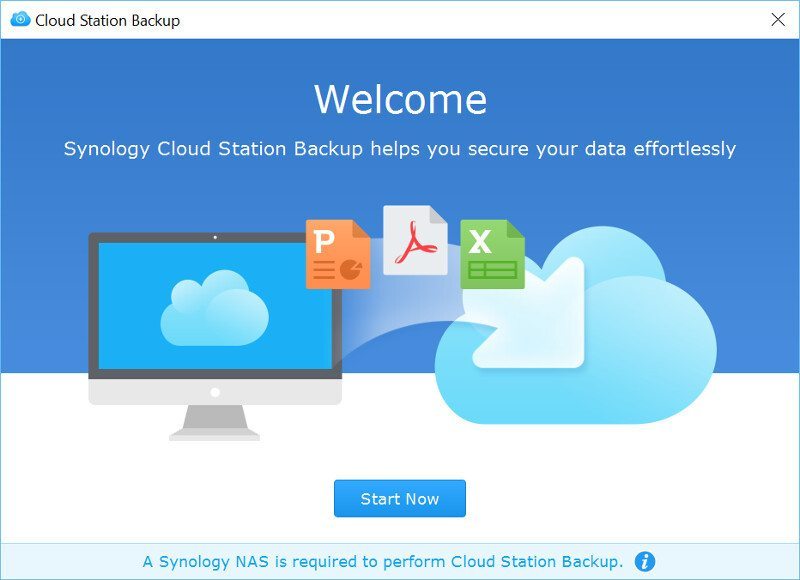
Windows Applications: Cloud Station Backup and Cloud Station Drive
Our server part is configured and set up, but we haven’t had a look at the client side yet. Using the links provided through the Cloud Station Server, I downloaded and installed the Cloud Station Backup and Drive apps. Both apps require a minor initialization before you can forget about having them running.
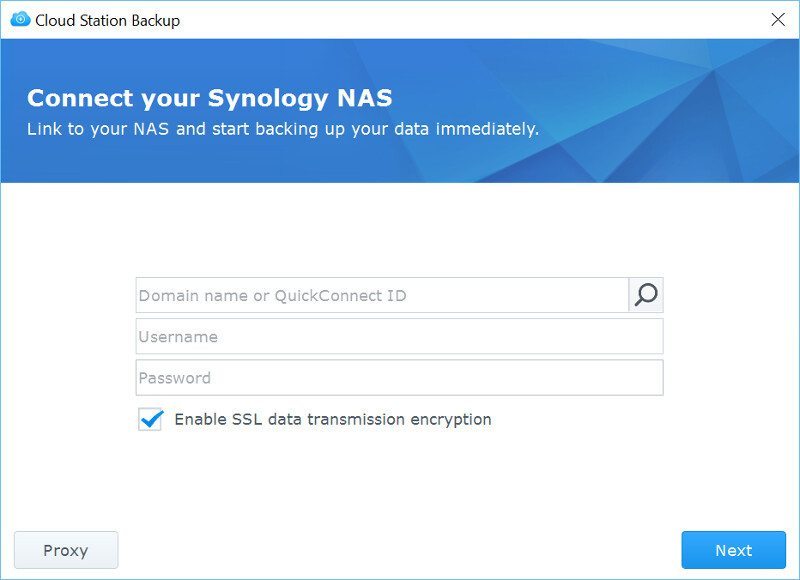
Starting with the Cloud Station Backup we only need the server name and login information. We can also specify whether we want a secure SSL connection or not. At the bottom of this page, you also find the proxy settings in case you need those to reach your NAS.
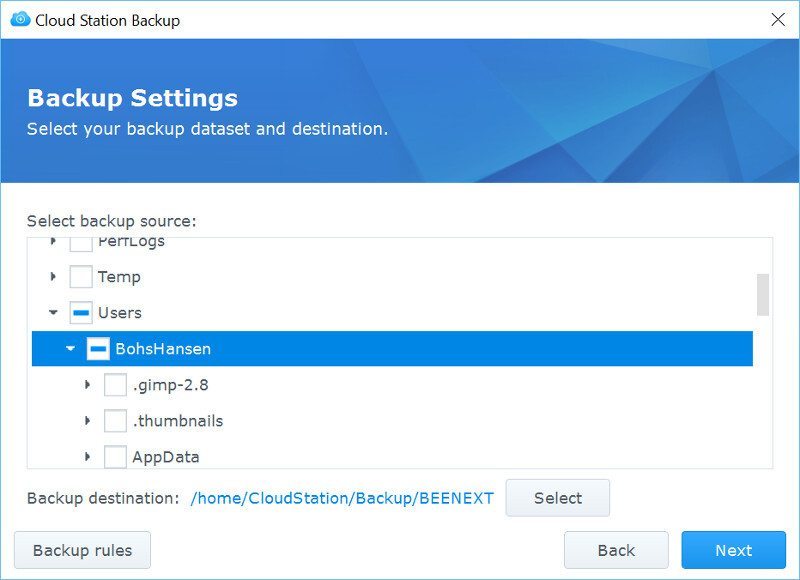
The next step is a logical one, select the files for your backup job and the destination on your Synology NAS.
After a short initialization, the app will start to backup your files to the NAS according to the rules you set. You can follow the progress onscreen or close it to the tray area.
Cloud Station Backup is able to retain up to 32 version of every backed up file and supports file filtering.

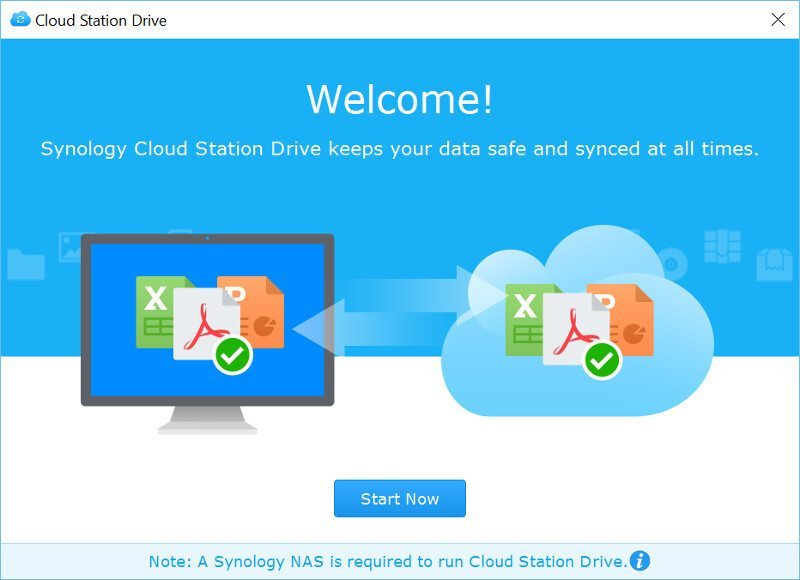
The second windows app is the Cloud Station Drive that will create a drive on your system in much the same way as OneDrive does natively in Windows.
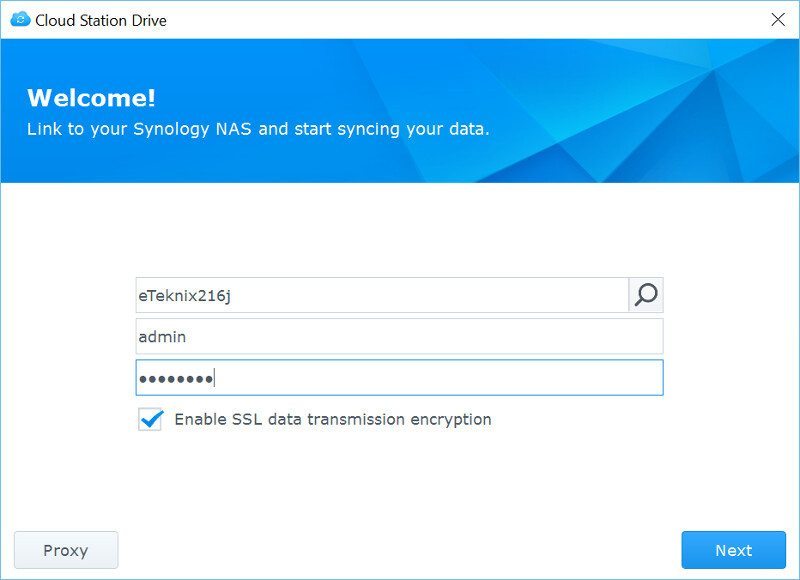
The setup requires the same basic information in order to connect as the Backup app did.
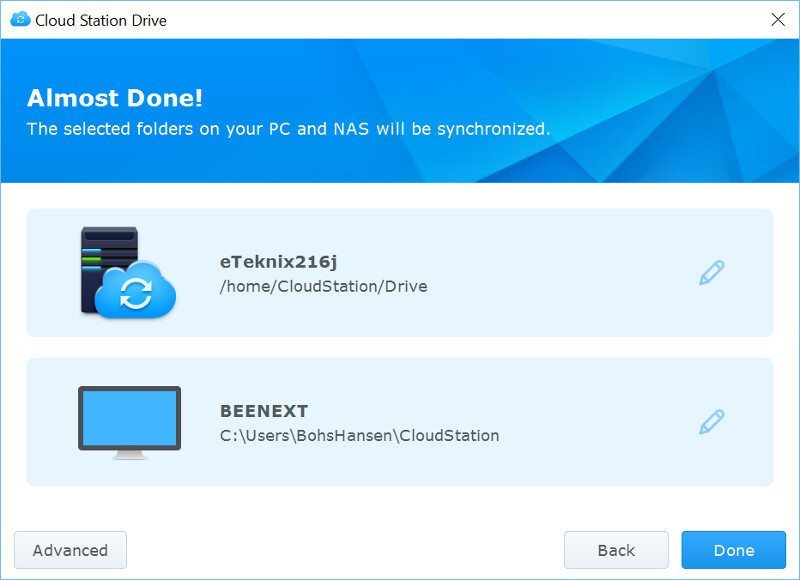
The final step is to set the path on both systems that have to work as one.
And yes, that’s it. Now that was easy, wasn’t it?
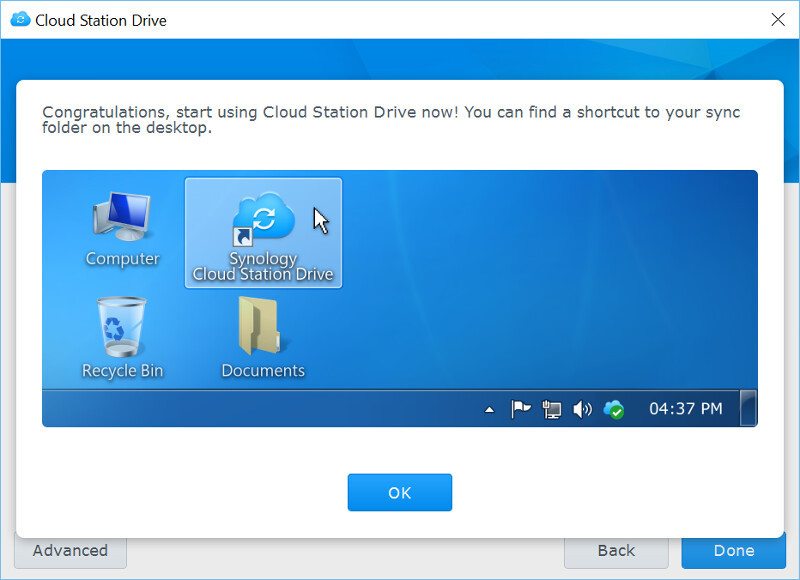
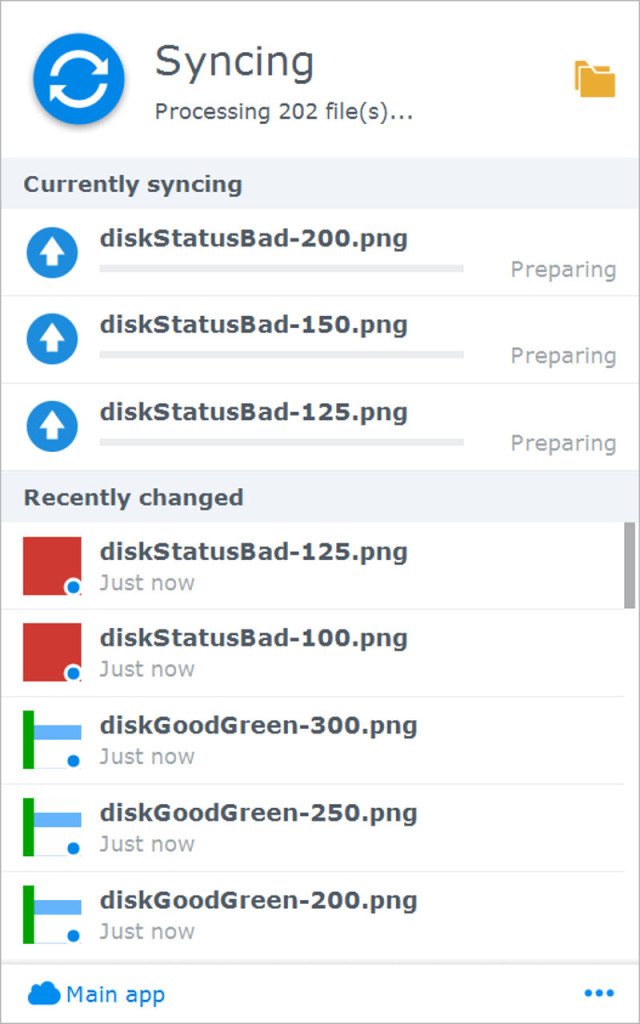
You can follow the sync process through the tray icon’s popup that will continue to run in the background.
Naturally all these functions work in conjunction with Synology’s 2-step verification system and otherwise integrate with pretty much any existing technique to provide you with both features and security.


