Synology DiskStation Manager (DSM) Software Introduction
Bohs Hansen / 7 years ago
NAS Settings – Part 1
With the storage and privileges completed, we’re two-thirds through the basic setup. The next step is to configure the NAS’ and its hardware. You could have started with this too, as the order doesn’t matter. These settings are all found in the Control Panel.
Networking
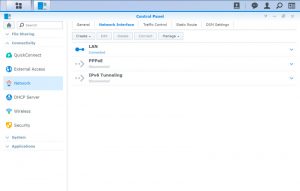
DSM offers a wide variety of options for your networking. Naturally, there are all the basics such as IP, gateway, DNS, and proxy settings, but it is far from limited to that. There’s also a built-in DHCP server in case you want your NAS to handle that. It is a useful feature, that isn’t a given, in situations such as using the NAS as a wireless access point.
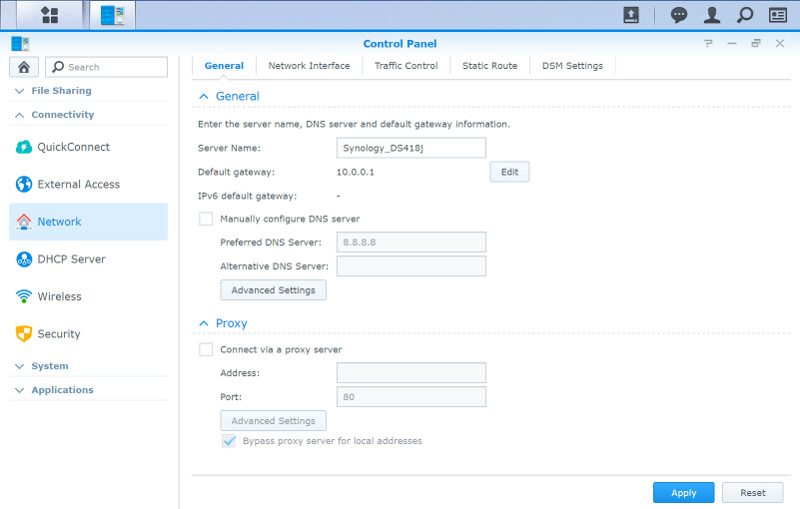
You can link the various connections found on your Synology NAS for failover protection or increased bandwidth abilities.
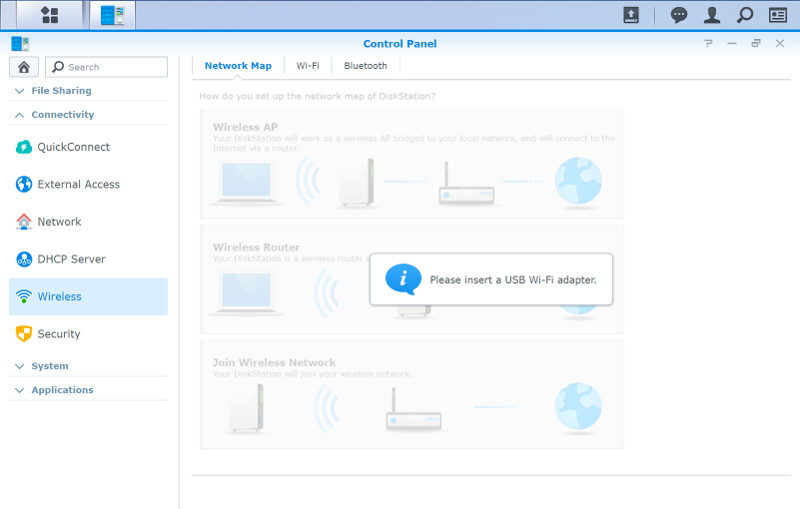
With the use of a wireless adapter, you can add an extra connection layer. Synology’s DSM can turn your NAS into a router, an access point, or connect wirelessly as a client. Bluetooth works too if the connected adapter supports it.
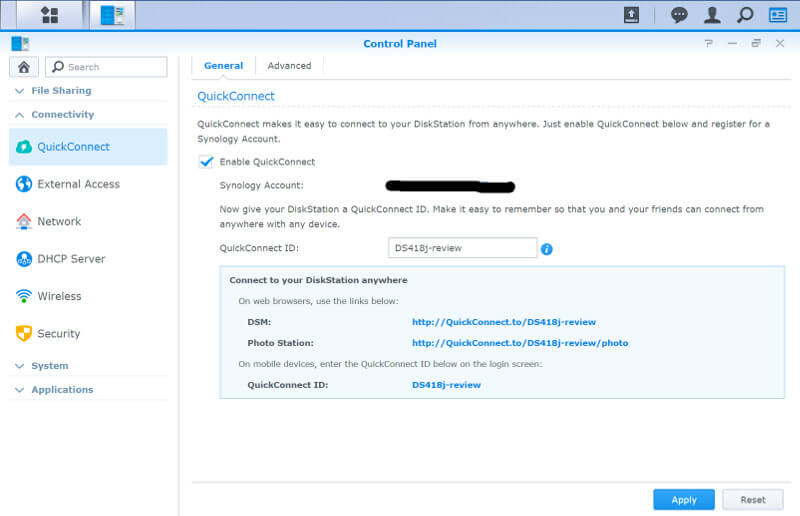
Remote Connections through QuickConnect
Remote connections, such as those from your mobile devices, are a breeze with DSM. The QuickConnect feature takes care of everything while it offers you a memorable connection name. It requires you to create an account, but it’s free.
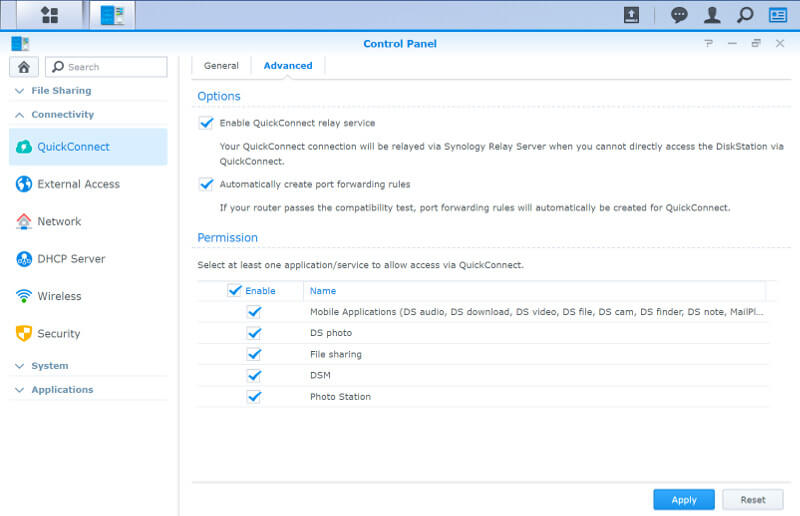
While you want to allow connections through QuickConnect, you might not want to share every feature. The advanced tab lets you stay in control of what you share this way.
Security Features
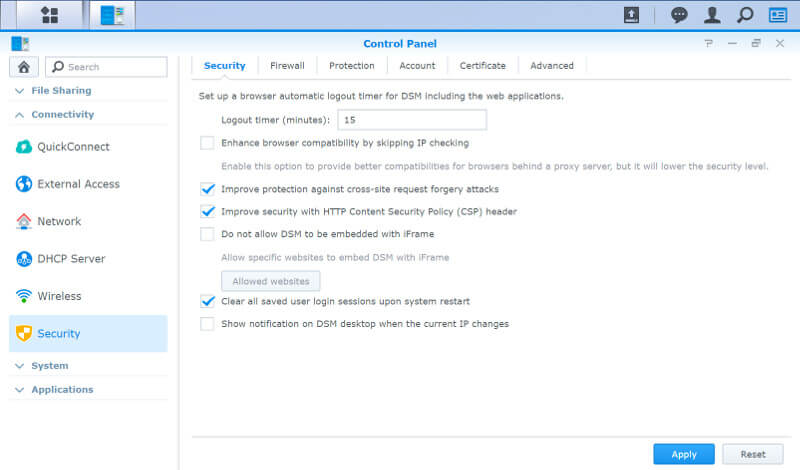
DSM has a list of security features built directly into the OS, starting with the basic DSM protection.
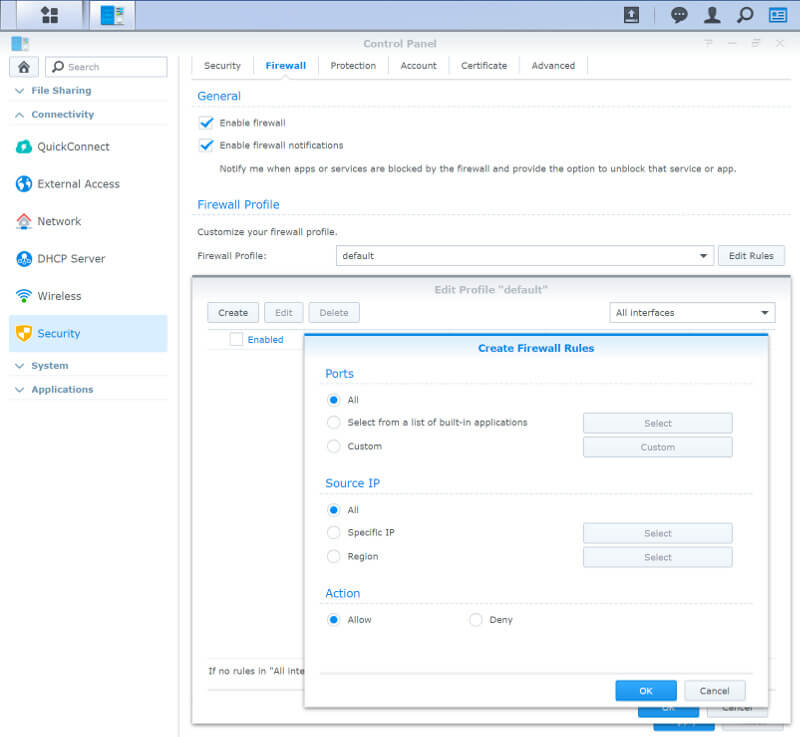
The firewall allows you to create custom allow/deny rules based on ports and source IP. There’s also an additional DoS protection available.
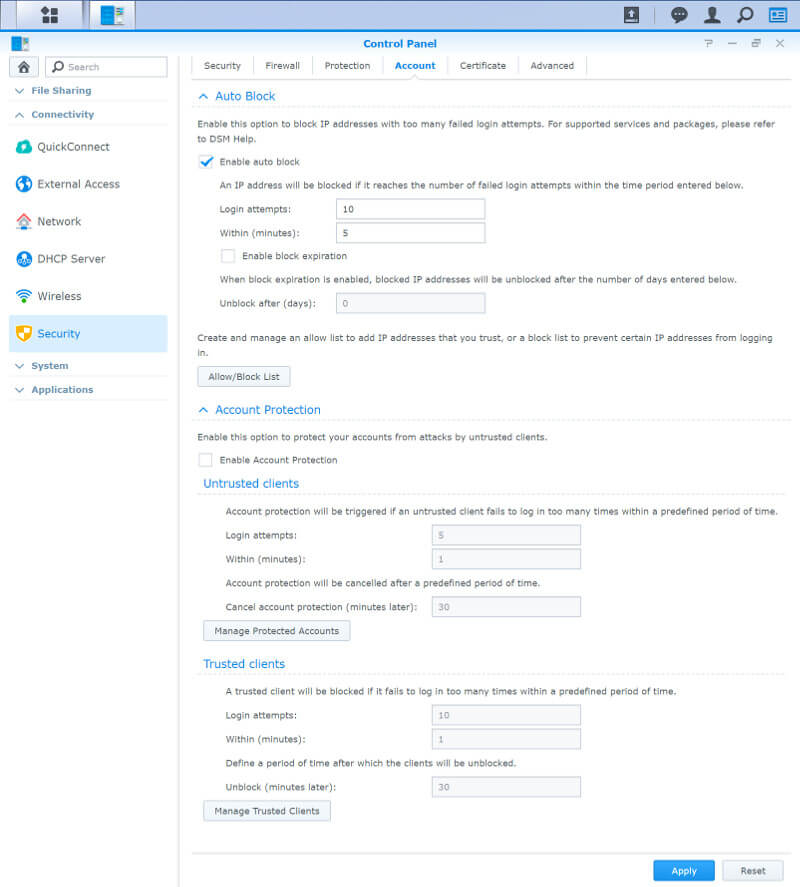
Preventing brute force attacks is easy with the Auto Block and Account Protection features. Don’t let strangers try and guess your password, block them instead.
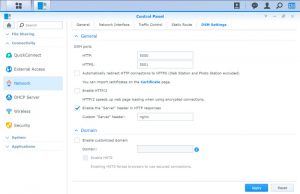
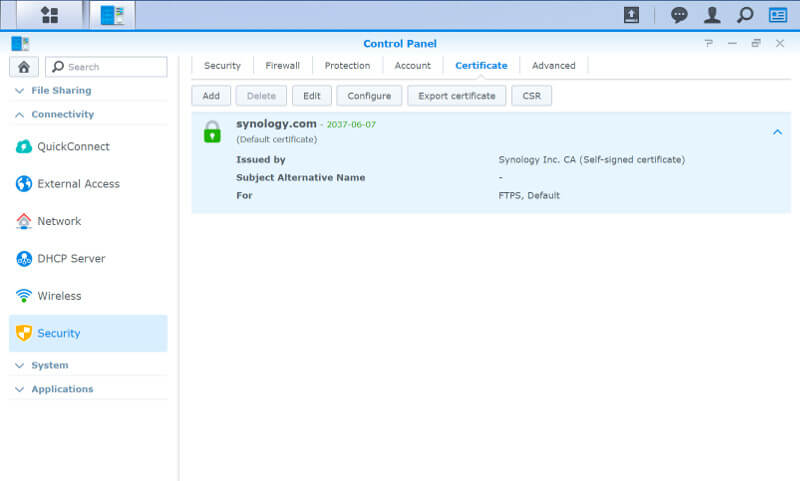
It’s hard to do much without Security Certificates, especially if you want to run public services such as a web server from your NAS. There’s a default certificate from Synology, but you might want to invest in a real one if you plan to run external services. For internal use, the default is just fine.
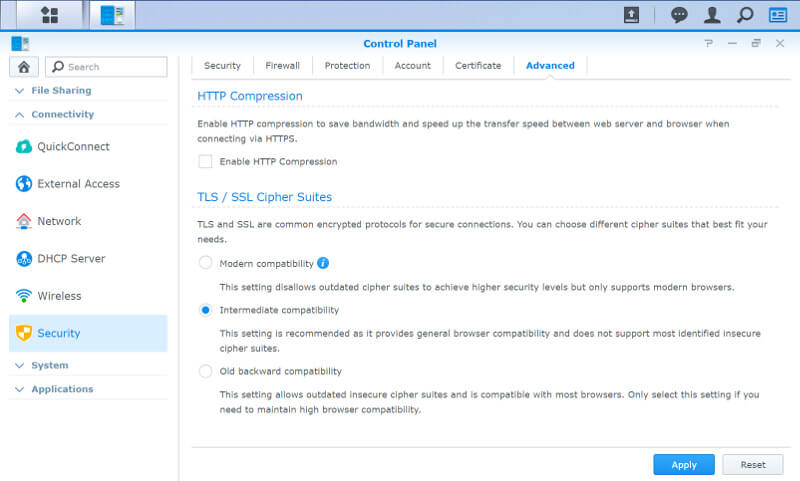
The cypher level can be set to match compatibility with your devices while HTTP compression can be used to save bandwidth.
Hardware and Power
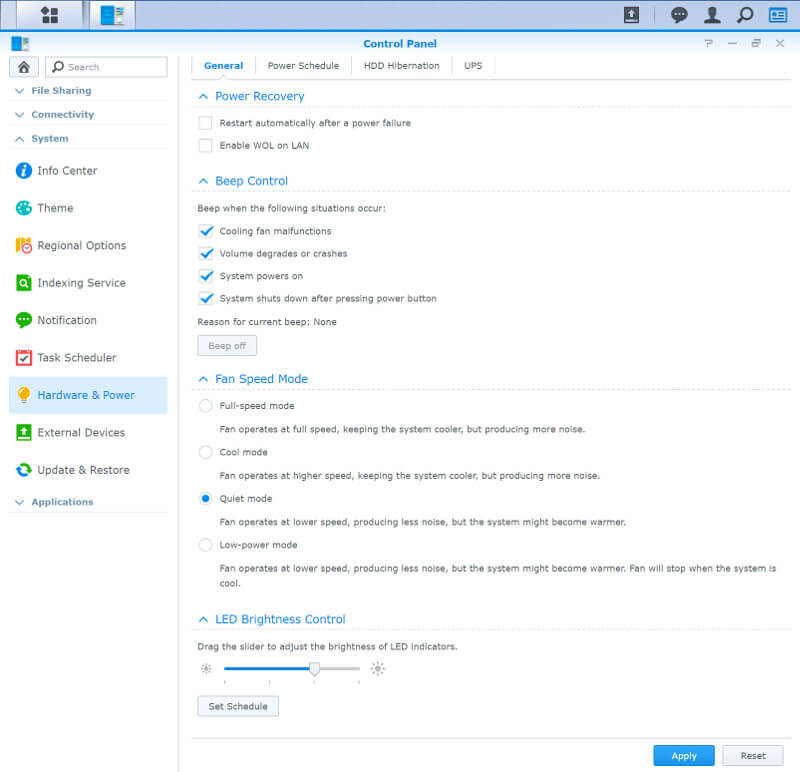
The hardware and power features are quite self-explanatory, but there are a lot of them. You can control a lot of hardware aspects, including power schedules and LED brightness.
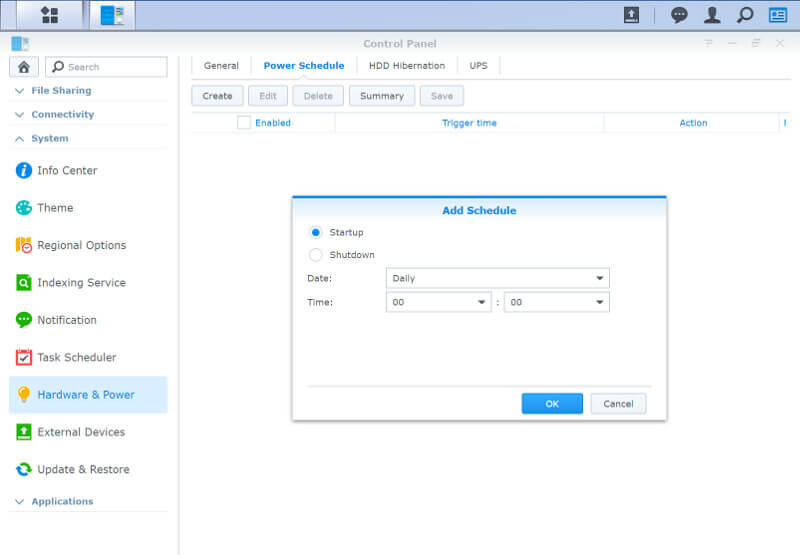
You can create a whole list of power schedules for when your devices should power up and down. If you only use it for a given set of hours anyway, why have it running the rest of the time? Schedules make this a piece of cake.
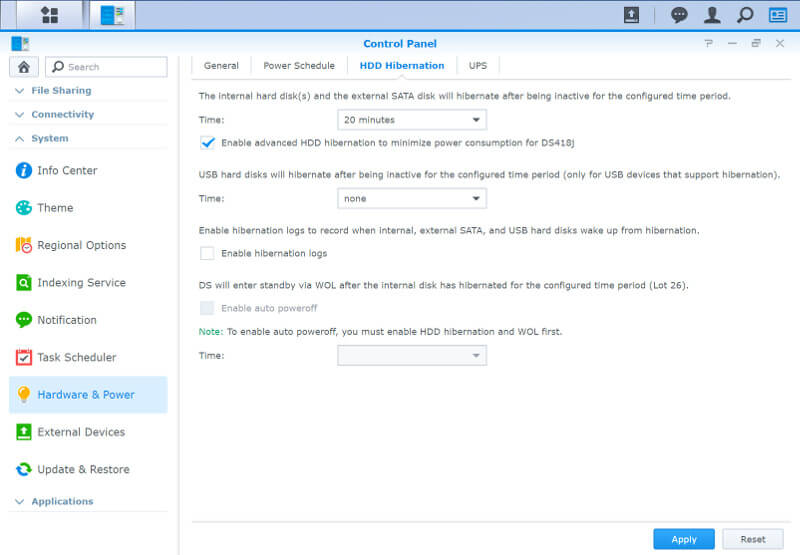
Drive hibernation times for internal and external drives can be customised to your needs too.
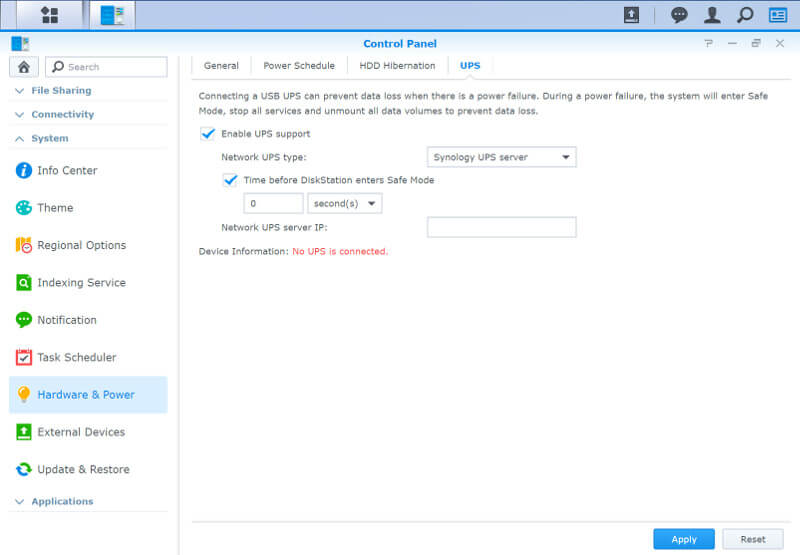
And there is a support UPS devices too, for those of you who use uninterrupted backup power.
Notifications
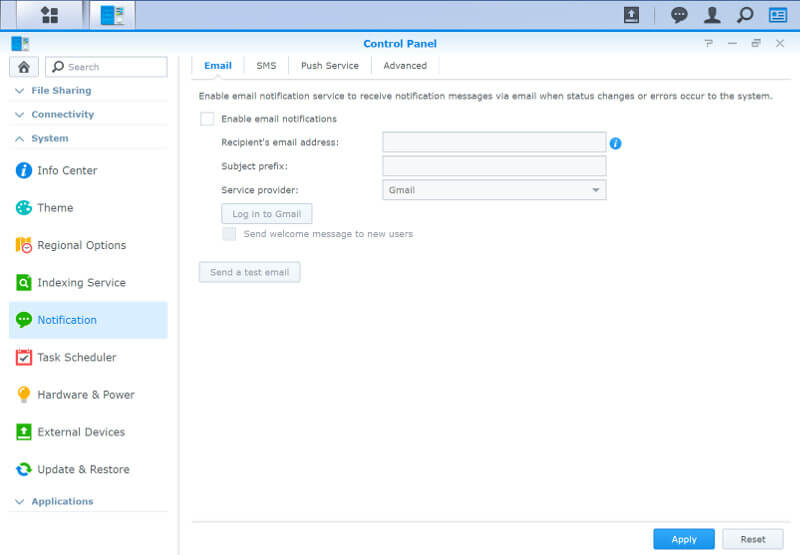
A NAS is in its essence, a headless unit. With any such device, a good notification system is as important as anything else. DSM offers email, SMS, and push notifications, allowing you to know what’s going on as it is going on.
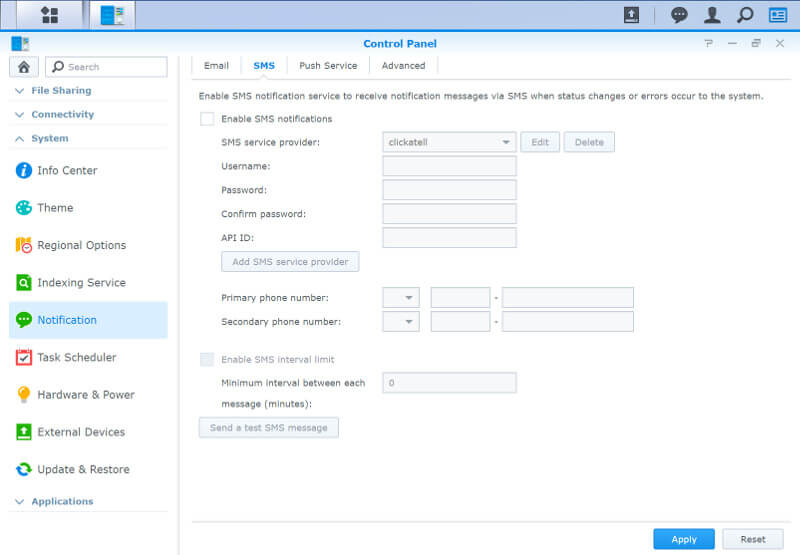
The SMS system will naturally require that you have the appropriate service, otherwise, it can’t work. It a feature suited more for business than home users.
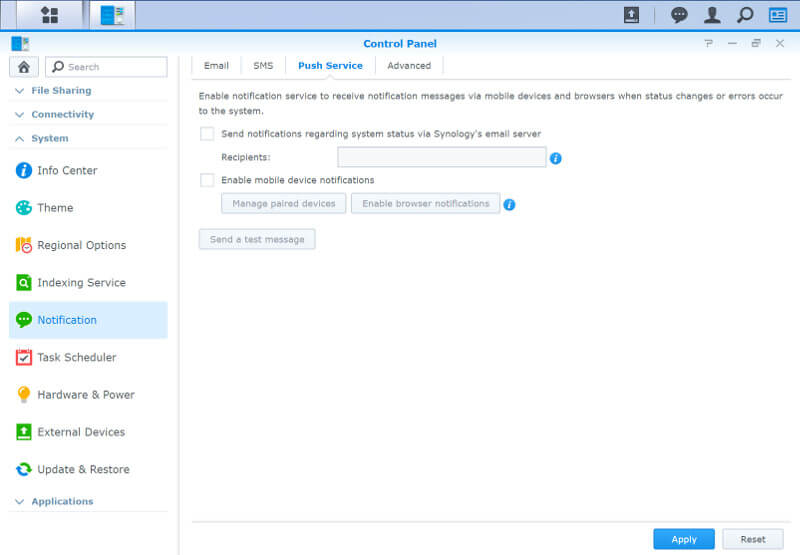
With the push service, you can get notifications on all your connected devices, just like you do when you get an instant message there.
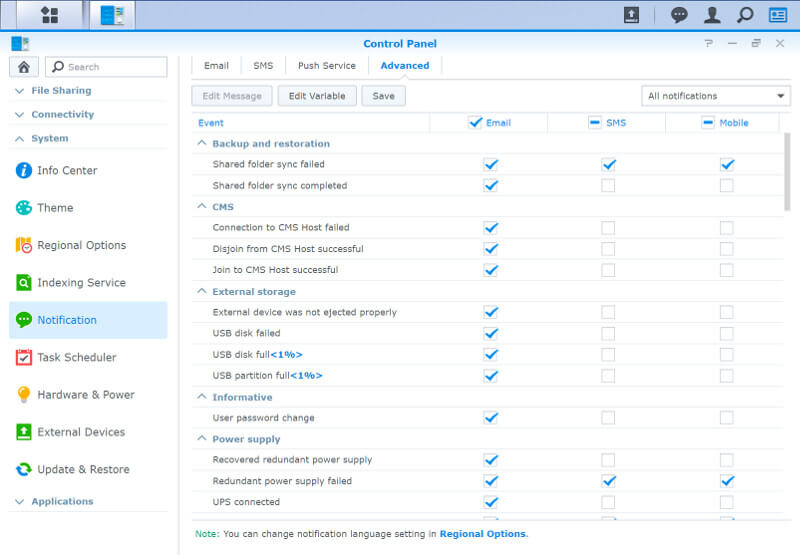
It isn’t everyone who want to be notified about the same events and on the same channels. The advanced options allow you to specify where you get which.
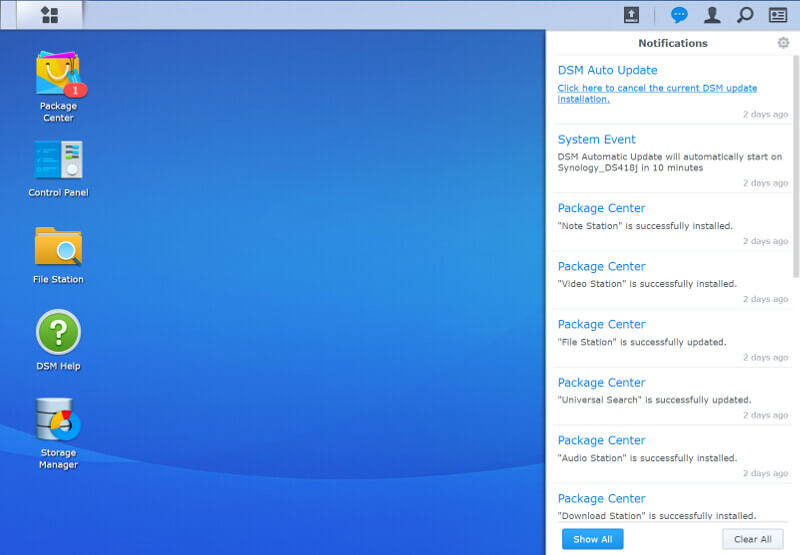
When you are logged in to the DSM dashboard, you’ll also have the onscreen notifications in the status bar. A single click then gives you a list of the latest events.
