Synology DS1515+ 5-Bay SMB NAS Review
Basic Installation and Setup
Installation:
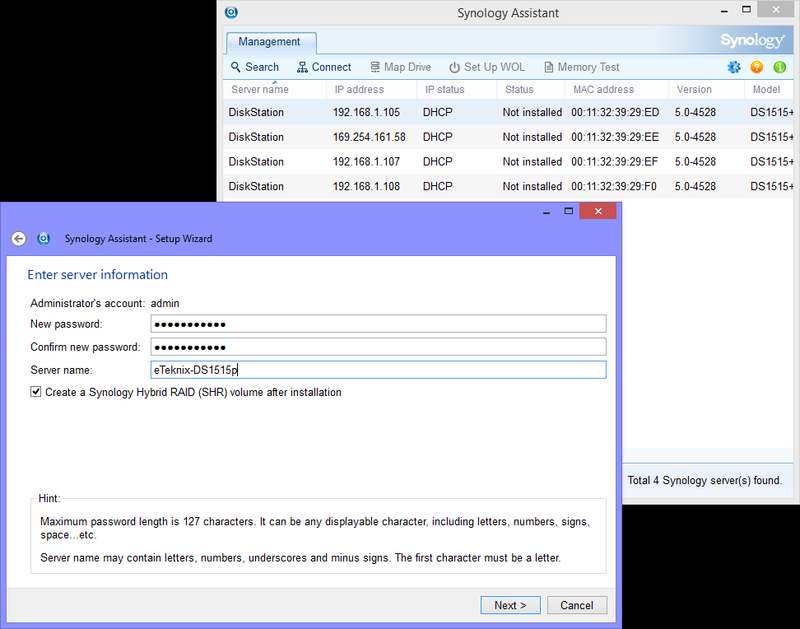
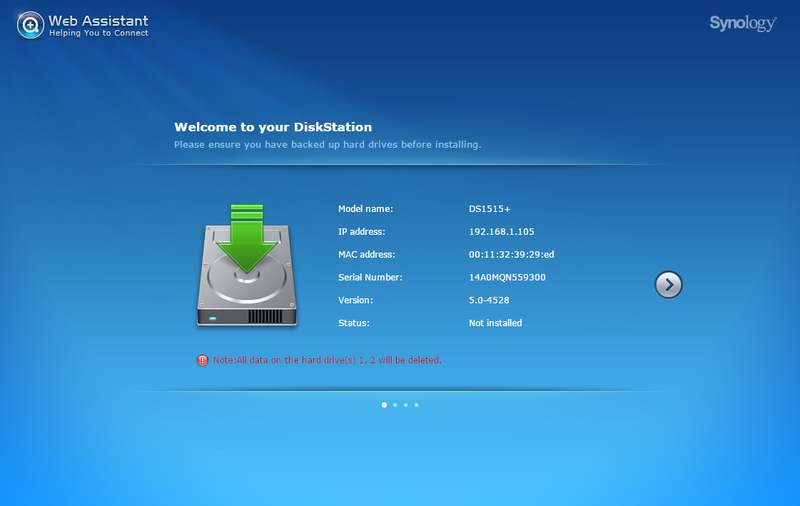
Once you have connected the DS1515+ to your network and turn it on, lights start to flash and it will be ready shortly. Head back to your workstation and navigate to either of the two URL’s mentioned in your quick-start guide. You can use any browser of your choice for this. Your NAS should be found almost instantly this way and there is no need to install any programs to locate its initial IP address or look it up in the routers connection logs. If this should fail, for one reason or another, you also have the option to use the Synology Assistant application.
The web-based setup however is great and makes it a lot easier to set the device up. When you hit the Set up button it will ask you to provide the operating system, also sometimes referred to as firmware. You can either let it download the latest version from the internet, which is recommended or you can provide a file manually from your local system.
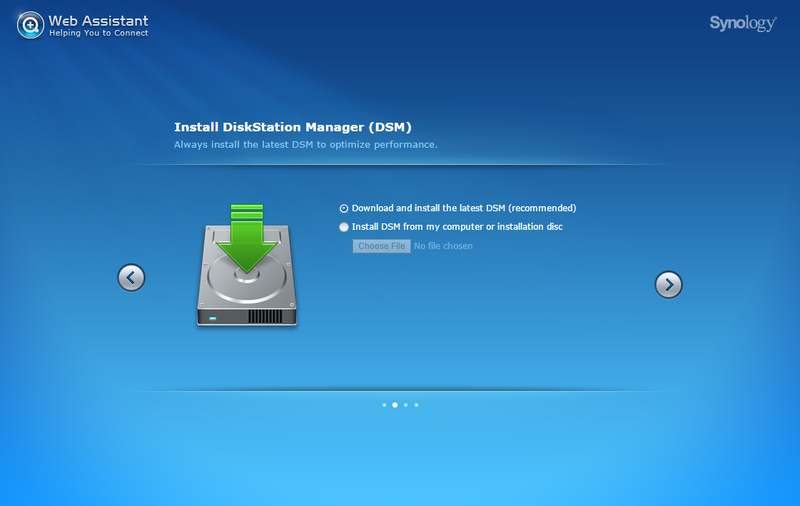
While some might not like this step and would prefer it to have a stock firmware built-in and ready to go, I see this method as a huge bonus. Not only are we sure we get the newest version right away, this saves us a later update that might or might not cost us our settings, but it also makes sure that we have the most secure version available.
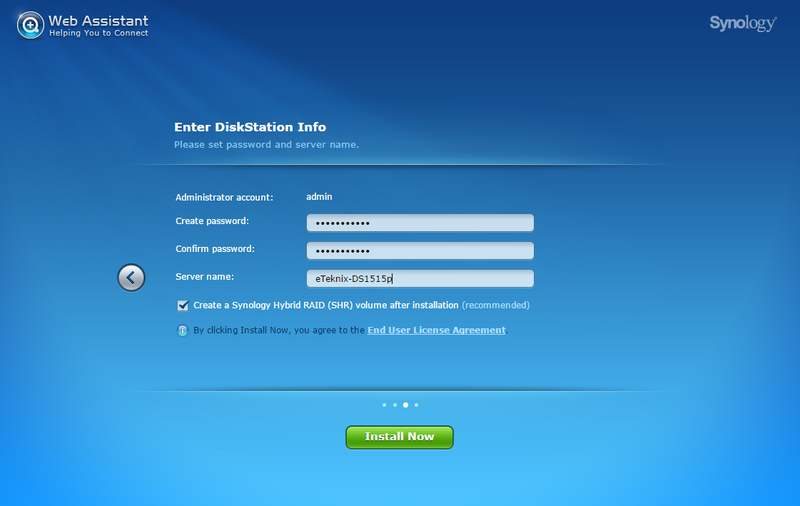
Next we will need to provide the device with the basic setup information such as administrator password and device name, network settings and whether we want to apply the Synology Hybrid Raid to our disks right away. And that is all that is needed to get started, couldn’t be much easier.
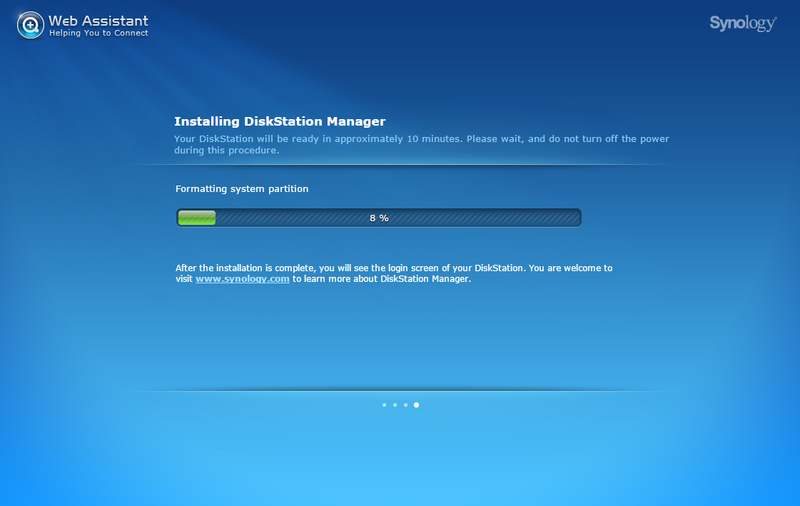
The installation won’t take long and you can lean back and take a sip from your drink while the progress bar fills to 100 percent. The mentioned approximately 10 minutes was a close match on my used 6TB hard-drive. It’s to be noted here that all data on the drive will be deleted when DSM is being installed. So if you already have data on the drive, make a backup before you use it.
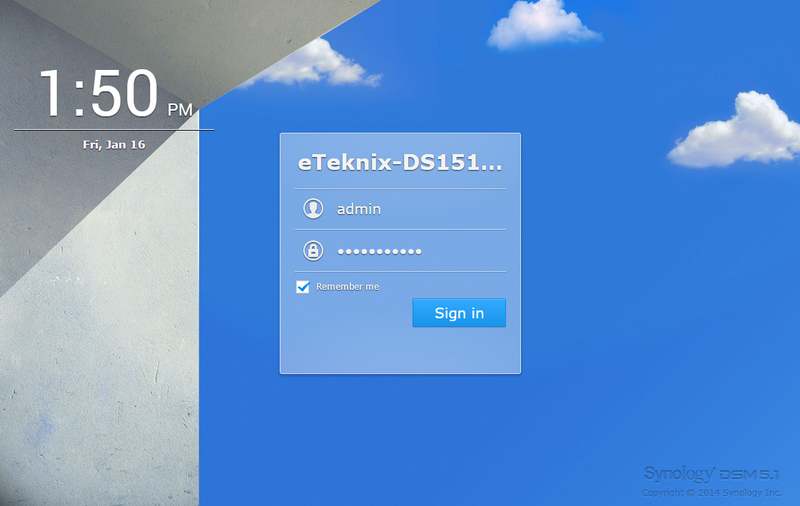
The device will restart when the installation is done and the web page will refresh with the login screen as soon as it is ready. Use the details you’ve just created to login and you’ll be presented with the familiar DiskStation Manager dashboard. If you should get a login error, replace the URL name with the device IP.
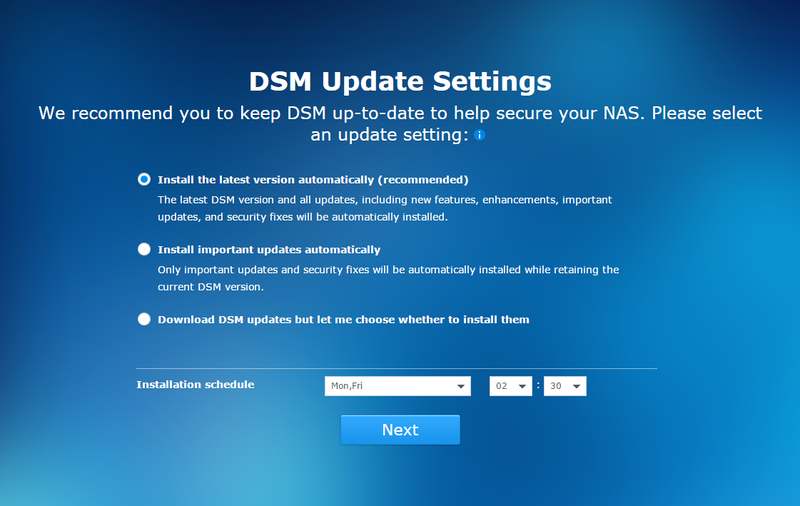
We’re just a few steps away from being done. You’ll need to provide a few information on how you’d like the DS1515+ to handle updates and if automatic, then when.
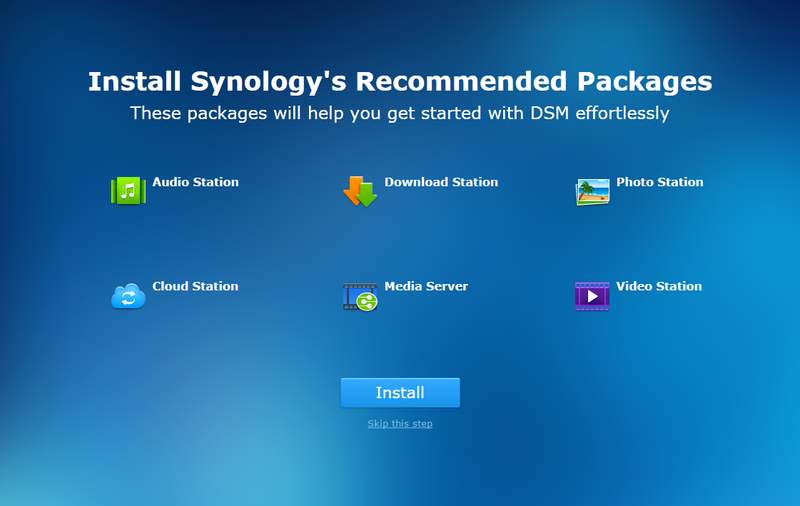
You can also install the recommended add-on features right away, or you can skip it until later. You can always change you mind at a later time and add or remove installed add-ons. And that is all the configuration you have to do to get it up and running.
If you chose to install the extra service it will take a little while for it complete that action before it takes you to the final page of the setup. It will tell you that you’re all set and asks you if you wish to report anonymous feedback to help improve the system.
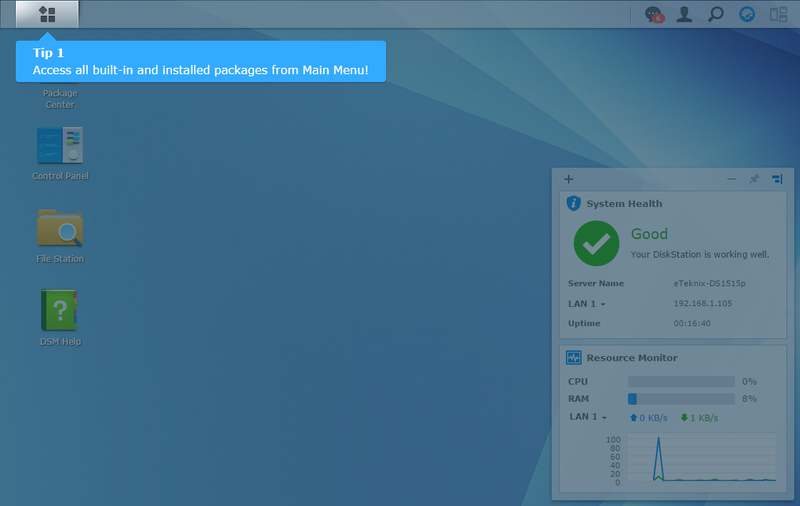
When we arrive at the DSM dashboard for the first time, it will give us a small tour in tutorial mode. This will help new users find the basic functions right away and all you have to do, is click the mouse on the screen a couple of times to get through it. Once you’ve clicked your way through the tutorial, you can start to create the setup for your personal needs.
Network setup
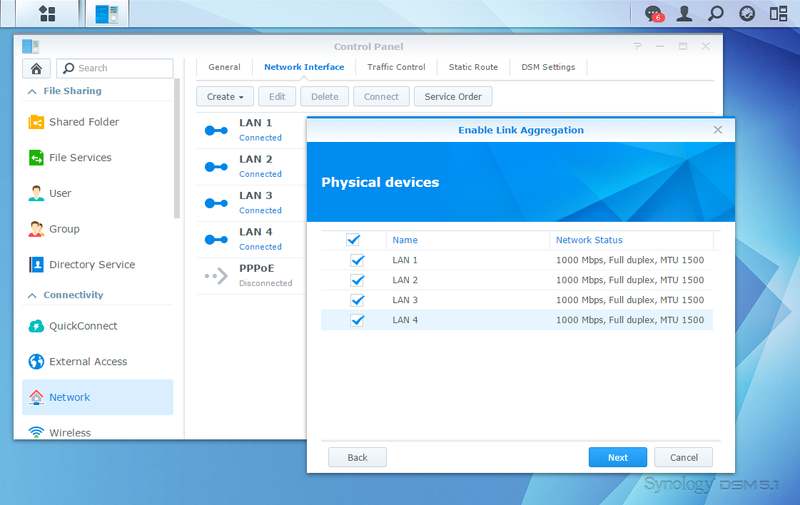
It isn’t important in what order you continue with your setup, this is just one way to do it. Since the DS1515+ has four network connections, we’ll enter our Network setup to create some bonds between them.
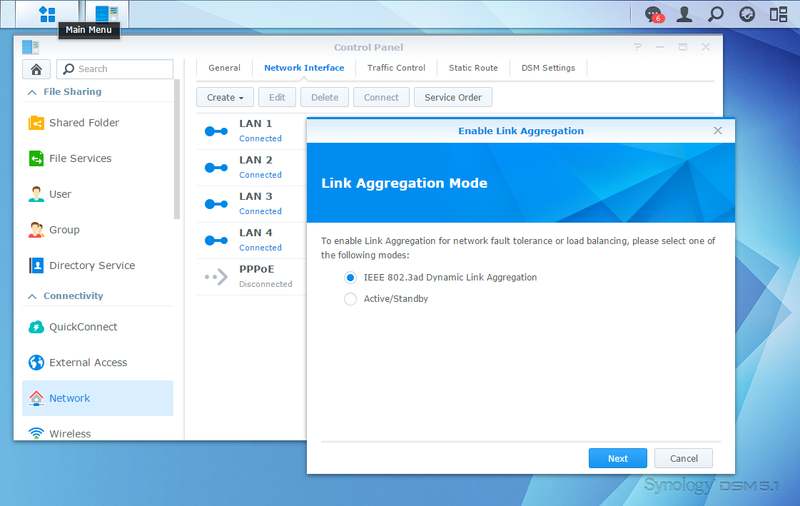
All you have to do, is select the mode and which connections you’ll want to bond with each other.
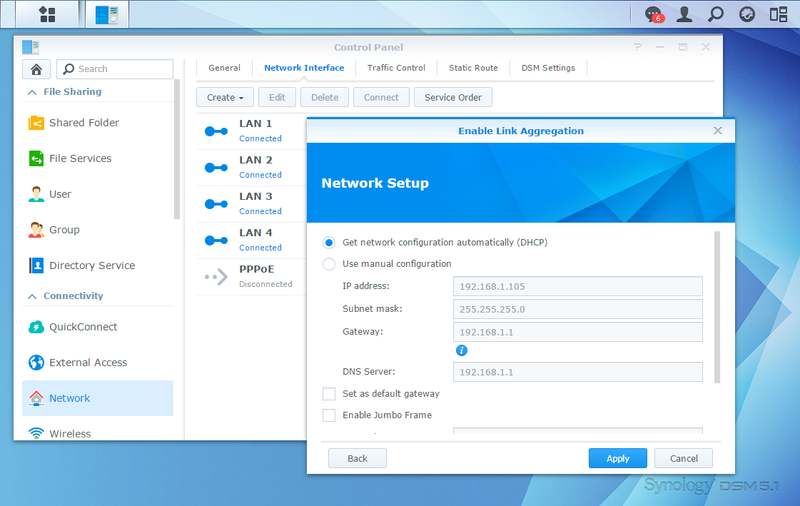
You’re also able to set how the new connection bond should get its network assignment, manually or by a DHCP server as well as the usual gateway, jumbo frames, and VLAN settings. Hit apply and wait a little bit until the page refreshes and your network connections are bonded.
Basic setup
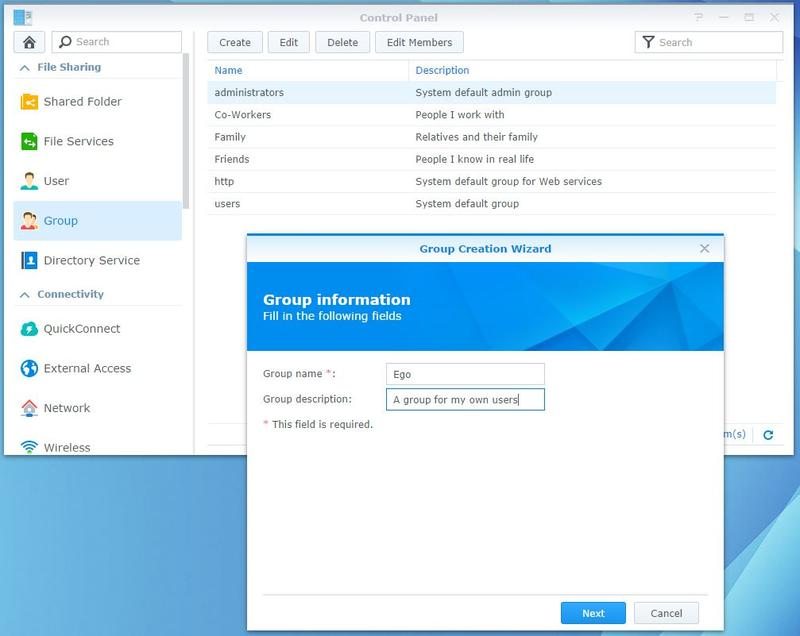
The order we do the final part of our NAS configuration doesn’t matter either: the users, shares, and services, this is just my preferred order. I start with the user groups. User groups allow you to easily set access rights for an entire group of people by just adding them to the group. No need to create complicated rights for all your shares each time you add a new user. It also allows you to easily remove an entire groups access to a shared folder when you need to perform maintenance on it.
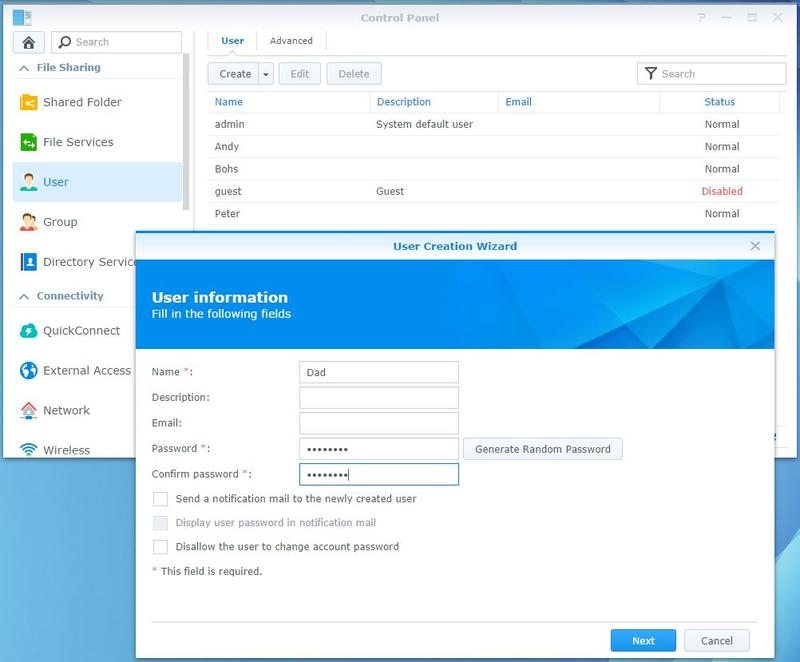
The next part is to create our users. You got quite a few options to set, but there aren’t many of them you need to worry about. You’ll need to supply a username and a password, the rest is optional. You can have the system auto-generate a password for you and it can also send out an email to the user to inform him of his new account. There are a lot more options to explore, but every one of them is explained. As you get through the create pages, you can assign the new user to the previously generated groups as well as specifying what services they’re allowed to use.
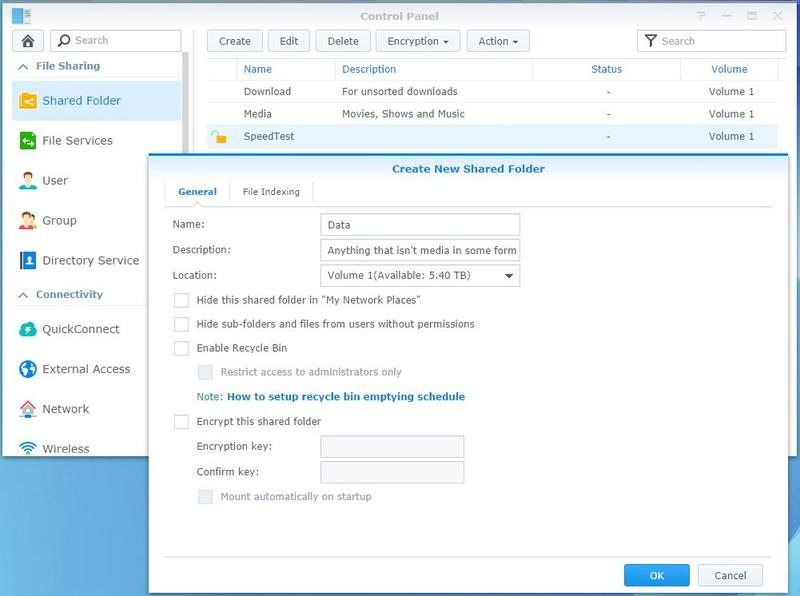
We will need some folders for all the files we want to share across our network, so we’ll also need to set up some shared folders. I prefer to have few basic folders, grouping my files into bigger categories. This allows for faster file-moves from one sub-directory to another as well as easy network-share-mounting. My basic setup is Download, Media, Personal, and Data. But how you set up your shares is completely up to you and your usage needs.
Once you’ve entered the name and otherwise selected what you’d like on the first page, it takes you to the permission page. In the combo-box, you can switch between users and groups. Setting rights for groups is a lot faster than doing it for individual users, and this is one of the places this comes in handy.
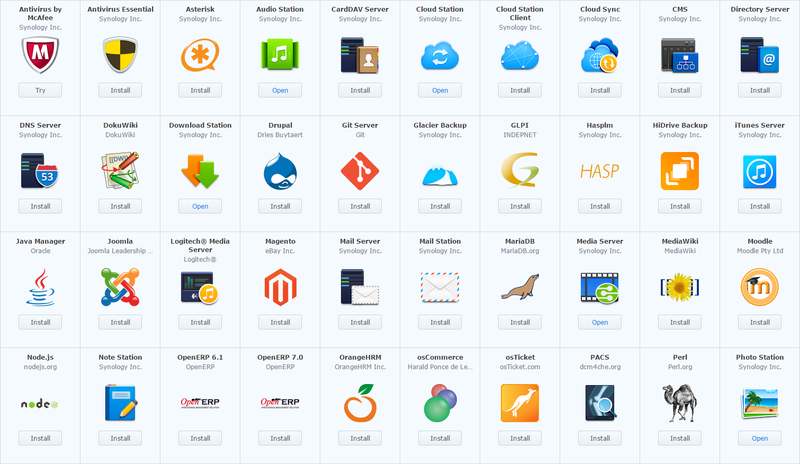
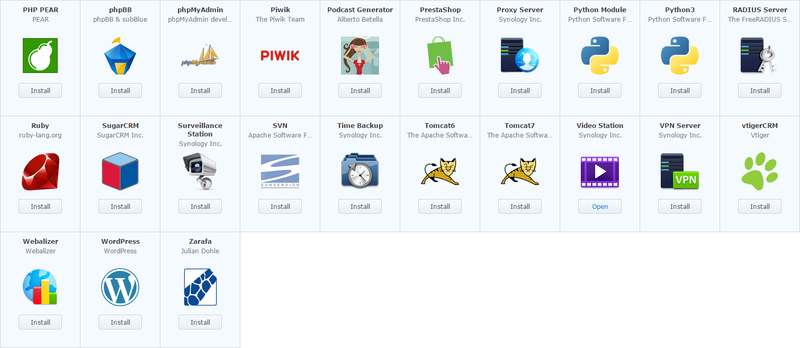
You basic setup is done, but that doesn’t mean you have to stop here. DSM offers a long-range of applications and services from online photo albums and cloud services, to DLNA streaming and download services. Setting up your own private web and email servers has never been so easy either.
You can choose to let the DSM system keep your system and all your apps updated automatically, or it can notify you either by email or dashboard notification.


