Synology DS419slim 2.5″ 4-Bay Mini NAS Review
Bohs Hansen / 6 years ago
A Closer Look at the Device
It is time for us to take a closer look at the device itself, after all, it’s a tiny beauty.
Size Comparison
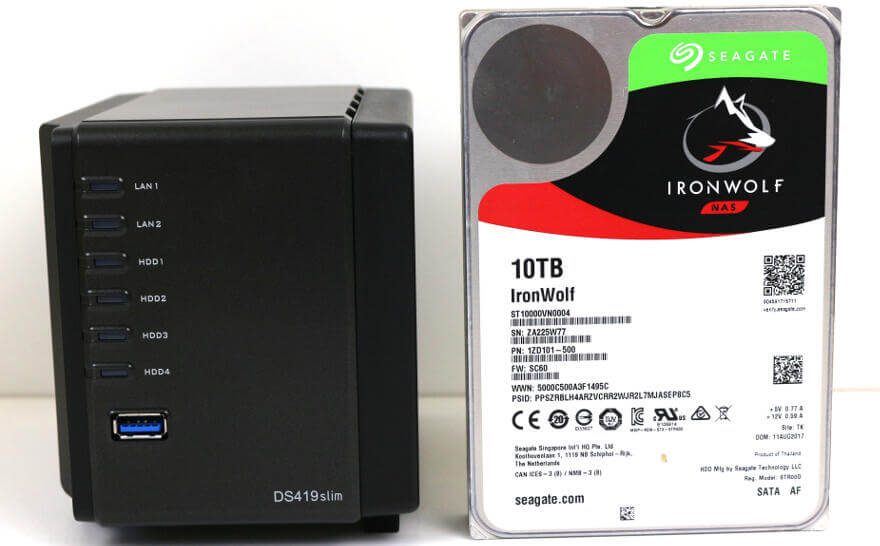
Before we get to the details, I wanted to show you all a size comparison with the NAS and a traditional 3.5″ HDD. A photo like this really puts everything into perspective and shows just how tiny the DS419slim is.
Front-Facing Features
The most prominent feature on the front are the six LEDs. There is one for each LAN port and one for each drive. A great setup which makes sure that you always know what’s up with every part of your system without having to navigate to the interface. Below the LEDs, you’ll find an easily accessible USB 3.0 port for external storage.

Rear-Facing Features
The rear side is where the rest of the connectors are, but also where you install the drives. Where most NAS have the drivebays oriented towards the front, the DS419slim has them on the rear side. Next to the drive trays, you’ll find the 2nd USB 3.0 port and the two LAN ports. At the bottom are a Kensington lock slot and the power connector. Everything you need despite the tiny size.

Bottom View
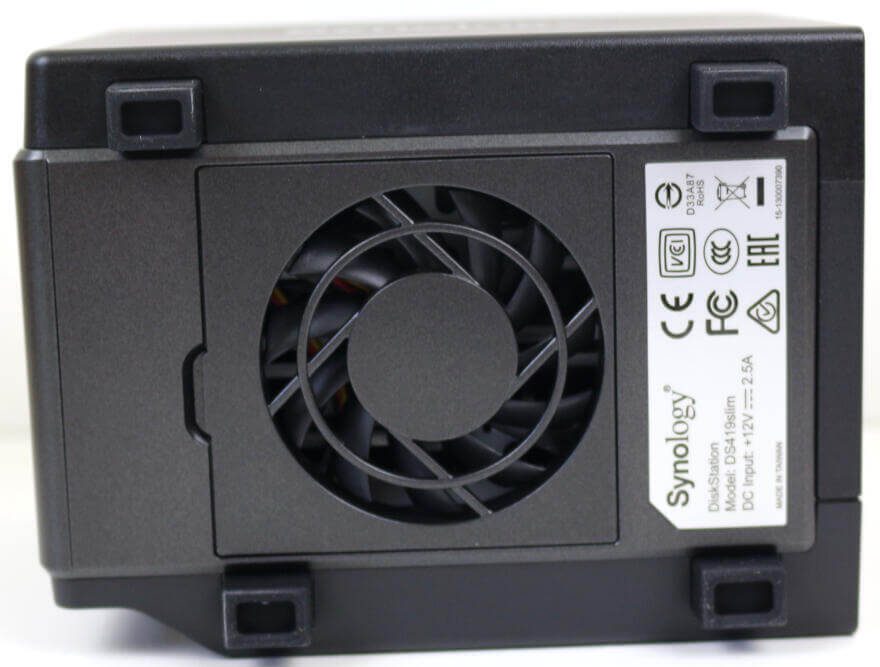
The bottom of a NAS is usually boring and without features besides a product sticker. Not so here as this also is where the fan is located on this NAS. It is a 10mm thick 60mm fan which should keep everything cool. Thanks to the size of the NAS, a larger fan wouldn’t fit.
Side View
By now, you might wonder where the power button is located. After all, it’s usually on the front. Not so on the DS419slim where it’s located on the side along with a power and status LED. Each of the two sides also features the Synology logo.

Top View
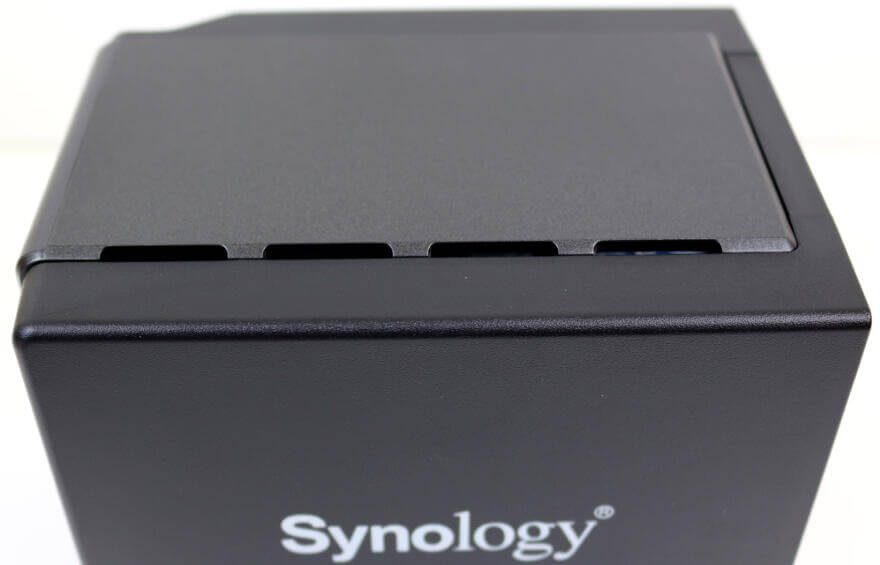
We’ve covered all sides of the NAS except for the top. This is usually another boring side without features, but again, not so with this NAS. Since the fan is located at the bottom, the top is equipped with exhaust holes.
The Power Supply
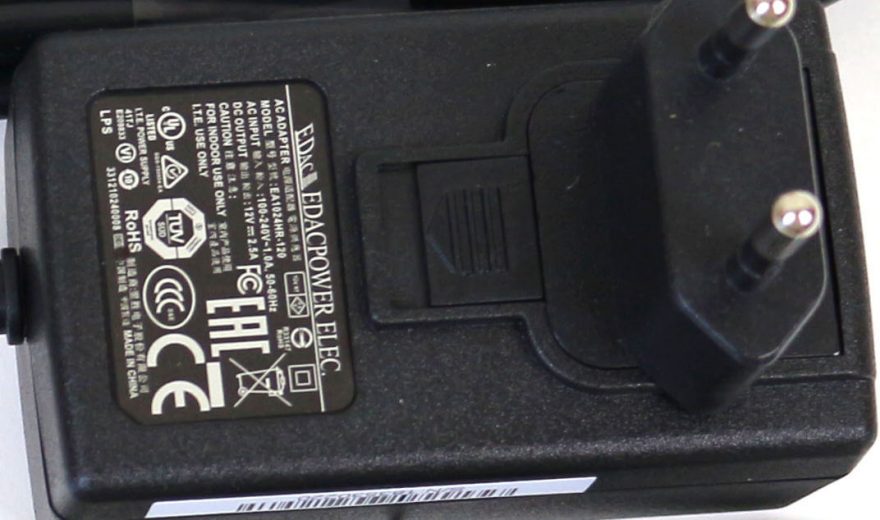
The included power supply delivers 2.5A at 12V, making it a 30W PSU. That should be plenty for a NAS which only consumes 20 watts during data access and 7 watts during HDD hibernation.
Drive Trays
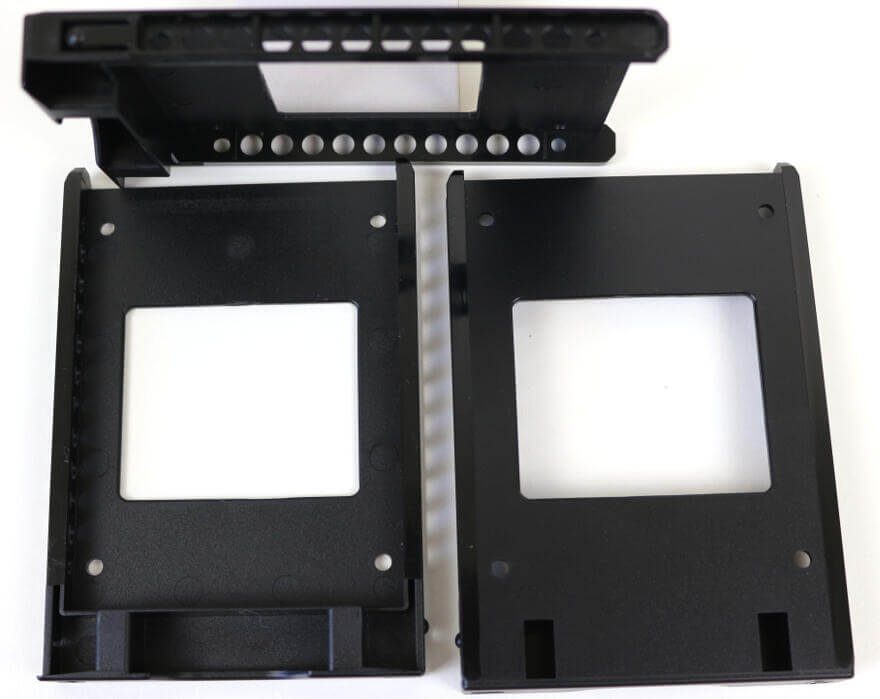
The drive trays are made of plastic to ensure that installed drives aren’t damaged in any way. There are the four screw holes you’ll want in order to install the drives properly. The sides also feature holes in the event that you install drives which don’t conform to standards.
Test Drives Part 1
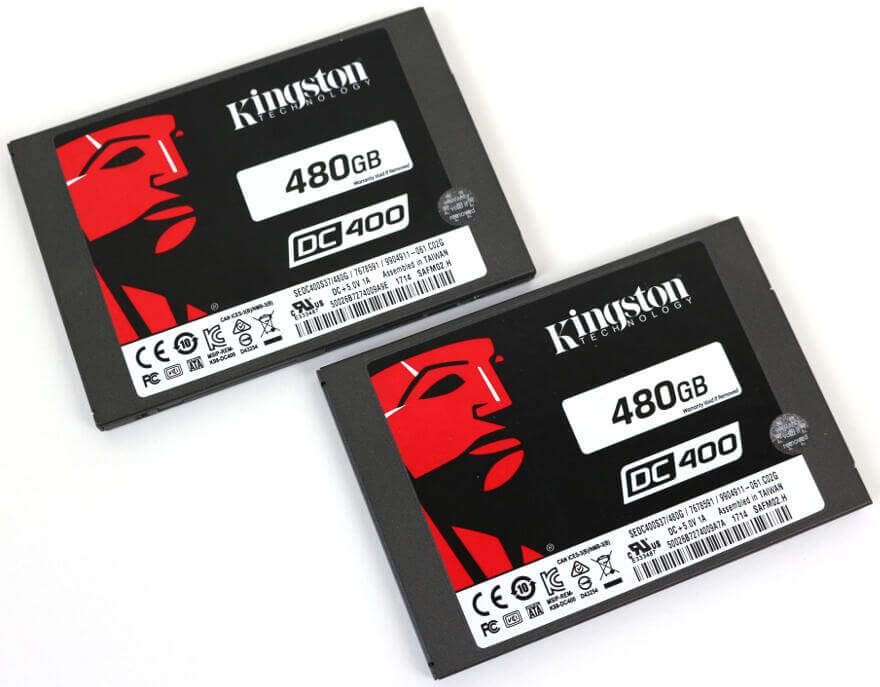
I started this review by mentioning that I also am using different test drives in this review. As my ageing 2.5″ NAS HDDs have given up on me, Synology provided me with these two drives to test the NAS.
Kingston’s DC400 SSD offers consistent application performance and low latency over a wide range of read/write workloads, and standard as well as user-adjustable over-provisioning to improve random IOPs performance, making it ideal for data centres and NAS usage.
However, I’ll be running new tests in the next days with my brand new Seagate Ironwolf NAS SSDs and update this article as soon as that’s done. Now, you might ask yourself, why didn’t I do this right away? Well, that’s simple. The drives didn’t arrive in time for this review and I wanted to have it ready to go live with the official release time of the NAS. So, stay tuned for an update to this article shortly.


