Synology DS419slim 2.5″ 4-Bay Mini NAS Review
Locate and Install your New Synology NAS
It is time for us to get started with this NAS, but to do that, we need to set it up first.
Download and Install the Companion App
The easiest way to get started with your new Synology NAS is to get the Synology Assistant and install it on your PC. You don’t have to use it, but it’s the easiest way in my opinion. The software is free and available to download from Synology’s site. Other methods are listed in the Quick Installation guide which has the built-in detection URL for browsers as well as QR codes for the iOS and Android apps.
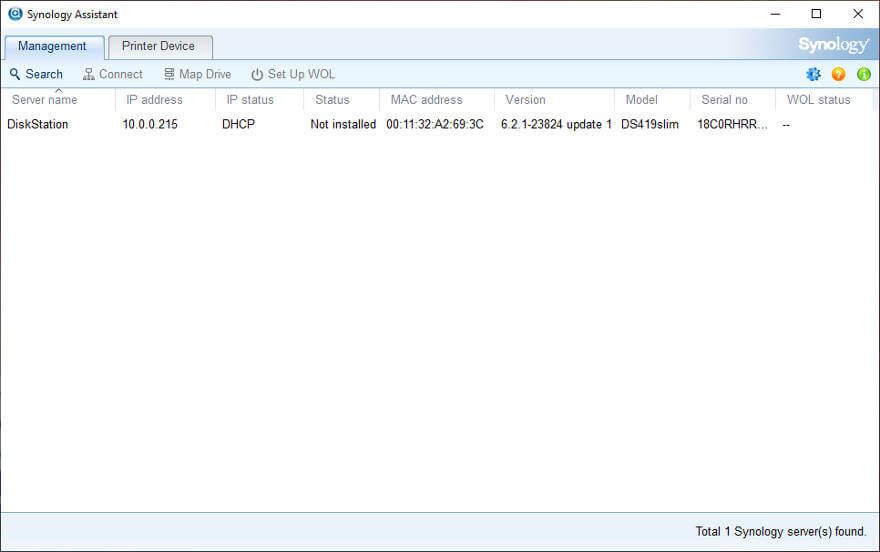
The app in itself is very self-explanatory. It will automatically scan your network for Synology devices when you open it and all you have to do is double click the device to continue. If a un-initialised device is found, it will also automatically load the setup wizard in your default browser.
Initialisation
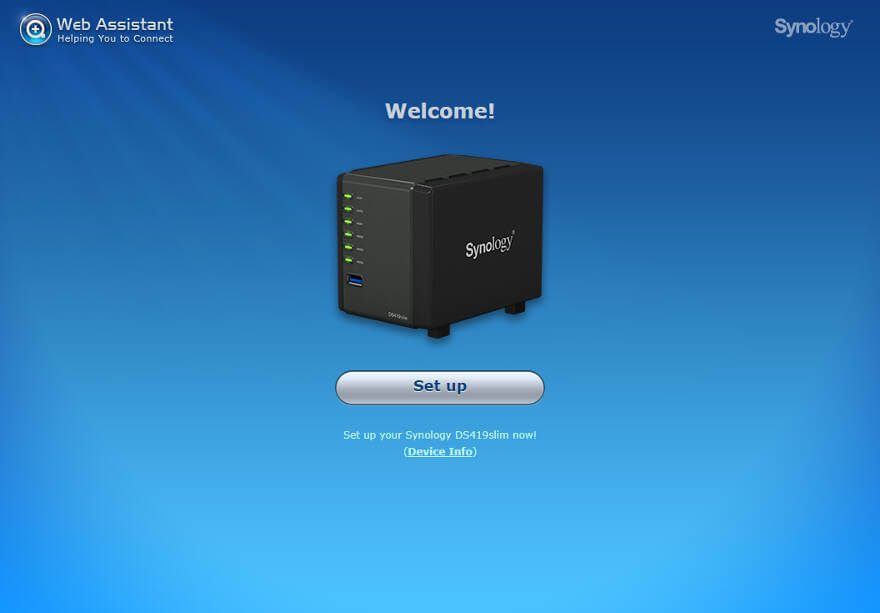
It won’t take us long to set up our brand new Synology DS419slim. The welcome page will clearly identify the device with both image and information. While this might not seem significant if you’re only setting up one Synology device, it’s quite useful when you have multiple devices. You’re sure that you’ve connected to the right device this way.
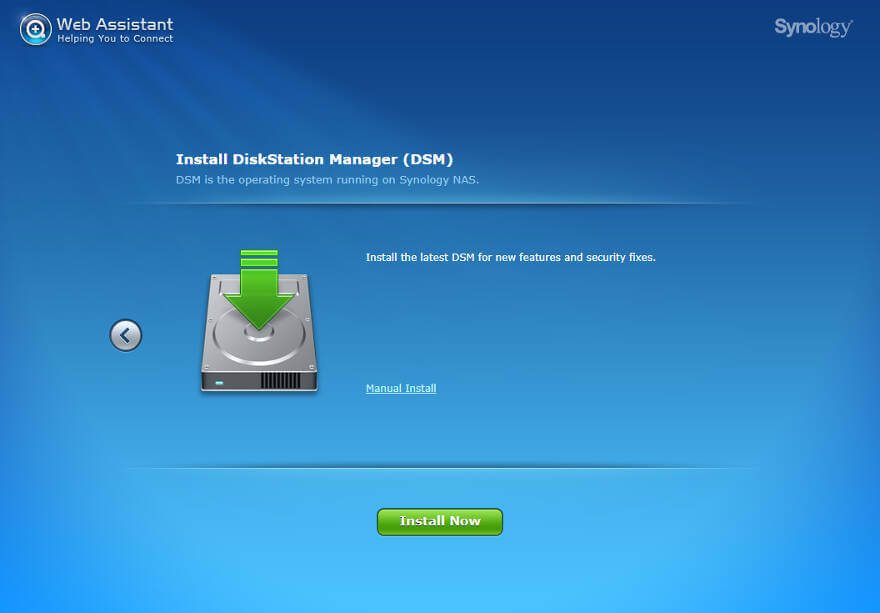
The first step is to install the latest version of the operating system (DSM). The best method is to download and isntall it automatically which is the default. This way you’ll make sure you have the latest version. There’s also a manual setup option if you got the OS file locally and your NAS doesn’t have access to the internet.
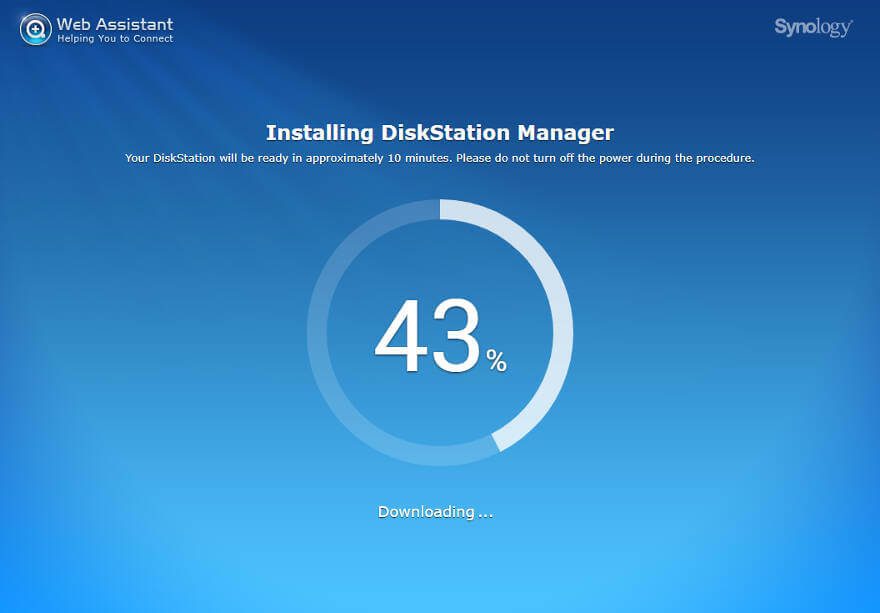
A few minutes of formatting and installing, and we’re almost done.
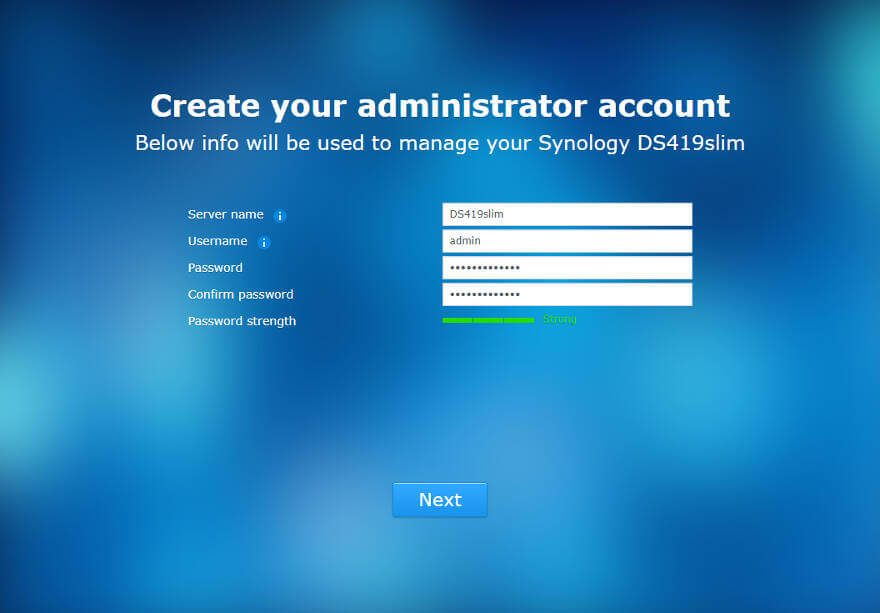
There is one thing that we do need to provide and that is a password for the administrator user. Synology also allows us to define a custom admin name should we wish to do so. A feature which I like as it effectively can block 99% of all blind bruteforce attacks on your NAS.
Finalise the Setup
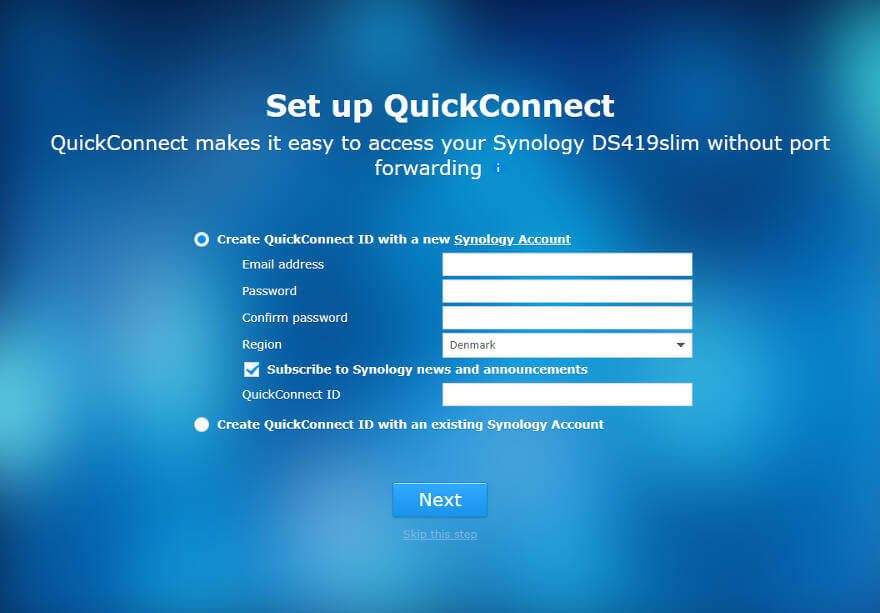
With this, we have set everything we need to. However, there are a few more optional steps for us to look at. We can create a QuickConnect ID for easy remote access. It can also be done later, so you can skip this step if you’re eager to get into the system and check it out.
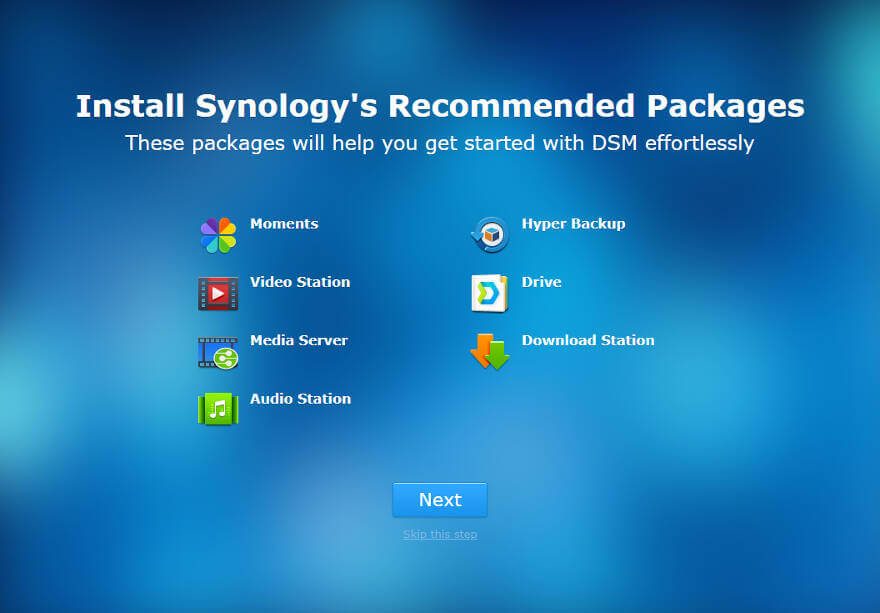
The second optional step is to install a list of commonly used apps onto the NAS. With them, you’re set for most actions you’re going to use the NAS for right away. Of course, this can all be changed later, either be removed or installed as you please.
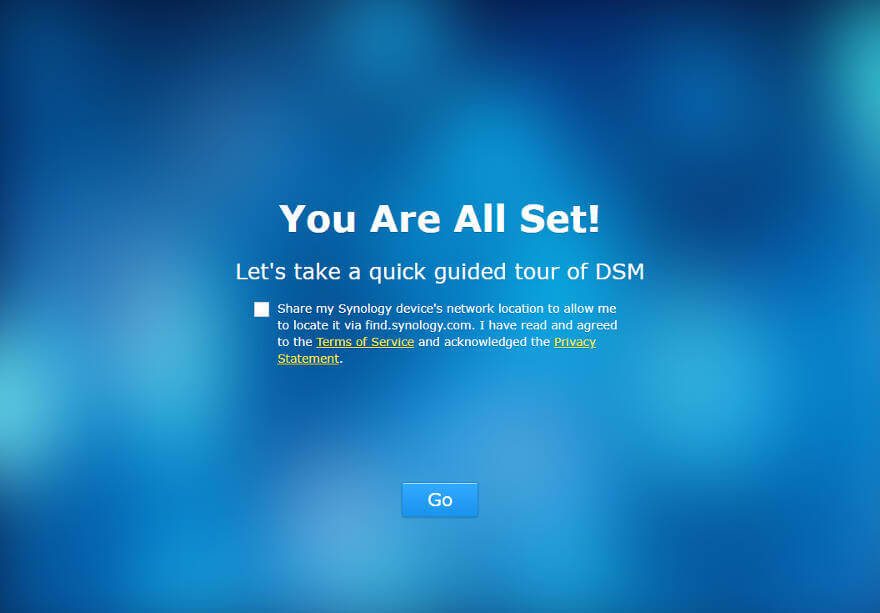
And that’s it. Your new Synology NAS is ready for action. As a last step, you can choose to share the location of the NAS with Synology. This will allow you to easily find it via Synology’s service. Again, this is an optional step.
First Time Welcome
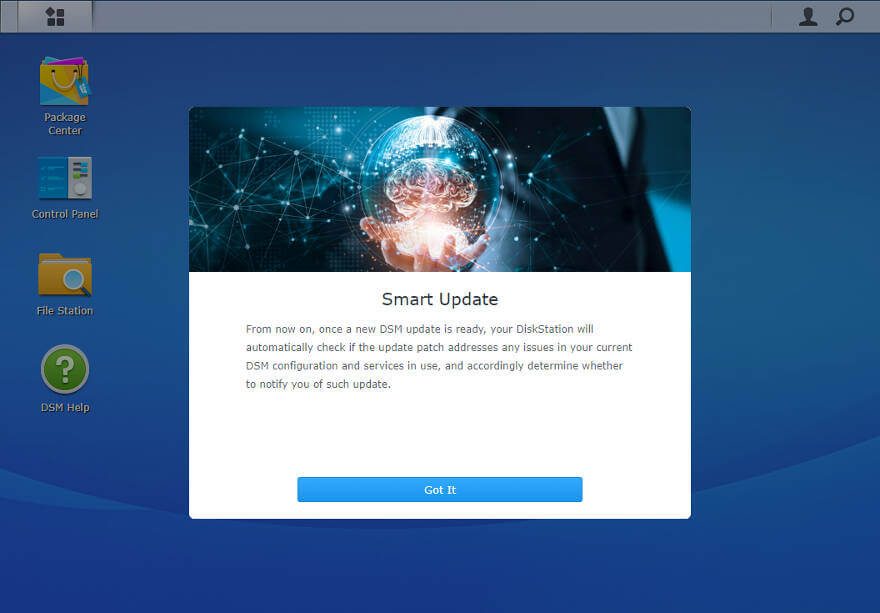
The first time you enter the dashboard, you’re welcomed with a couple information popups. The first is about updates and how they’re handled.
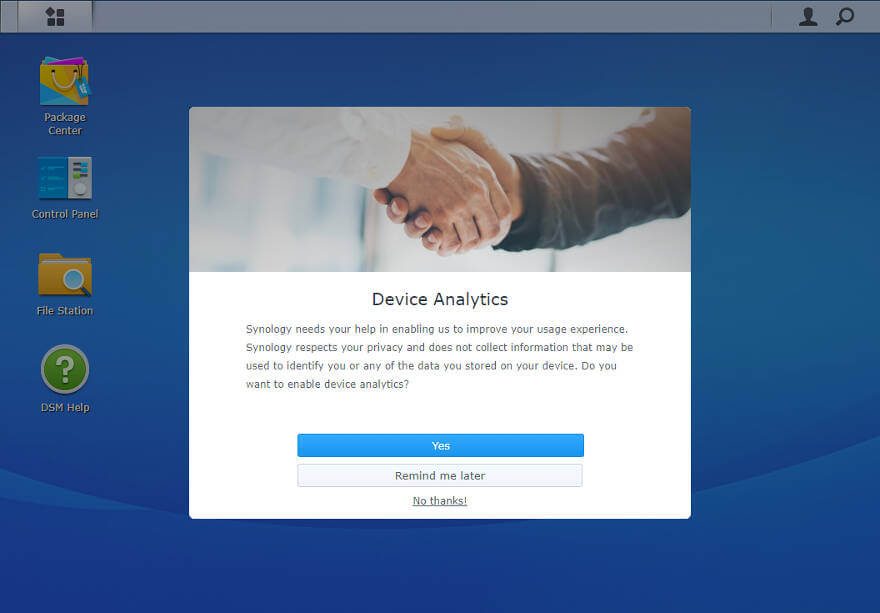
The second is about device analytics. You can share anonymous data with Synology to help them improve on their products. This is completely optional and up to you whether you want to do it or not.
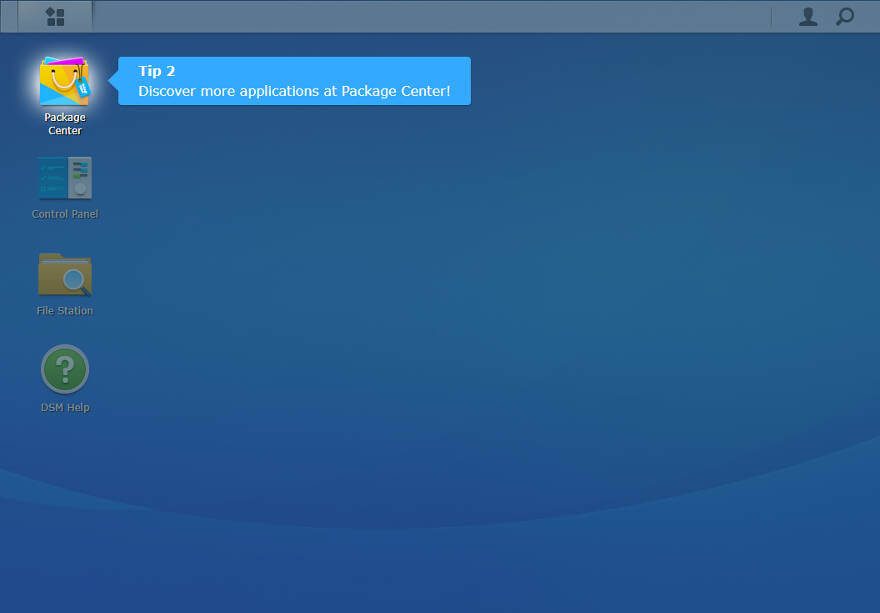
As a last thing, the OS will show you a small guide of where what is located. This is particular useful for new Synology users.
And with that, we’re all done. Our brand new NAS is now fully ready and set up for our needs.
The Dashboard
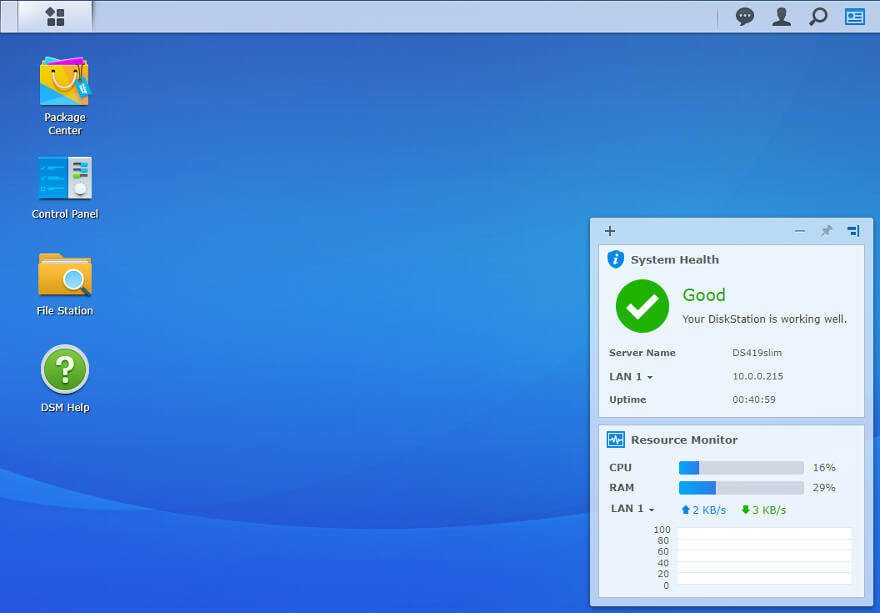
Synology’s dashboard works much in the same way your desktop does. There’s a task bar at the top, a desktop area with your hot icons, and a system widget which can overlay the desktop with important information.
To the left in the task bar is your system menu which holds icons to all installed features. You can easily drag those onto the desktop if they’re ones you use often and want to access faster. Open apps will be shown in the taskbar for easy multi-tasking. The icons to the right will allow you to access information about your user, notifications, connected USB devices, and hide/show the widget.
Control Panel
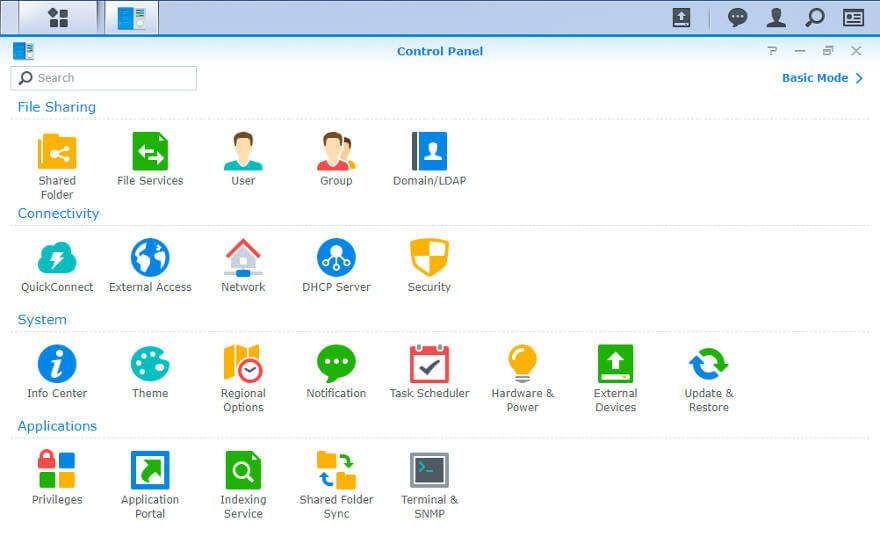
The control panel has three steps. The initial view features the most used items. This is intended to allow you to find what you’re looking for as quickly as possible.
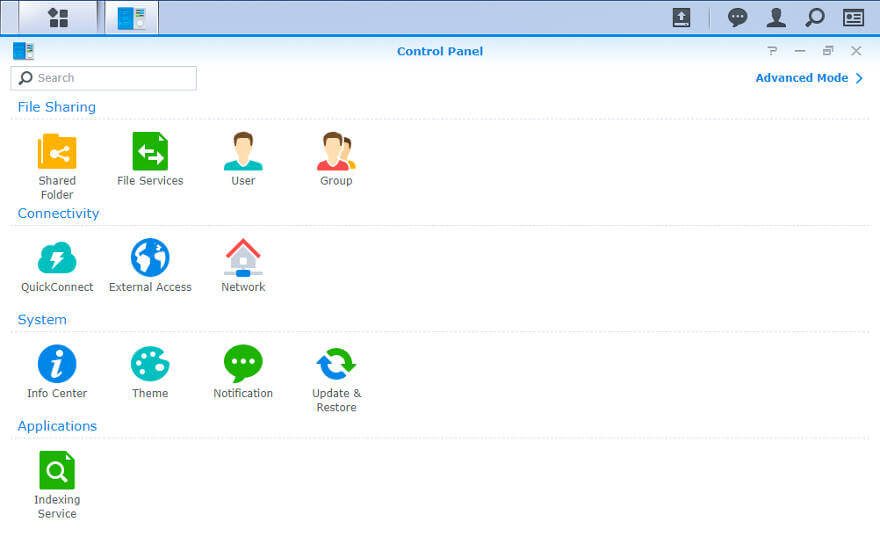
However, you can switch to the advanced view which will show all the available sections of the control panel.
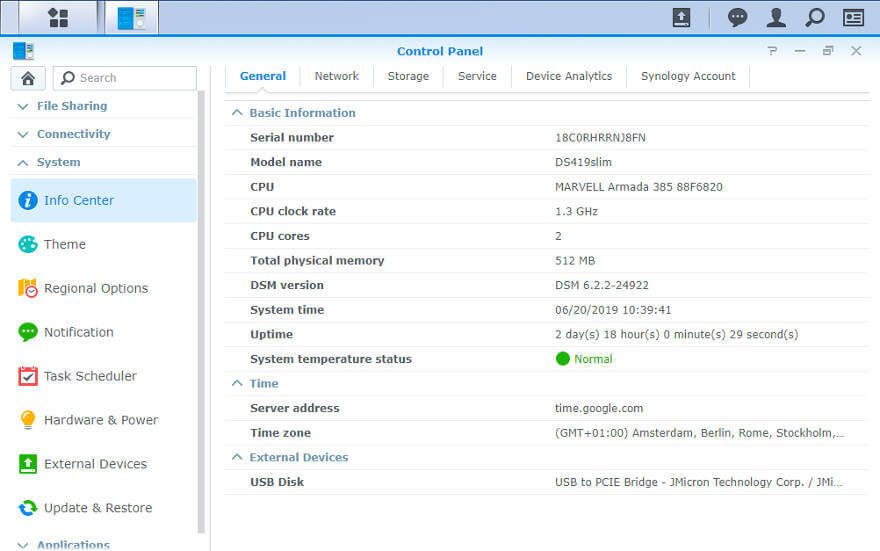
Once you select something, you’ll get the usual view with a list of section on the left and all the actual settings and information on the right.
Storage Manager
The storage manager has where all, you guessed it, storage details are found. From volume and pools to information about the installed drives.
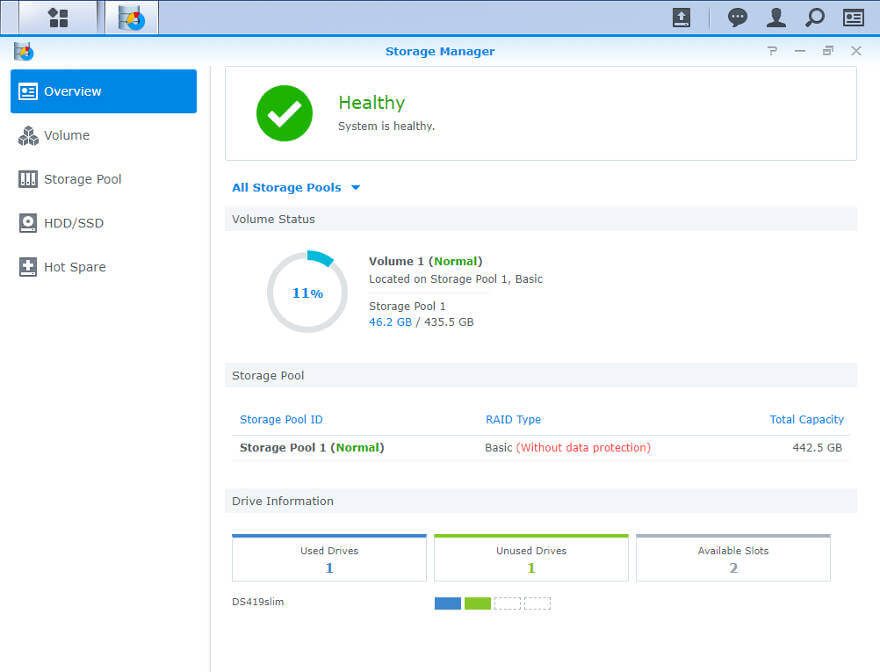
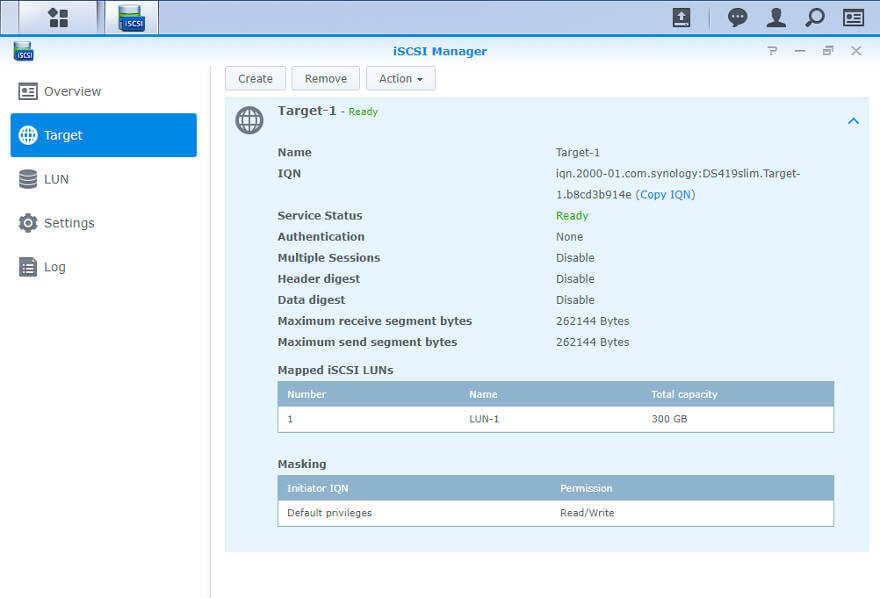
The only thing that’s placed outside is the iSCSI functionality which has its own application.
Package Centre
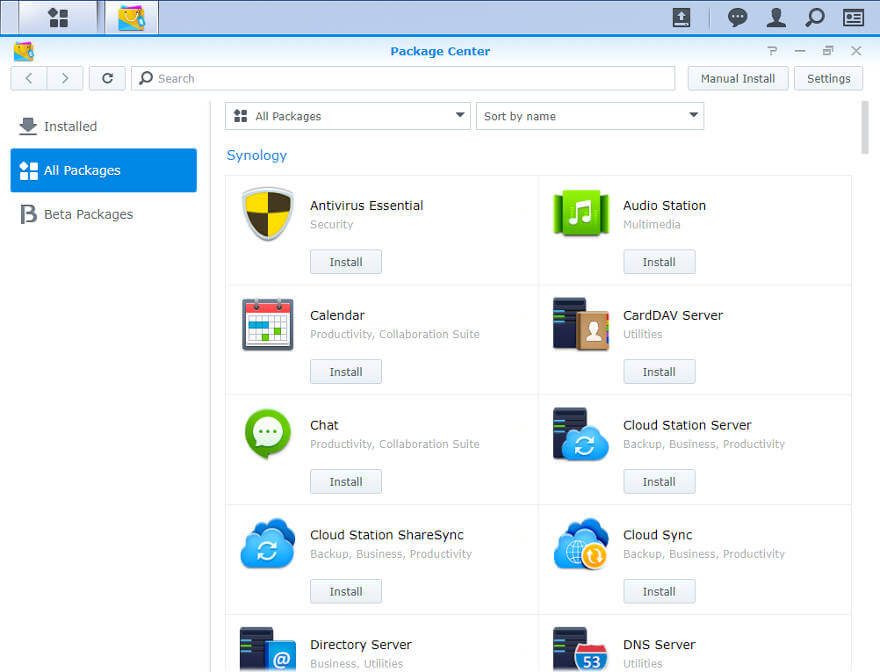
At heart, each Synology NAS is equipped with basic file sharing features and functionality across the board and all available systems. But that doesn’t mean you have to stick with that. There are a ton of available apps which you can install for free and improve on the basics. Office apps, web servers, content management systems, and lots and lots more.
More of the User Interface
This was just the initialisation and a first view on the NAS. We got a dedicated page for a complete view of the OS and its features. Instead of showing you the same again and again in every review, more or less, we now have a general OS article for every NAS brand we review. That will save a lot of time on the creation of each NAS review which in return allows us to bring you more quality content, more reviews, and more unique articles.
You can check out our view on Synology’s Disk Station Manager by clicking here. We’ve also reviewed the OS as such in several versions: DSM 6.0 Review, DSM 6.1 Review.


