Tecware Forge M2 Micro-ATX Case Review
Interior
As I said before, the side panel glass is mounted with a magnetic lock. So you simply pull on the bottom of it and it pops open. It’s on hinges too, which allow the glass to open all the way out, and you can even lift it off and put it to one side if you need to.

The interior is a fairly standard design, sticking to what we know works in the market rather than trying anything particularly adventurous.

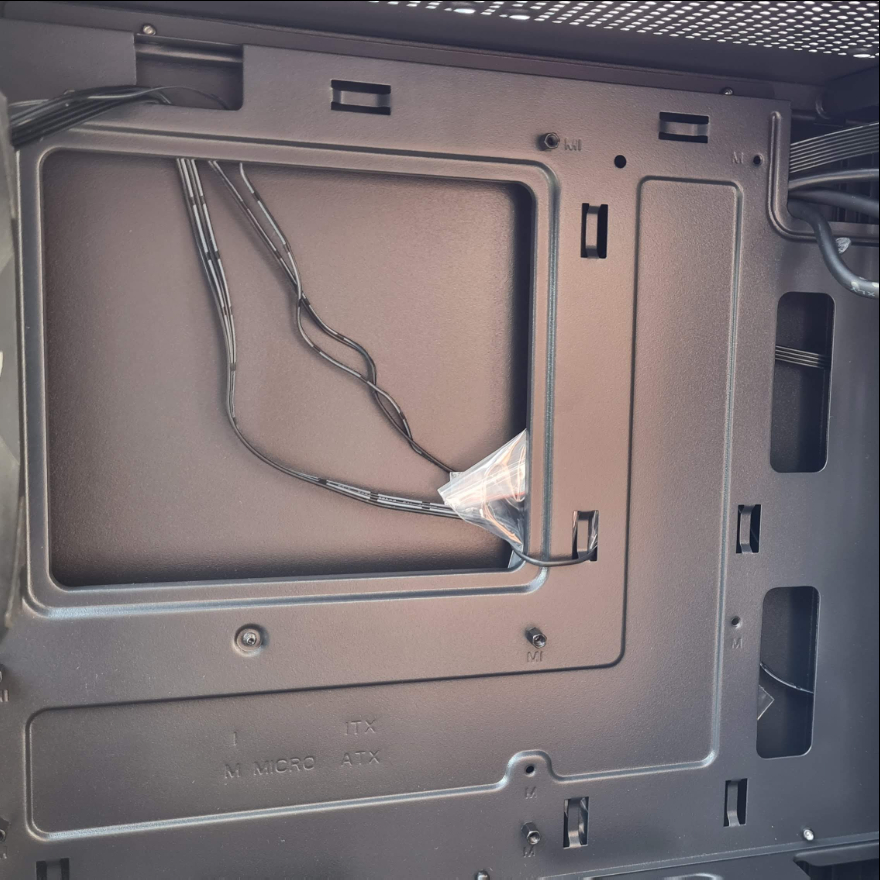
There’s a large CPU cooler mounting cut-out, and a bunch of cable routing holes on all sides of the motherboard area too.
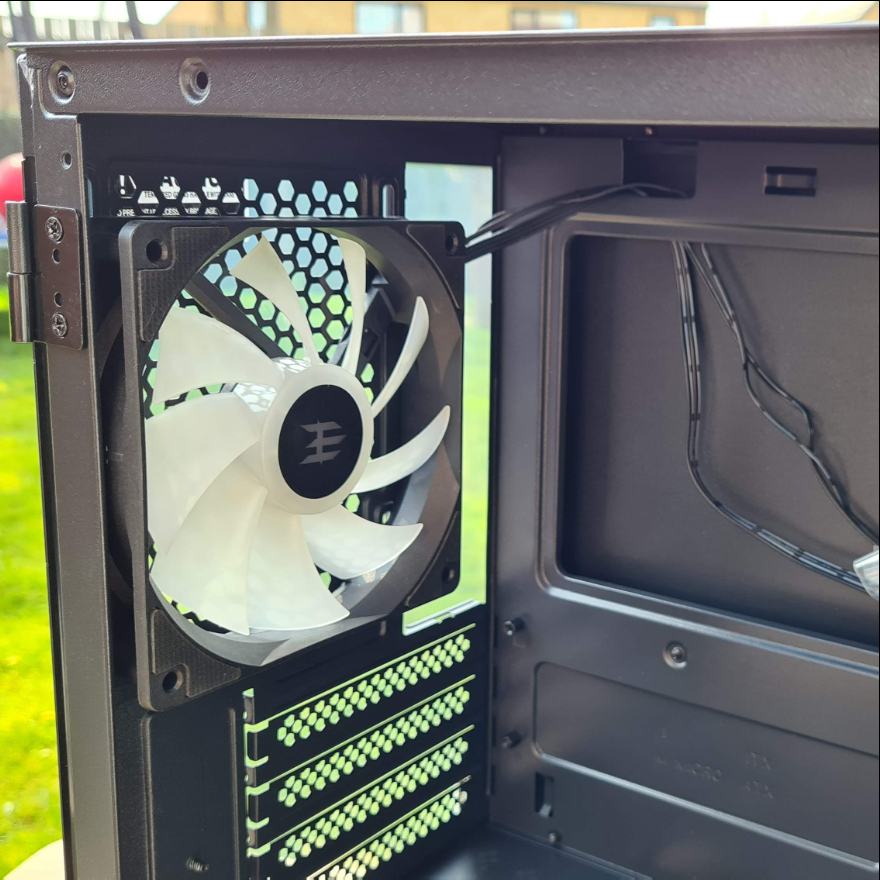
The rear fan is a 120mm model, with frosted white fan blades that should allow it to glow nicely when the RGB is powered up. The fans have some small rubber pads on the corners, on both sides of the fan, which help reduce unwanted vibrations.
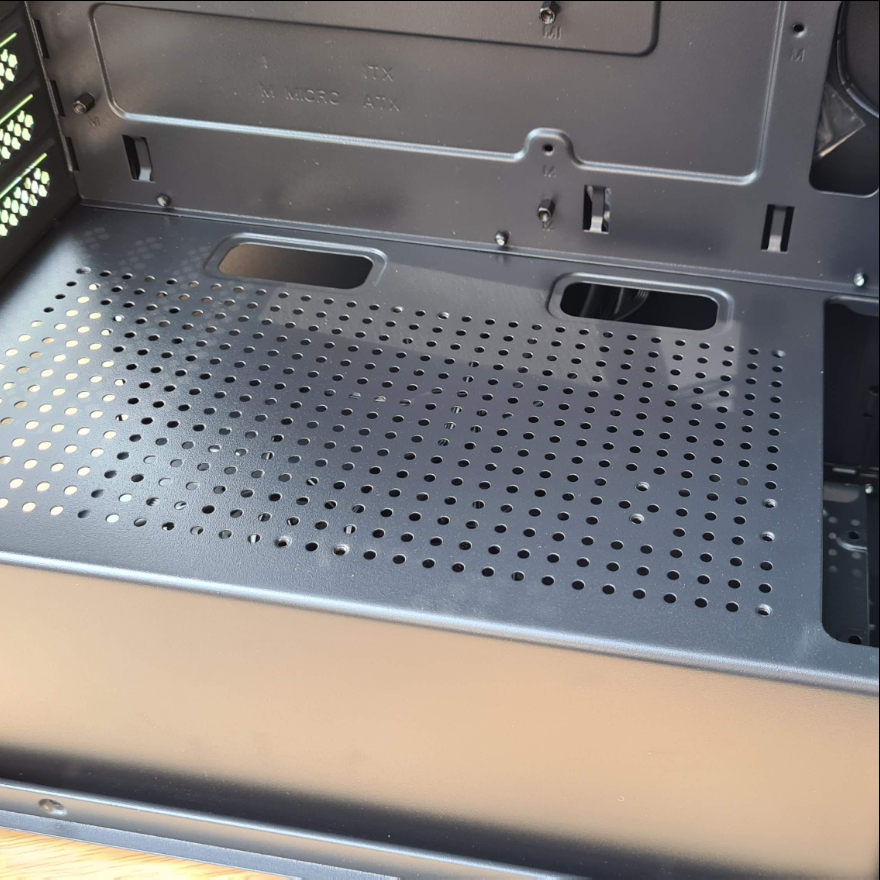
The PSU shroud, and those rear covers, are perforated too, allowing for air to flow more easily around the various sections of the case; nobody wants heat building up in the corners!
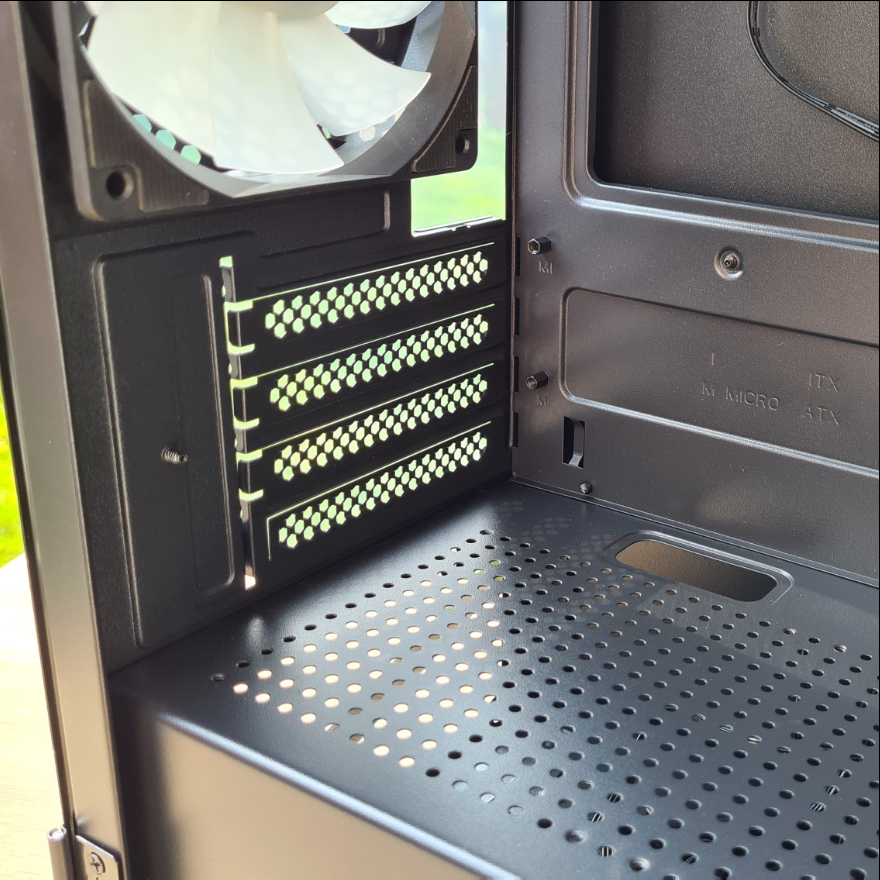
The PSU shroud is integrated and cannot be removed. It runs the full length of the case and should make easy work of hiding your PSU, unsightly cables, and storage bays. However, there’s a little cut-away towards the front, allowing you to put larger radiators on the front panel mount.
As you can see, the fans are actually mounted on the outside of the main chassis, hiding behind the clip-on front panel cover.
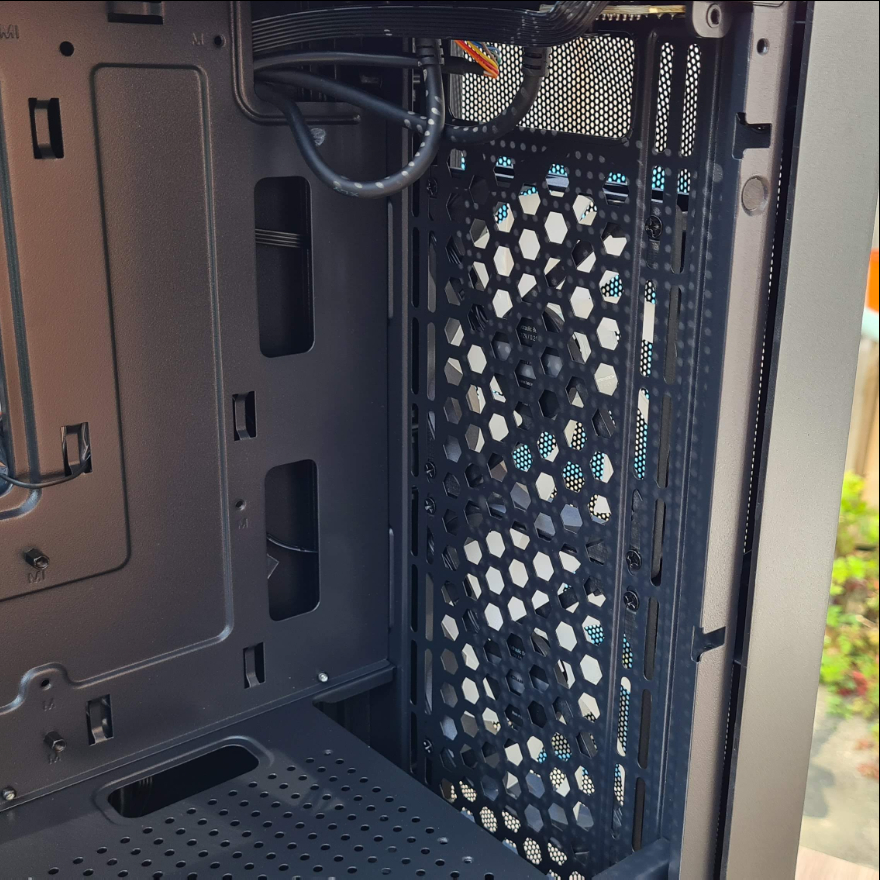
Pop the front panel off, and you can see all three fans now. Of course, you can remove them, and the panel has a range of 120m and 140mm fan mounts spanning its full height. However, for a default configuration, I can’t see why anyone would need to replace the excellent high-airflow design it comes with.

Behind the motherboard, you’ll find a modest amount of cable routing space. Keeping in mind, that you can cram most under the PSU shroud though, that space is going to do just fine.
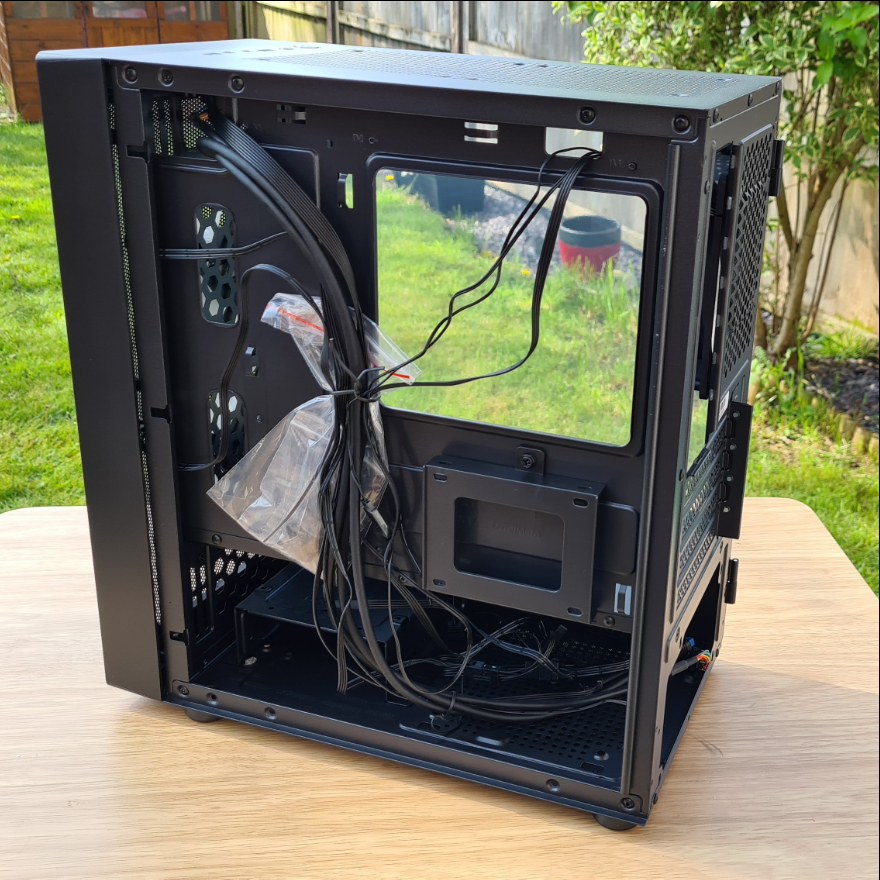
There are quite a lot of cables in this case already, most of which are for the fans and their daisy chaining cables that’ll sync their lighting effects. However, Tecware has ensured all cables and fittings are black, so they’ll blend in really easily.
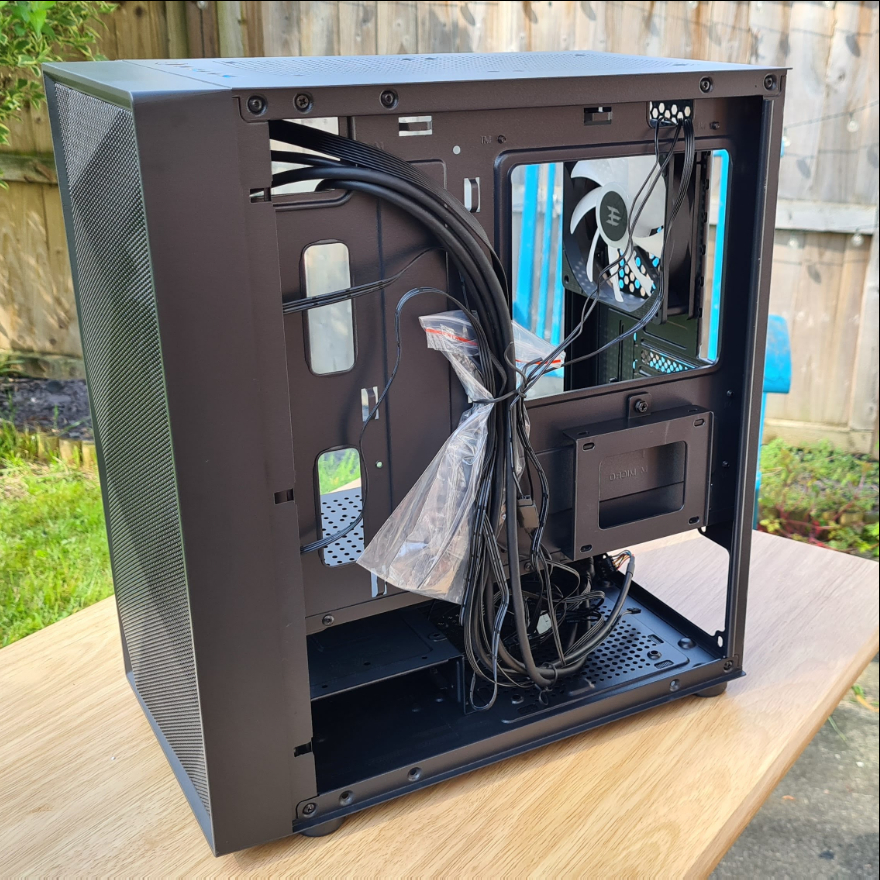
There’s also a small selection of cable tie loops here, allowing you to easily strap down excess cables.
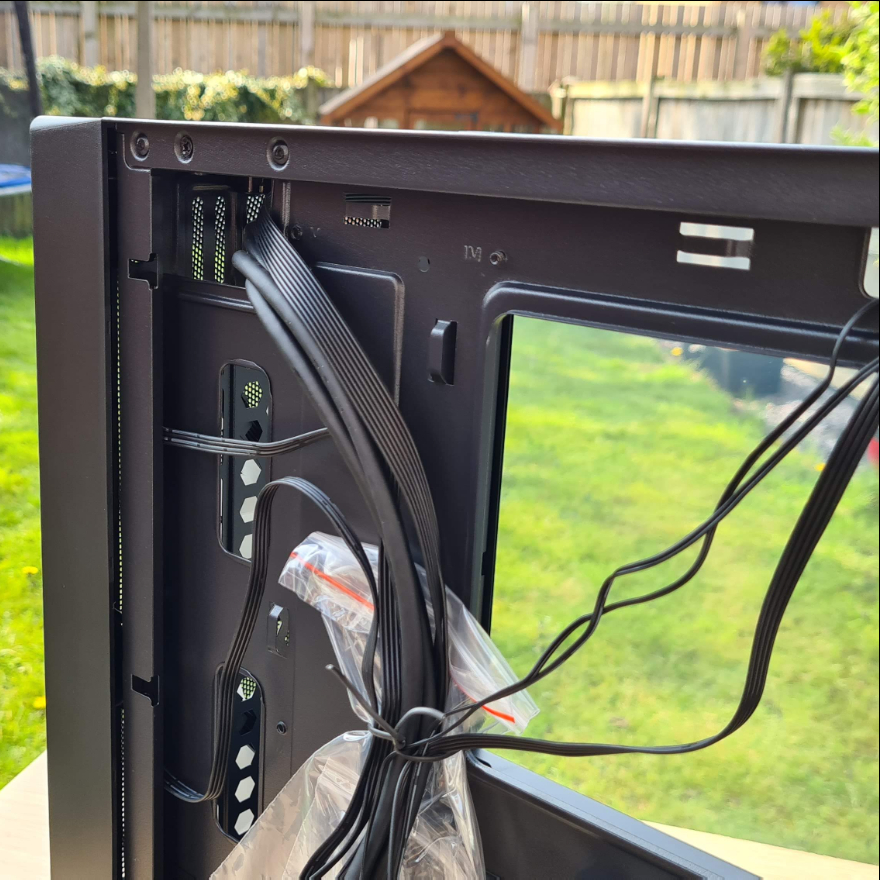
There’s a small removable bracket here, allowing you to install a 2.5″ drive right behind the motherboard.

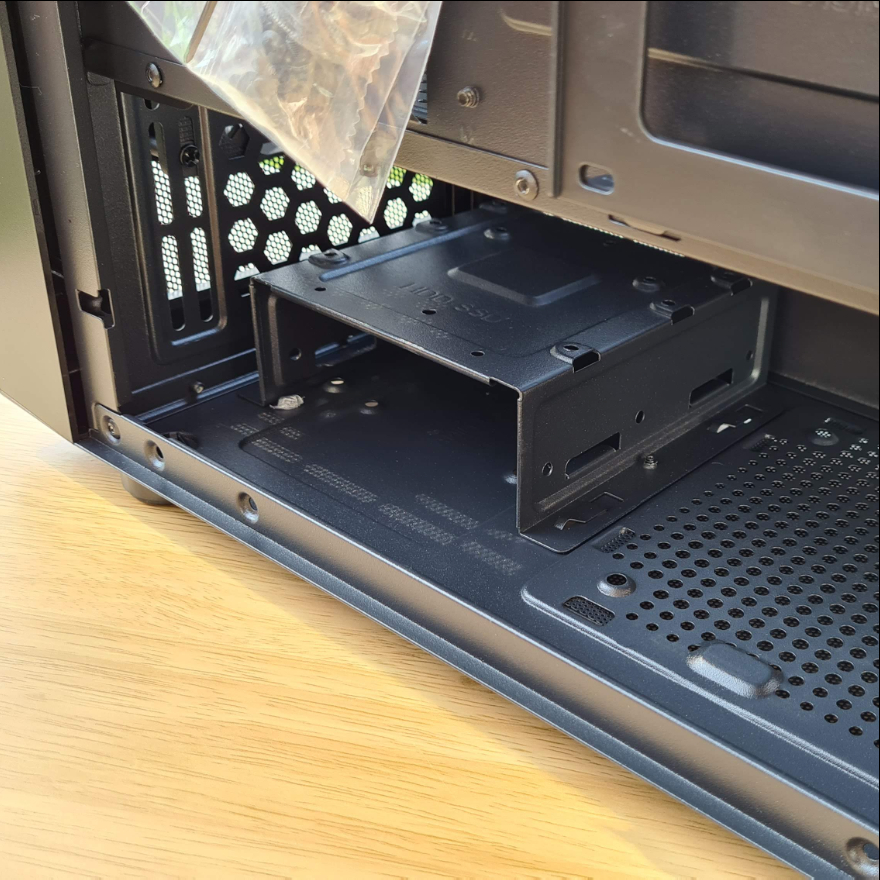
However, there’s a larger 3.5″ bracket in the base of the case, with some additional mounts on top and below it. The bracket is also fully removable too, so you could fit a larger radiator in the front or even a larger PSU in the back.
