Tenda D301 Wireless N300 ADSL2+ Modem Router Review
Bohs Hansen / 9 years ago
User Interface
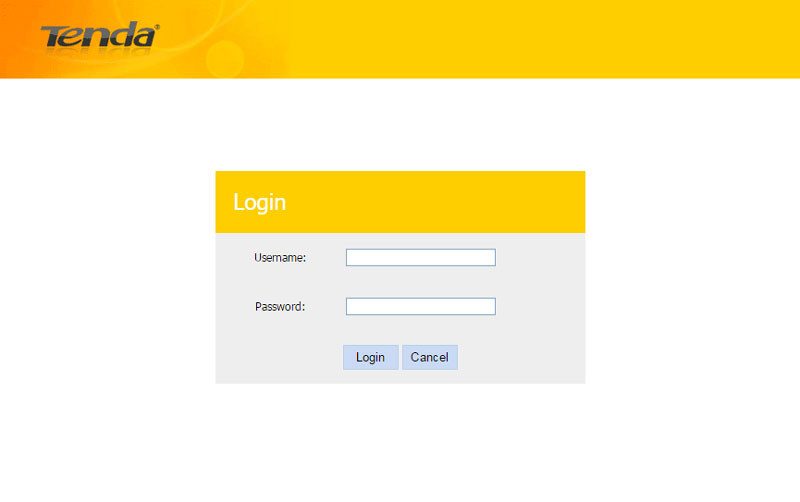
The user interface on the Tenda D301 Wireless Modem Router is very simple as we see right from the start where we are presented with the login screen. The default login information can be found in the quickstart guide and you should remember to change the password as well as check for possible firmware updates on the manufacturers homepage.
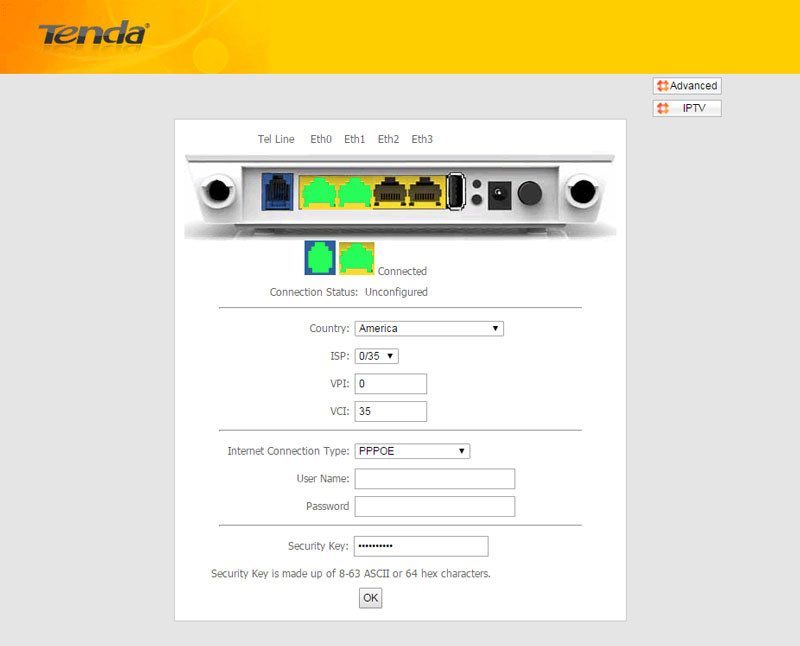
The first page that we’re presented with when we login is the quick setup guide. It will show us what ports have cables plugged in and we can set the basic information such as country, ISP, login type and wireless security password. All important settings.
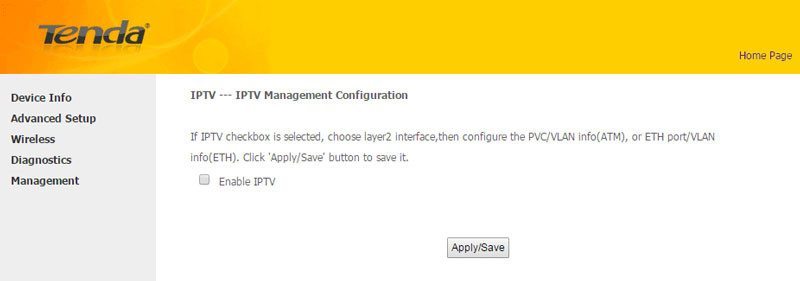
Pressing the IPTV button at the top right will take you to the window you see below, which just is a page on the normal advanced view. It is just a shortcut as it might be one often used.
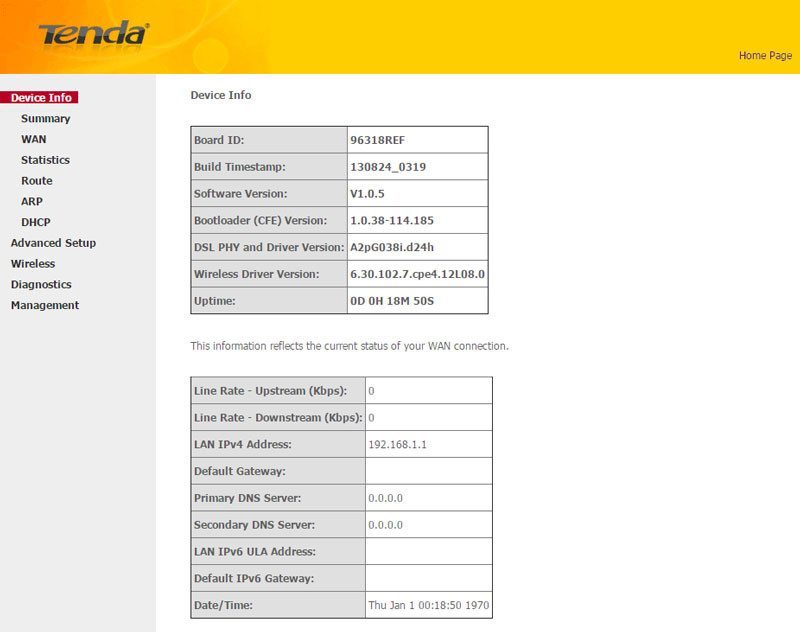
Switching to the advanced view and we see all functions and features. It starts with basic device info such as versions, uptime, driver version, and WAN information.
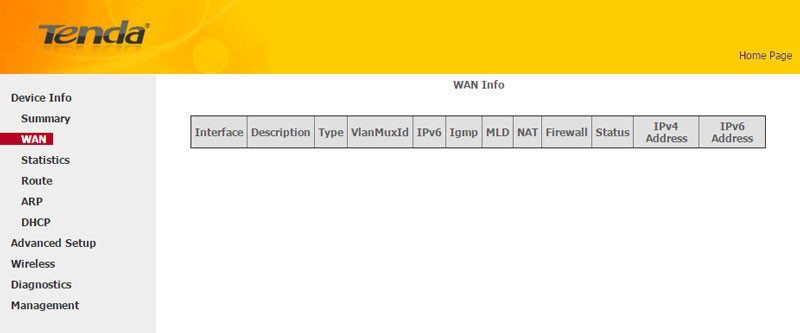
Moving on, we find the LAN, WAN, and xDSL statistics.
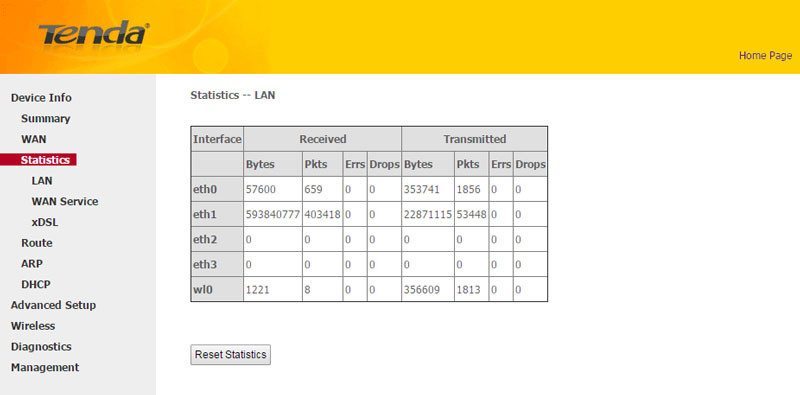
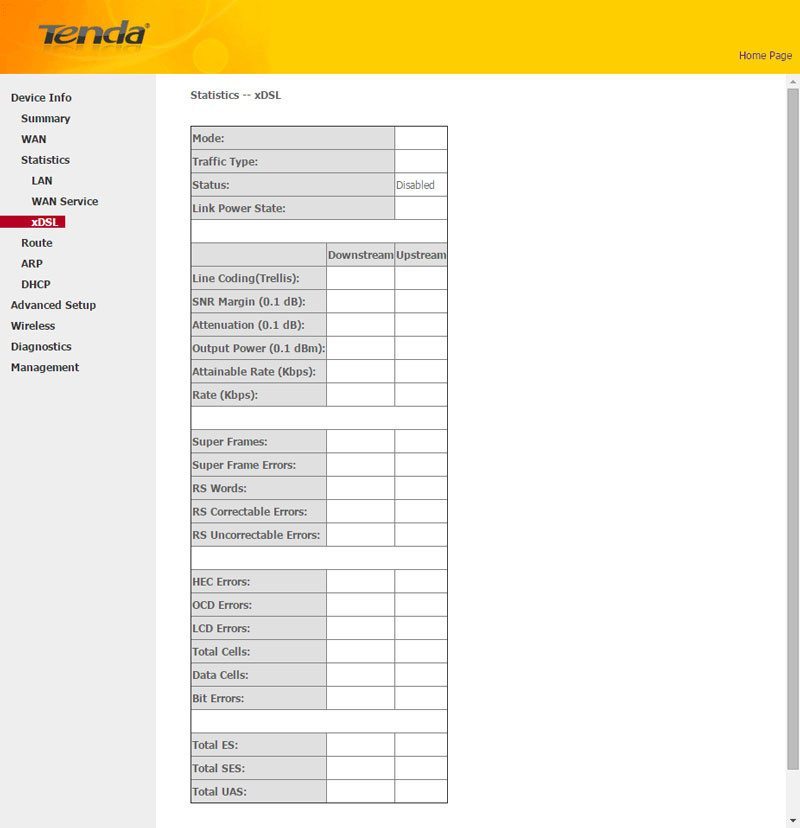
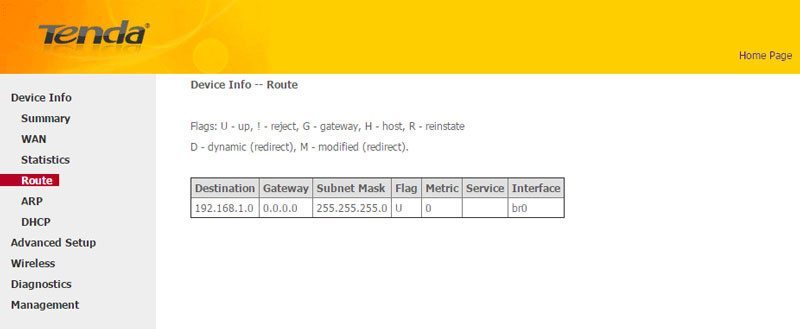
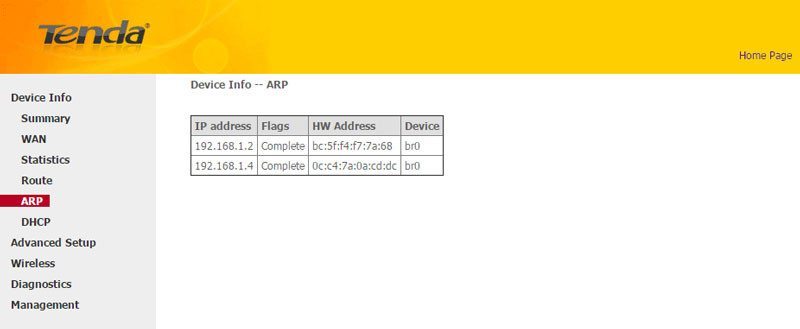
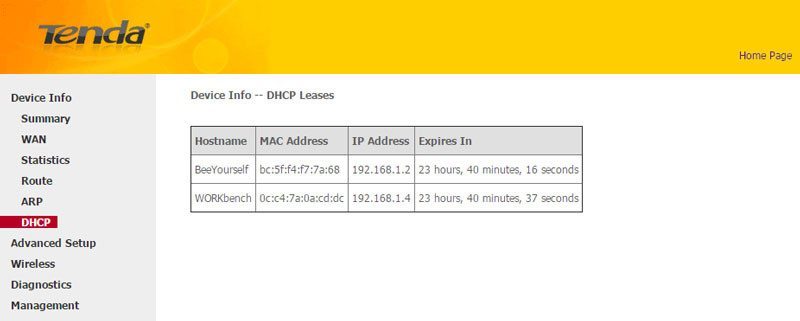
We can also watch the route settings, ARP device info, and DHCP clients.
Advanced Setup
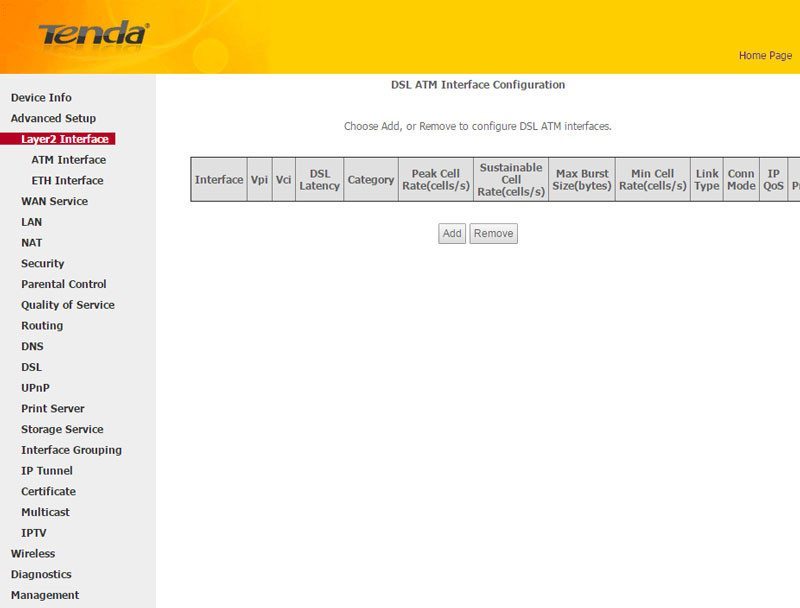
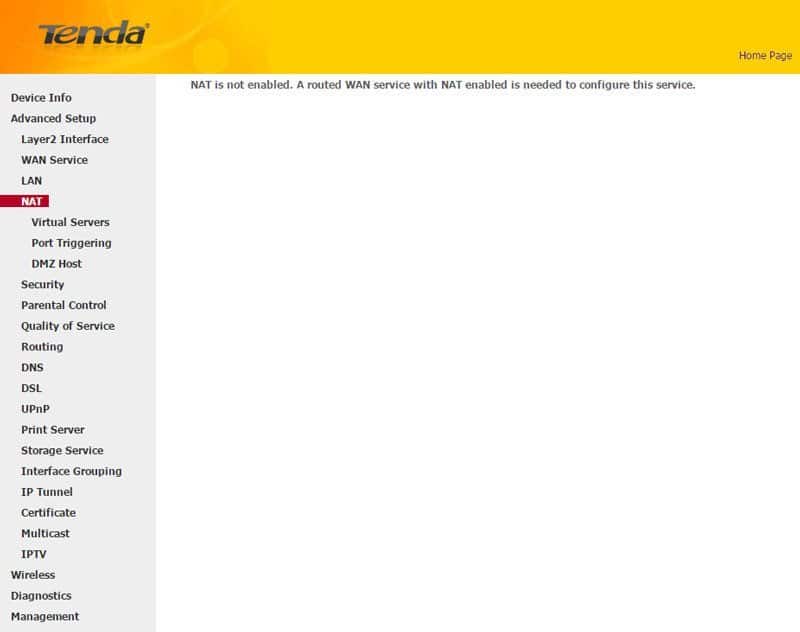
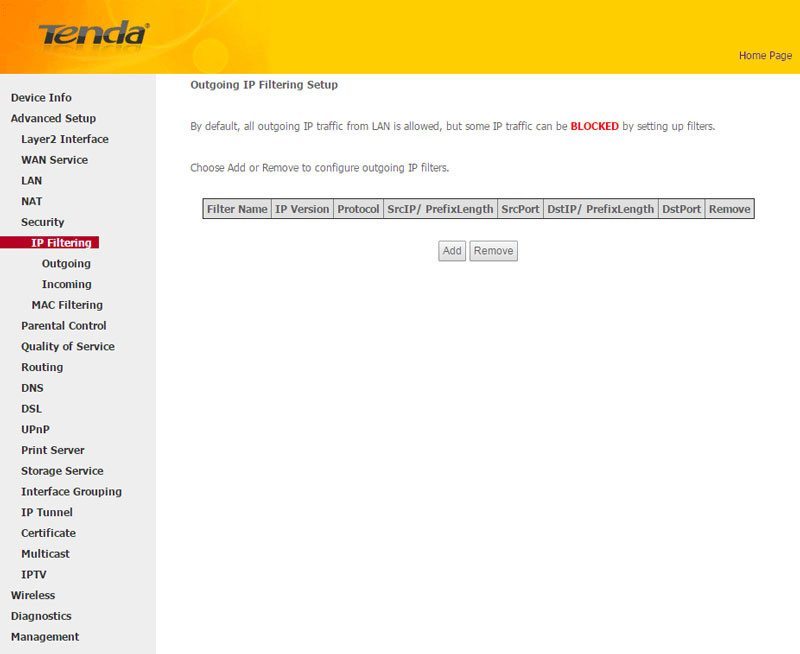
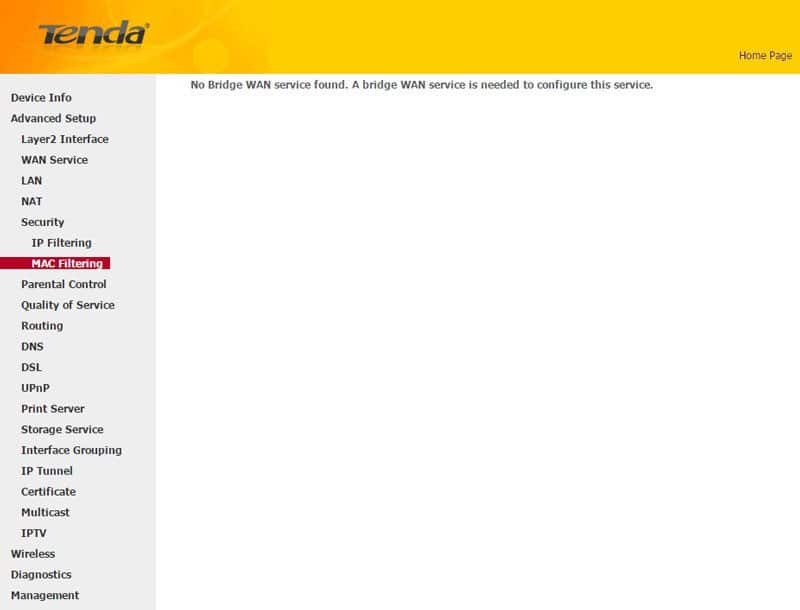
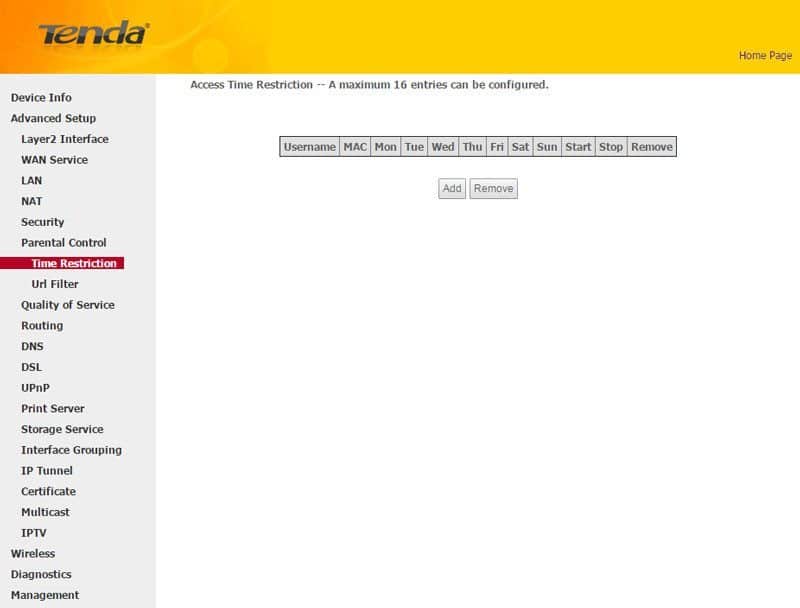
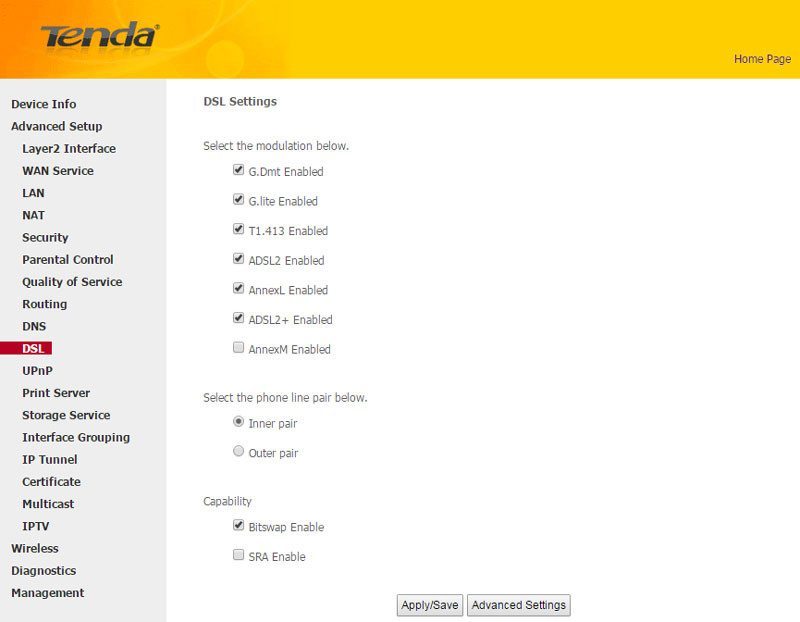
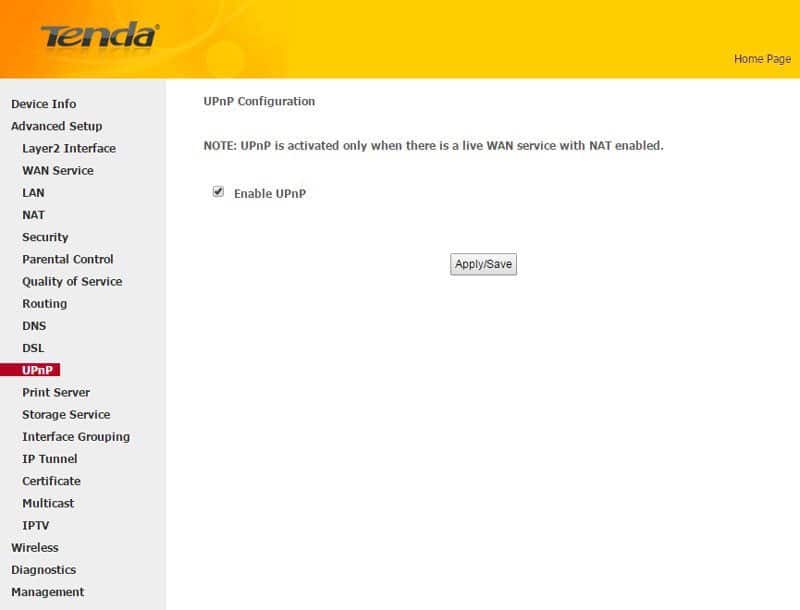
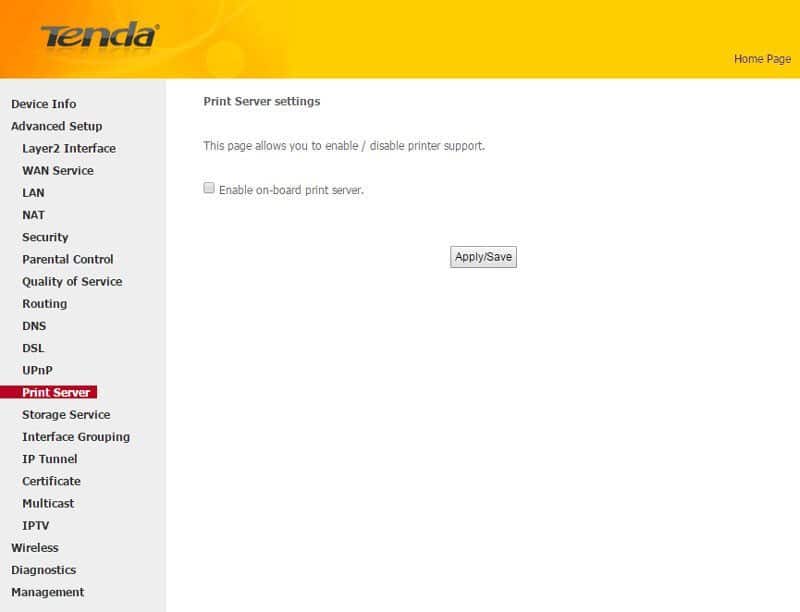
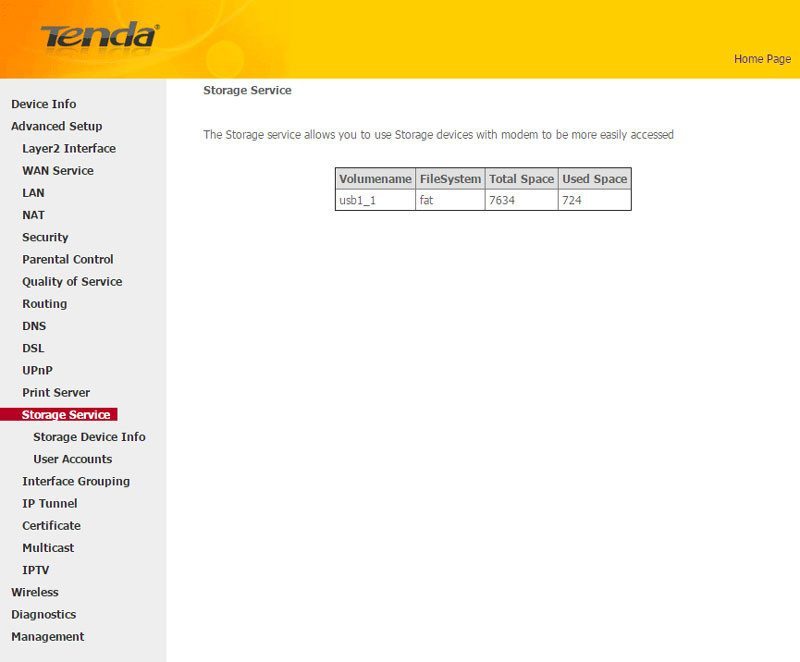
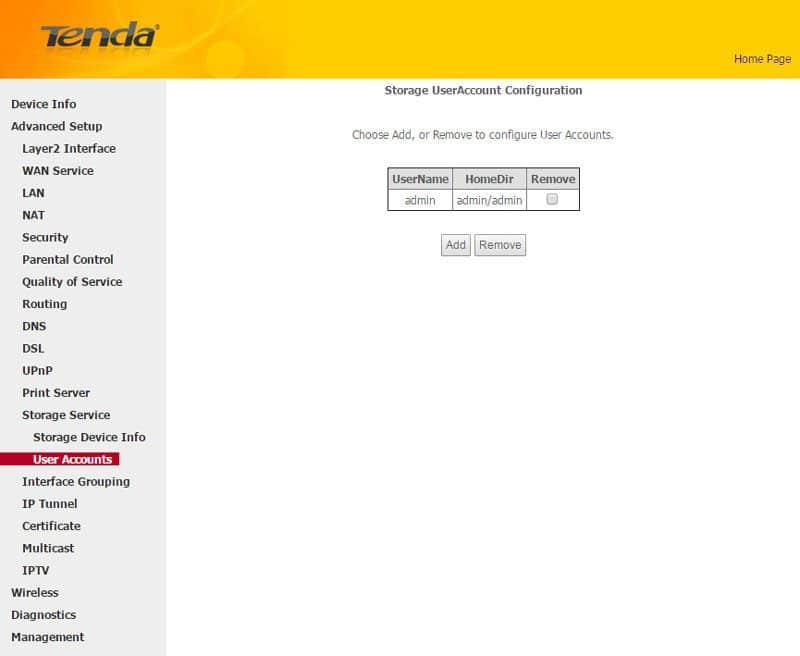
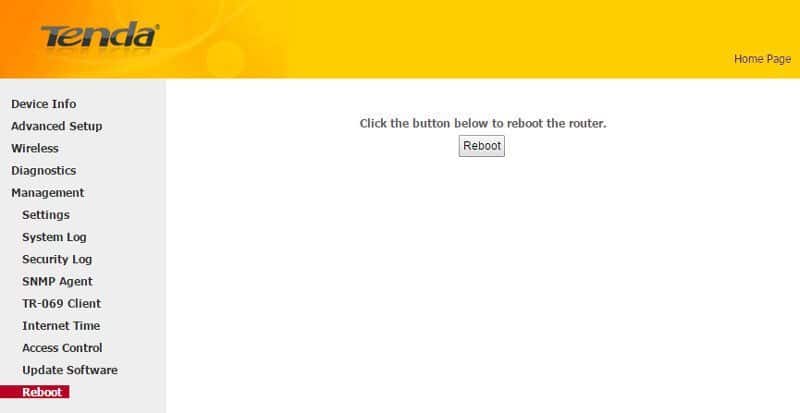
The Advanced Setup menu point is where you find most features. The screenshots speak for themselves, so I’ll just let you scroll slowly past them and see for yourself.
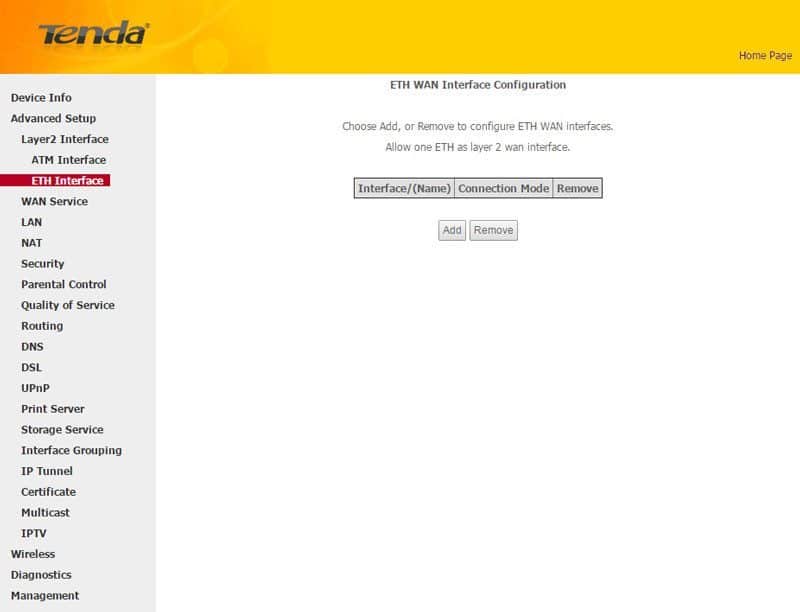
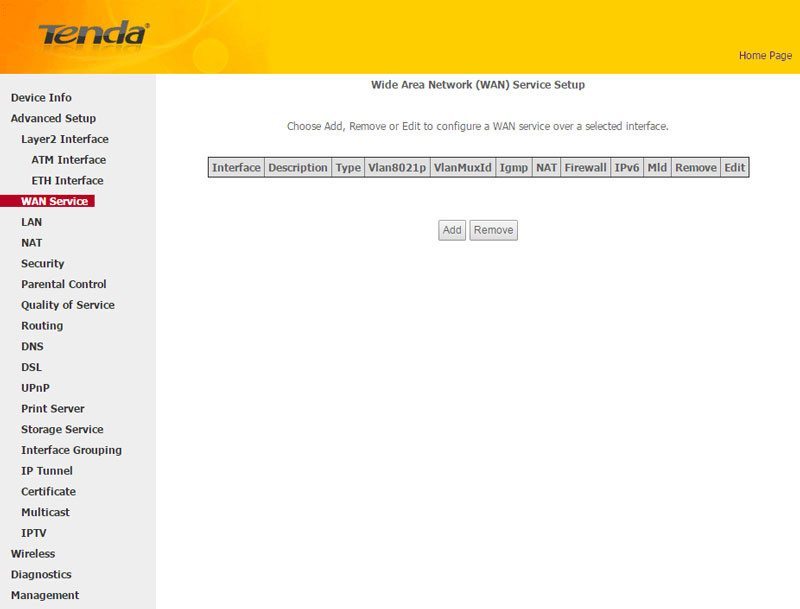
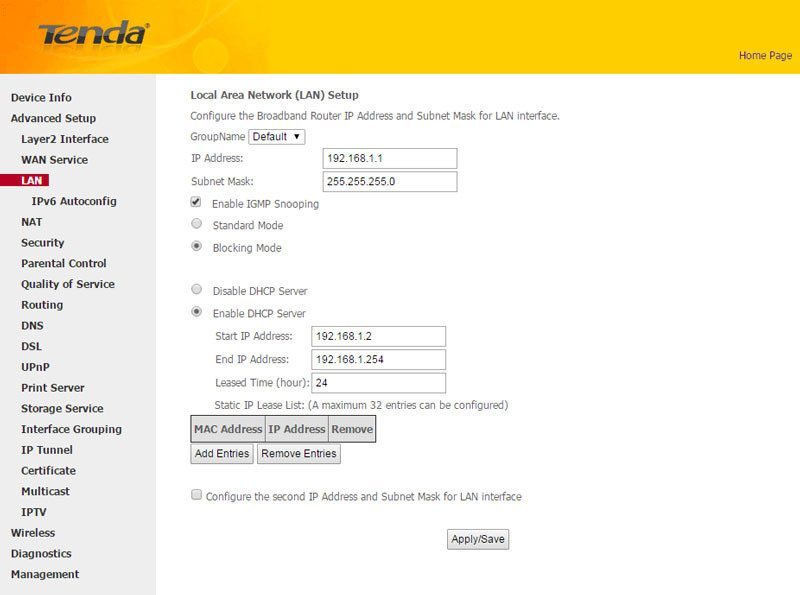
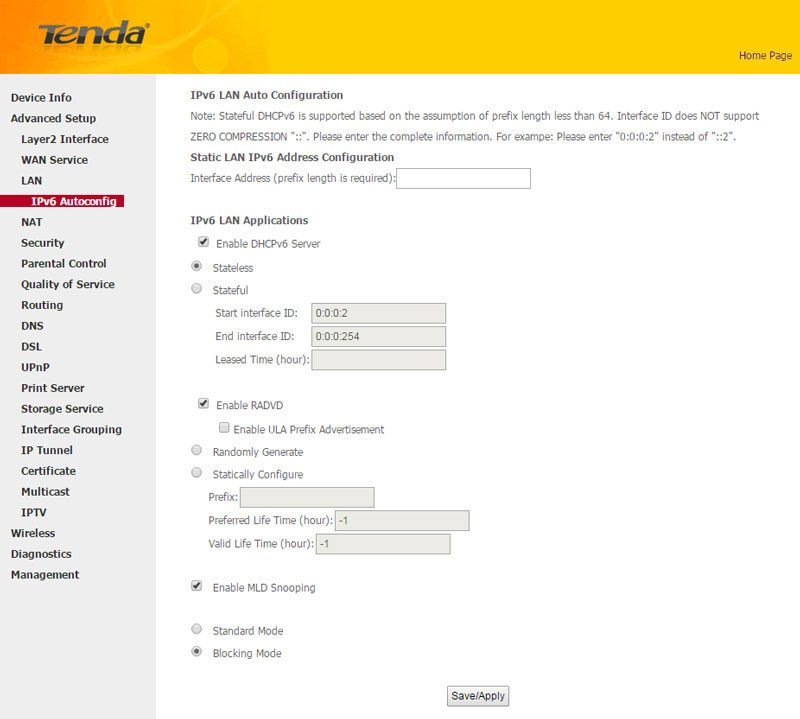
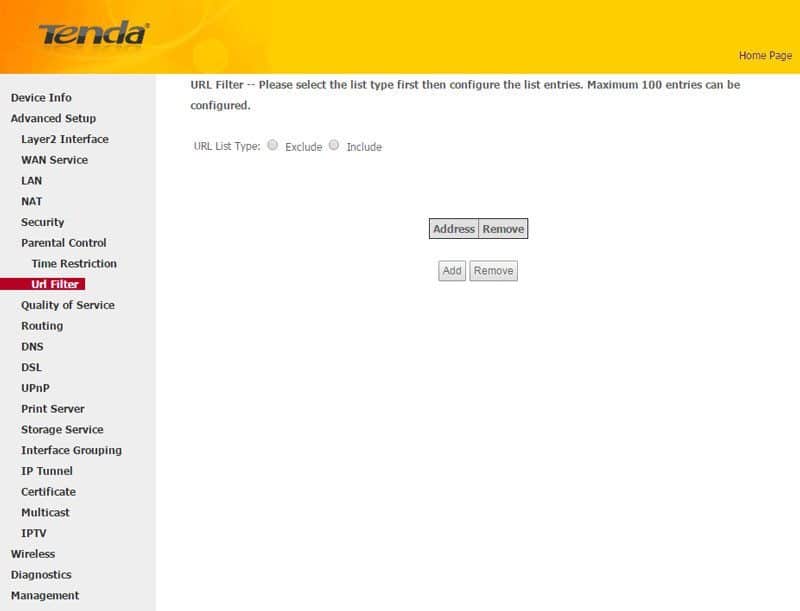
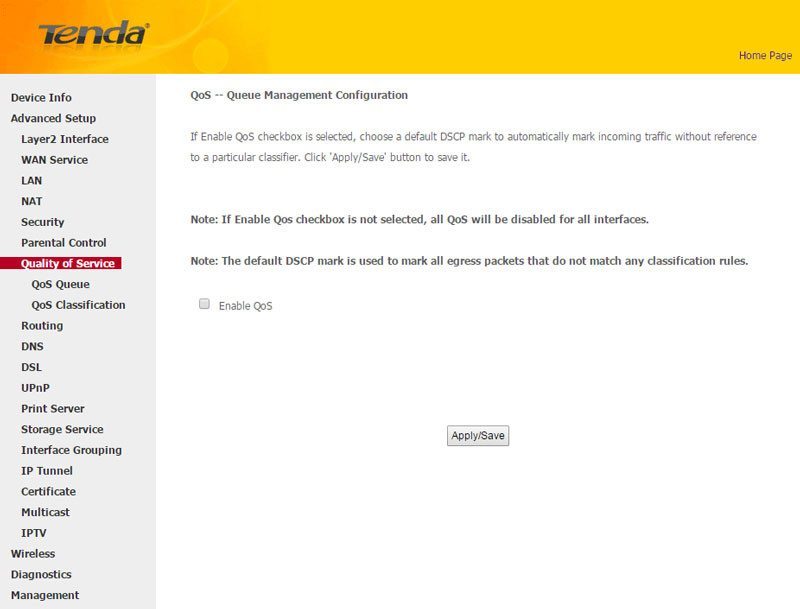
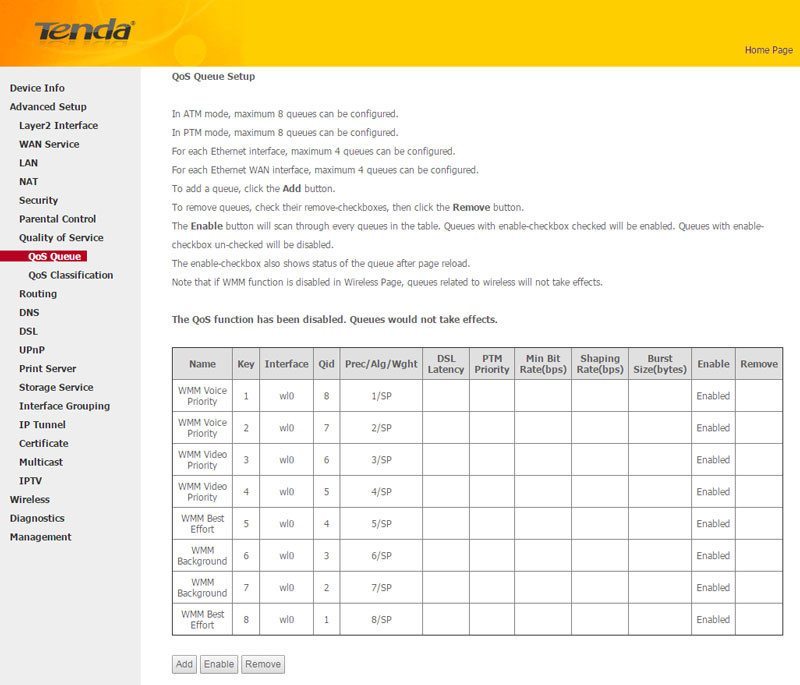
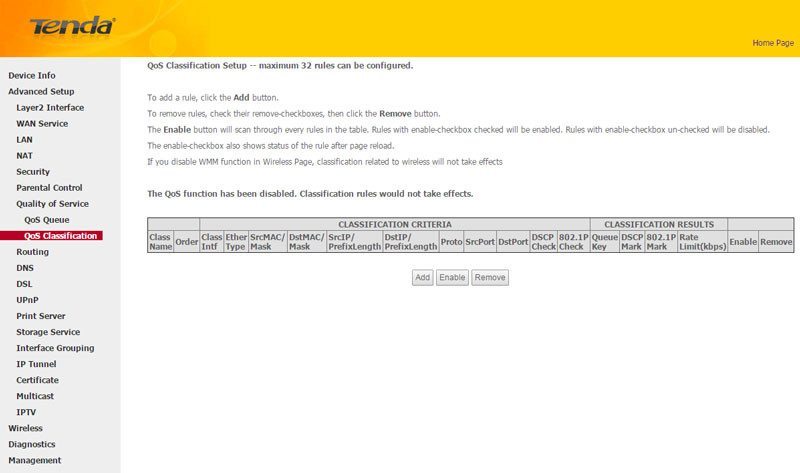
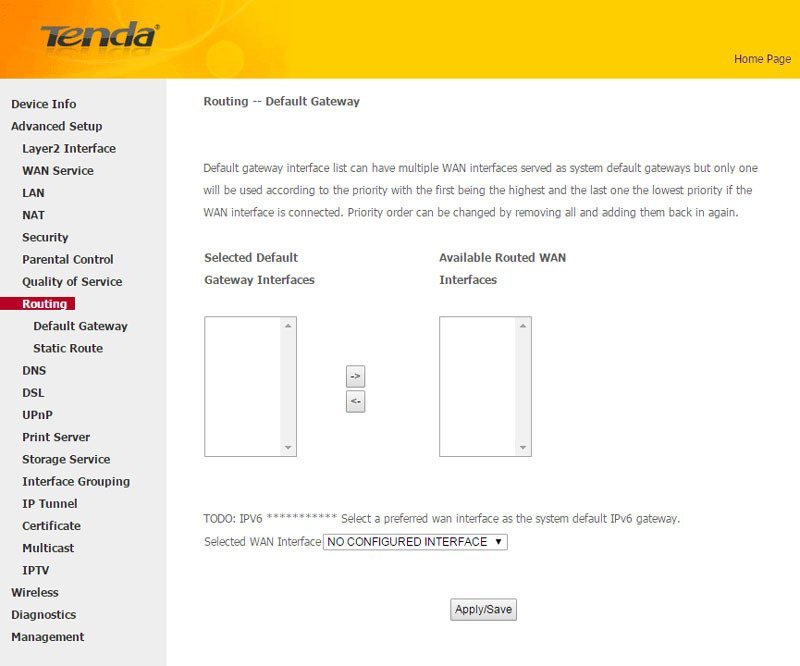
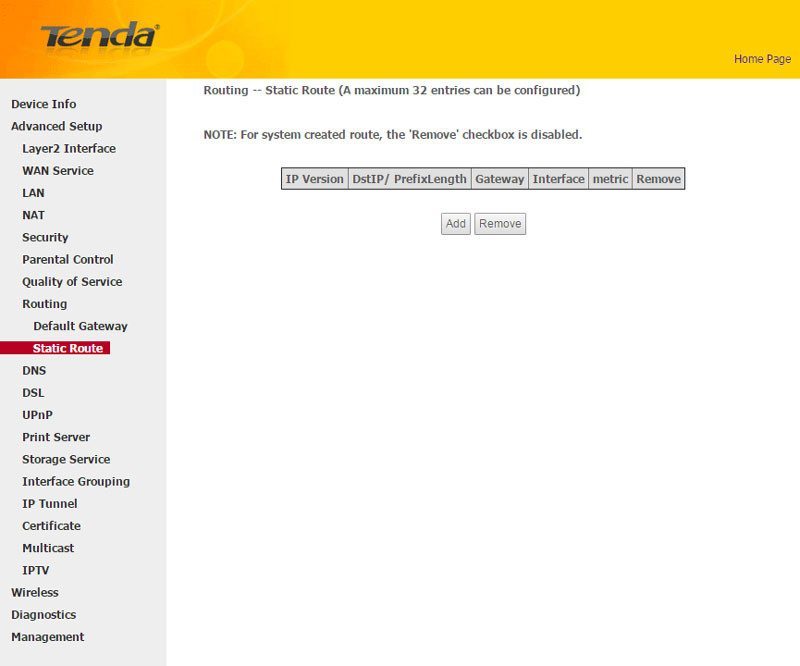
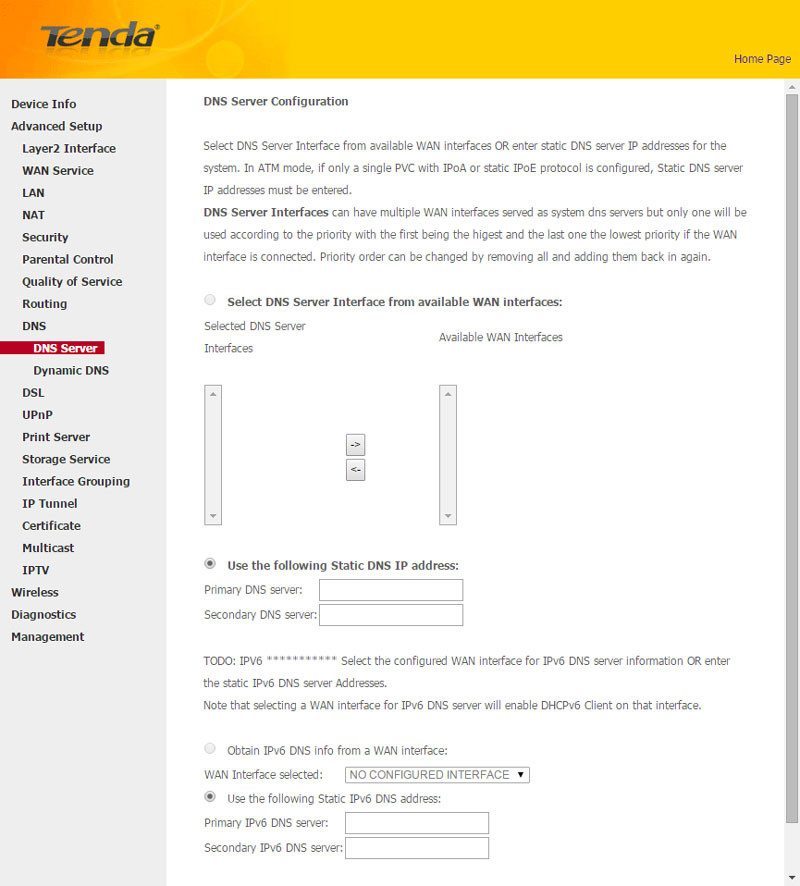
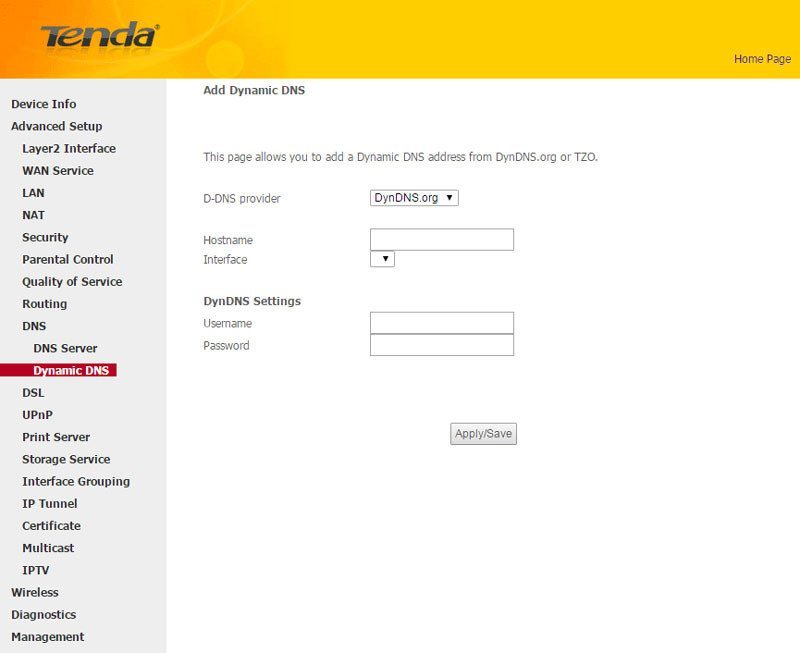
The USB port can be used both for printers and storage. You can also use this modem router to turn your old USB printer into a fresh network capable printer instead and be able to print from any device that is connected.
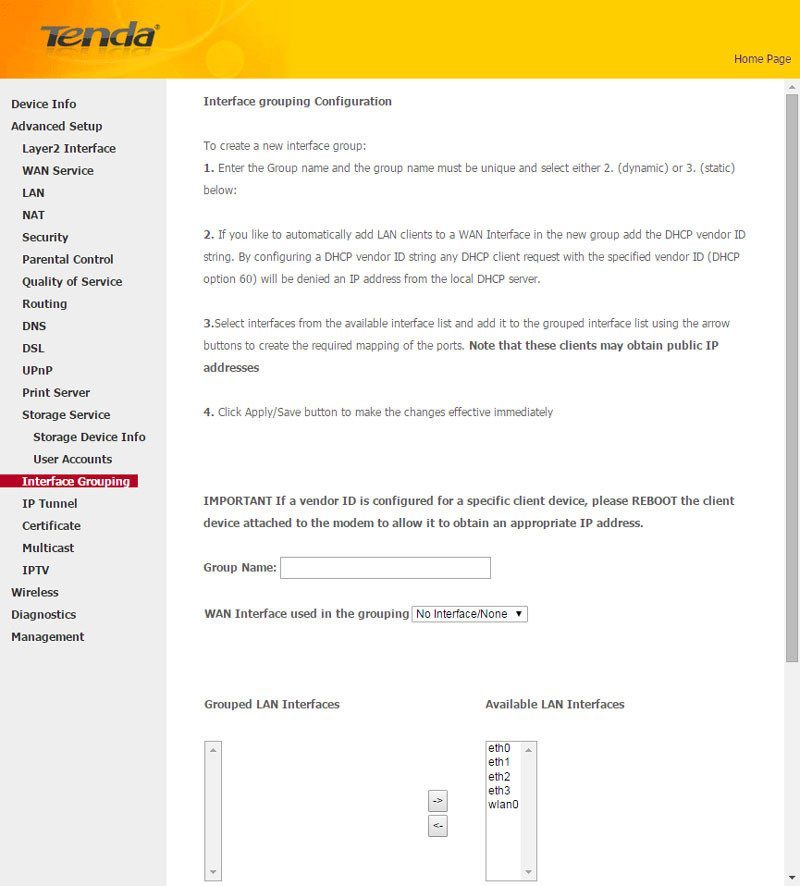
A thing not seen so often on devices like this is interface grouping, but you find it in the Tenda D301
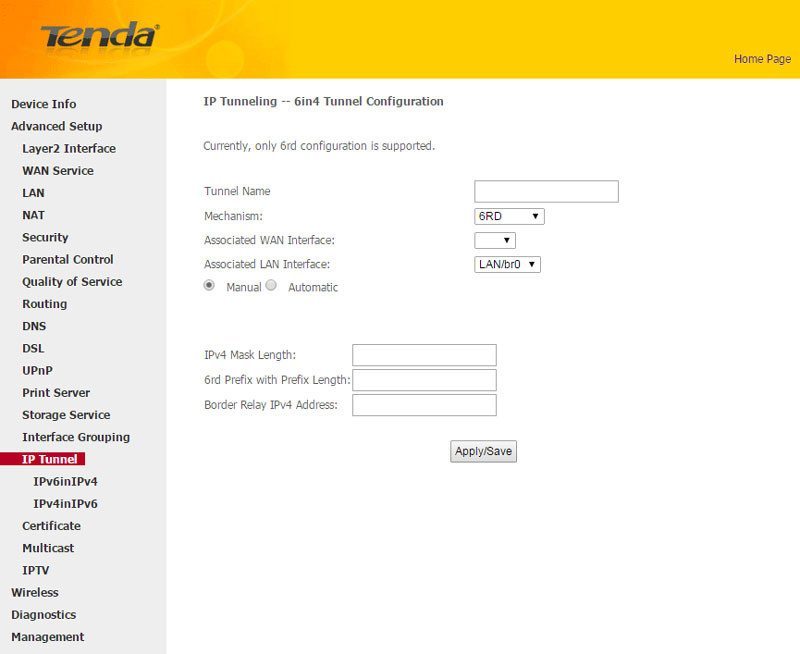
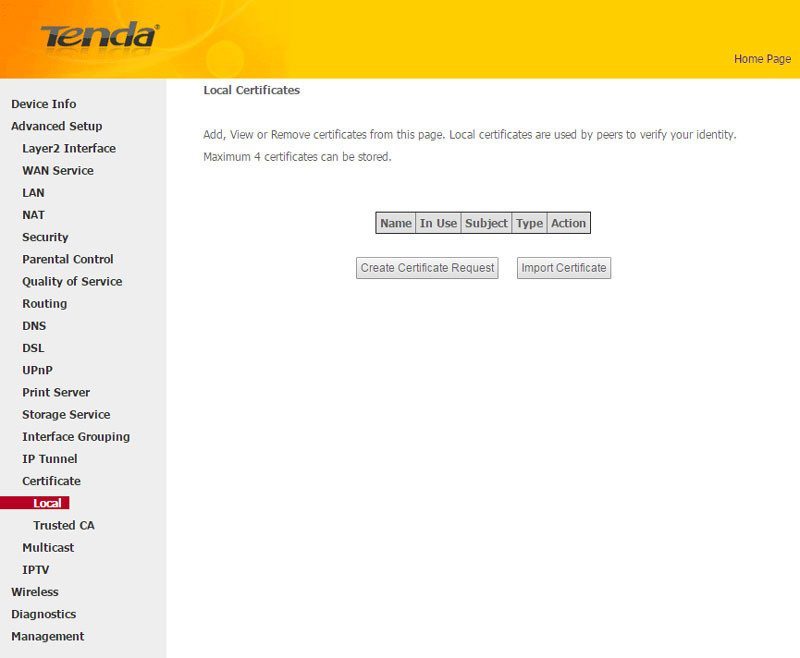
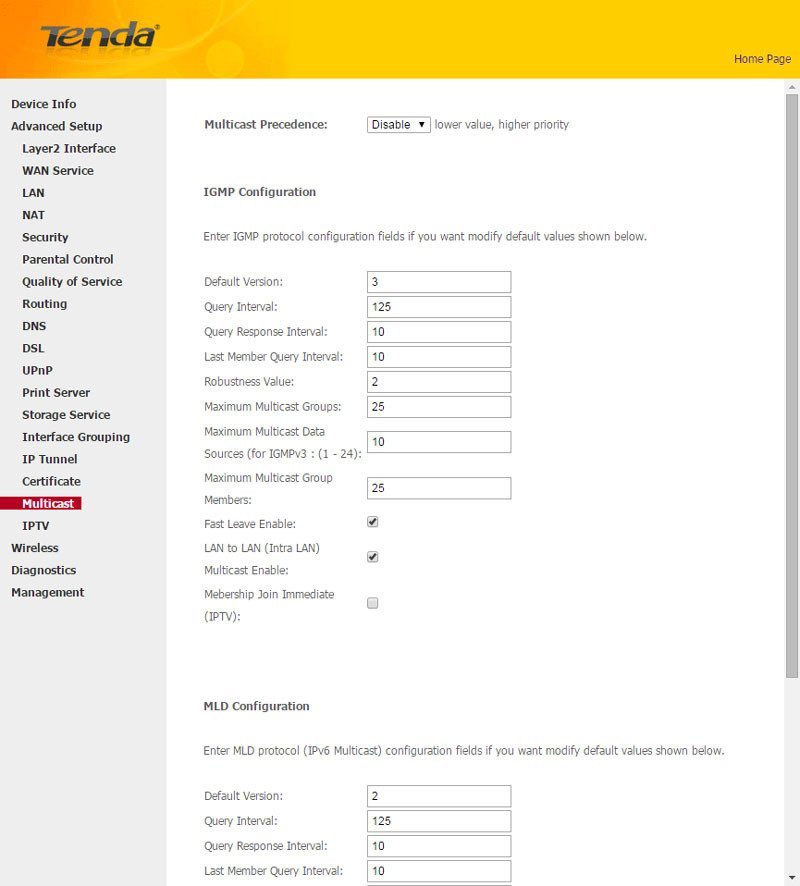
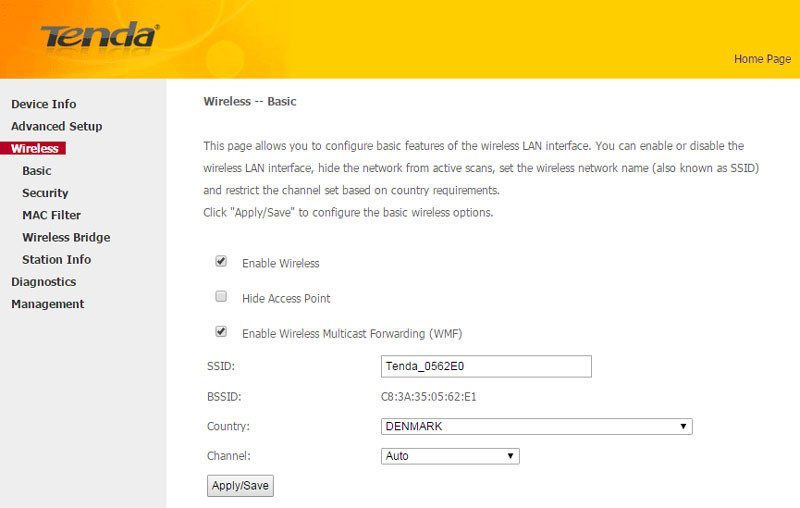
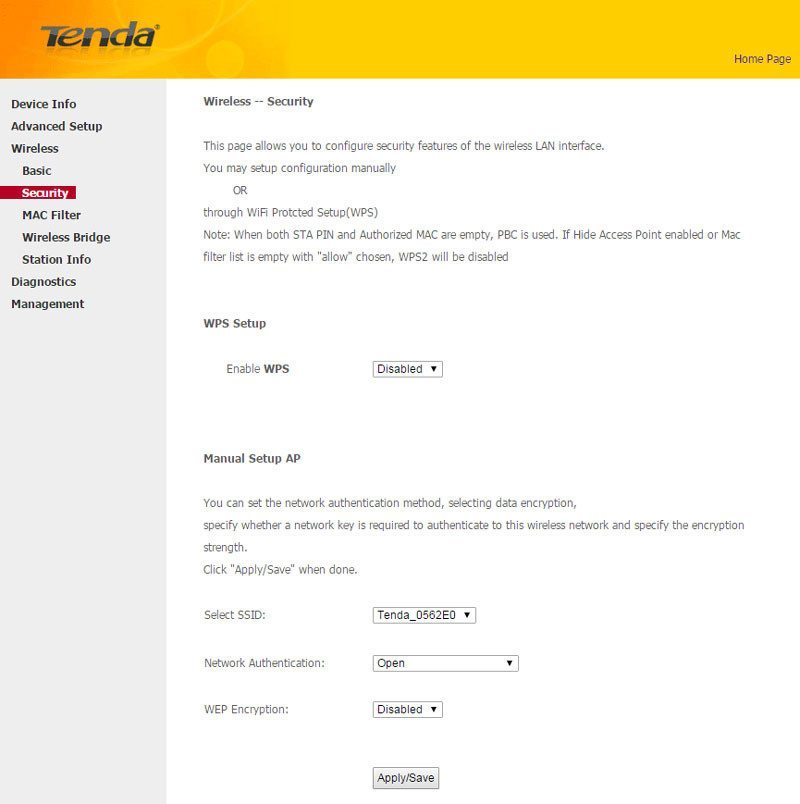
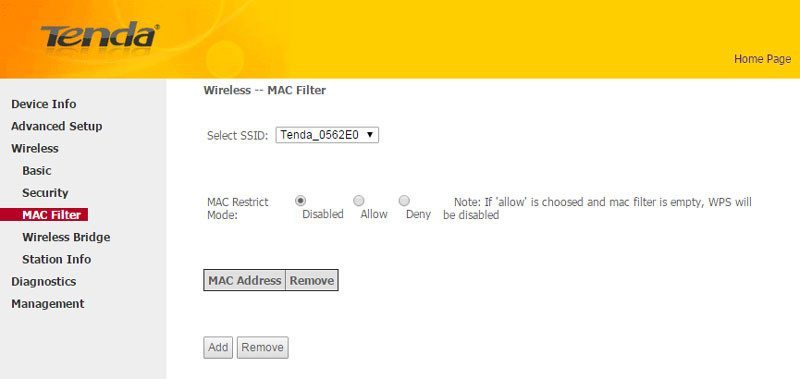
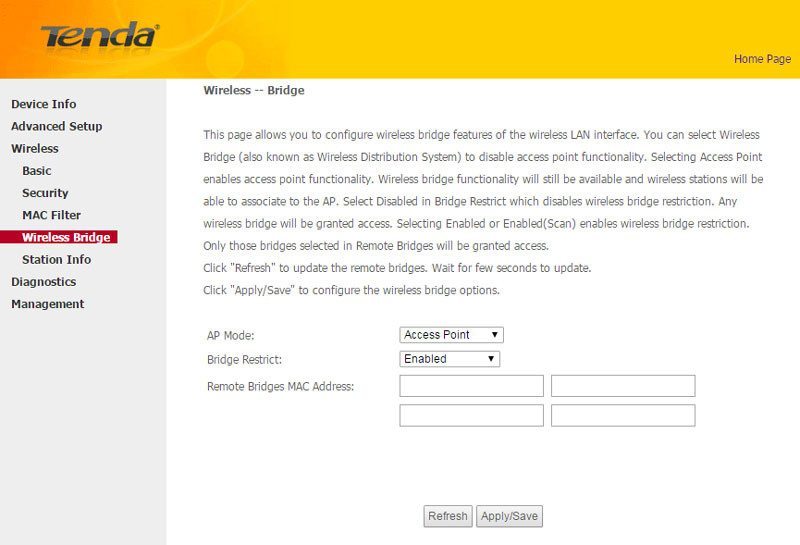
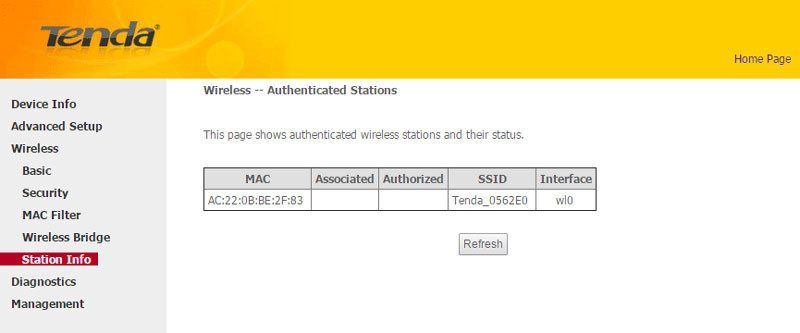
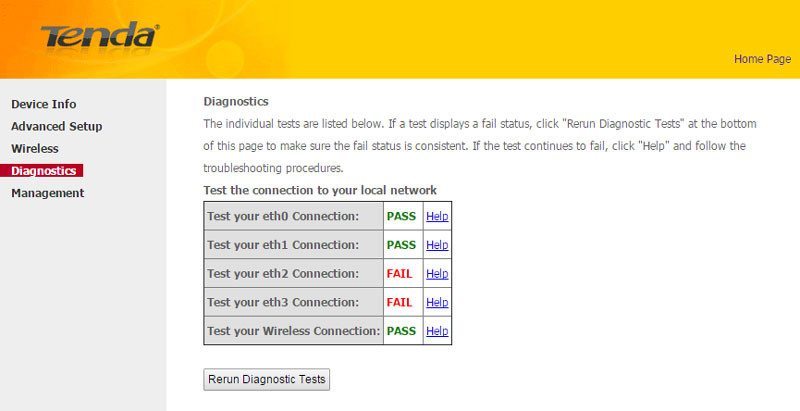
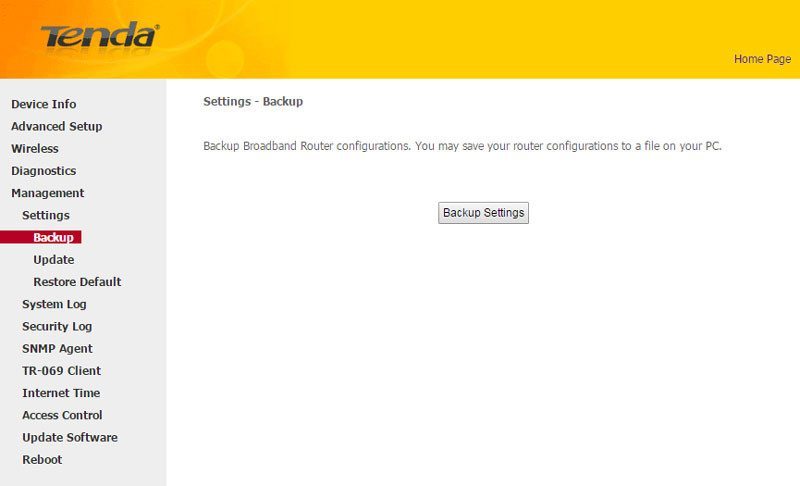
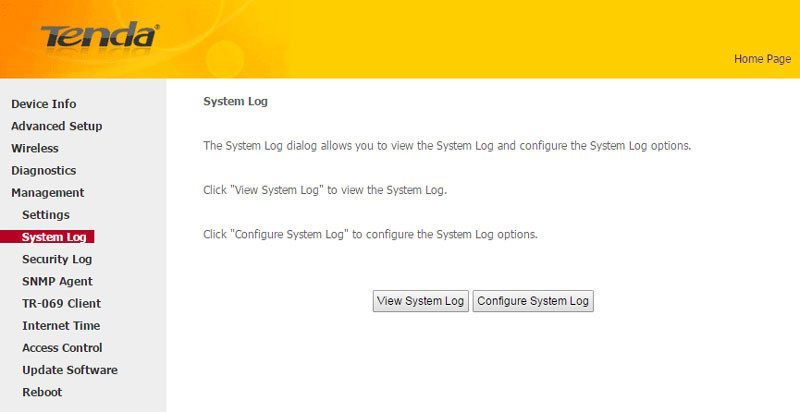
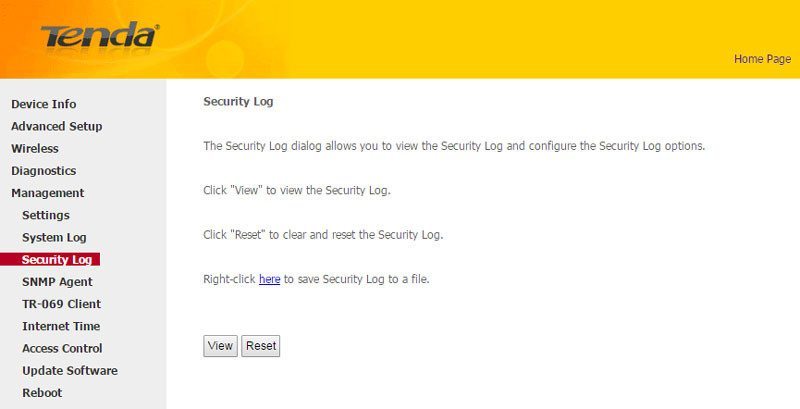
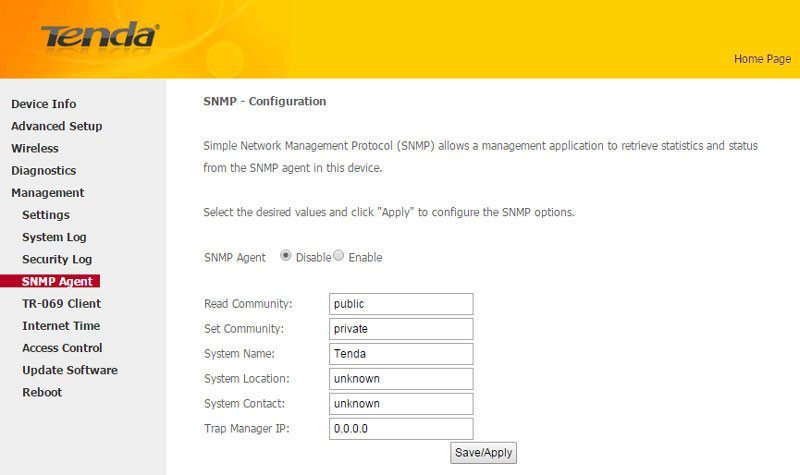
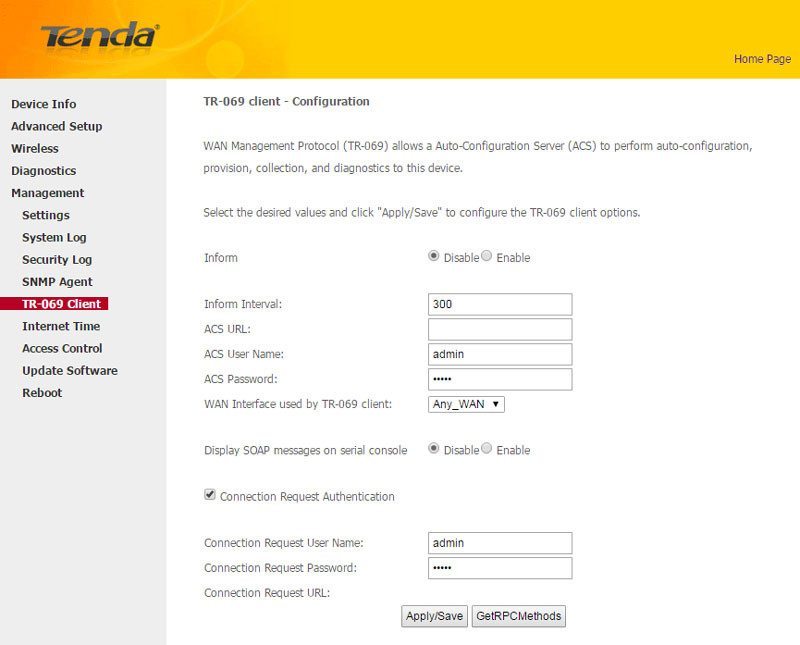
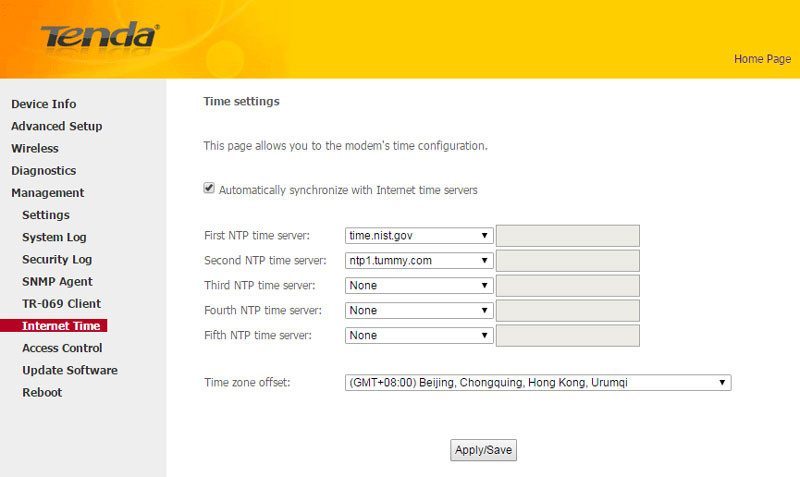
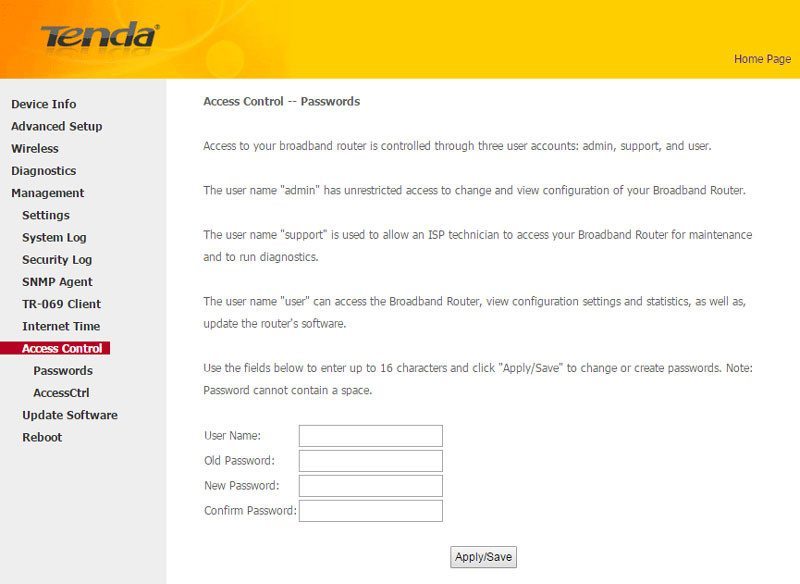
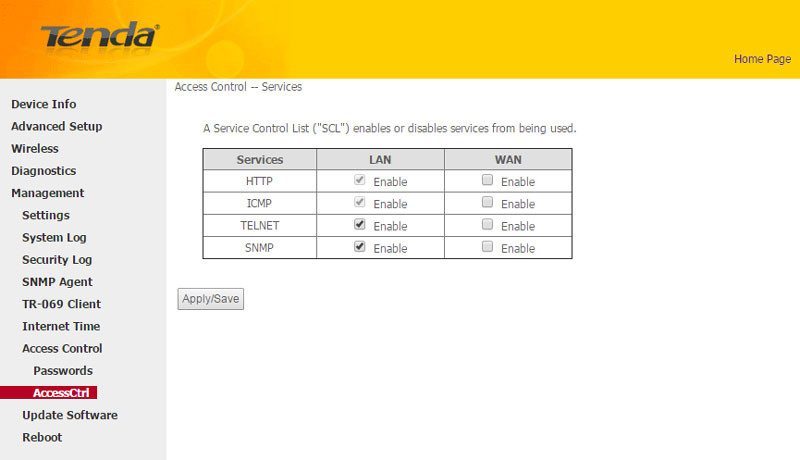
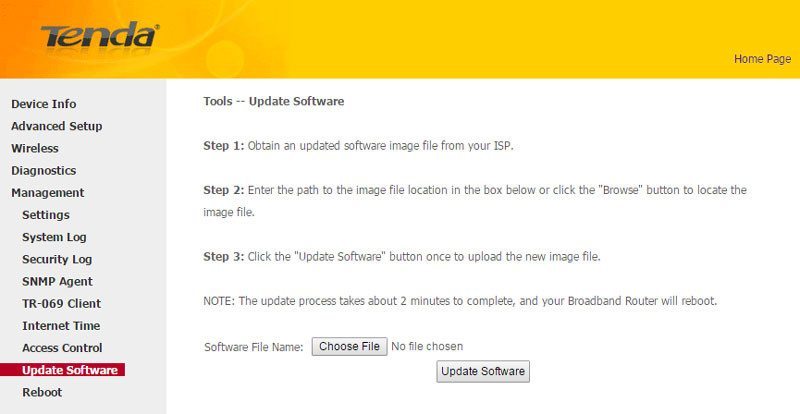
That was a lot more functionality than you’d expect from a device like this and it does add points in its favor despite the older hardware used.


