Tenda TEG1210P 10-Port Gigabit Ethernet Intelligent PoE Switch Review
Bohs Hansen / 9 years ago
User Interface
By default this switch comes with a static IP setting, so there is a chance that you might need to change your settings and connect to it directly when setting it up the first time. You’ll find all the default login information on the sticker on the bottom of the device itself as well as in the manual.

When you connect to the switch and login, you’ll be presented with a little function intro. This is pure information and there aren’t any features on this page, we’ll find them once we start to select things.

System Information
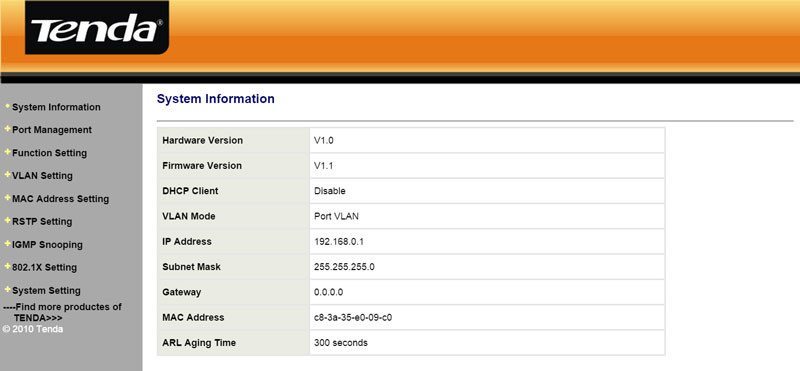
The System information is the first page and it provides information on the hardware and firmware revisions as well as IP status.
Port Management
The port management section is pretty self-explanatory, you can configure the ports, their speed and mode as well as flow control and admin abilities.

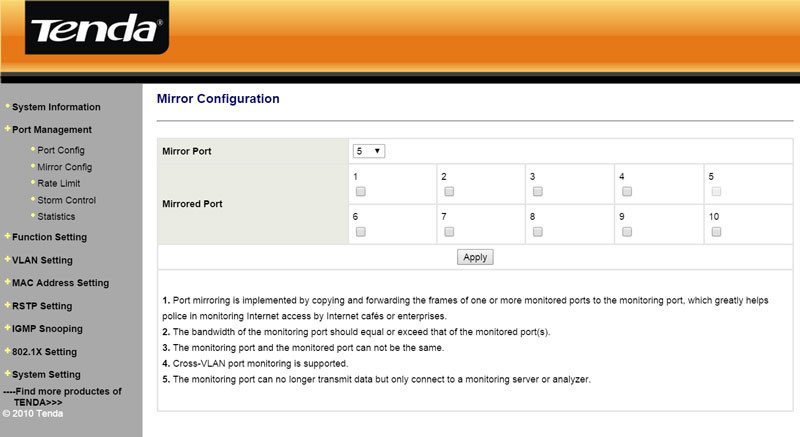
Port mirroring is a cool function that can copy and forward the frames of one or more monitored ports to the monitoring port, allowing you to easily police the internet access in enterprises.
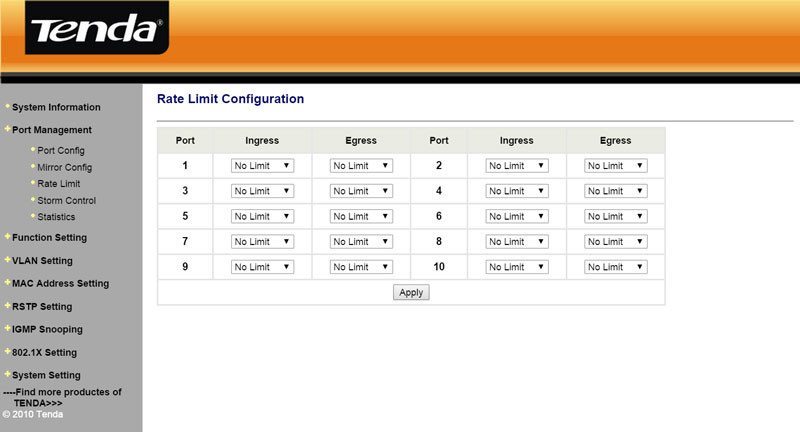
The Rate Limit configuration allows you to set throughput limits in 5Mbps steps from 5Mbps to 155Mbps for each of the 10 ports.
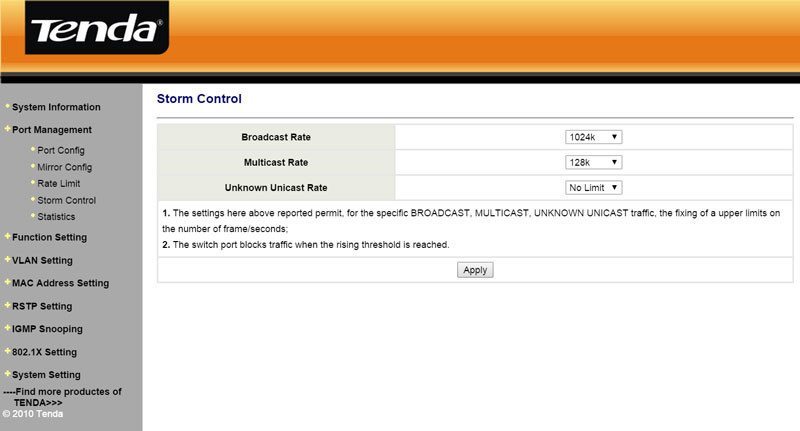
In the storm control settings, you can define the broadcast rate, multicast rate, and unknown unicast rates and set them with no limit or in 11 steps between 1k and 1024k.
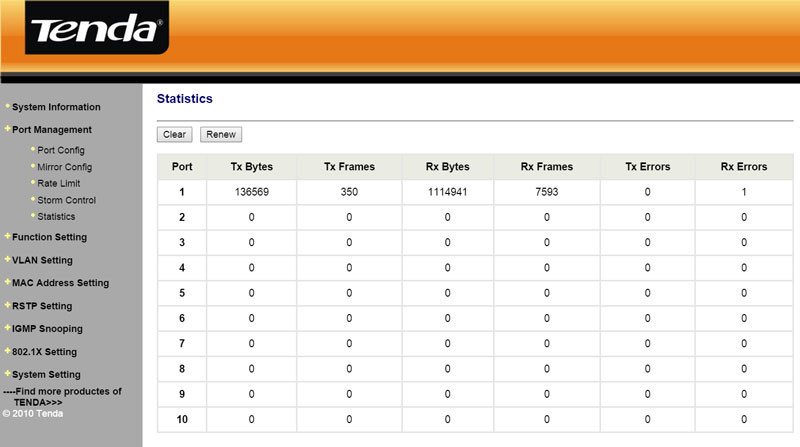
The statistics page doesn’t need much explanation, what you see is what you get.
Function Settings
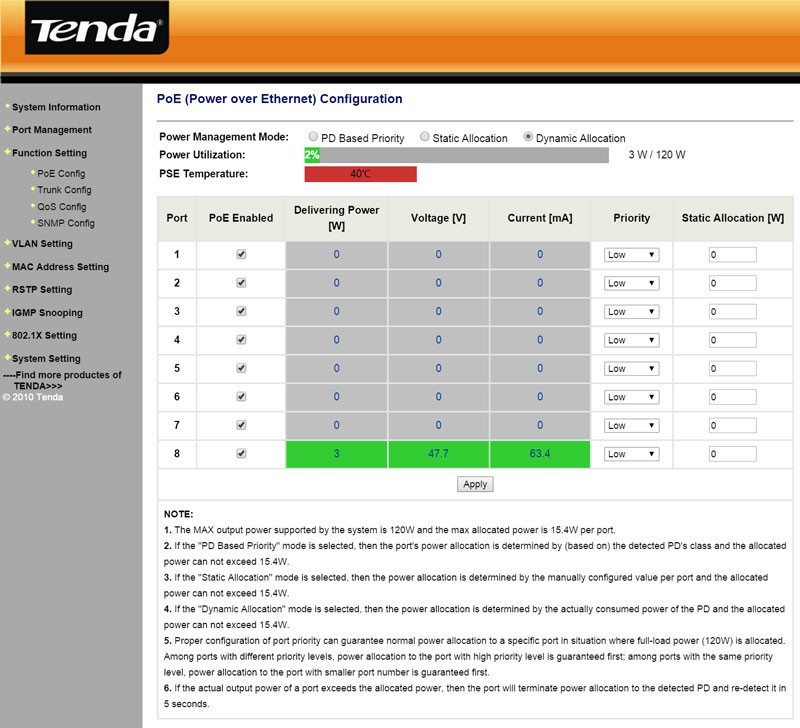
The PoE feature in this switch is awesome and it allows you to easily connect low-powered devices such as access points with just an ethernet cable and removes the need for a power adapter. In the shot below I have connected my Netgear ProSafe Wireless access point and everything worked as it should. You can see the power draw and temperature of the PSE.
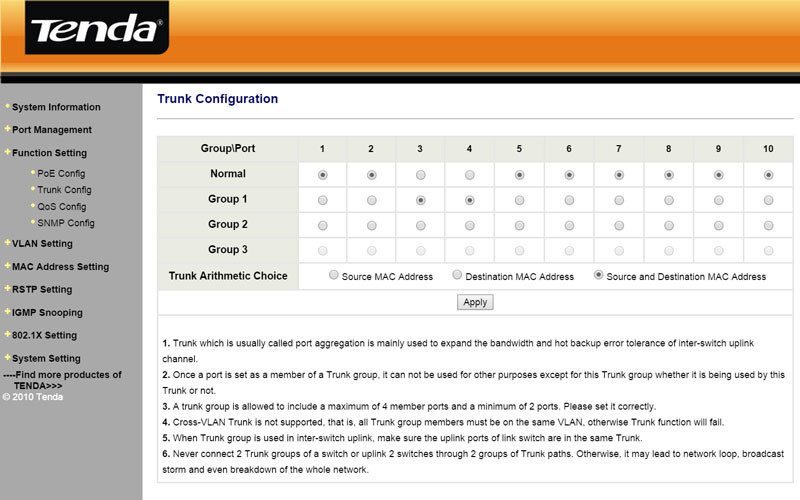
The port trunking, or link aggregation, call it what you want, is probably the place users will go most besides the VLAN area. More and more systems come with dual or more LAN connectors and so do NAS devices. This switch supports them all and you can create 3 groups with up to four members each.
The QoS service is relative simple, but it is effective. It helps so your important traffic stays prioritized, this could be your mail, web, or streaming servers, while keeping everything else on a lower priority.
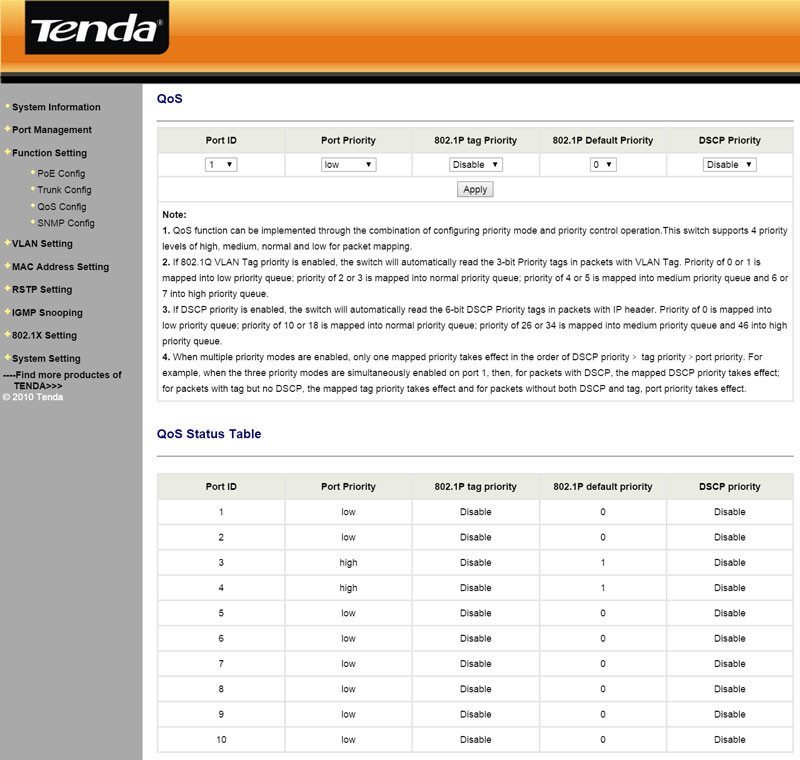
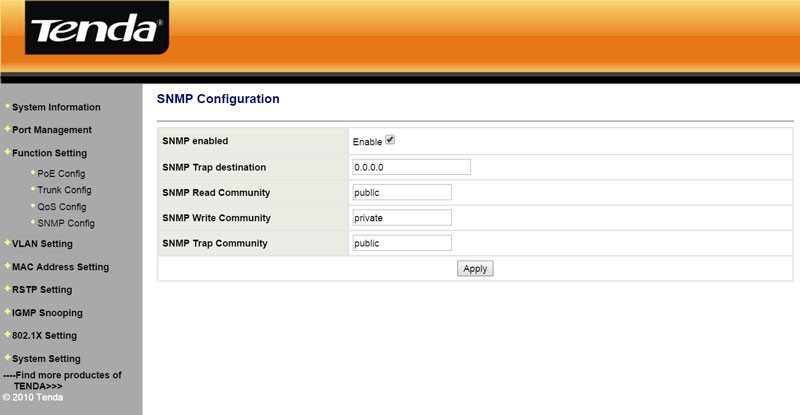
Simple Network Management Protocol (SNMP) is a popular protocol for network management. It is used for collecting information and configuring network devices.
VLAN Settings
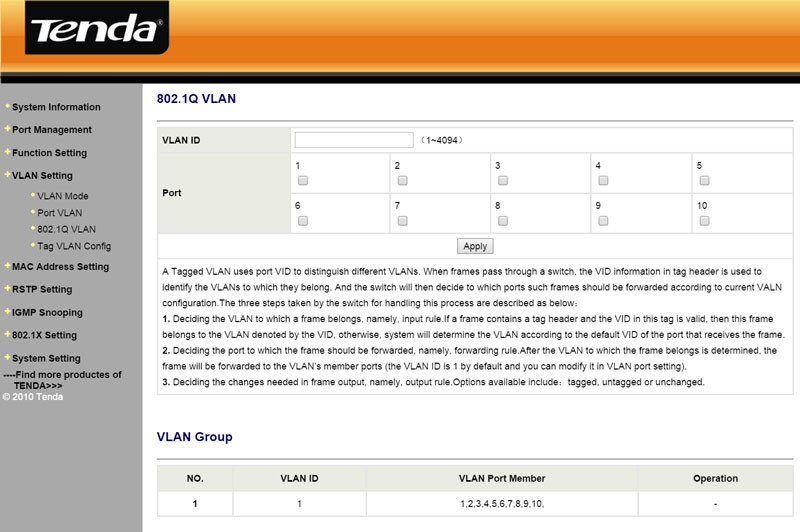
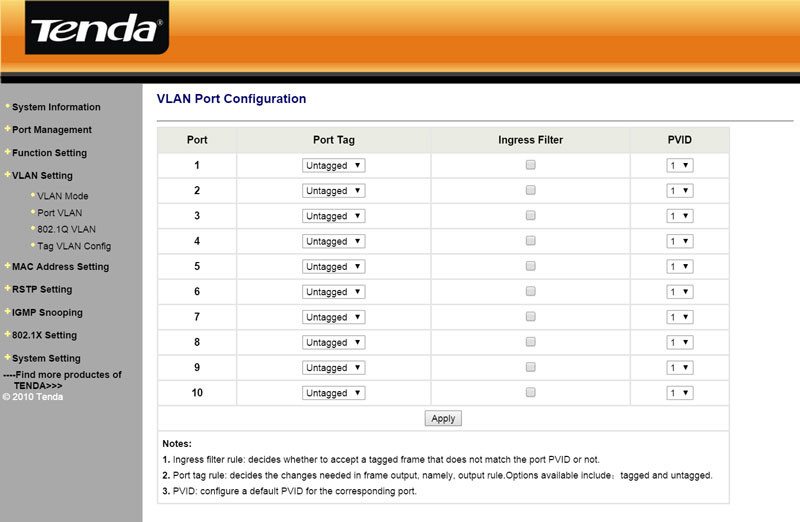
The Tenda TEG1210P supports both port-based VLAN and 802.1Q VLAN, but you can only choose one method.
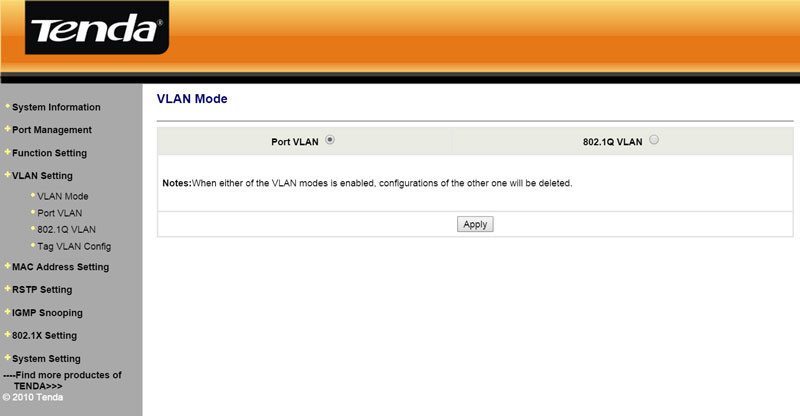
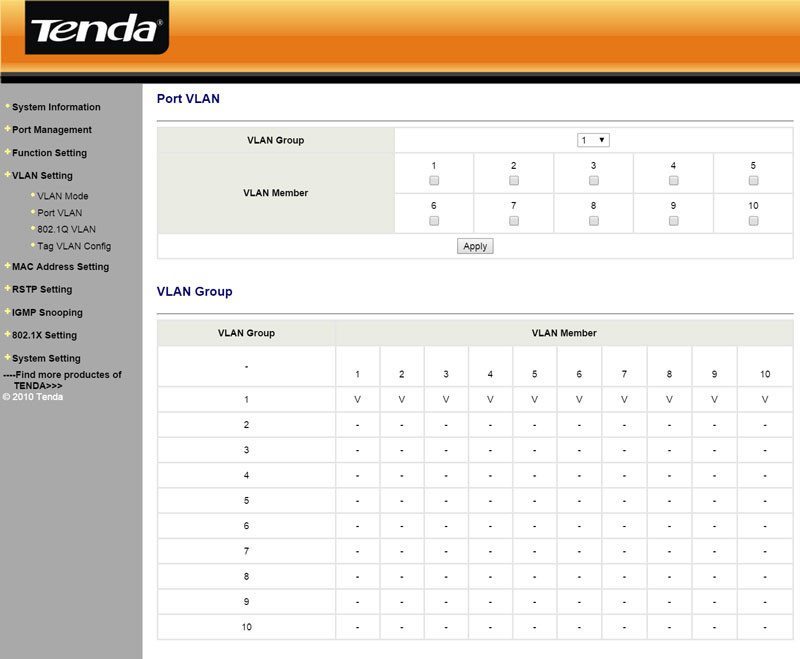
The VLAN port and tagging pages are another couple of those self-explanatory pages. Select a group or ID and add ports.
MAC Address Settings
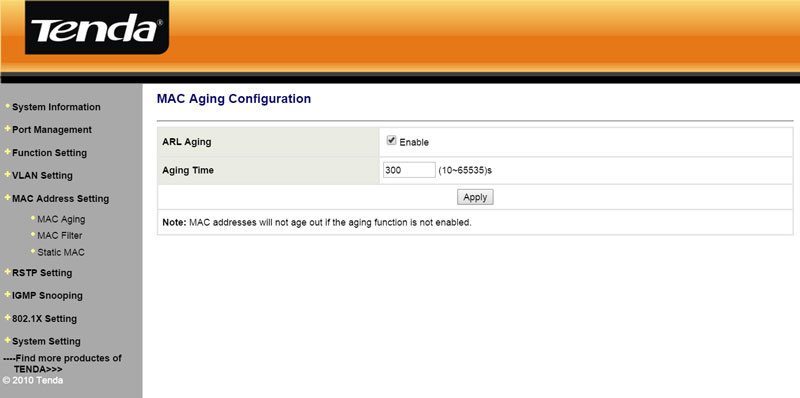
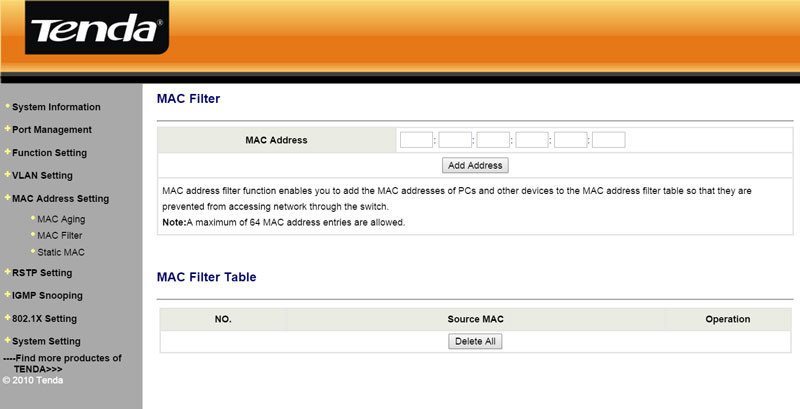
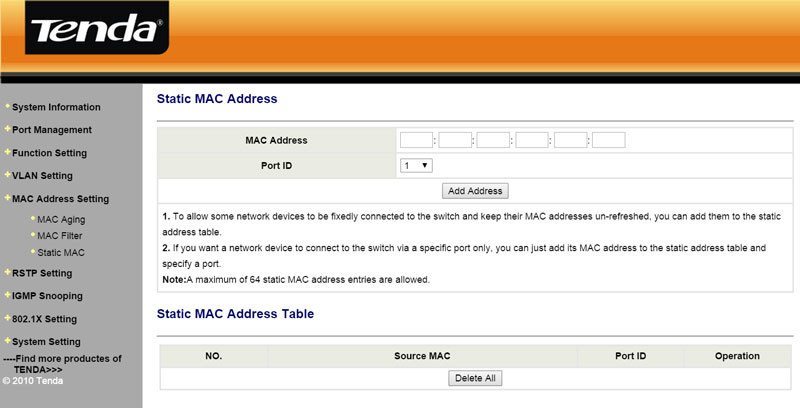
With the 8K MAC address table, the TEG1210P can store a long list of MAC addresses. You can define the aging time and also disable this feature if you do not wish to use it.
RSTP Settings
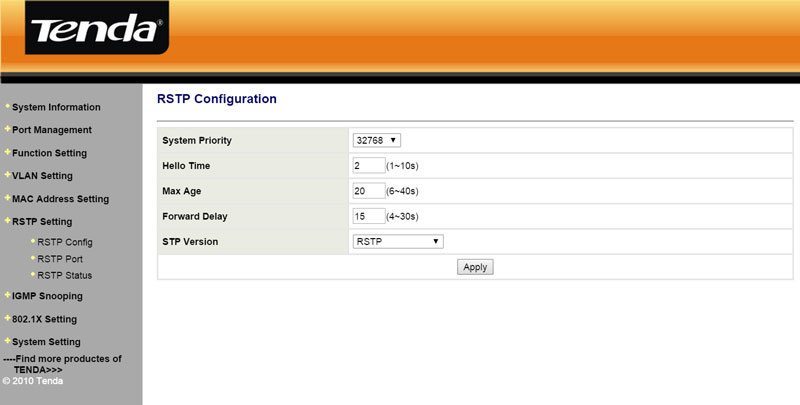
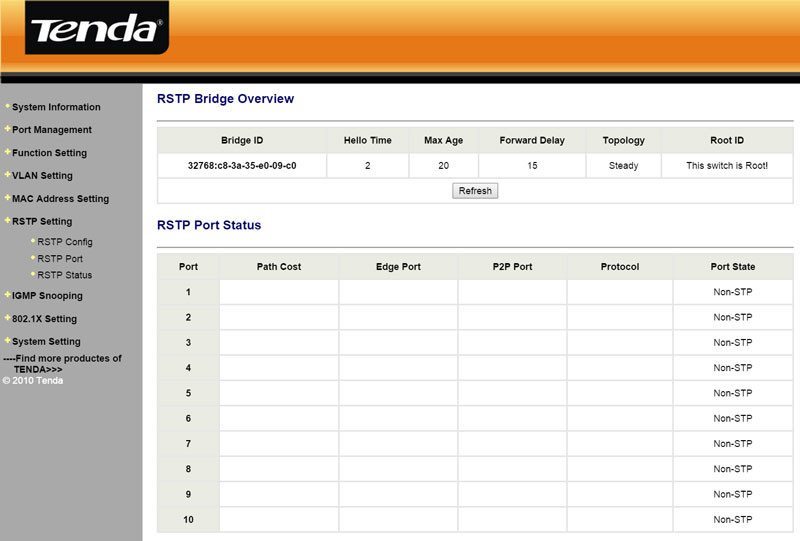
The Rapid Spanning Tree Protocol (RSTP) 802.1w provides significantly faster spanning tree convergence after a topology change, introducing new convergence behaviors and bridge port roles to do this. RSTP was designed to be backwards-compatible with standard STP. Where STP can take up to 30 to 50 seconds, RSTP does it in mere seconds and even milliseconds, depending on setup.

IGMP Snooping
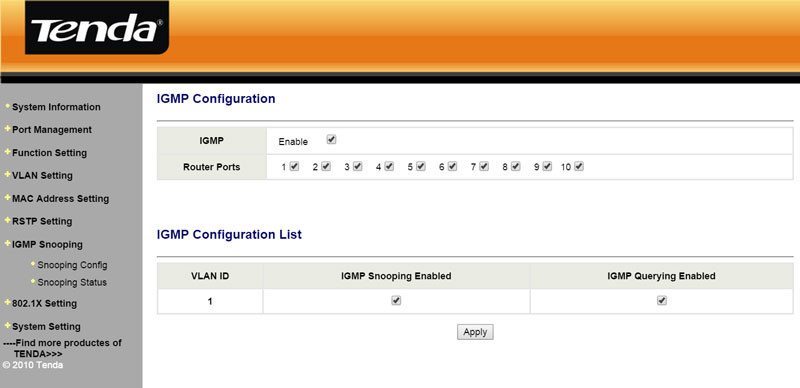
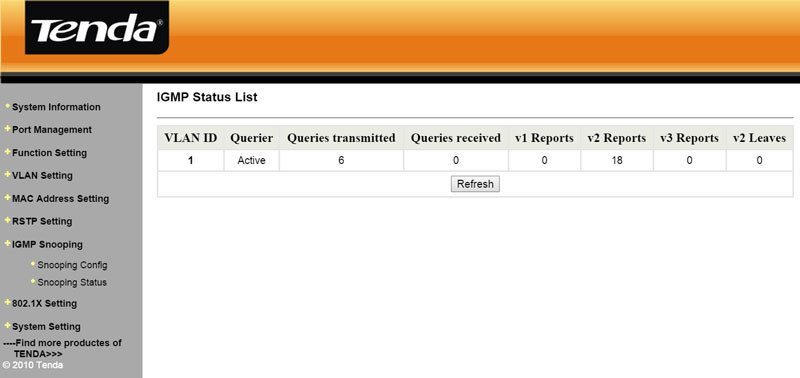
IGMP, or Internet Group Management Protocol, is a communications protocol used by hosts and adjacent routers on IPv4 networks to establish multicast group memberships. IGMP is an integral part of IP multicast.
802.1X Settings
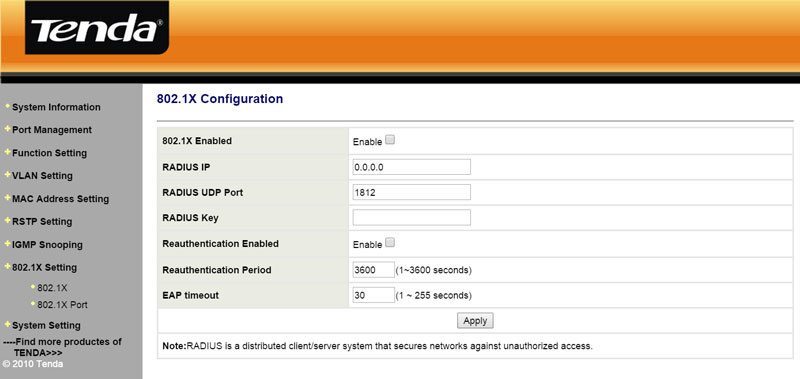
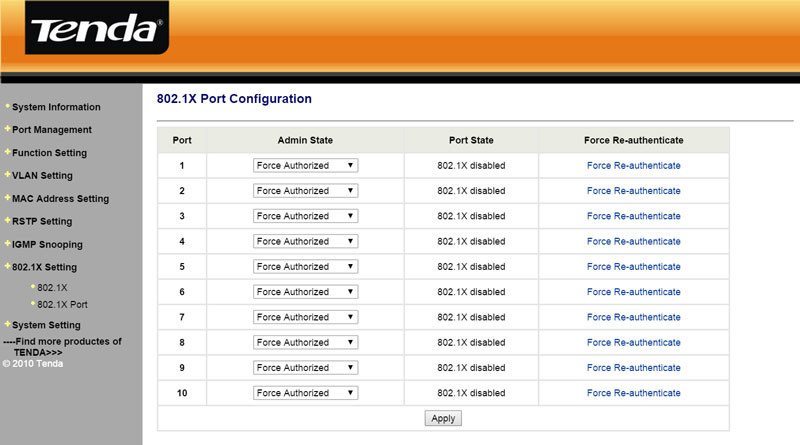
EEE 802.1X is a standard for Port-based Network Access Control (PNAC). It is part of the IEEE 802.1 group of networking protocols and provides an authentication mechanism to devices wishing to attach to a network.
IEEE 802.1X defines the encapsulation of the Extensible Authentication Protocol (EAP) over IEEE 802 which is known as “EAP over LAN” or EAPOL.
System Settings
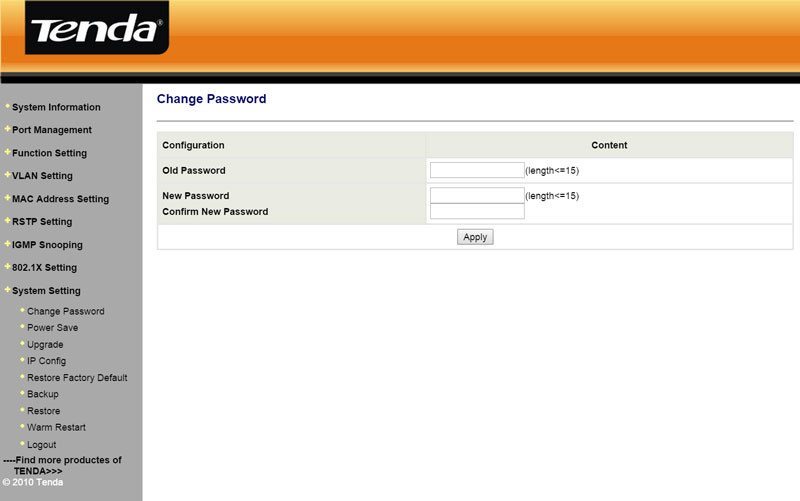
The last part of the settings panel is designed around the switch itself. You can change the admin password which is highly recommended. An admin/admin combination is far from safe, but a normal default password, you really should change it to something else.
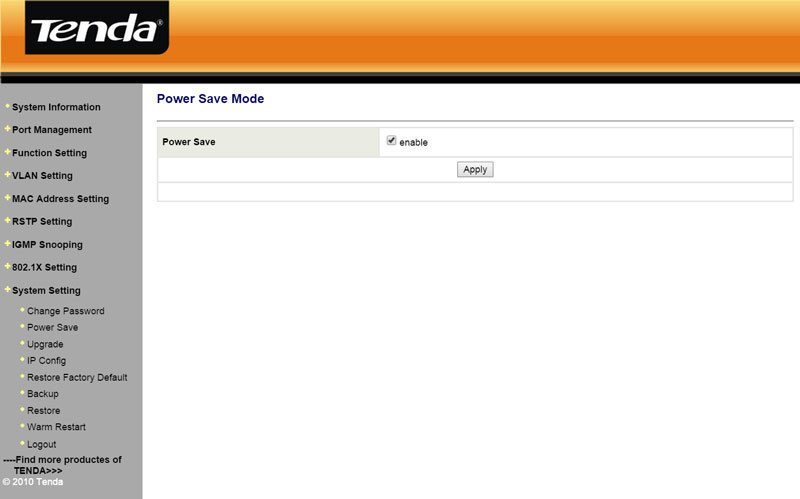
You can enable the power save mode to conserve energy, but I suspect most users will leave this disabled as they want to make sure they get the maximum performance that they can get.
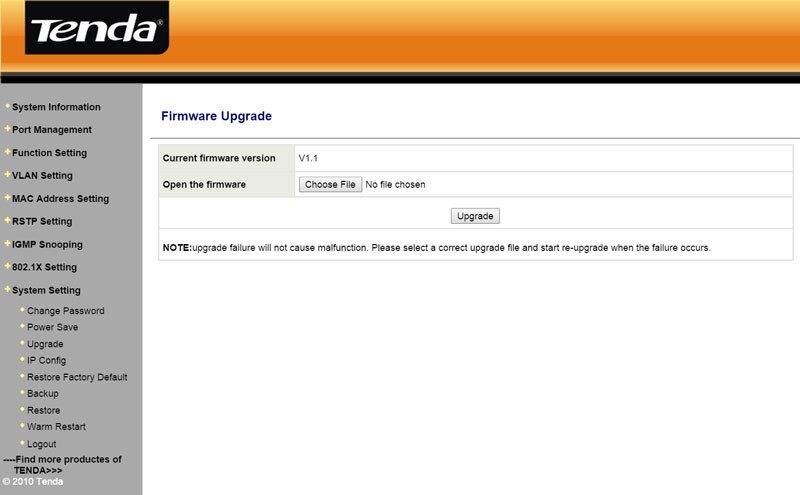
There is no online update feature, which is a little bit sad. You can however manually download and install a new firmware to the switch, if some should be released.
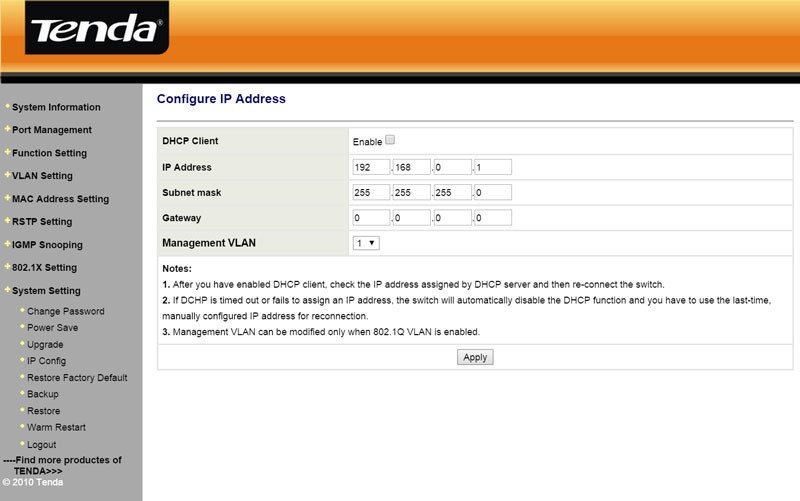
By default the switch is set to a static IP, a smart choice for such an important part of the infrastructure. If your DHCP server on the other hand already handles everything by MAC address or you don’t care which port the admin interface runs on, then you can enable the DHCP client and get an automatic IP address.
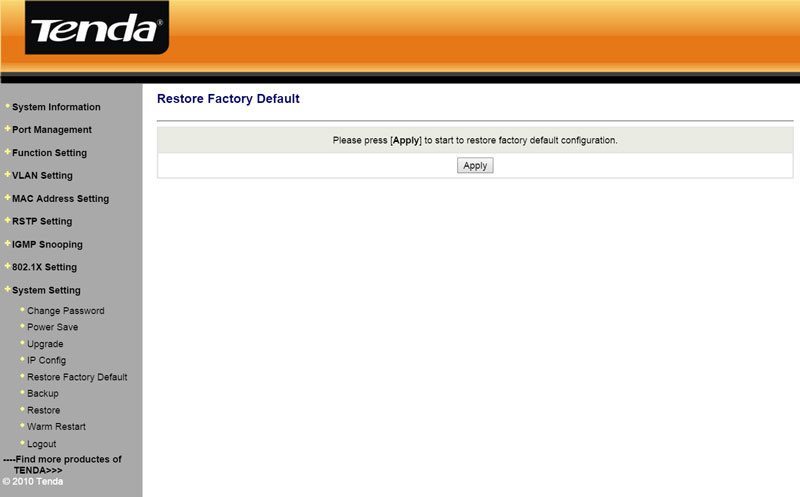
If you messed everything up or just want to start from scratch, restore it to factory defaults.
Or you could make sure to create a backup once you have all your settings made.

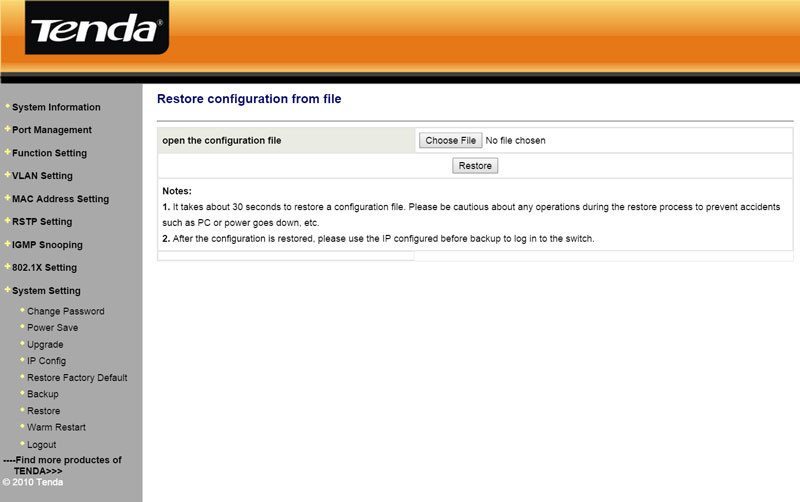
And then have the ability to recover and restore the configuration at any time later.
