Thecus W2810PRO 2-Bay WSS SMB NAS Review
Bohs Hansen / 8 years ago
A closer look
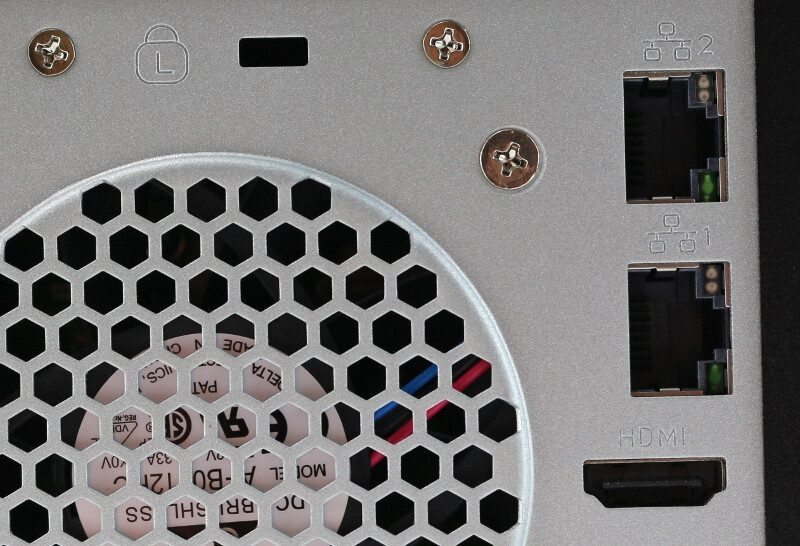
It’s time to take a closer look at some of the external features on this NAS and why not start with the rear of the unit. At the top, we have to Gigabit Ethernet LAN ports that naturally can be paired, but you could also use them to connect to different subnets. Below those, we have the HDMI port which most likely will be the one you’ll use to connect a monitor to.
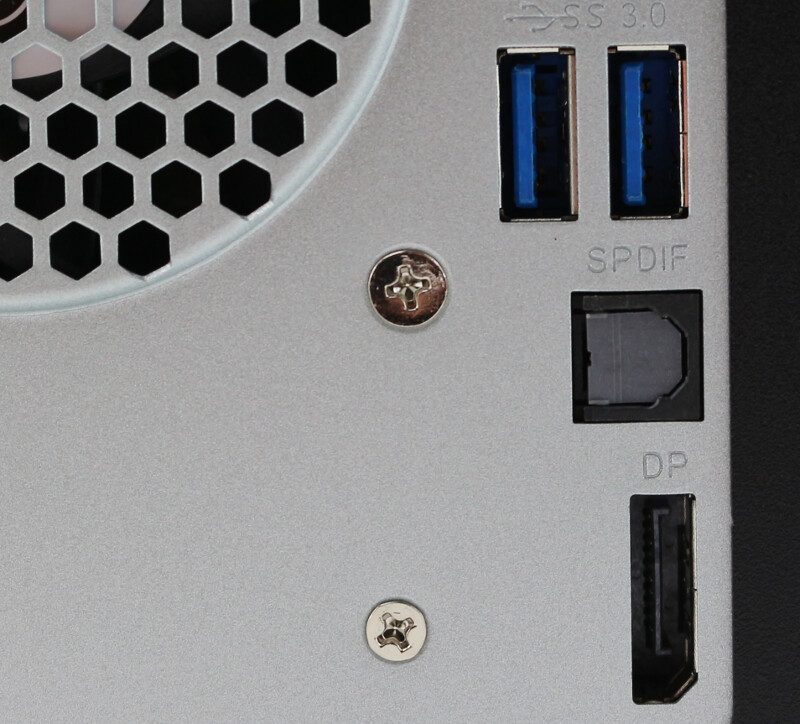
Should you have a more modern monitor that also supports DisplayPort, than that is found further down the unit, below the two USB 3.0 ports and the SPDIF audio port.
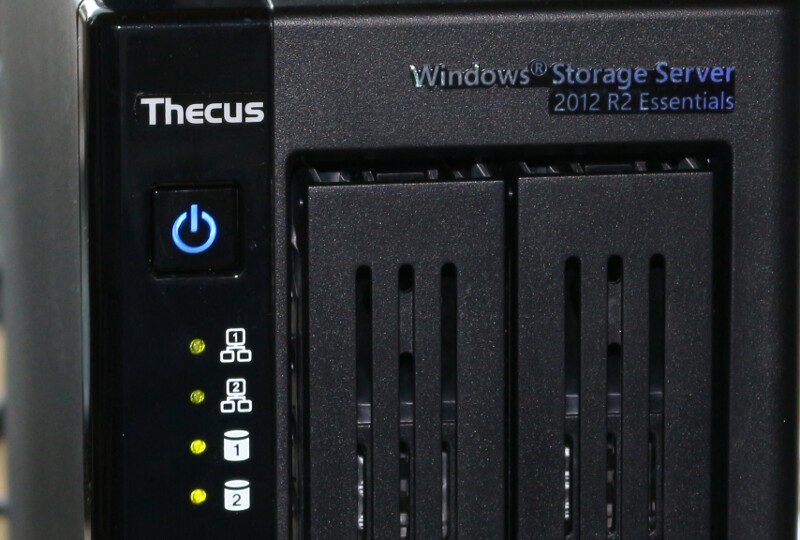
On the front of the NAS, we have LEDs for the two LAN ports and both drives. The power button also acts as a system LED.
At the bottom of the front is another USB 3.0 port with a one-touch backup button for quick backup jobs to external drives.
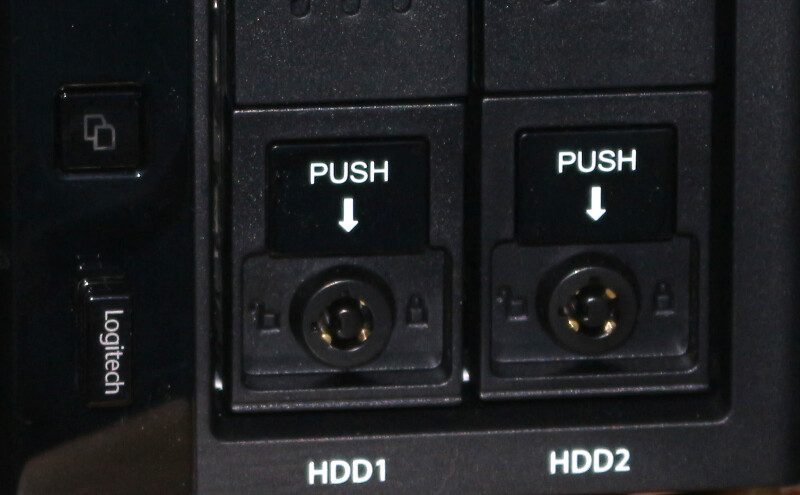
The drive trays feature tool-less installation. Just open the ledges, insert the drive, and close them again.
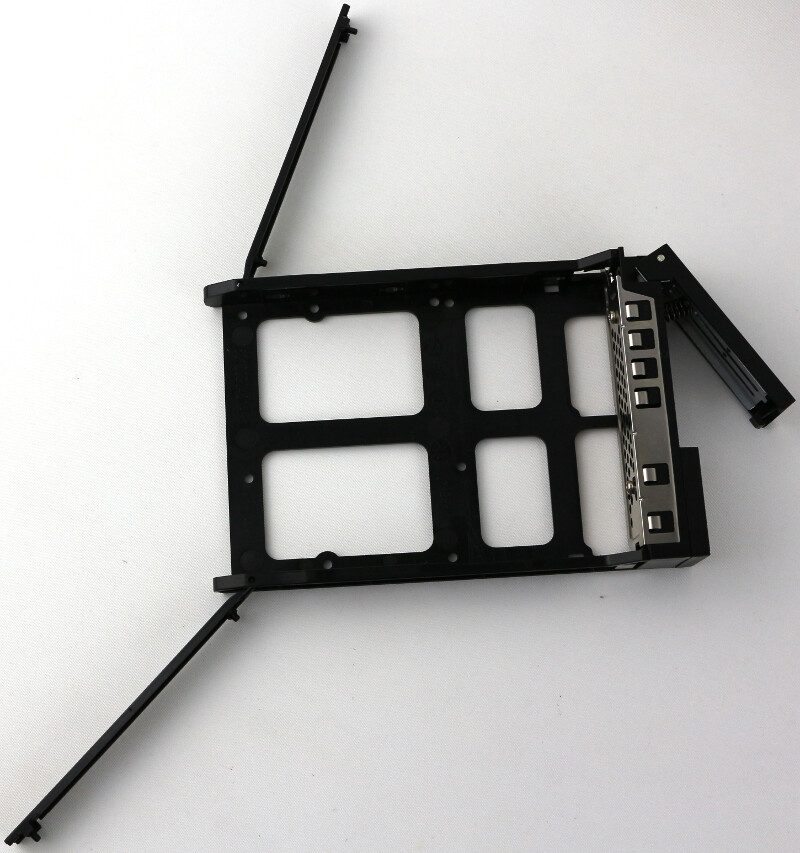
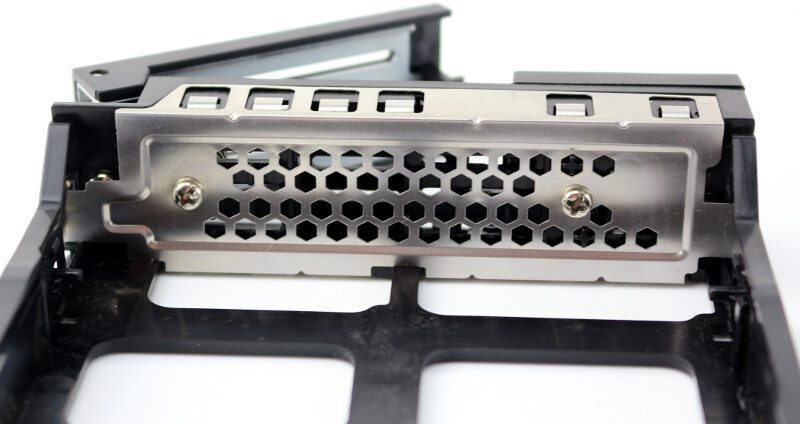
Each of the drive trays comes with a lock so no one accidentally ejects one of the drives and interrupts your operation as well as prevent sticky fingers from running away with your data that way. The drive trays are quality sturdy ones with spring ledges and metal shield.
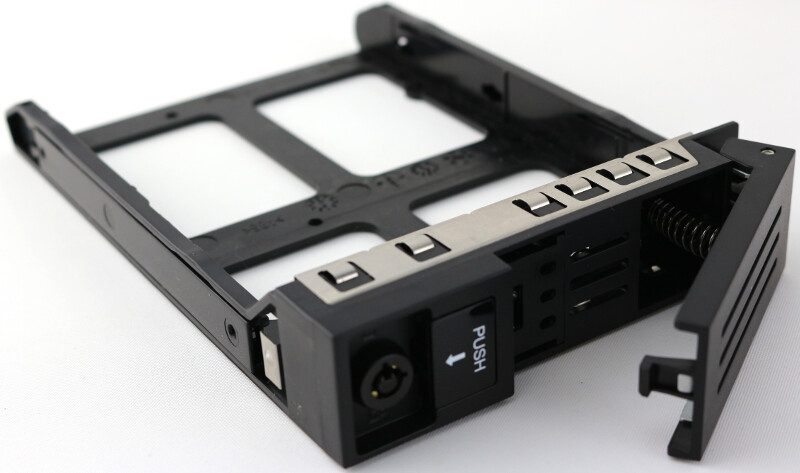
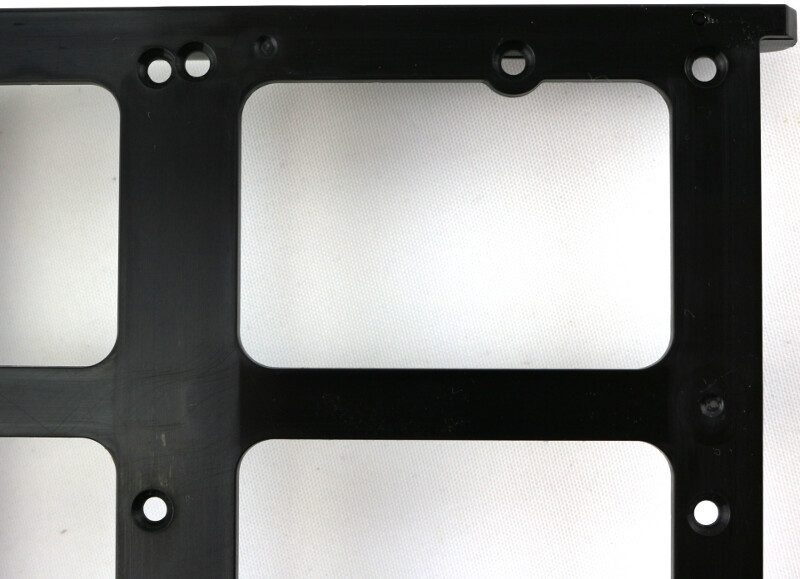
As previously mentioned, you can also install 2.5-inch drives in these drive trays, but that requires the included screws to be used.
There is a good ventilation access at the front of each drive bay, allowing the NAS to draw in enough air to keep everything running smooth and cool.
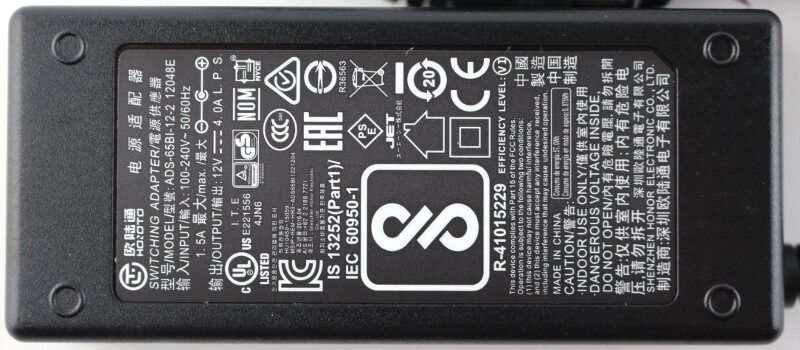
The included PSU brick delivers can deliver 12V and 4A which should equal 48 watts.
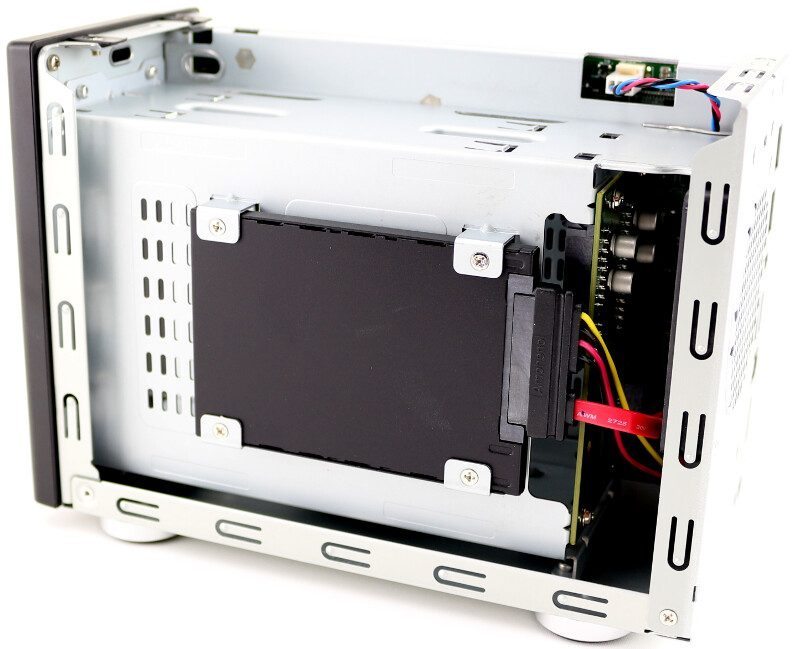
We have had a look at the outside and the drive bays, now it is time to take a look inside at the parts you most likely won’t see as a normal user. Removing the cover reveals the OEM SSD on the one side and the motherboard on the other side.
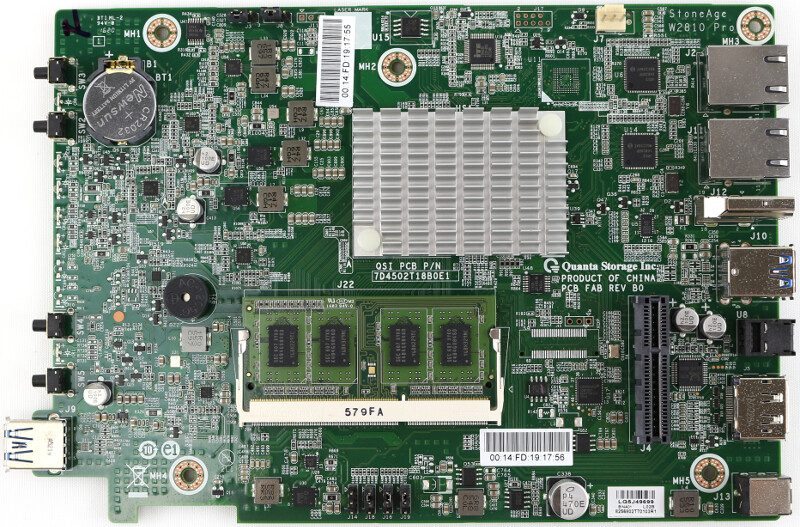
Removing the motherboard itself reveals all the components. The CPU is hidden below a small passive heatsink and otherwise the board is quite simple. There is only one RAM slot which means that we’re limited to single-channel RAM setup, sadly.
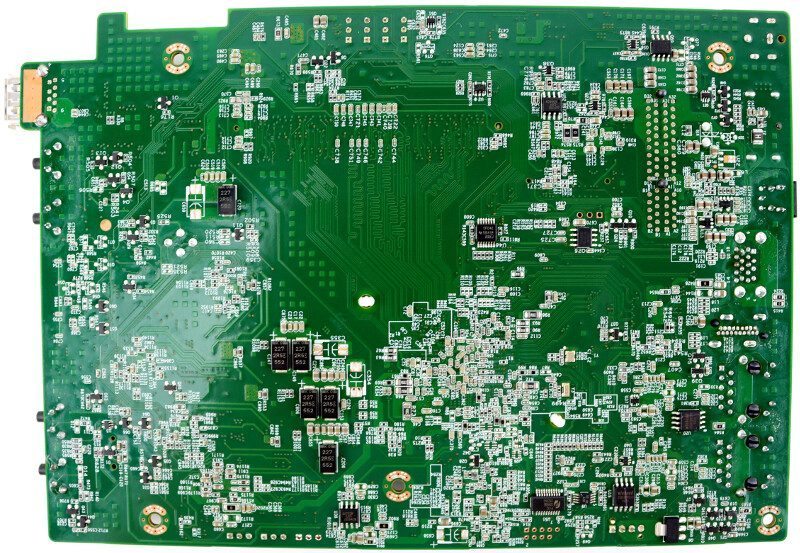
The rear of the board doesn’t have much interesting to show.
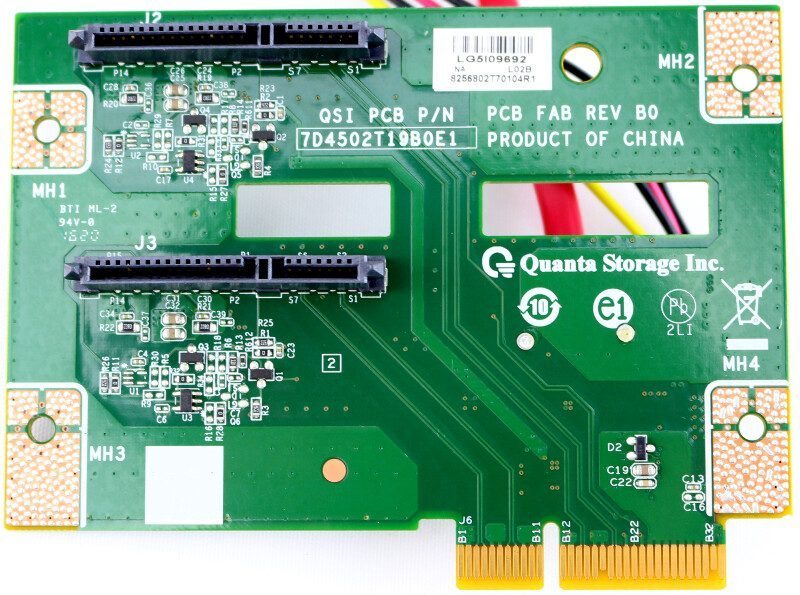
The PCB bridge features two SATA and power connectors on one side.
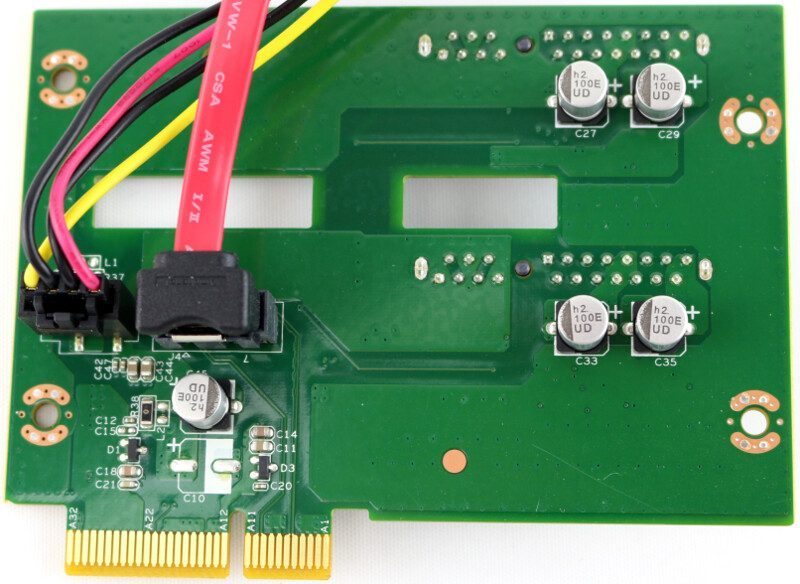
The other side of the bridge features connections for the SSD and a few solid capacitors to ensure a stable power supply to all the drives.
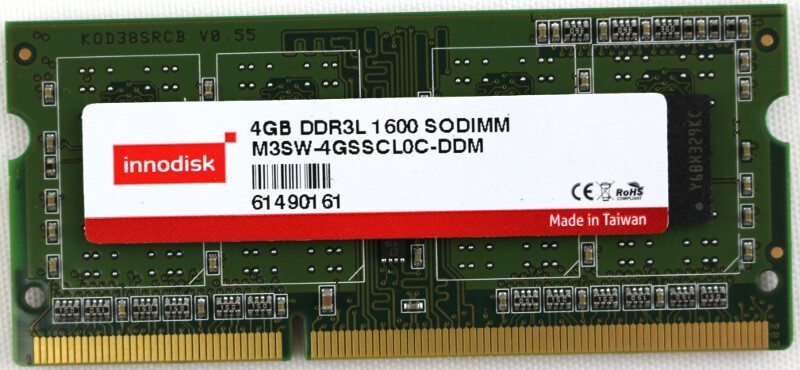
The installed RAM module comes from Innodisk and is a 4GB 1600MHz SODIMM module, but that might vary.
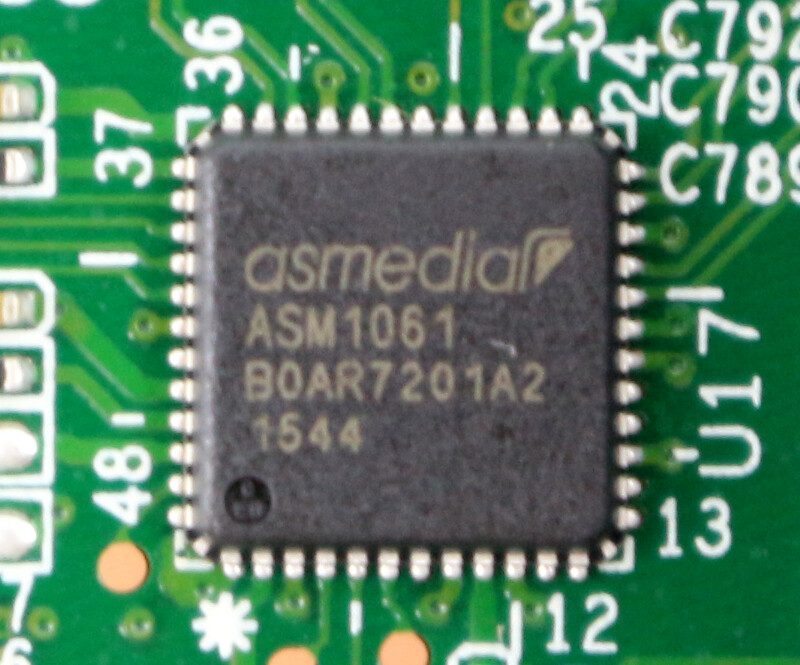
Taking a closer look at the chips, we see that there is 2-channel ASMedia ASM1061 bridge controller.
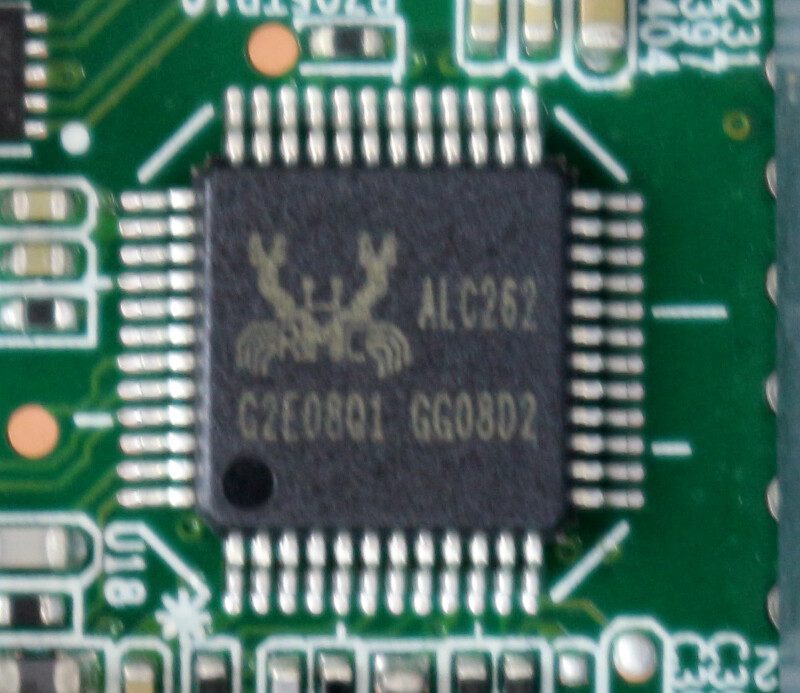
A Realtek ALC262 audio codec chip.
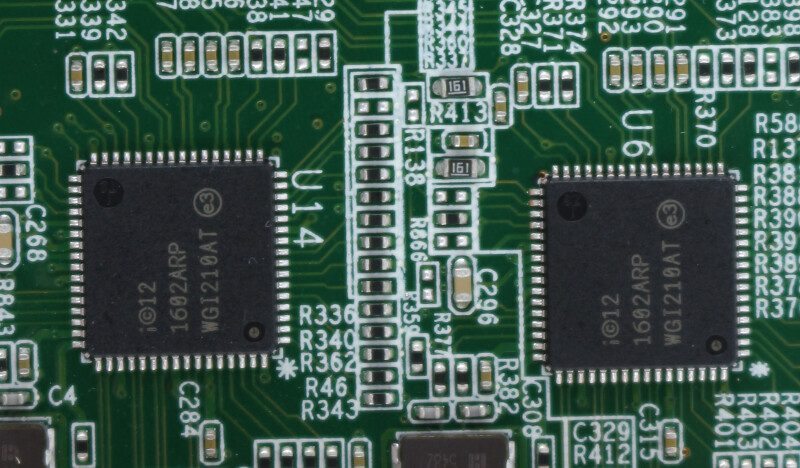
And two Intel I210AT controller chips for the two LAN ports.
All the front buttons and LEDs are directly attached to the motherboard.


