Thermaltake 300 TG Snow ARGB Case Review
Peter Donnell / 4 years ago
Interior
The side panel removes in two parts. First, you unscrew the thumbscrews and lift away the metal section, as the glass is mounted separately.
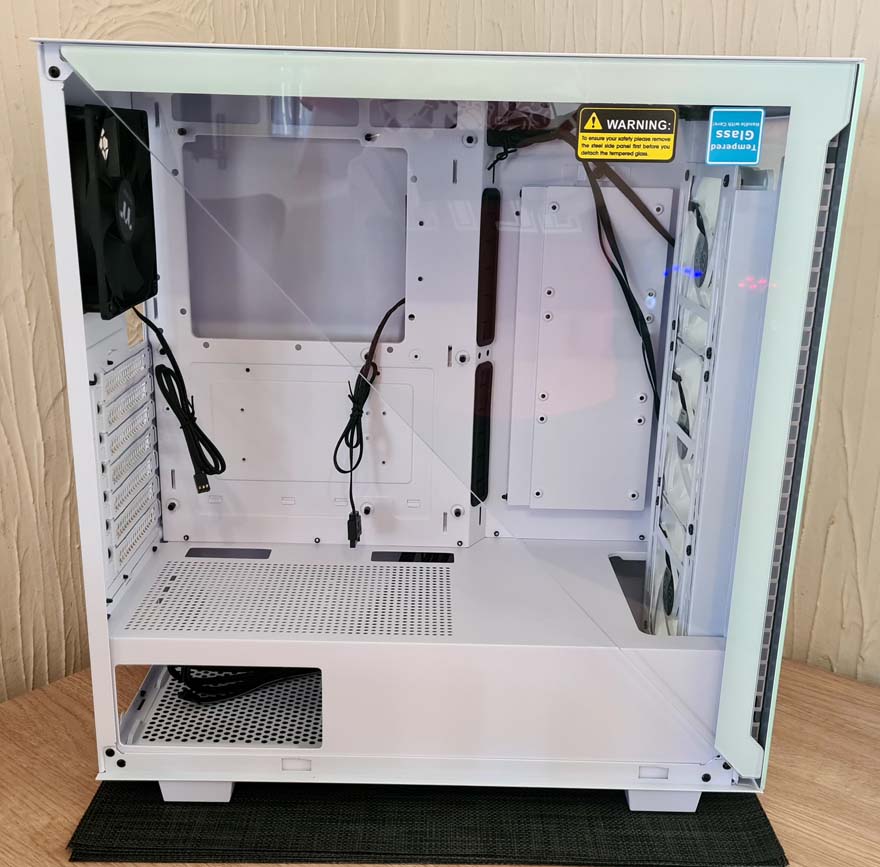
Wow, this does look strange!

The glass is just on push pins, so just put your fingers behind it and tug at it, and it’ll come away. Don’t worry, though, as it’s plenty secure. Now that it’s open, you can see there’s a lot of space in here for your hardware, albeit it’s a pretty common layout for a modern gaming PC case.

There’s a built-in full-length PSU shroud. Amusing to me that it comes with a cut-away to view the PSU, but there’s a metal side panel in the way here. Of course, this interior likely gets used for multiple variants of the case, so it’s not too surprising. There’s good ventilation there, some cable routing holes, and a larger cut-out at the front to allow for a full-height radiator to be installed.

The mounting brackets for the expansion slots are all pushed to the case’s exterior, giving you a nice clean flat back here. That’s good too, as it looks smarter, but no doubt helps with the rotating bracket design too.

In the rear, we have that TT 120mm exhaust fan. I would have loved another white ARGB fan here, but actually, the black contrasting look works well, and it’ll actually be hidden as there’s no glass on this bit of the side panel.

Snug in the top, you’ll see there’s a magnetic dust filter, but also a fan mount, so you can play around with that.

There’s a lot of room for a good size radiator in the front, and because the fans are mounted on the other side of that removable bracket, you can use them with your radiator without having to remove them first.
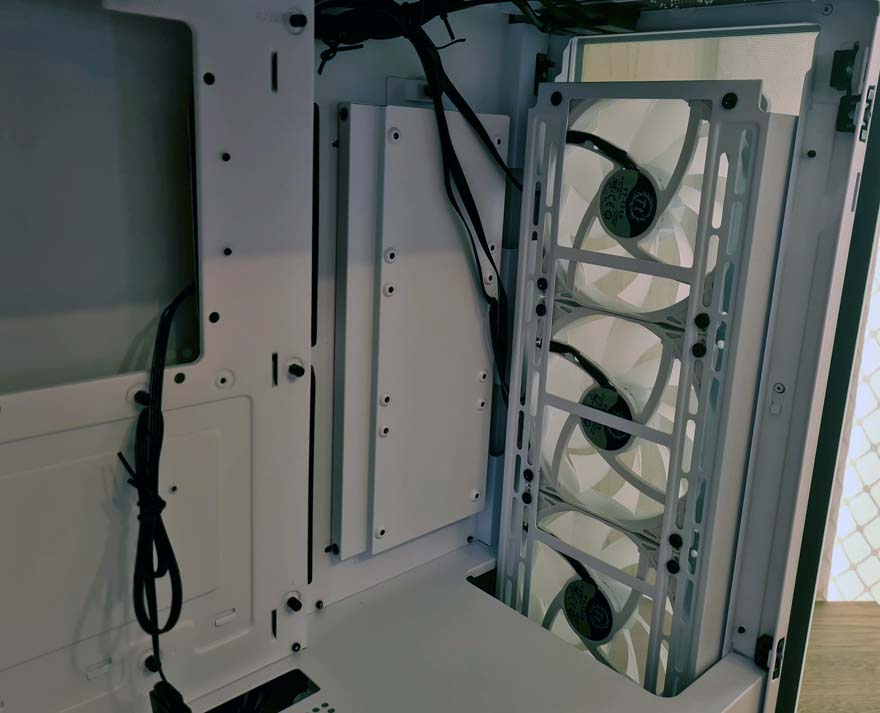
There’s a bunch of SSD mounts here, giving you room to display 3 x 2.5″ drives. However, it’s removable, and we’ll get to why on the next page.

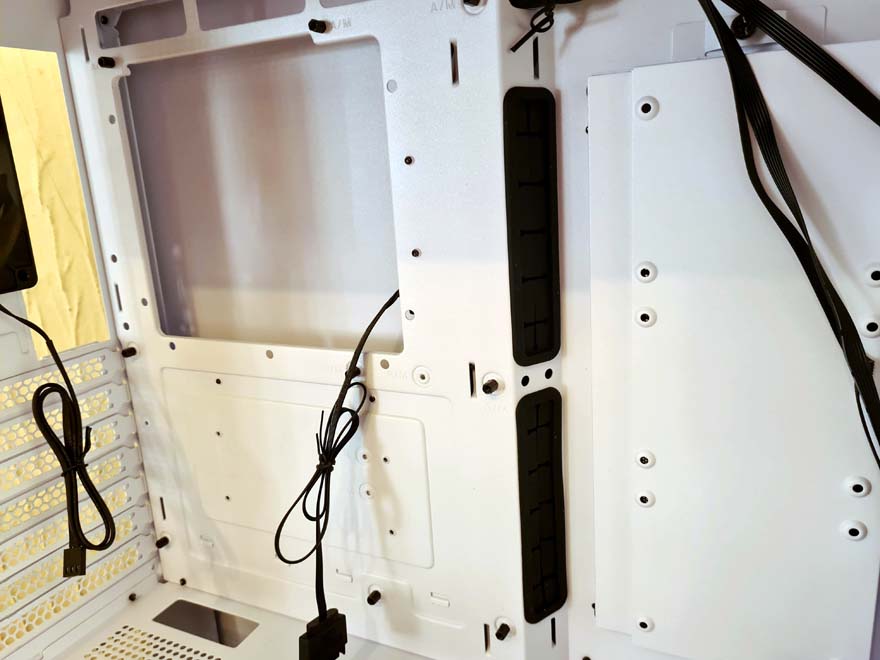
The cable routing options are really nice here, with lots of routing holes above the motherboard. Plus, there are two long grommets set at an off-angle from the motherboard.
The right side panel has a large ventilated section, with a magnetic dust filter on the back to ensure the system gets clean airflow.
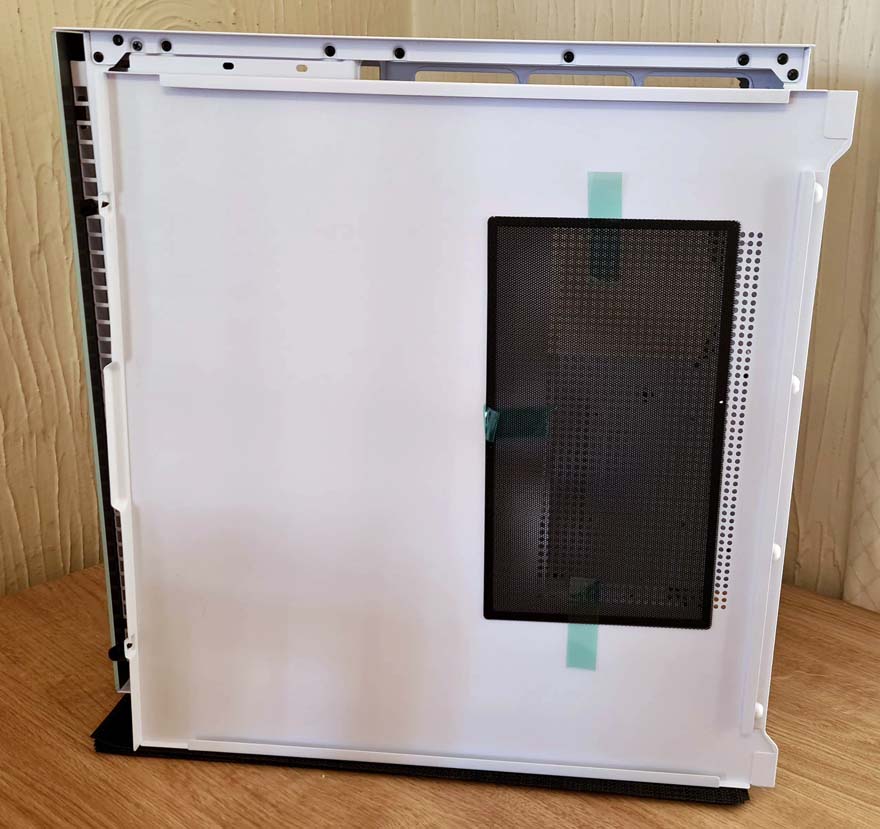
You can see the purpose of that air vent here, as there’s actually a pair of 120mm fan mounts on the right side. However, you can even go for a 240mm radiator if you desire. Keep in mind that you’ll have to remove the SSD bracket from the other side; it’s one or the other.

There’s a small PCB tucked into the back too, which has the three front fans hooked up to it. This will allow you to control the ARGB from the reset button on the front panel. However, you can also pair it with your motherboard using a sync cable; it’s really up to you.

While there are three SSD mounts on the front bracket, there are two more located right behind the motherboard.

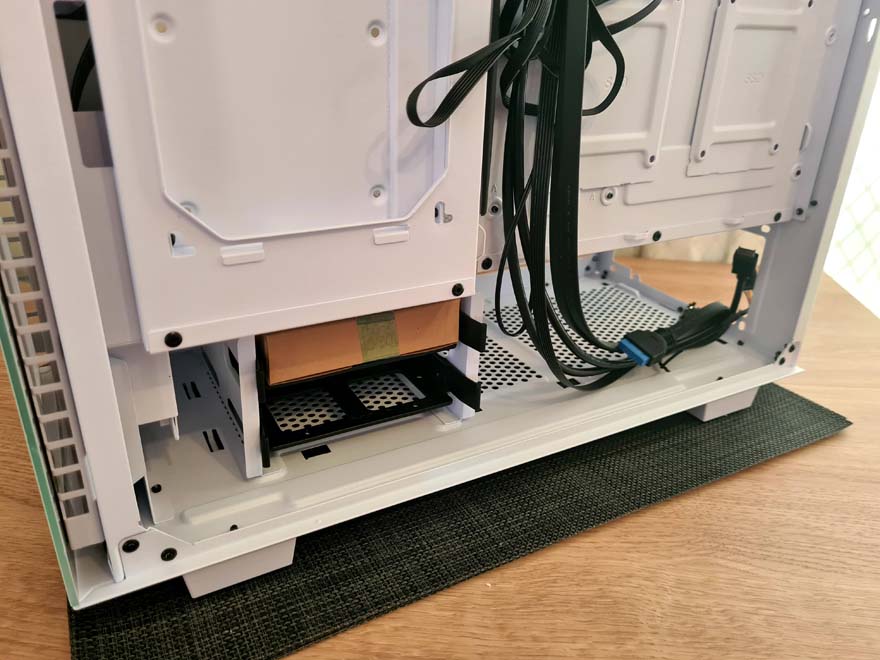
Finally, there are two more drive mounts located in the bottom under the shroud. The hard drive cage can be removed should you really need that space for anything else, such as liquid cooling hardware or a larger PSU.
