Thermaltake A31 Chassis Review
Peter Donnell / 12 years ago
With the side panel removed we can immediately see that the A31 is fairly well equipped, with an interior paint job that gives a really uniform and premium finish to the chassis, large CPU mounting cut-away that should help with CPU cooler installations and three good size cable routing cut-outs, each fitted with a high quality rubber grommet that look more than capable of maintaining good cable management. The motherboard standoffs come pre-installed for quick installation of the motherboard, and finally there is even room for an extra 120mm intake fan on the bottom centre of the chassis.
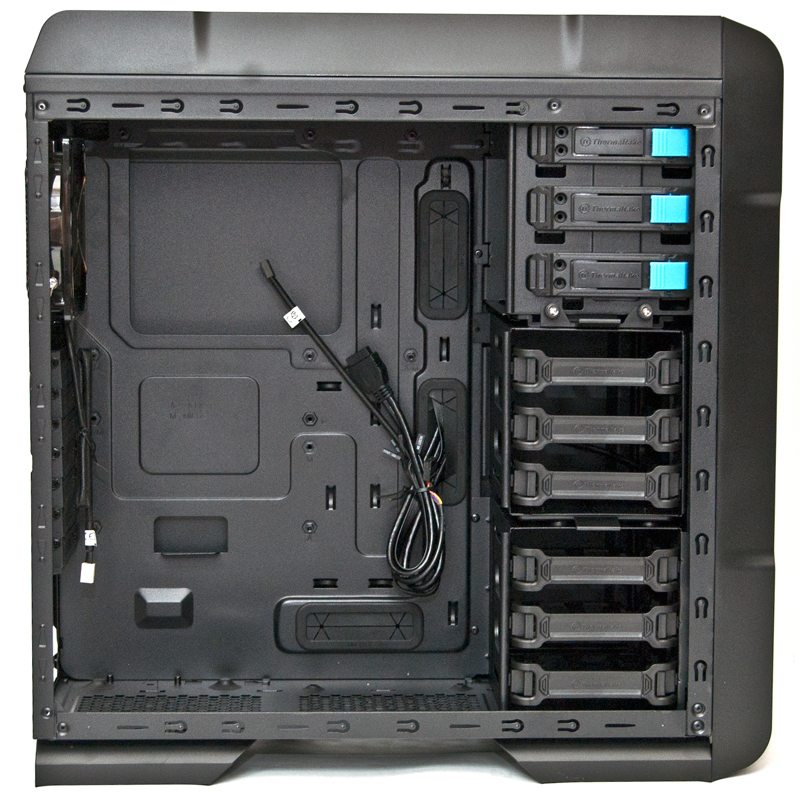
In the front we have three quick release mechanisms on the 5.25″ drive bays, allowing for quick and easy installations and reveals of your drives. Below that we have a 3 bay HDD dock, this is held in place with a pair of quick release thumb screws on a side in mount, allowing for quick and easy removal to allow extra room for long graphics cards. Finally, below that we have another three bay hard drive dock.
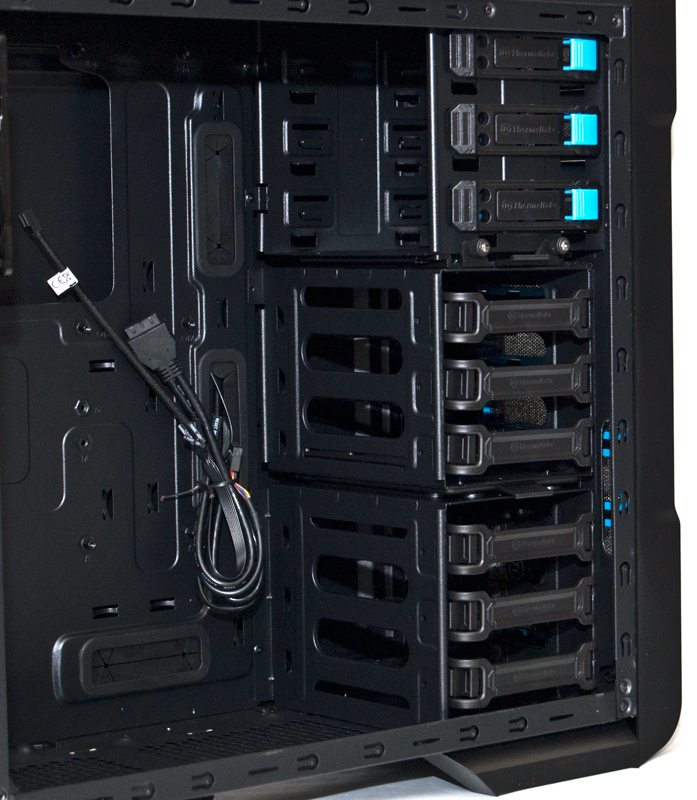
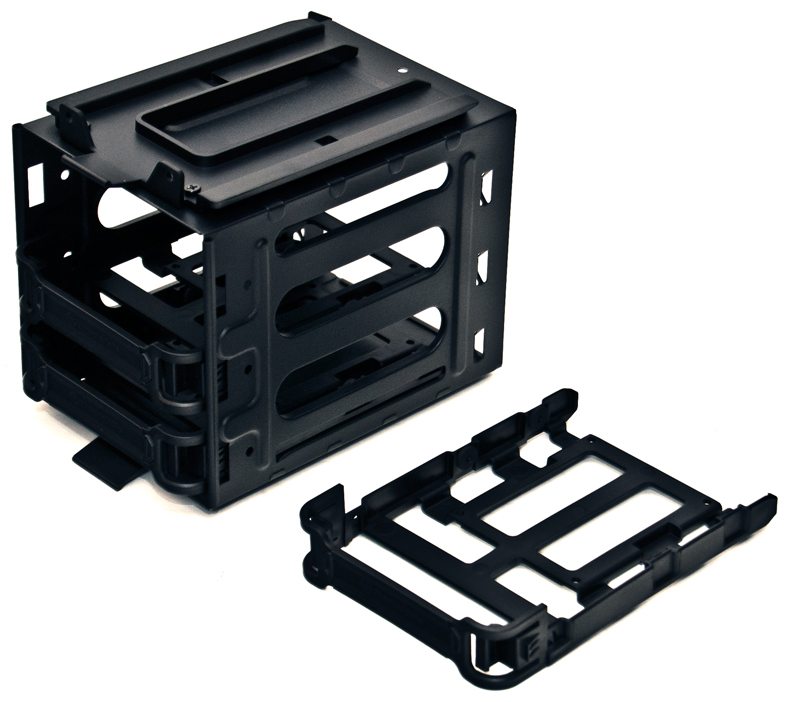
All 6 hard drive mounts from the 3+3 layout bays feature slide out mounting trays, with support for both 3.5″ and 2.5″ drives. They also feature a squeeze to unlock mechanism on the front that should keep them pretty secure in the chassis, as well as a front cover on each tray that provides a nice uniform appearance within the chassis.
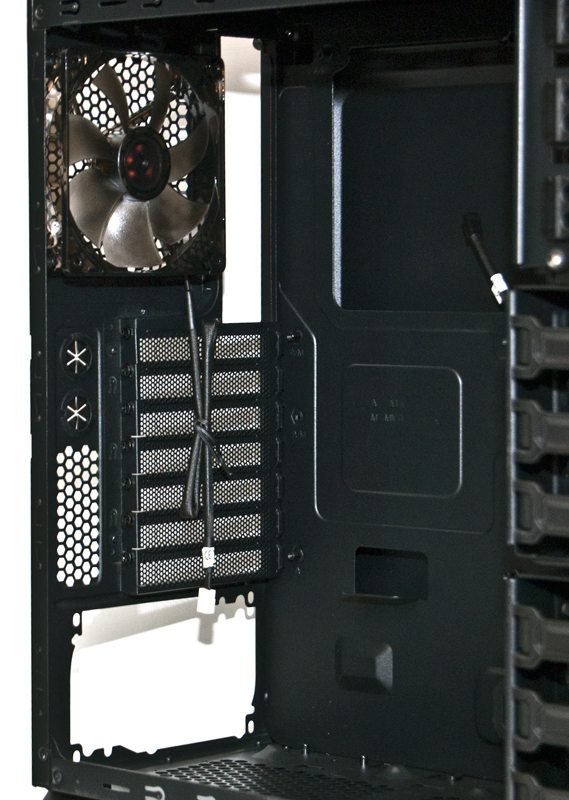
In the back of the chassis we have a good quality pre-installed 120mm exhaust fan, 7 re-usable ventilated expansion slot covers, which are held in place with standard system screws.
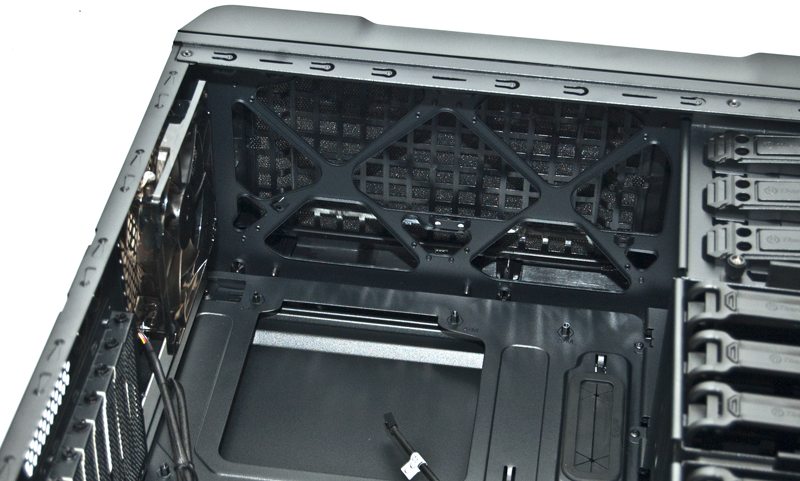
In the top of the chassis we have a X shaped frame that will support out top mounted cooling fans in either 2 x 120mm or 2 x 140 mm configurations.
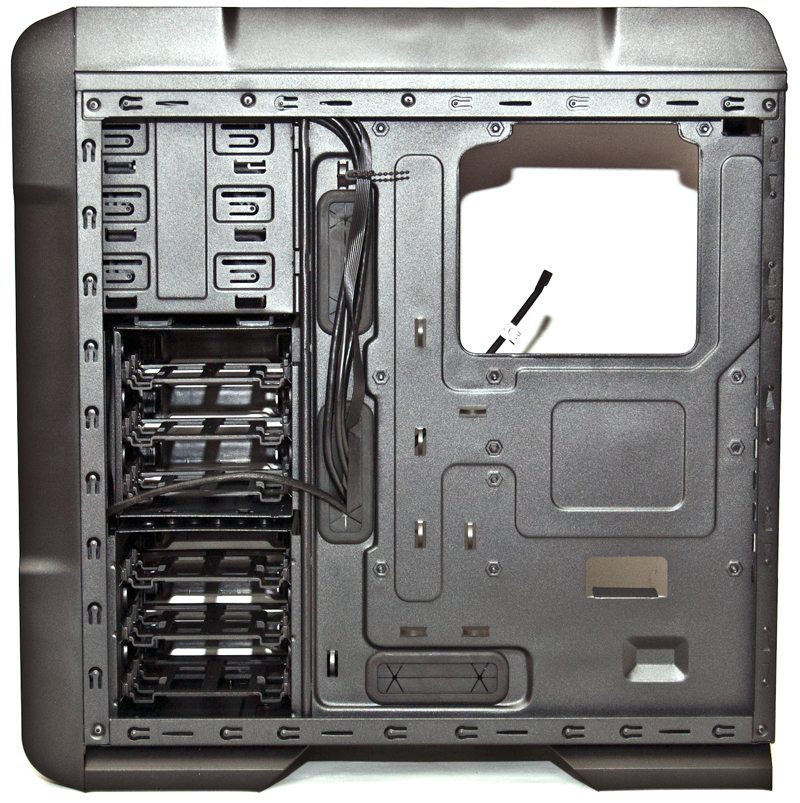
Around the back we can see there are a few raised loops to help you cable tie your cables into place, this will help greatly with cable management. There’s plenty of room for excess cables too and that space is easily doubled thanks to the recess in the left side panel.
