Thermaltake A31 Chassis Review
Peter Donnell / 12 years ago
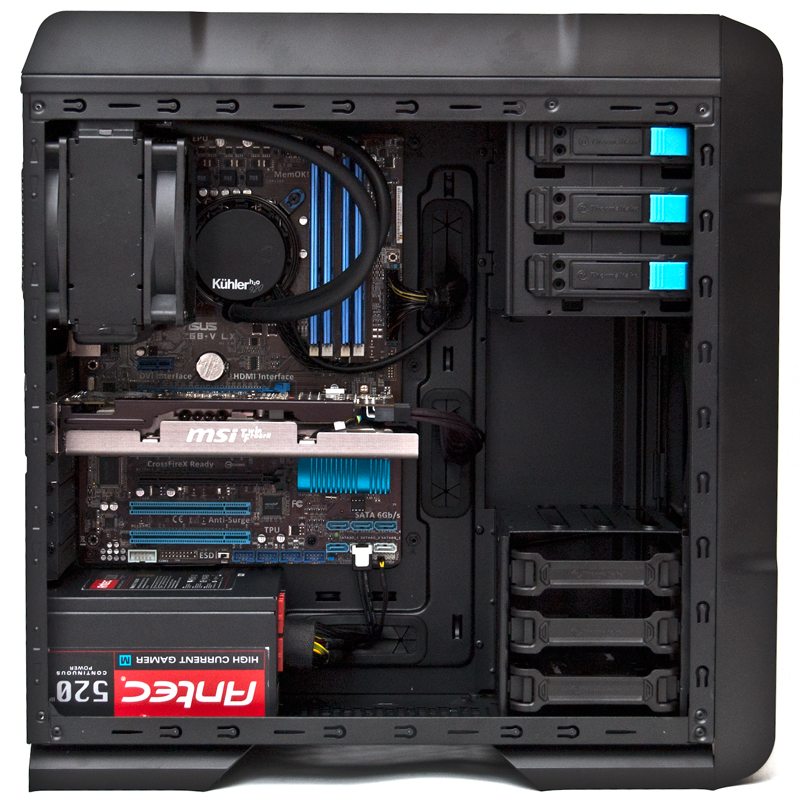
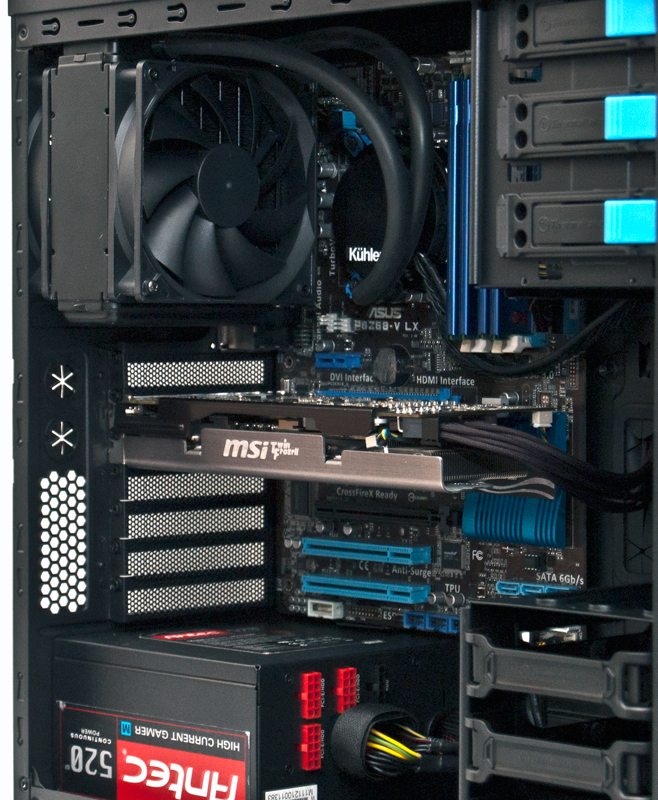
Installation of our test components couldn’t have been more straight forward, the A31 might not be a huge chassis but it is very accomodating and total build time was only around 20 minutes. Cable management is doing a good job of keeping airflow unobstructed and over things look neat and tidy, something that will greatly benefit the interior view through that large side panel window.

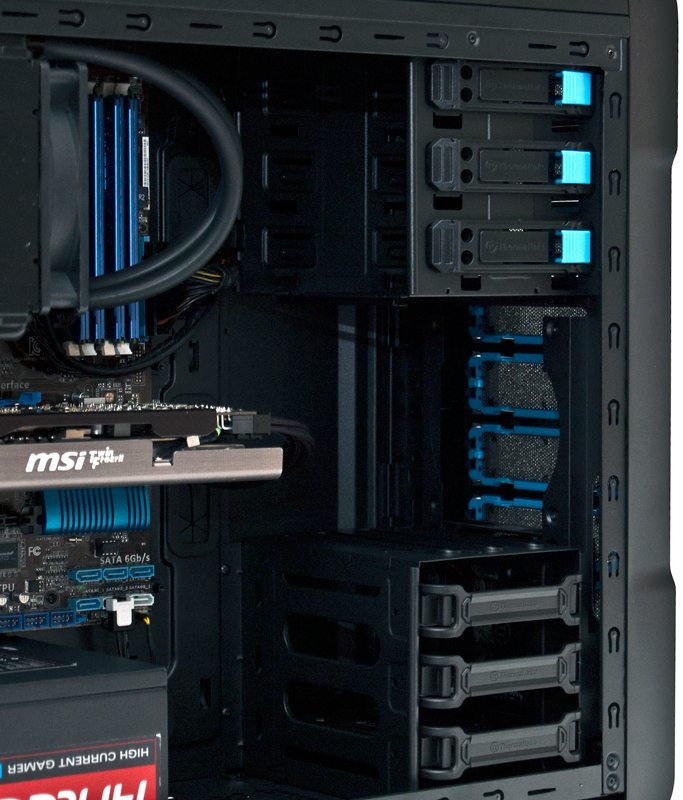
I’ve taken the front HDD dock out more to demonstrate the capabilities, but you could fit a very long GPU in here with plenty of room to spare, even with the HDD bay installed! If you invest in an extra fan for the top front fan mount, you can easily push extra airflow direct to your GPU, a great tool for those who run multiple graphics cards under high load. Our Kingston SSD is sat nicely in the bottom dock, but you can hardly tell thanks to the front panel covers of the trays, although this does keep everything looking very neat and tidy.

In the back we have loads of room for out Antec 920 and there was even room to mount it with the resivour at the top, which has left lots of room for ventilation around our GPU, not to mention extra room for multi GPU configurations.

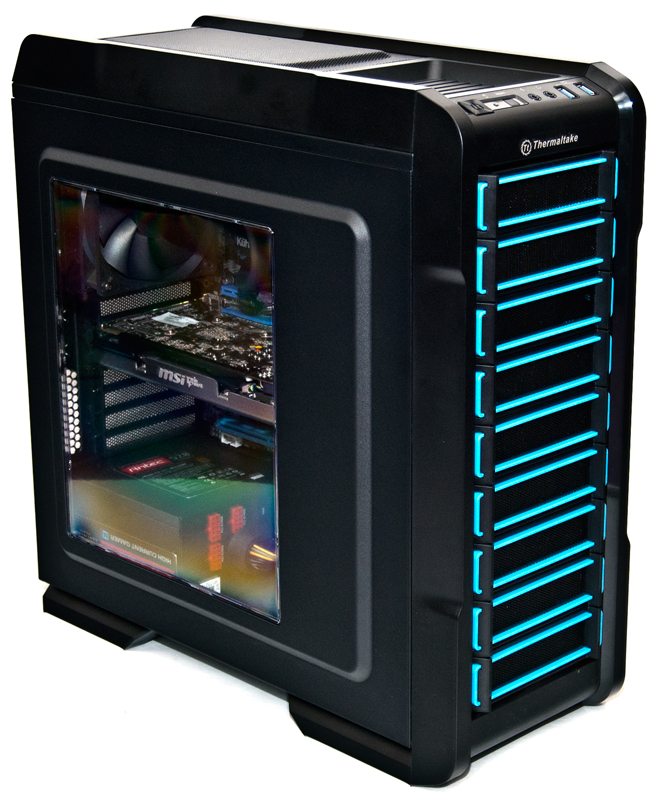
With the side panel back in place you can see just how awesome the interior view can be and while it may be a highly reflective window, its crystal clear and provides a great view of the system.


