Thermaltake A500 Aluminium and Glass Edition Chassis Review
Peter Donnell / 6 years ago
A Closer Look – Interior
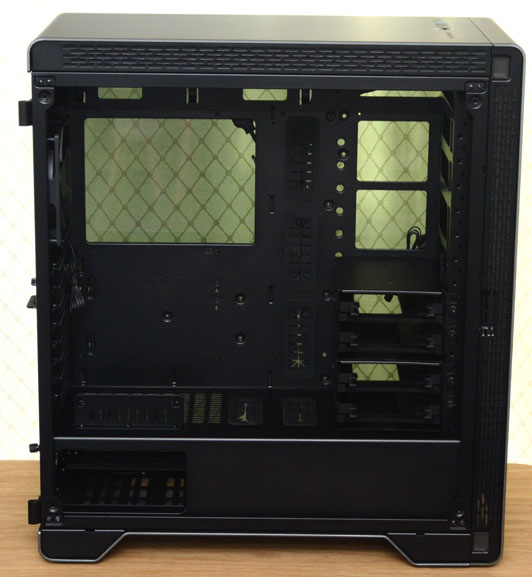
To open up the chassis, we simply turn the thumb screw and open the door. Then, simply lift the panel up off the hinge and leave it to one side; if you want to.

With the panel removed, we have a vast amount of space to work within the chassis. There’s more than enough room in here for just about any hardware configuration. Behind the motherboard, you’ll find a huge cut-out for easy cooler mounting. However, there are grommets and cut-outs all over the place to ease with cable routing and other hardware installations too.

PSU Shroud
There’s a built-in PSU shroud, and that alone has plenty of features too. There’s ventilation in the top for improved airflow, two large cable routing grommets, and a side cut-out to show off your PSU.

However, there’s a bracket towards the edge which is used for mounting your riser cables to for those using the vertical GPU mounts.

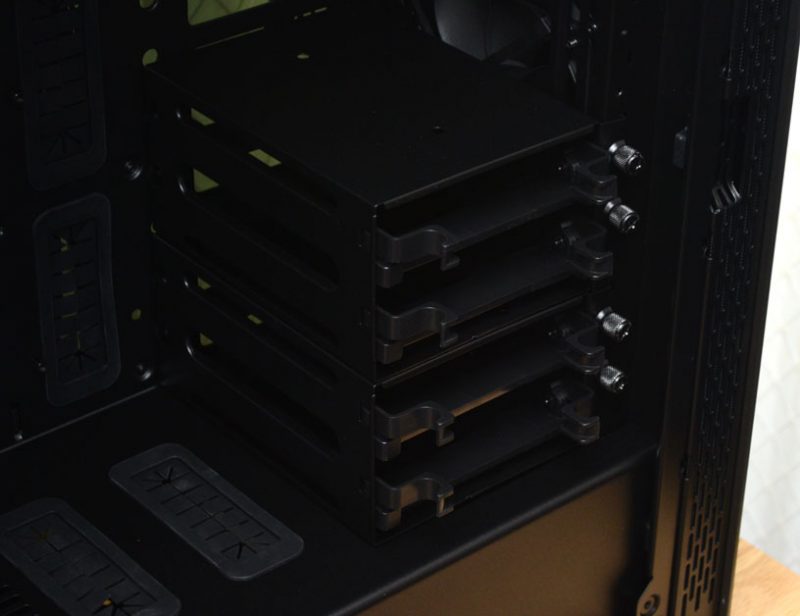
There are two hard drive bays in the front, each mounted with thumbscrews for easy installation/removal.

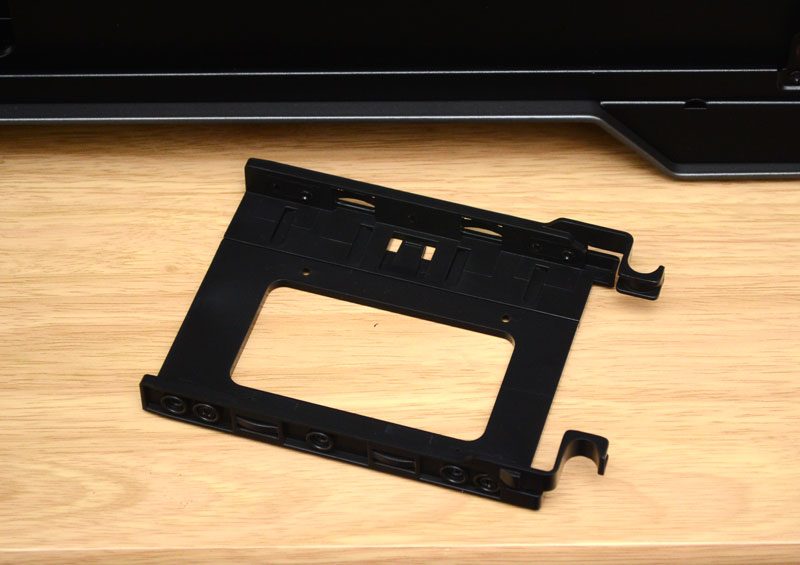
They can each be moved up or down within the chassis, and each support two 3.5″ or 2.5″ drives, giving us four drive mounts in total.

Radiator Support
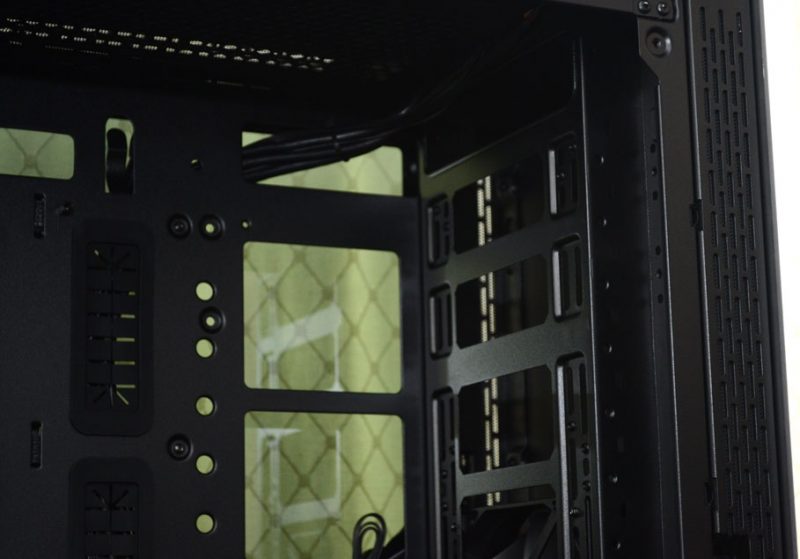
There are height adjustment holes all the way up the front panel, so you can easily get them in the top if required. With them out of the way, you’ll have up to 420mm of VGA clearance from front to back. There’s also 160mm depth for wider hardware and tall CPU cooler mounts also. Of course, if you remove the HDD bays, you also open up the full height of the front panel for 120/140mm fans and radiator configurations.

The two horizontal cable routing grommets are a welcome addition also. These are perfect for passing power cables to the GPU, and prevent needing to run them over or under your cards from the rear back plate.

Around the back, there’s plenty of space for cable management. Some durable Velcro straps will help keep everything in order too. However, there are cable tie loops dotted around to deal with peripheral cables. Furthermore, there shouldn’t be much excess cable trail anyway, as you can tuck excess cables under the PSU shroud.

Hidden Storage
Need to remove those HDD bays in the front? Fear not, as you can hide a few drives in the underbelly too. You can remove this bay too if you need the space for cables, water cooling pumps, etc. In fact, you can place this bay in the front of the chassis with the others if you so desire.

There’s also a 2.5″ drive mount tucked behind the motherboard. Although, why they didn’t put two of them here, I don’t know, as there’s loads of room for it.

Rip away that front panel, and you’ll find two black 120mm fans are pre-installed.

The fans are a good quality and designed for bit airflow and low noise. However, you can replace them with up to 140mm fans if you so desire, and with the full height of the chassis, you can get a 360mm or 420mm radiator in the front. That’s in addition to a 360mm or 280mm in the top, and an additional 120mm in the rear.


