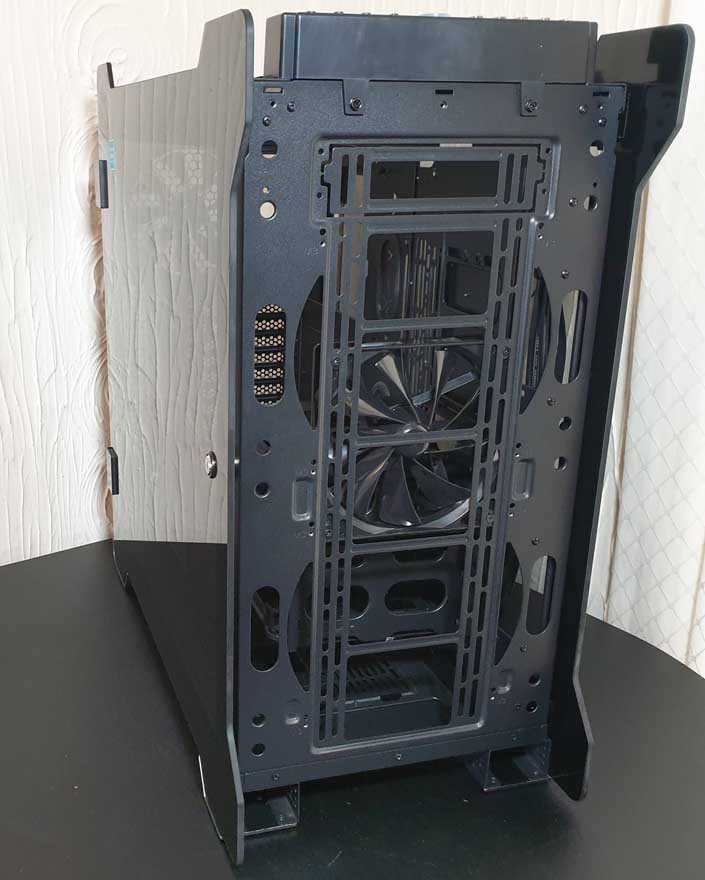
Thermaltake A700 Aluminium TG Edition Case Review
Peter Donnell / 5 years ago
Interior
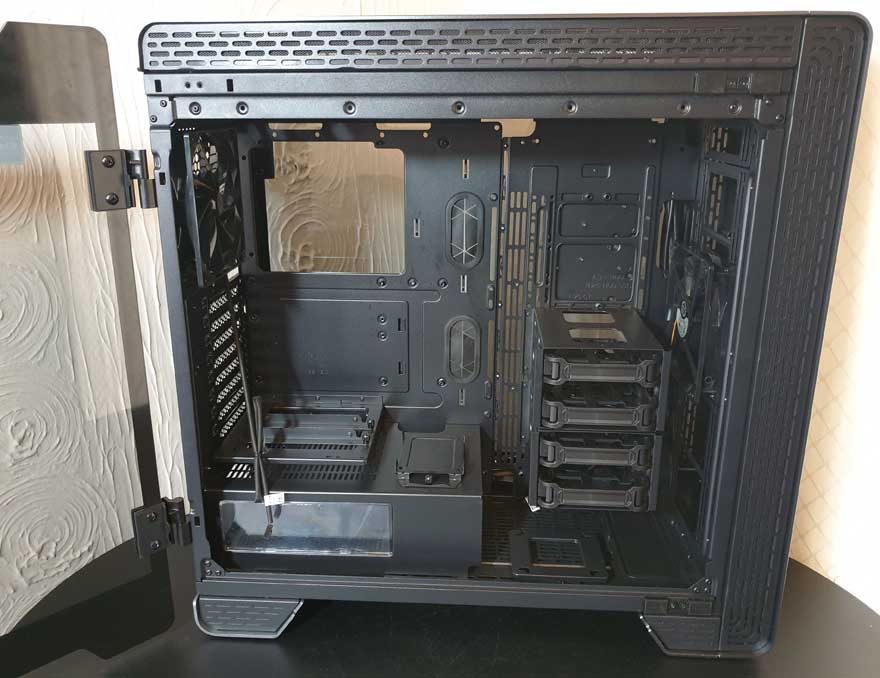
Swinging open the side panel window reveals an enormous interior. Installing any of the latest hardware in here should be pretty straight forward. There’s more than enough room for massive graphics cards, huge coolers, etc. Plus, a huge cut-out behind the motherboard, loads of grommets, and pre-installed stand-offs, all make the process even easier.
Going Vertical
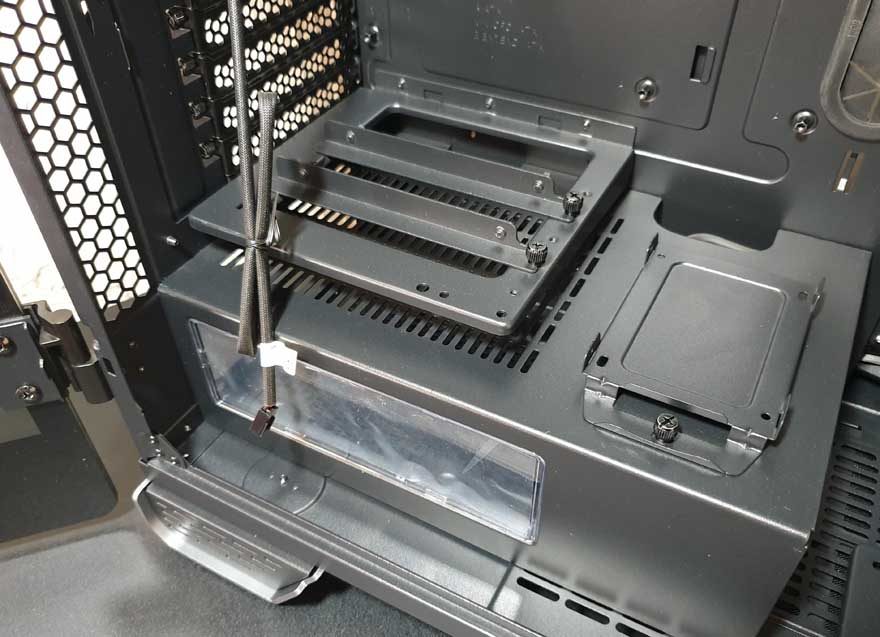
Why have one vertical GPU mount when you can have two. The entire back row of expansion slots can be rotated. Then you have this fantastic vertical GPU mount above the PSU shroud. It comes with movable/removable brackets for up to two cards. However, you will need your own riser cables.
The shroud isn’t exactly lacking in features though. It’s ventilated and features a cool side panel window to show off the PSU, but it’ll still hide the cables. There’s also a dedicated SSD mount on top to show off your favourite drive.
Mounting
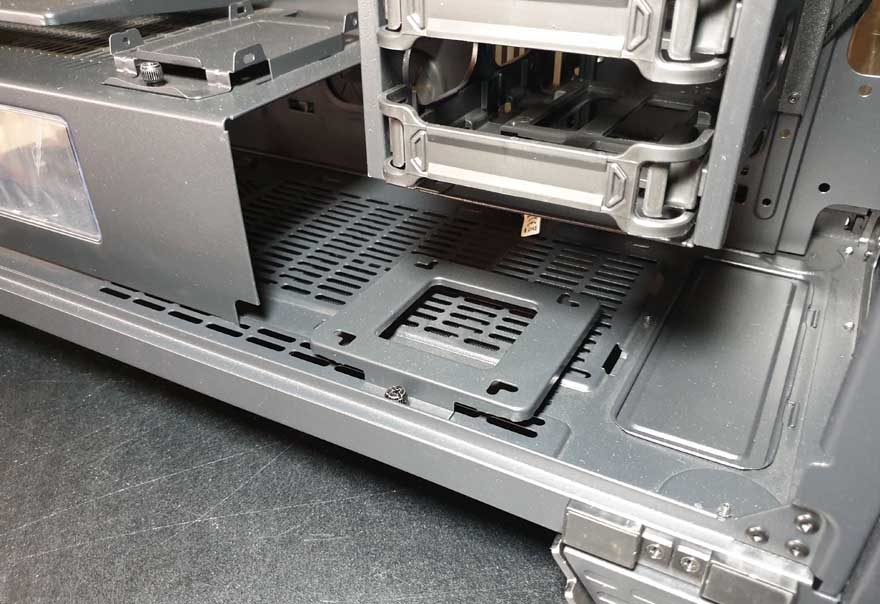
The case is packed full of mounting solutions. The entire PSU shroud can be fully removed if required, freeing up access to bottom fan mounts. There’s a liquid cooling pump mount in here too. Guess what? That’s also completely movable and removable too, so no surprise there.
Storage
It’s not often we see full-size drive bays in the front these days. However, you get 2 bays of 2 x 3.5″ tool-free trays here. The unique screw mounts at the rear of the case allow for full height adjustment of these too. Just like everything else, they can be completely removed also. Removing them would also increase your available radiator space quite significantly.
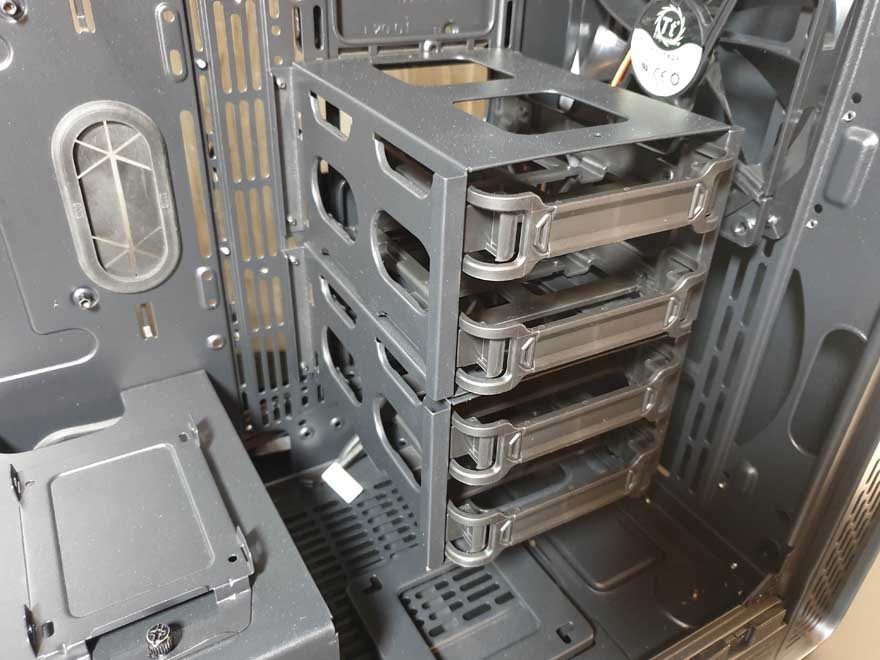
In the front, there’s only a single 140mm fan. Nothing special really, and I don’t think Thermaltake need to provide this case with any fans at all. Chances are it’s going to be fully kitted out with custom loop or a custom set of fans anyway. There are mounts in the front for both 120mm and 140mm fittings, so you have plenty of options.
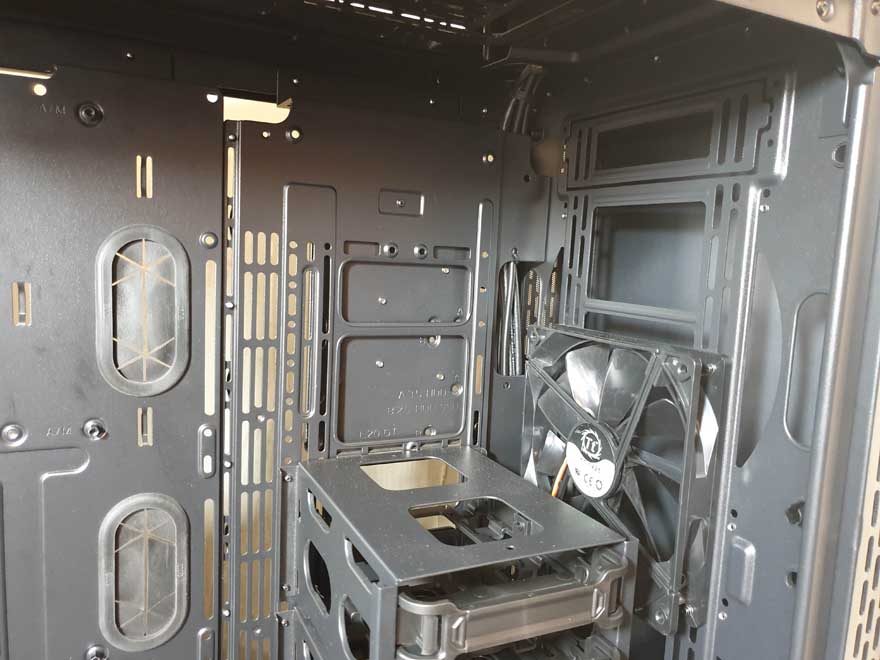
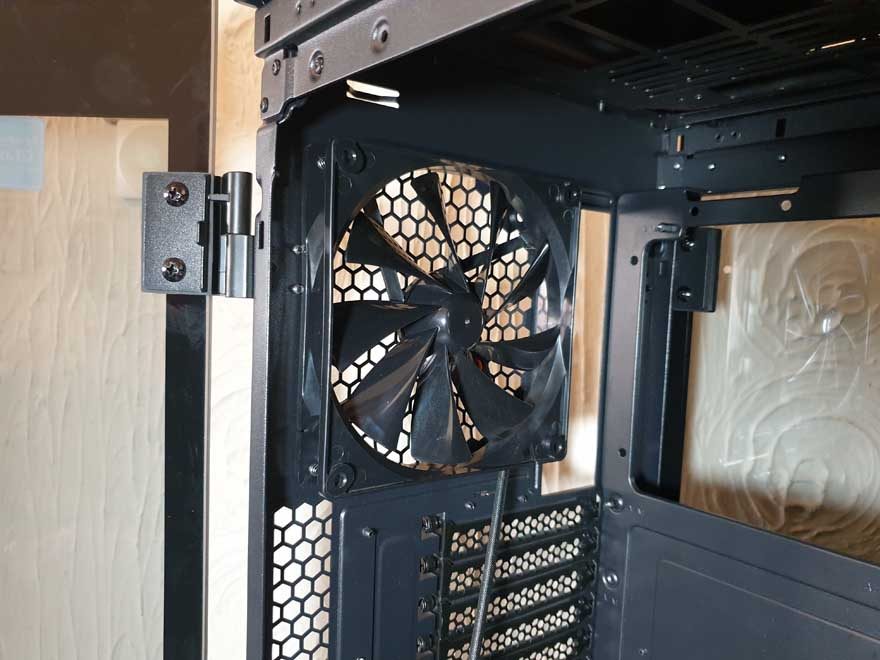
Plus, there’s another 140mm in the rear. Again, not really needed, but I guess it couldn’t hurt.
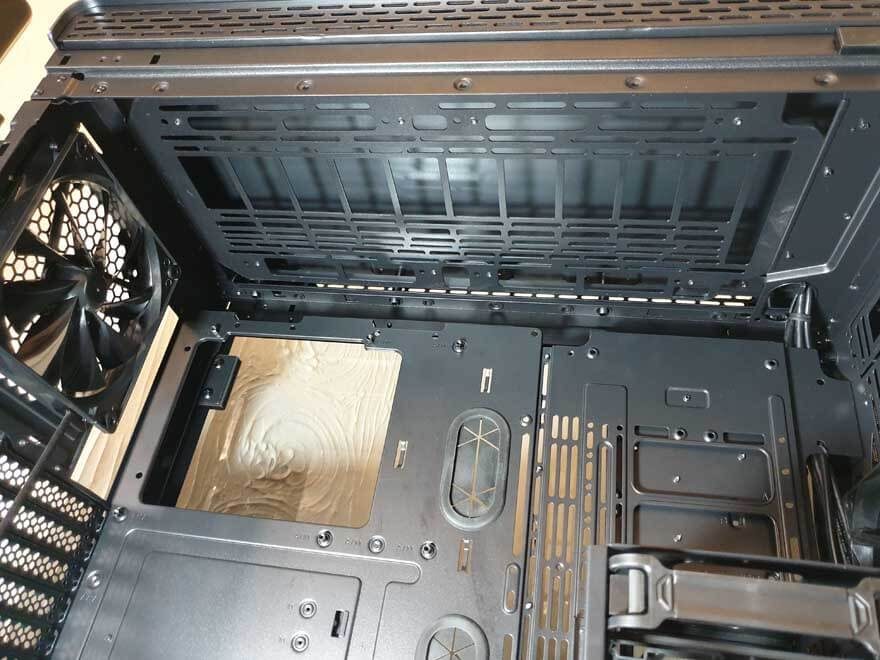
You’ll find the same super modular design up in the top too. It allows for a huge range of choice in where you mount any radiators or fans.
Behind the Motherboard
There’s a huge amount of space behind the motherboard. However, that’s a double-edged sword. While you could cram a load of cables back here, you would be able to see them. It’s glass on both sides! You can, of course, keep them under the PSU shroud, so use those cable tie loops with care on any exposed cables.
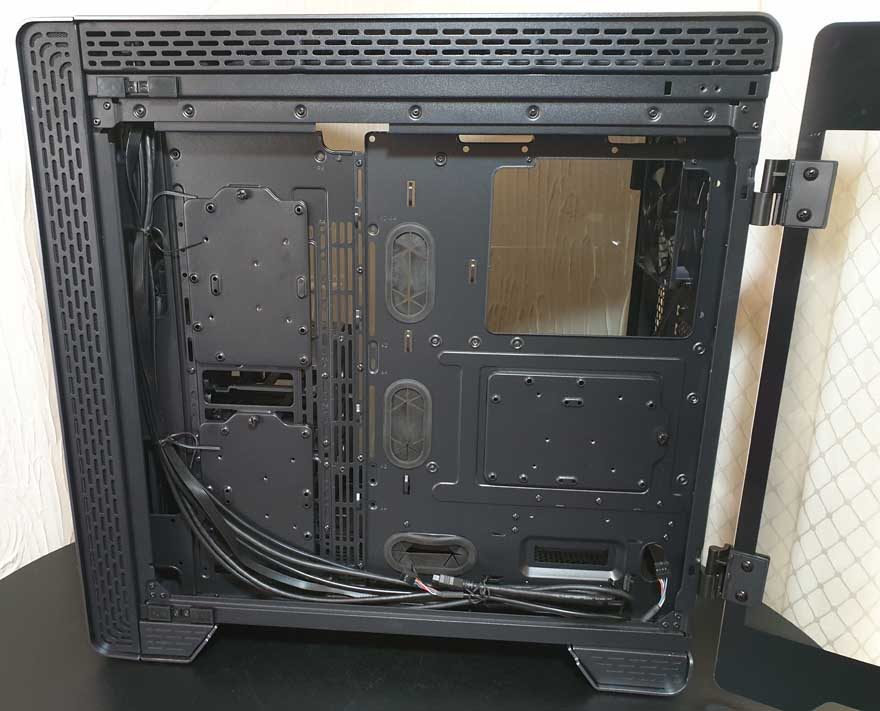
There’s enough depth back here to house some storage too. Then there’s a mounting plate here that’ll support both 2 x 2.5″ or 1 x 3.5″ drives.
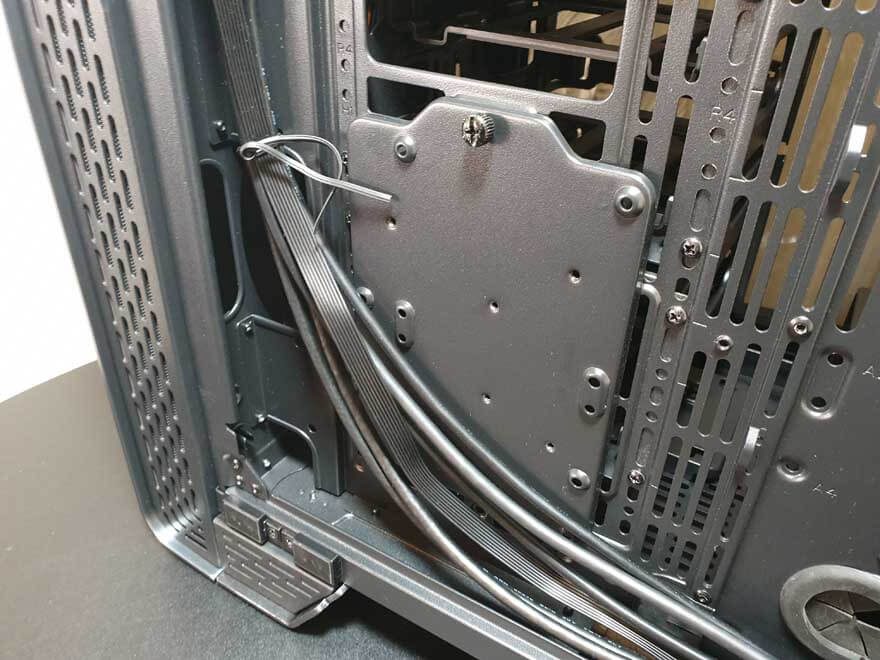
Oh and yet another one further up too, giving you a lot of extra storage. Of course, just like everything else, it’s movable and removable too.
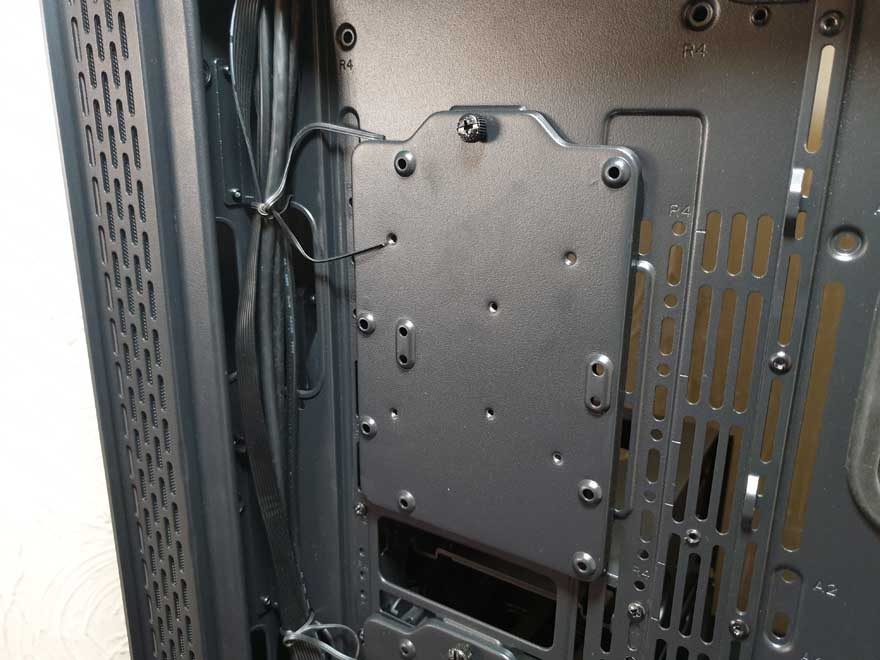
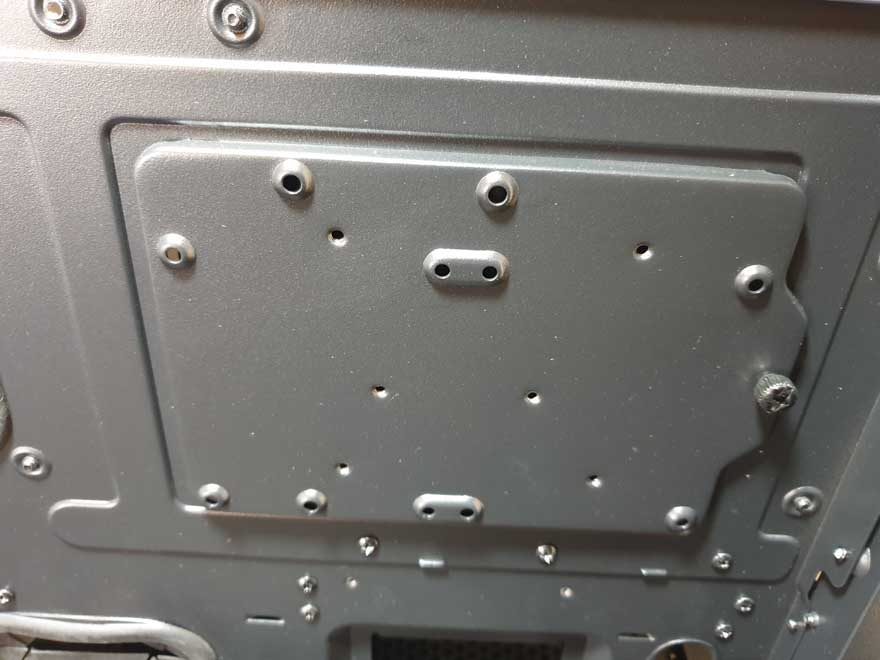
As is the third one mounted behind the motherboard! So that’s four drive trays, an SSD mount on the PSU shroud, and three of these drive brackets in total. You could fit 11 SSDs with ease.
Removable Panels
The top panel may be enormous. However, a firm tug and it can be removed without the use of tools. Behind it, you’ll find a huge removable mounting bracket. As you can see, it’s a swiss cheese of mounting holes for radiators and fans.
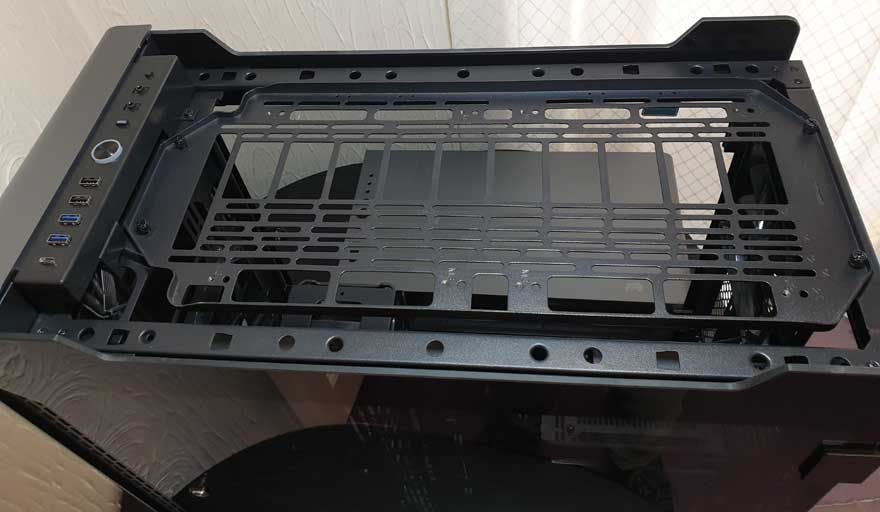
The front panel is pretty much the same, offerings up a wide range of fittings. Of course, you could even just go all-out and fit a pair of 200mm fans here.
