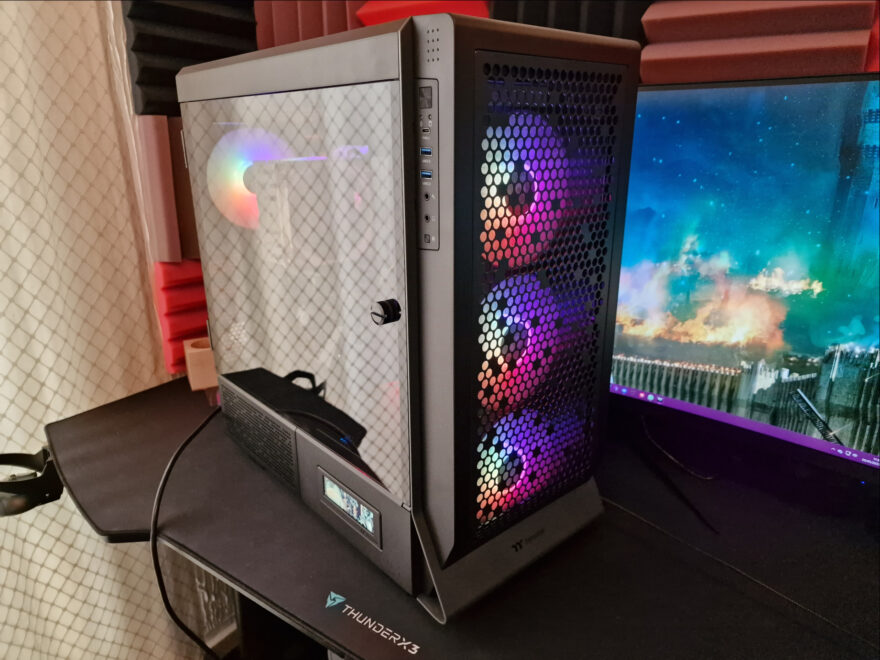
Thermaltake Ceres 500 TG ARGB Case Review
Peter Donnell / 2 years ago
Complete System
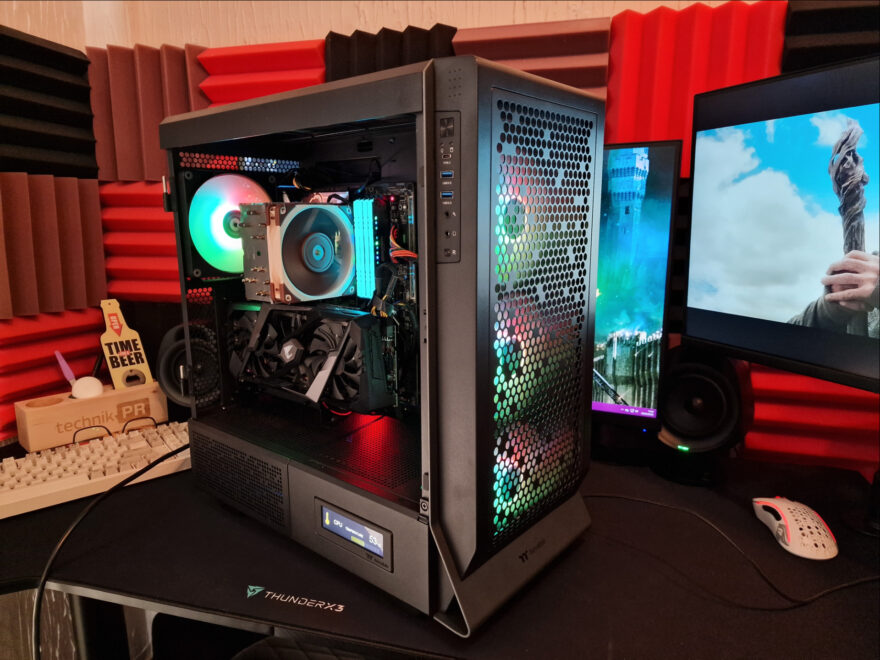
Thermaltake has a long history of making cases bigger than most, and that’s pretty much true here. There’s more than enough room to space for some seriously big hardware. The Aorus RTX 2080 is not a small GPU, but it fits with room to spare.
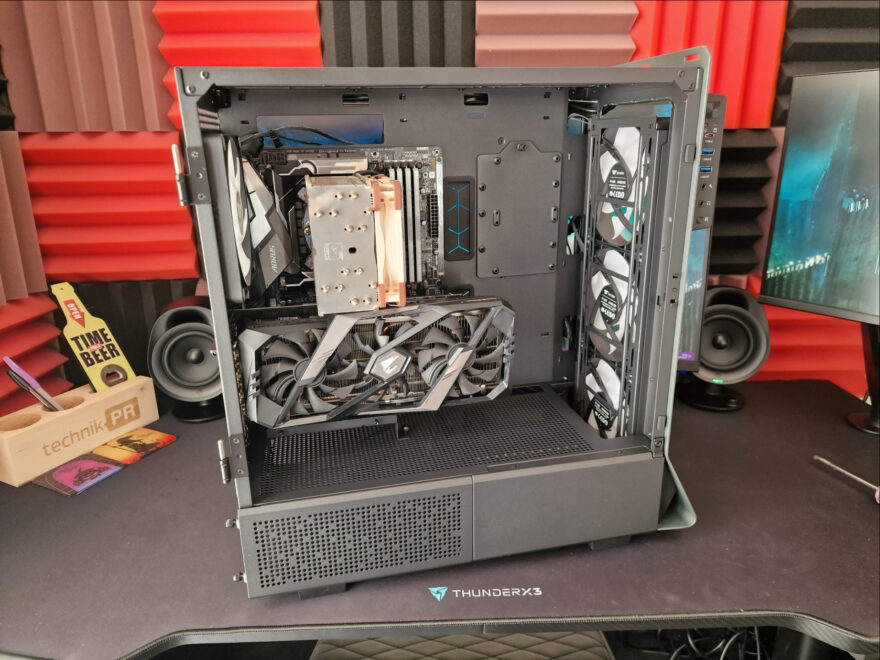
Of course, if you’re planning on using thick radiators in the front of the case, as well as push and pull fan configurations, you’ll be thankful for the extra space.
Before I get to installing all the cables in this build, there’s another important step. Installing the LCD panel. There are two small screws at the edge of the PSU shroud, so just undo those and the old panel pops off.

The new panel just screws into the case to take its place. You then just plug the USB cable into the back and into your motherboard, and bam, you’re ready to rock… well, almost, you still need the desktop software too. Ooooh doesn’t it look good! We’ll power it up in a moment though, so let’s come back to this.

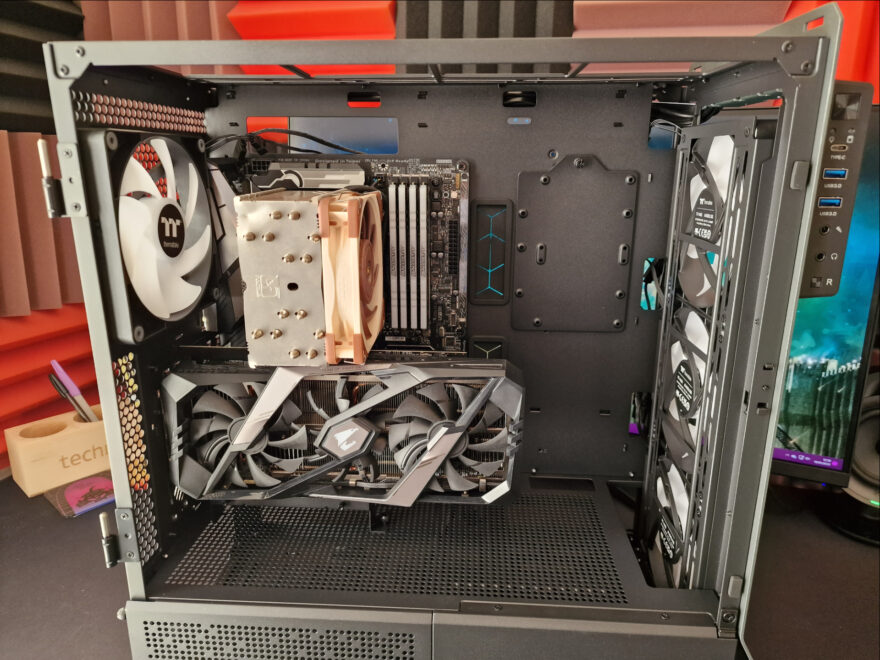
Cable routing was a breeze, there’s a hilarious amount of room under the PSU shroud and behind the motherboard, so just lazily cramming excess cable out of the way still resulted in a clean build.

The Noctua U12S fit with ease, and certainly the largest air coolers from Noctua, Cooler Master, DeepCool and anyone else really should fit just fine.
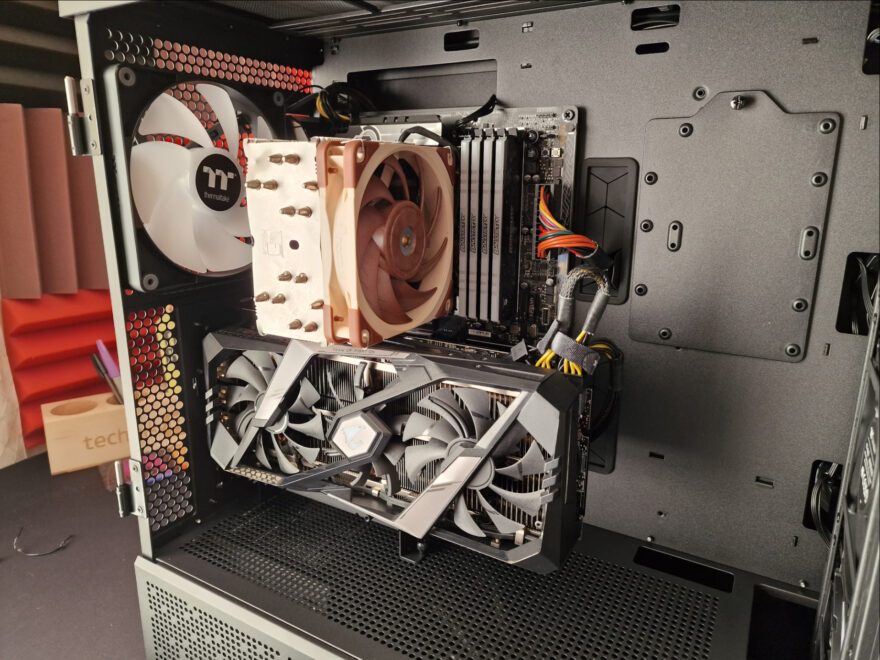
Rotating the rear I/O guard makes installing a vertical GPU a lot easier. However, it could be problematic if you wanted to add multiple expansion cards, such as a capture card and sound card.
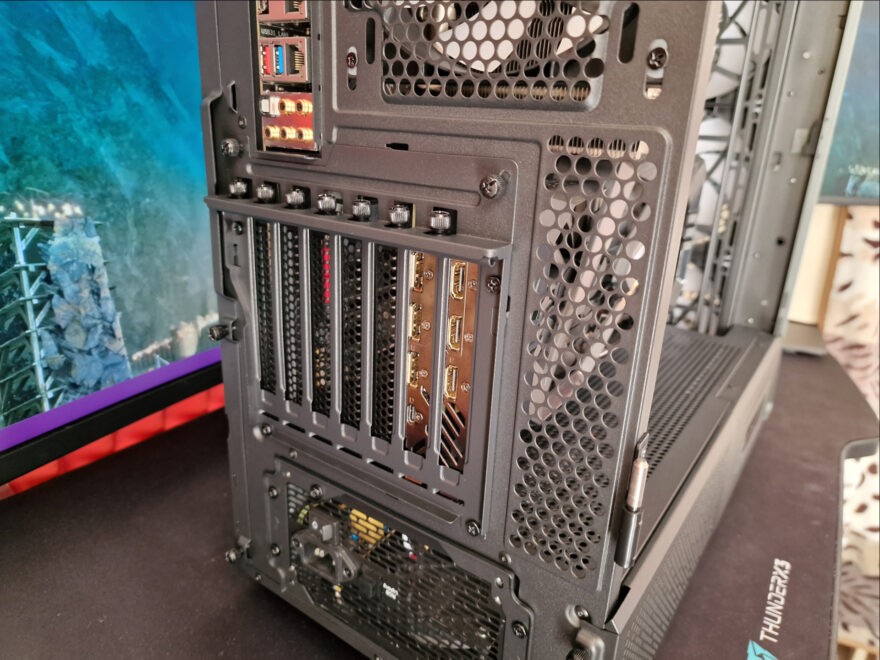
Having the GPU on its side means that cables are not going to conflict with the side panel. However, the Ceres 500 TG is pretty wide, so even horizontal and using the cable octopus that comes with the RTX 4xxx series cards should be fine. However, even finer in vertical mode.

I love all this perforation too, albeit, the holes on the shroud are smaller, so they allow air to flow around and prevent any warm pockets from forming, but still provide cover for the boring bits like cables and connectors.

With the glass back in place, you can see things are very shiny, but the fans are off right now, so that’s to be expected.

The RGB is a big focus in the Ceres 500 TG, with four pre-installed D-RGB fans, three in the front and one in the rear, it puts out quite an impressive light show. There’s no hub pre-installed though, which I thought was odd, so you’ll either need your own, or a motherboard with a compatible header. No big deal, just something to keep in mind.
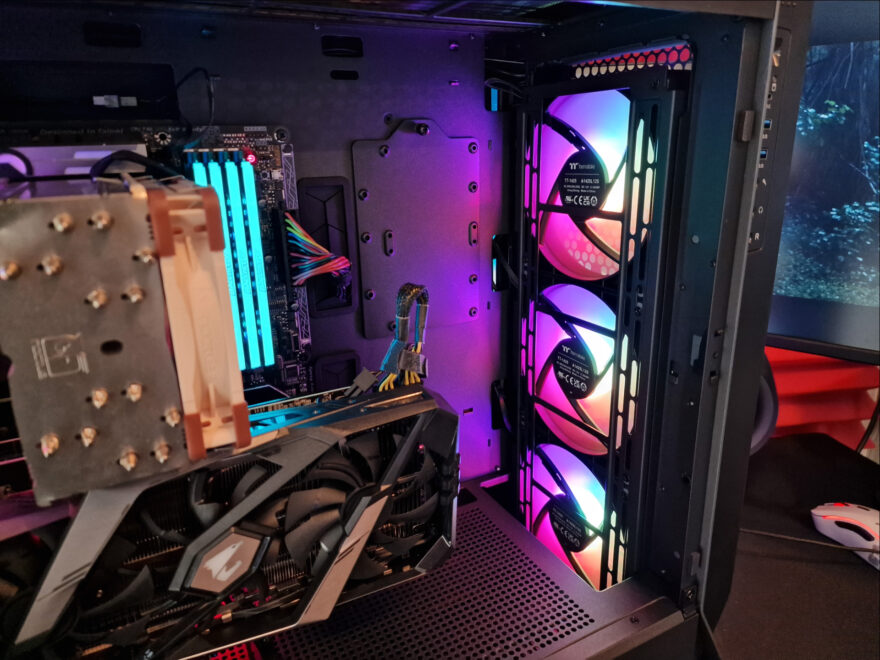
The colours from the fans are really vibrant and the fans themselves are very quiet, but Thermaltake has been making good-quality fans for years now, so that’s hardly surprising. Plus, with all this perforation and filtering on the Ceres, the fans don’t have to work too hard to get cool air into the system.

You’ll notice one more thing is lit up now too, that lovely LCD screen, so let’s take a closer look at that!
It actually showed CPU temperature without the software installed which I thought was interesting. However, you’ll need the software for customisation of the display.

Interestingly you can rotate it, even have it upside down, I thought this was odd, but with modders or possibly other cases that may become compatible, it makes a lot of sense.

The weather, I couldn’t see where to put in my bloody location so it just defaulted to zero, but you get the idea.

There are a few clock faces built-in, and you can choose to show most system stats like GPU, CPU, and storage levels, temps, clock speeds etc.

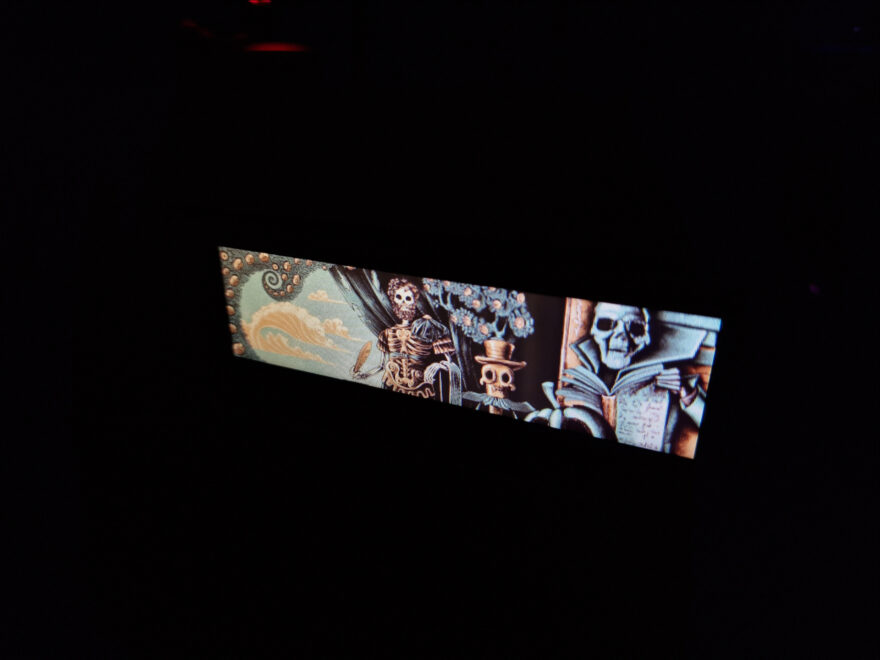
The best thing though is that it can display .gif files. This is one of the pre-installed ones.

I set my desktop wallpaper to it, and honestly, it looks really cool. The colours really pop and it has good black levels. However, the front face is pretty shiny so it’s hard to see if the sun catches it but that’s true of most screens.
As a complete package, this isn’t a cheap setup, but honestly, I can’t really find a fault with it, it’s a really cool case!
