Thermaltake Core V71 Full Tower Chassis Review
Peter Donnell / 10 years ago
Interior
The interior has been treated with the same powder black finish as the exterior, giving it a very stealthy look that should mean the only thing you see when peeking through the window is your shiny components; oh and the bright blue trim on the storage bays of course. The motherboard tray features a huge cut-out that will certainly help with cooler installation / removal.
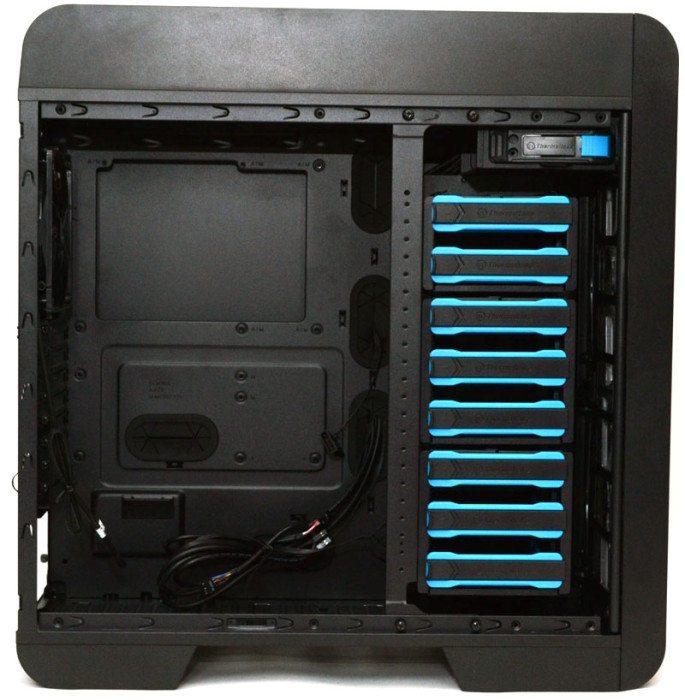
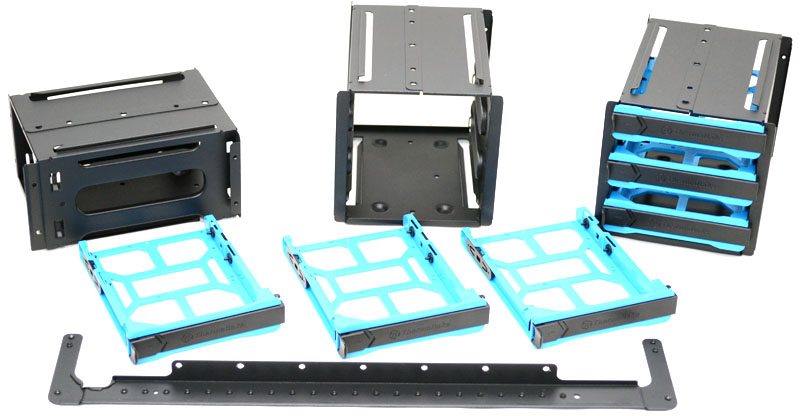
The hard drive bays are laid out in a 3+3+2 format, although each can be removed separately and placed in any order you like, giving you a lot of flexibility over how you arrange your storage components.
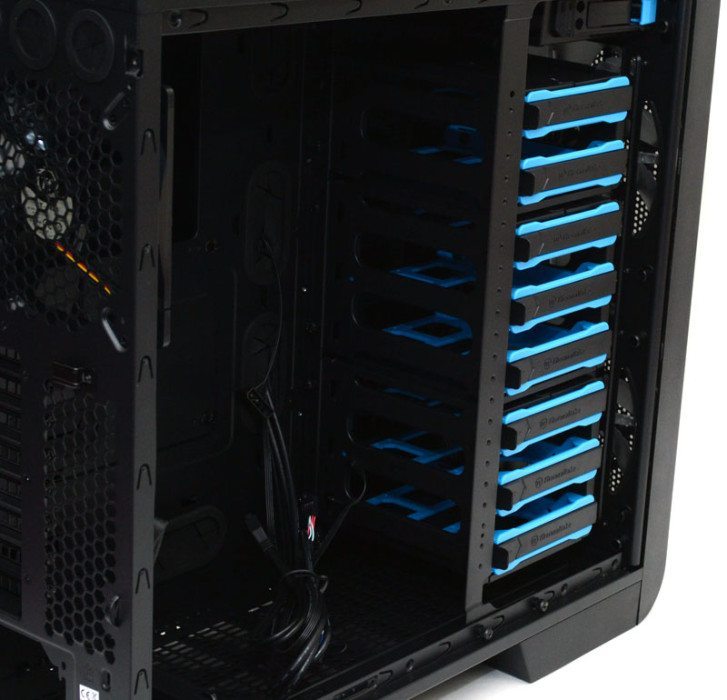
Even the top bay can be stripped out, freeing up even more space for front mounted cooling or case mods.
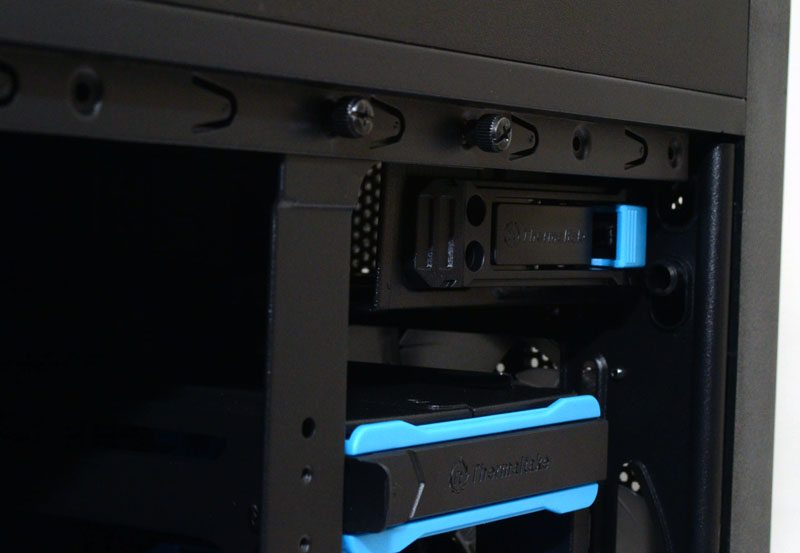
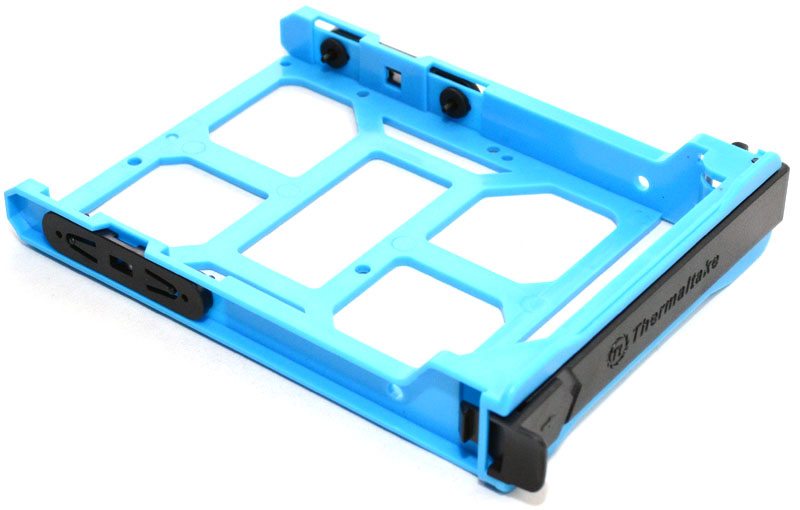
Each hard drive tray supports 3.5″ drives with a tool free mounting system, or you can use the included screws to mount 2.5″ drives. The drive trays can also doubt as the mount for the rear stealth mounts, but we’ll take a better look at how that works shortly.
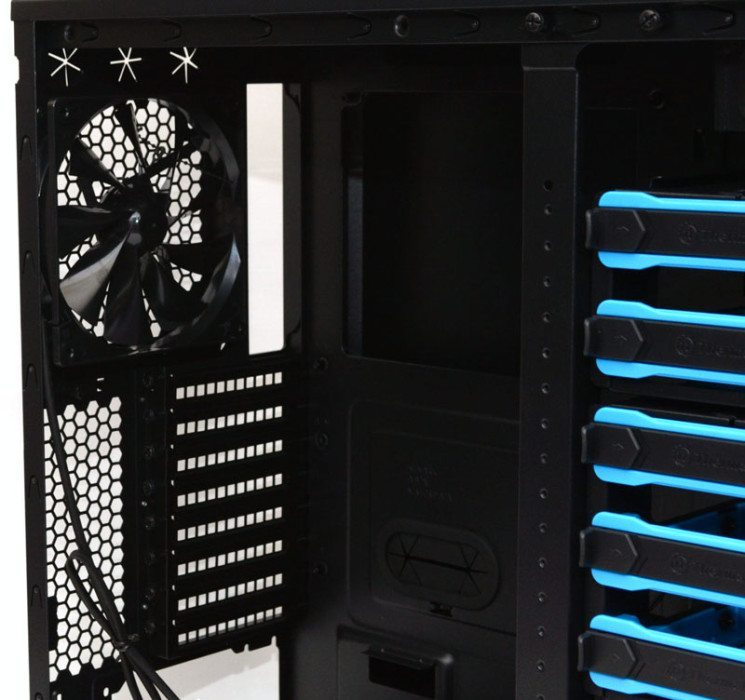
In the back you’ll find a pre-installed black 140mm fan with black sleeved cable. Each of the expansion bays is fitted with a reusable ventilated cover and thumb screws for easy component installation and removal.
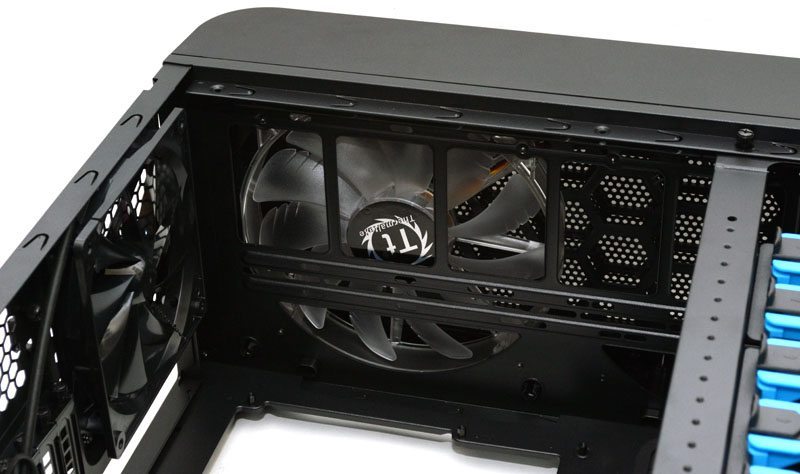
Here you can see the top fan and radiator mounting mesh, it’s a universal mounting system with long screw holes to allow you to best position any cooling solutions, whilst also offering maximum support for different spacings.
The PSU mount feature a movable support bar with two tough rubber pads on it. this can be adjusted back and forth or removed completely to ensure your PSU is mounted correctly, regardless of its size.
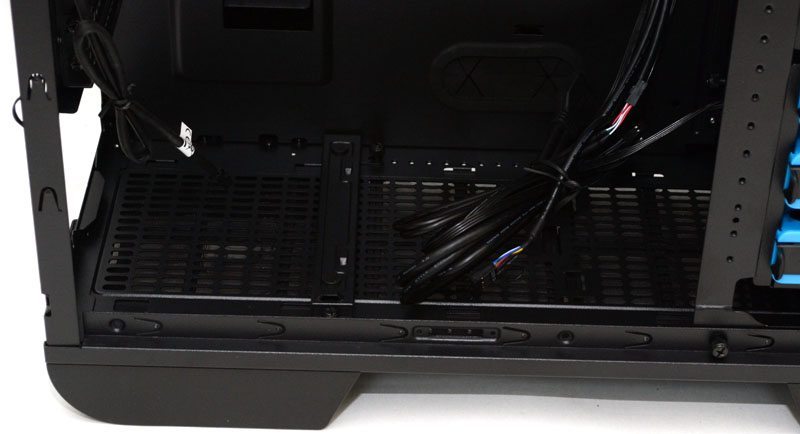
There’s plenty of room for cable routing here, it doesn’t look much but it’s more than doubled by the recess on the side panel, so even if it looks a little full here once your components are installed, you shouldn’t have any trouble getting the panel back in place. Cable routing options are very good, with five large grommets and several more openings around the motherboard, along with a few cable tie down loops to help keep things tidy.
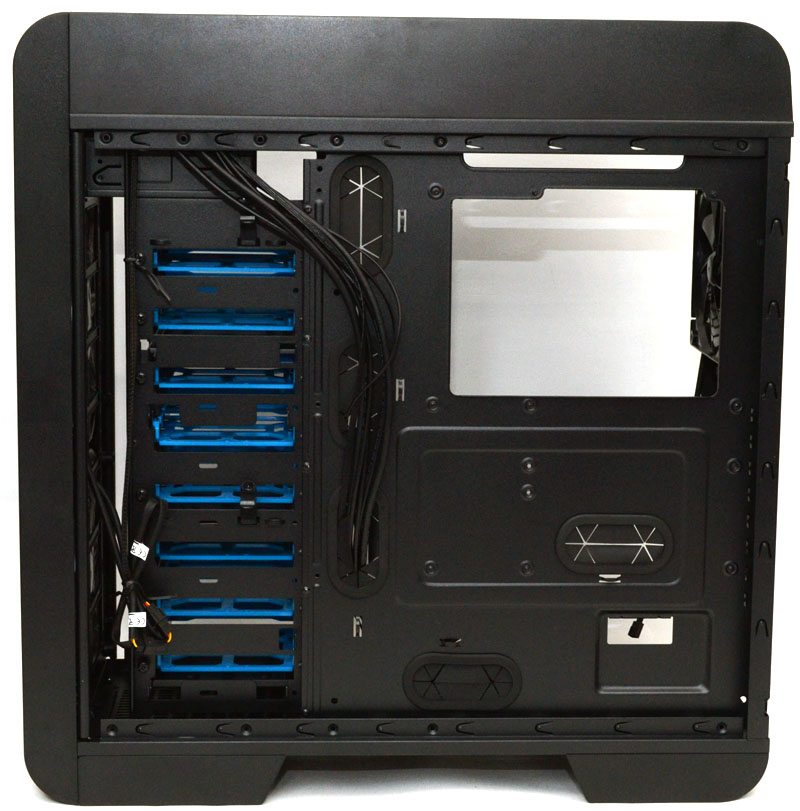
The hard drive trays can be removed from the front of the system and once the hard drive bays are removed (since adjacent drive bay mounting screws cause conflicts) you can hang two of them round here.
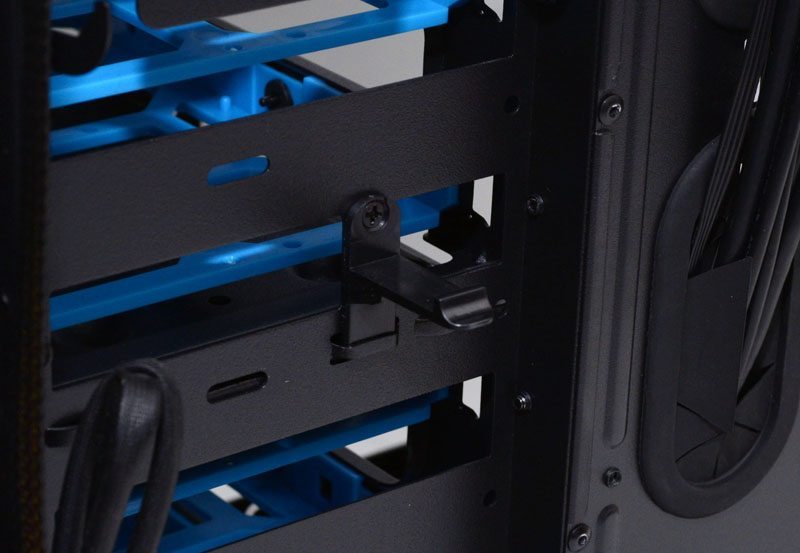
Under that massive top panel you’ll find space for two 200mm fans, you can also better see that extensive universal mounting section with more screw holes than you’ll likely ever need. The fan controller is also on display here, you could easily disconnect the pre-installed fans and attach your own if you felt the need to.
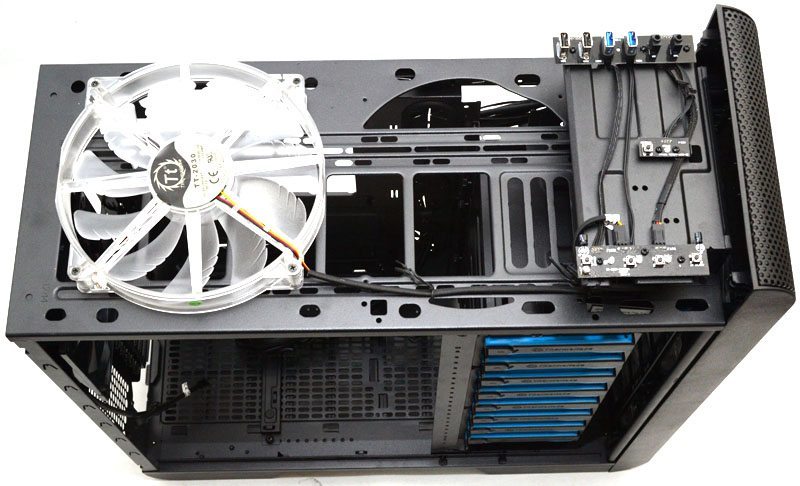
Two more 200mm fans in the front, by removing the front cover (a good tug on the base of it will do the trick) you gain access to the front air filter which pulls out for easy maintenance.
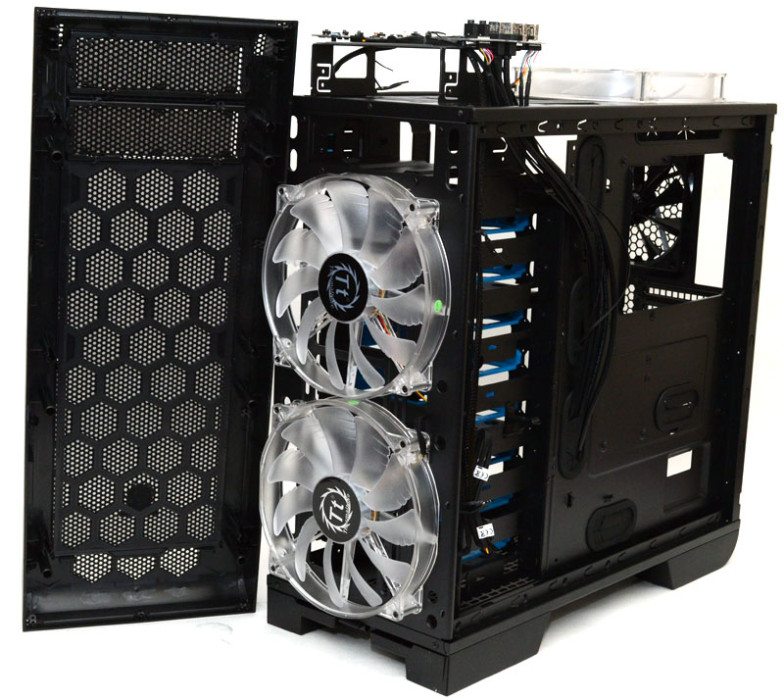
Here is the hard drive bay assembly. Not only can you remove the bays individually, but you can also remove the side support for them, freeing up even more space within the chassis. Let’s move onto the build section and see what it looks like with these components stripped out.
