Thermaltake Core X9 E-ATX Chassis Review
Peter Donnell / 9 years ago
Interior
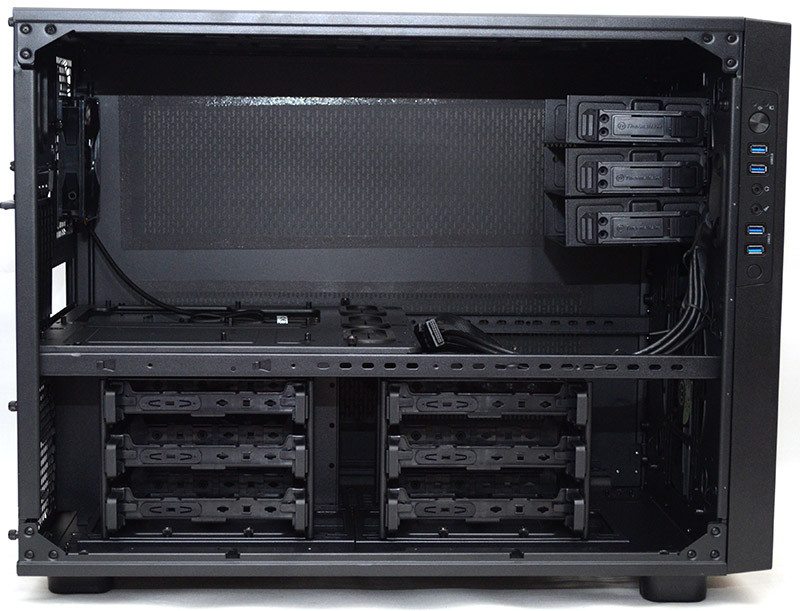
On the interior, you’ll find enough room for a master bedroom, swimming pool, garage and with the huge amount of space left over, a lot of PC hardware too.
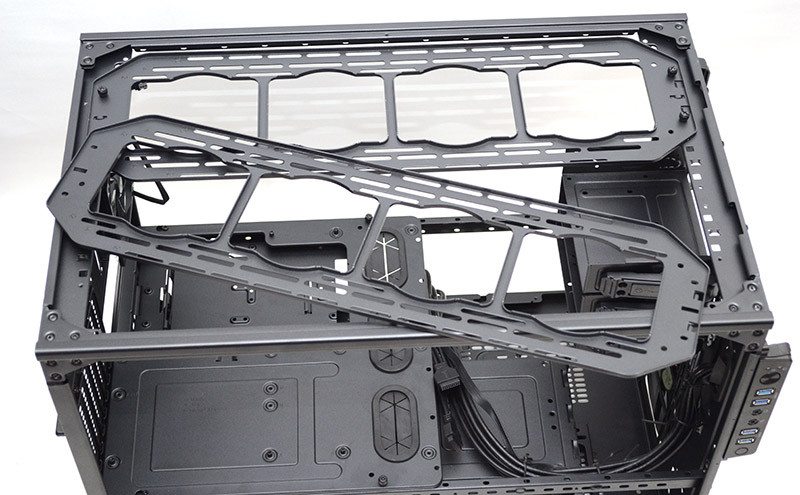
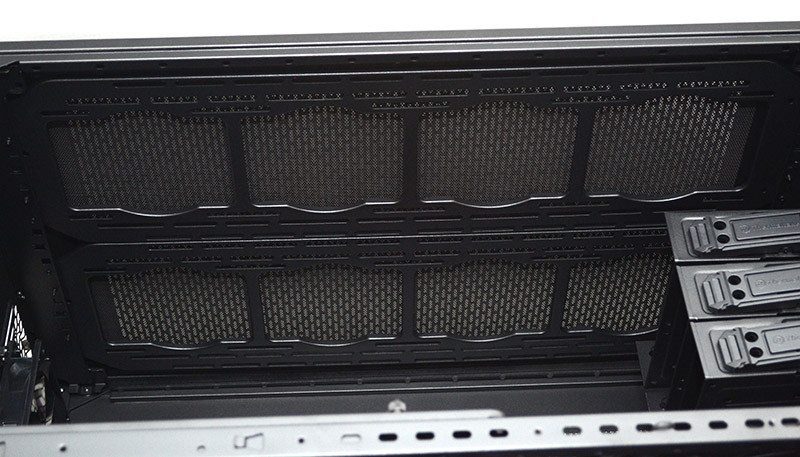
In the top, we’ve got a multitude of fan mounting solutions, if you can buy it, it will fit, it’s that comprehensive.
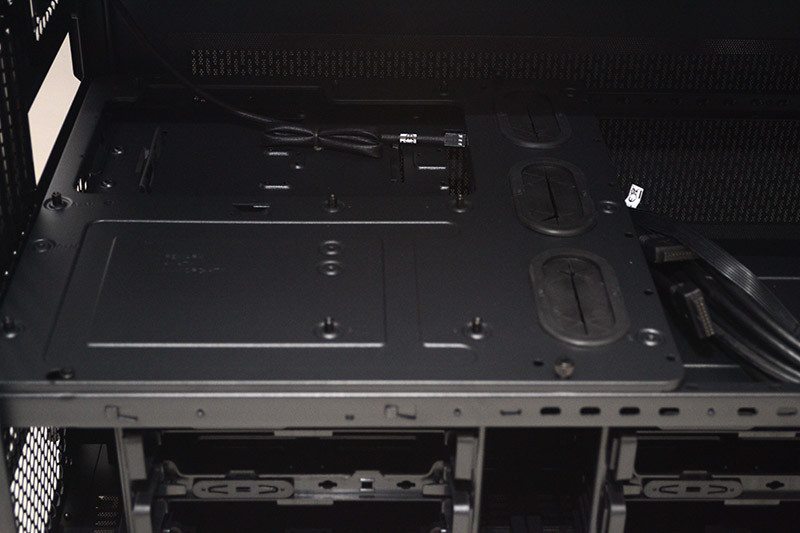
The motherboard lays flat and you’ll find room for anything from mini-ITX right up to E-ATX. All the motherboard stand-offs you’ll need are pre-installed, and there’s a super wide CPU cooler mounting cut-out and three large cable routing grommets on the tray.
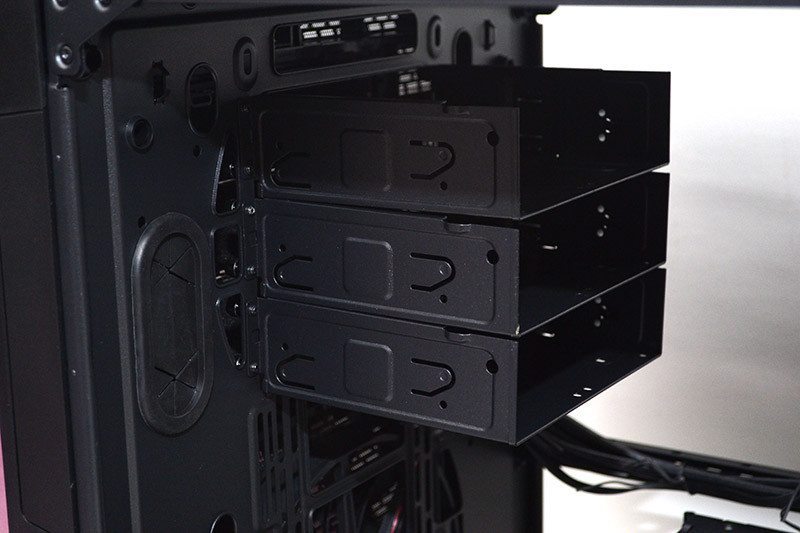
There are three 5.25″ drive bays in the front, each is mounted to the chassis individually, meaning you can remove, one, two or all three of them as you wish; you’ll certainly need to do this if you want massive radiators in the front of the chassis.
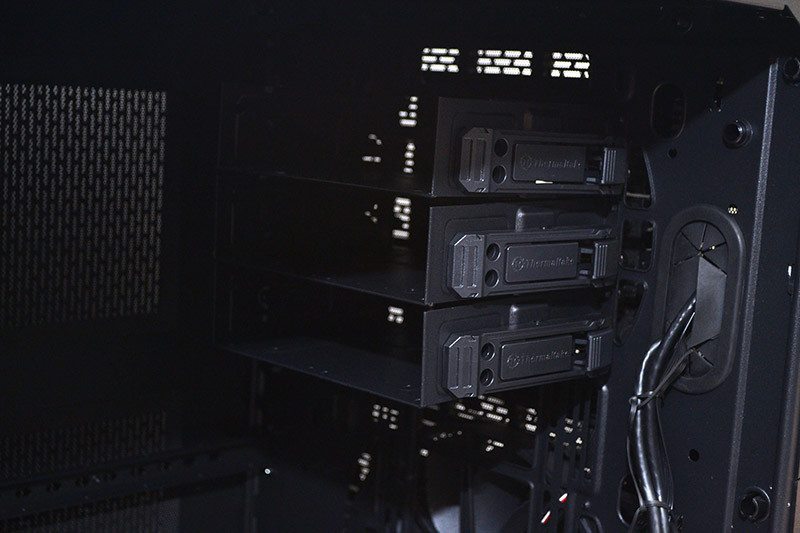
All cables from the front panel pass through a rubber grommet, helping keep things neat and tidy. As a nice bonus, there is a powerful 200mm fan pre-installed in the front of the chassis.
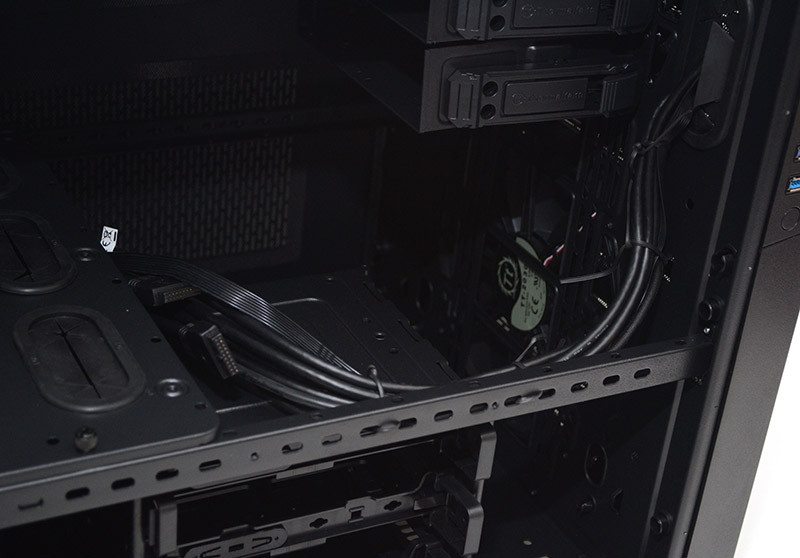
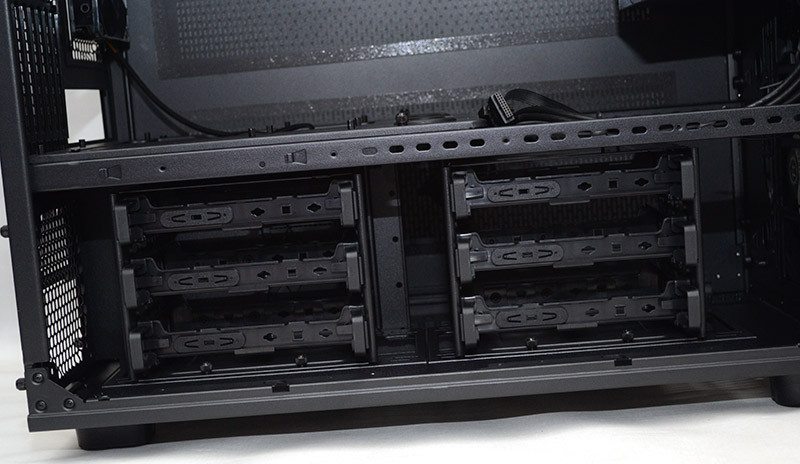
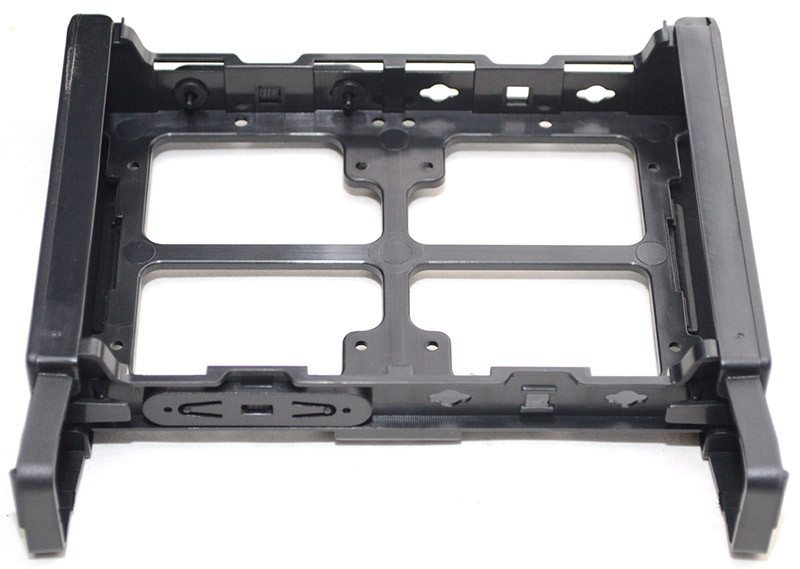
There’s a total of six hard drive bays in the base of the chassis, split across two bays of three.
The trays slide out for easy installation/removal of your drives.
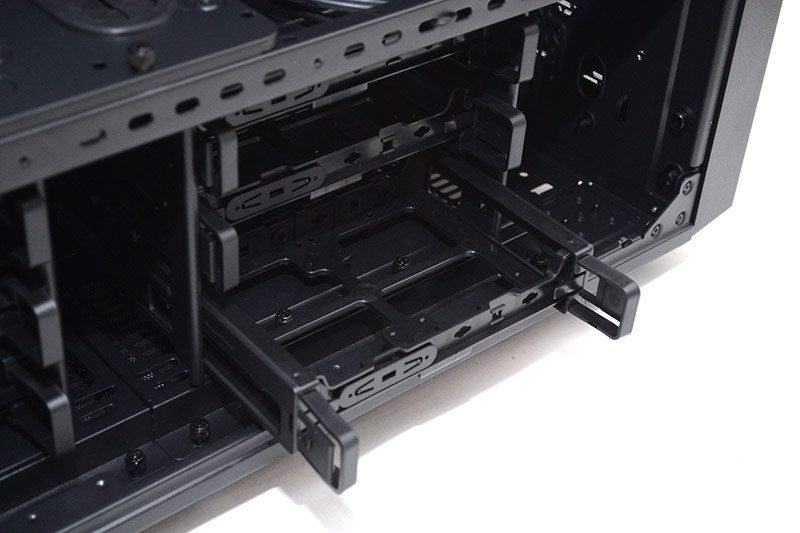
3.5″ drives can be installed tool-free, although there are enough screws included to fit SSDs if you need them.
The drive bays are fitted with two thumb screws at the front, remove these and you can life the whole bay out.
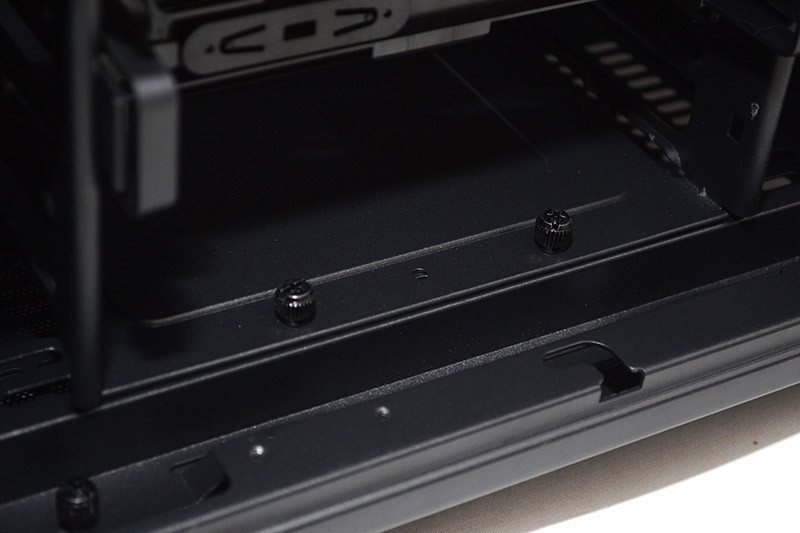
Removing these bays frees up more of the fan and radiator mounts in the base of the chassis, as well as gives you the option to move the bays left or right within the chassis to allow room for other components.
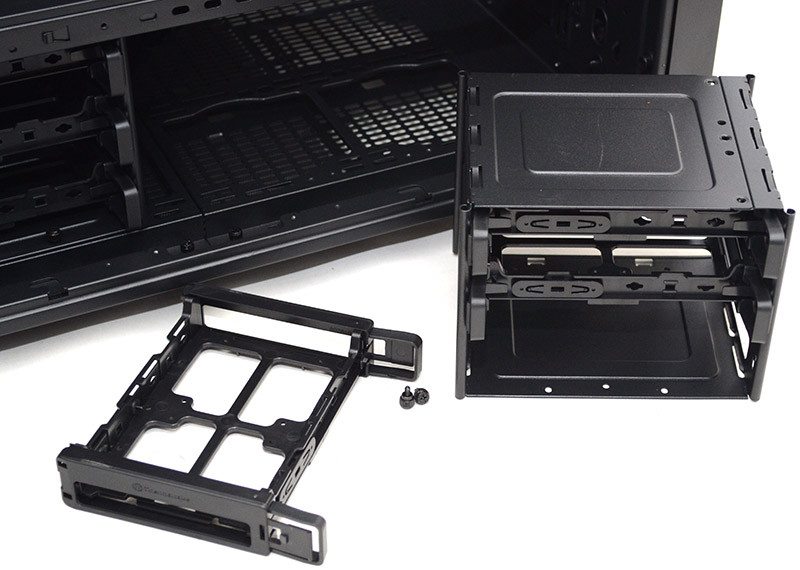
Or remove them completely, and if that’s not enough, you can quickly remove the entire cooling bracket too, giving you more ways to mount your hardware or modify the layout of the build.
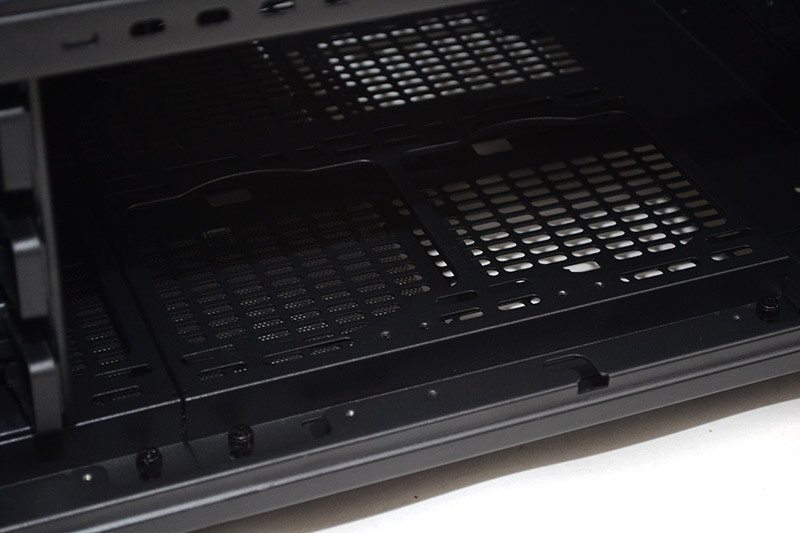
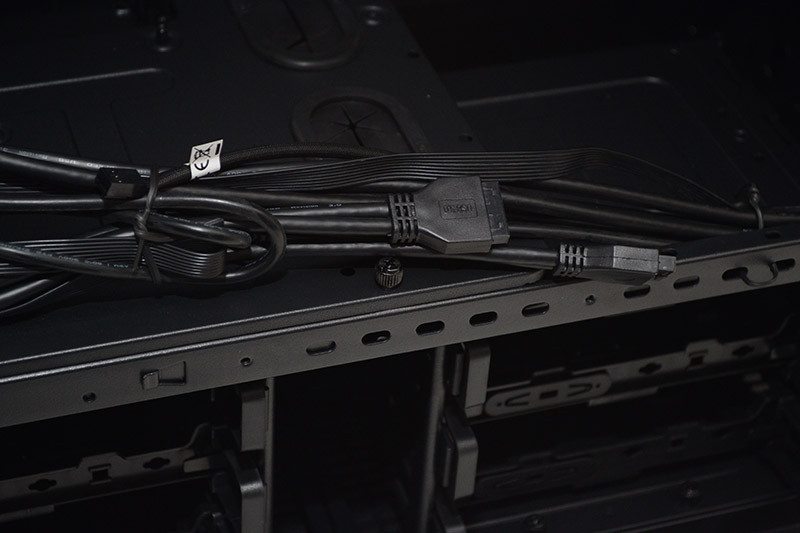
All interior cables are of a high-quality, with black cables and black headsets, so the should blend in with the build quite nicely.
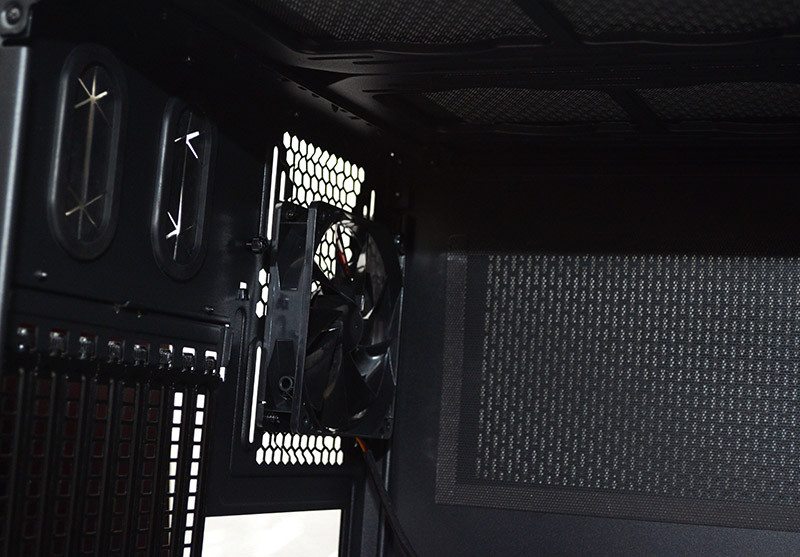
There’s a single 120mm fan mounted in the back. You’ll notice there are only two fans on this chassis (pre-installed), but that’s a hint at the nature of this chassis, as most builders will be installing a custom setup anyway and likely not use the stock cooling.
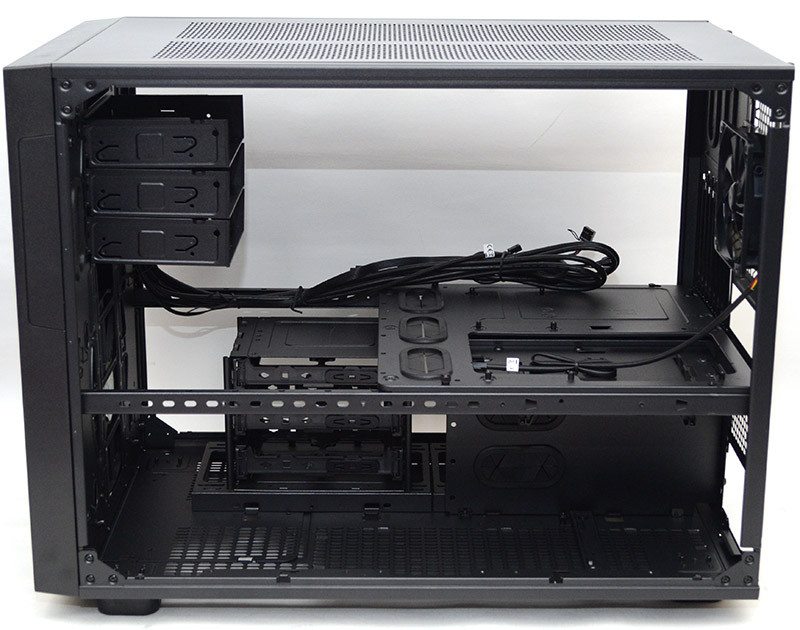
With the right side panel removed, we get a lot of space to get hardware installed with relative ease.
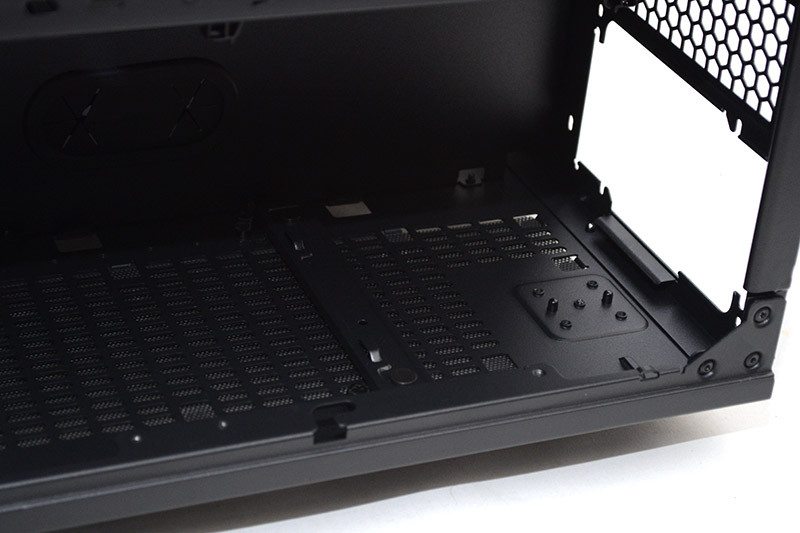
There’s room in the base for even the longest PSUs on the market. You can also see a large rubber grommet at the back to help with cable routing.
There’s also another grommet on the other side of the front panel for helping with cooling cables and more.
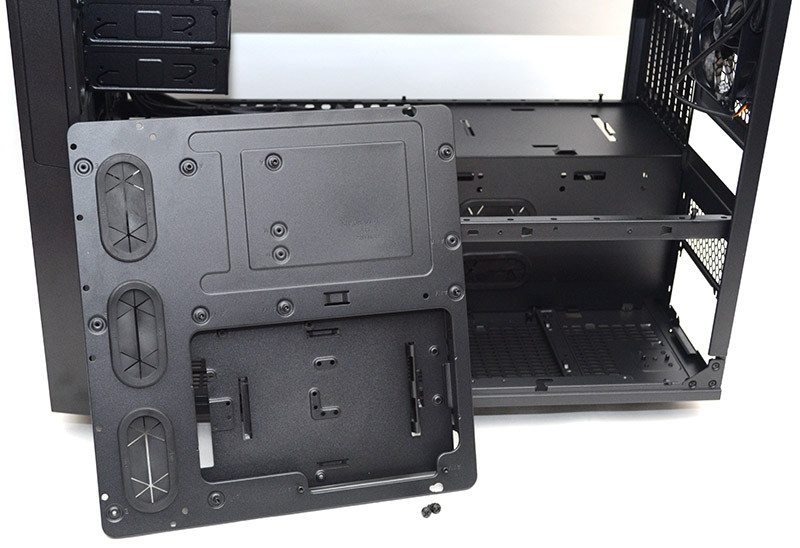
Still need an easier way to build the system? Just spin off two more thumb screws and the entire motherboard tray lifts right out.
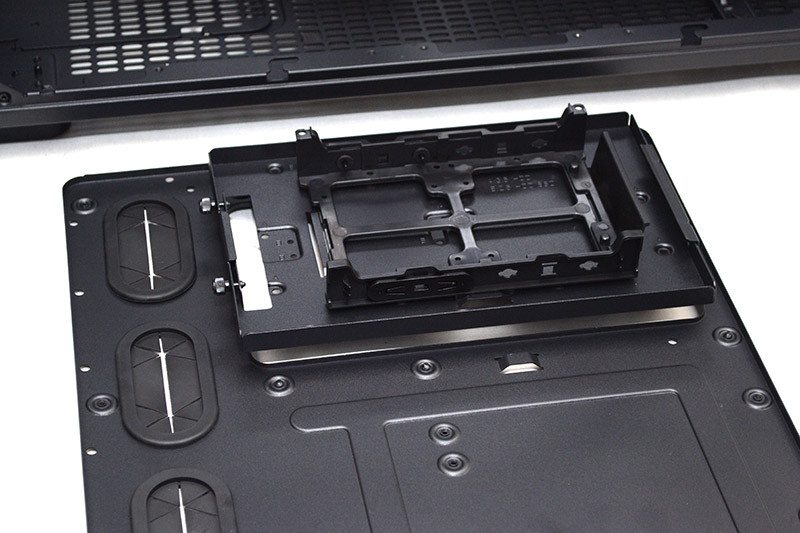
Flip it over and you’ll find more drive bays tucked away under the motherboard; this chassis really is showing some Tardis-like qualities.
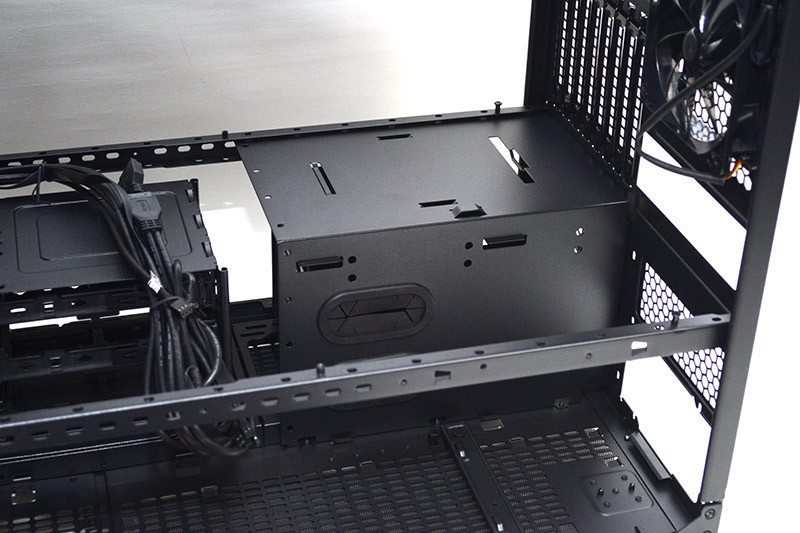
With the tray removed, you can better route cables and PSU hardware in the base of the chassis, as well as freeing up room to work on any custom water cooling hardware.
Behind the front panel, you’ll find the thumb screws to remove the 5.25″ drive bays, a 200mm fan, room for another 200mm fan, as well as the fittings for any other front mounted cooling hardware (see the extensive cooling support list on the first page for details).
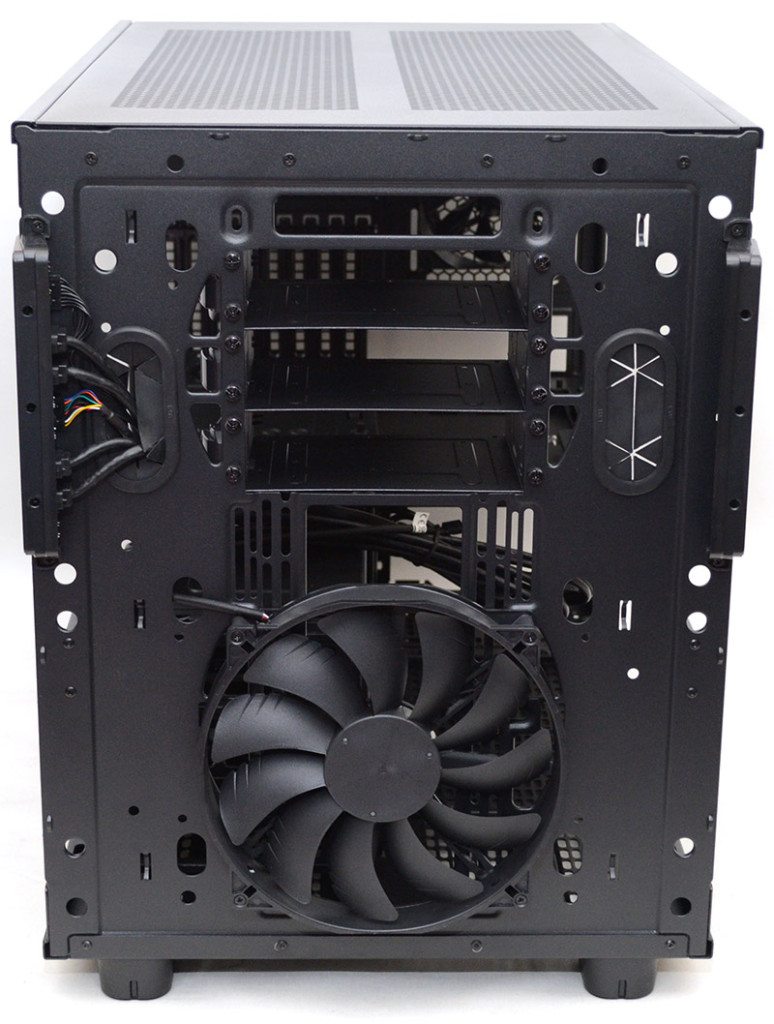
Two more thumb screws and you can lift off the top panel, making it super easy to clean those filters.
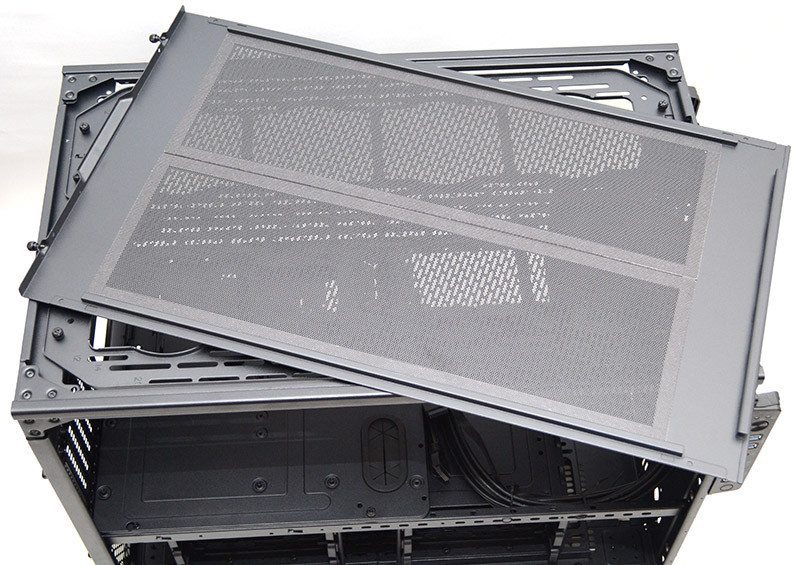
It also means you can access the fittings for the top cooling.
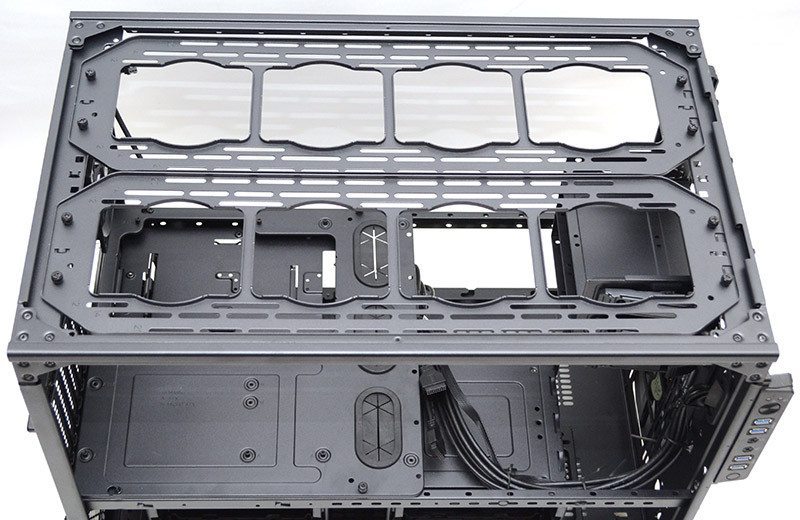
Like everything else in this chassis, you’re a couple of thumb screws away from fully removing the mounts. This is very cool, as it means you’ll be able to easily install fans or radiators without trying to find elbow room inside the chassis.
