
Interior
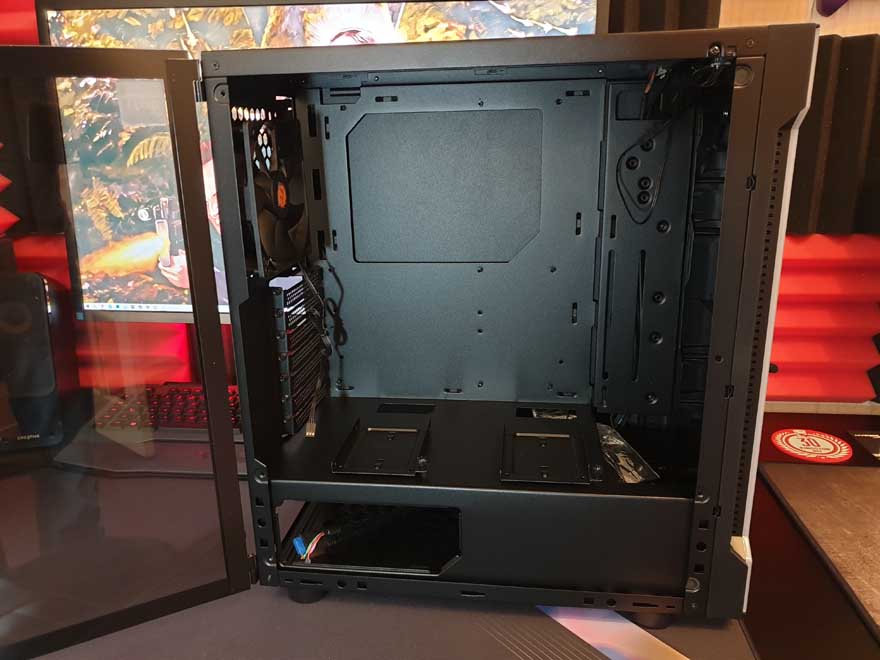
The side panel is mounted on two hinges at the back and held shut with two strong magnets towards the front. I love this design, as it makes it quick and easy to gain access to your hardware. Plus, I didn’t have to use any tools to open it, which is a real time saver. Furthermore, you can then lift the glass up and out of the way, keeping it safe while you build or maintain your PC.

While it is only a mid-tower ATX design, there’s quite a lot of room on the interior. A lot of this is thanks to the PSU shroud, where they’ve hidden all the drive mounts out of the way, leaving room for bigger graphics cards and coolers.
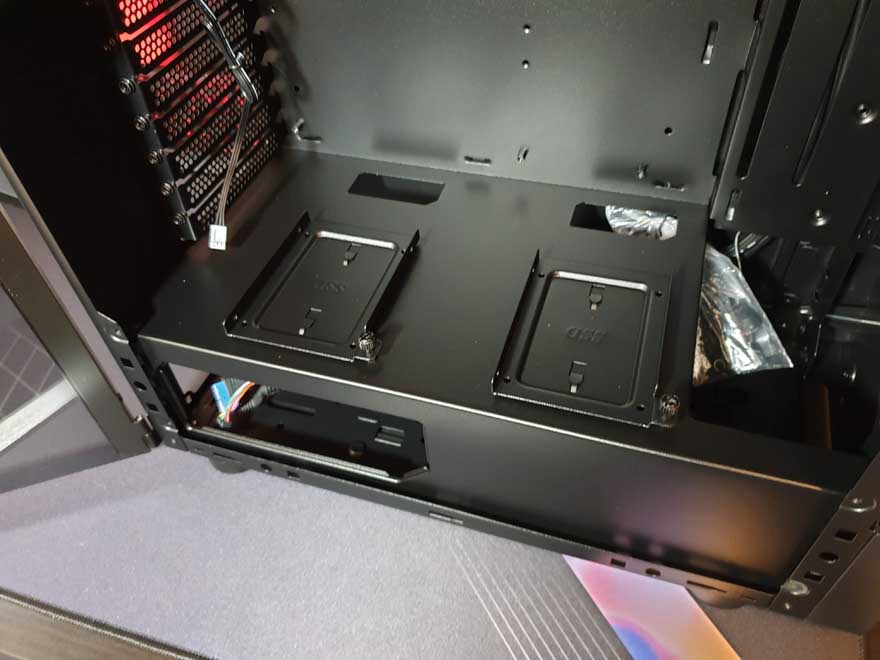
PSU Shroud
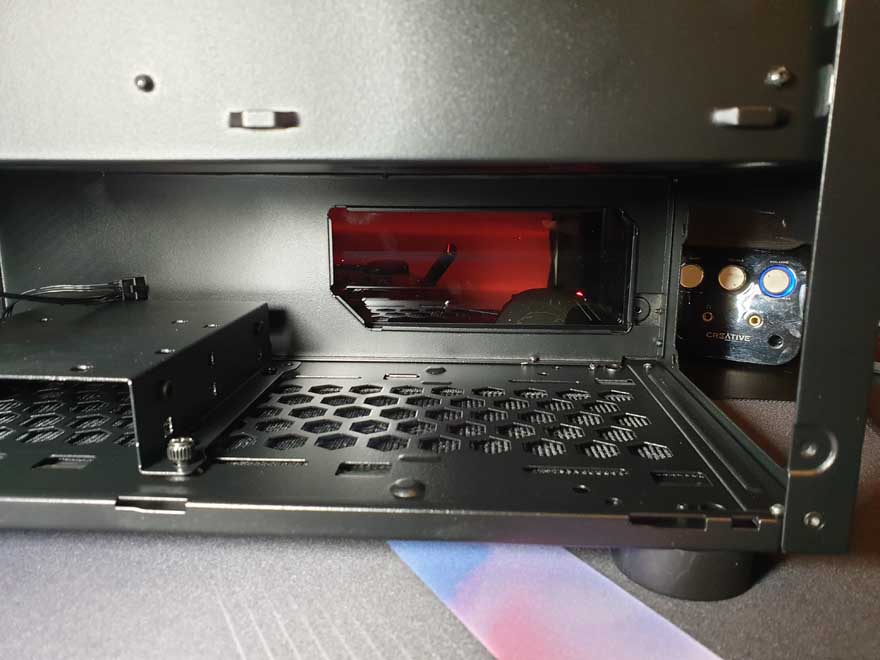
On top of the shroud, you’ll find two SSD mounts, as well as a couple of small cable routing holes. There’s quite a large cut-away at the front too, allowing for front panel radiator installations, and another cut-away on the side to show off the PSU but not the cables.
There are seven expansion slots, so more than enough room for a big graphics card and a few other devices. Plus, there’s quite a lot of width to the case, which can prove handy for some of the wider cards, or those with water cooling tubing.
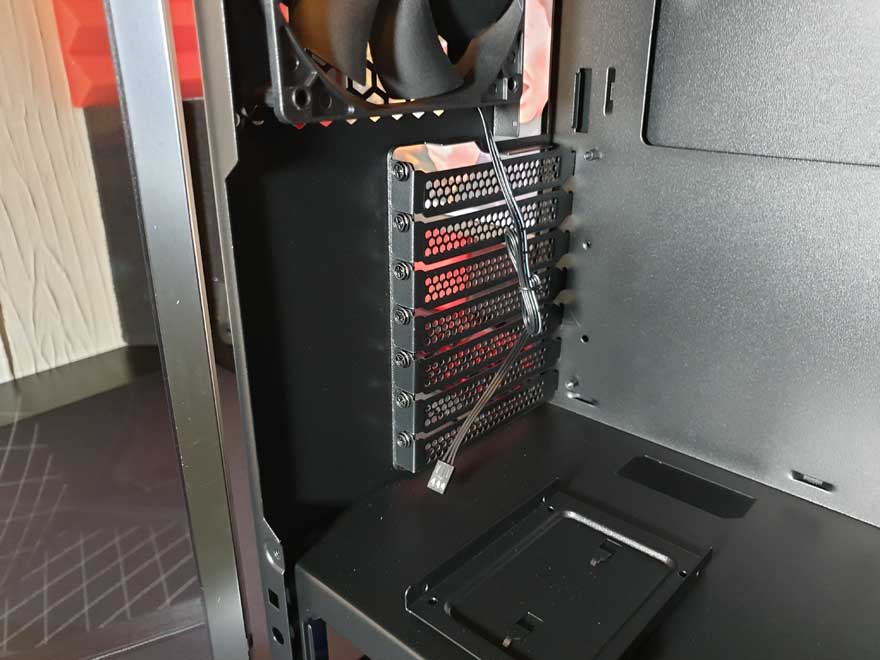
Fans
Interestingly, there’s only a single fan pre-installed with this case. It’s a 120mm all-black model from Thermaltake and is mounted as the rear exhaust.

That means no fans in the front, which seems odd. However, if you’re planning to install an AIO, I’d go right in the front with it and kill two birds with one stone.
The cable management is pretty simple, rather than using grommets, there’s just a large recess in the backplate. What’s cool is that all the cables come through the side so they won’t have to bend around as much to reach motherboard ports.
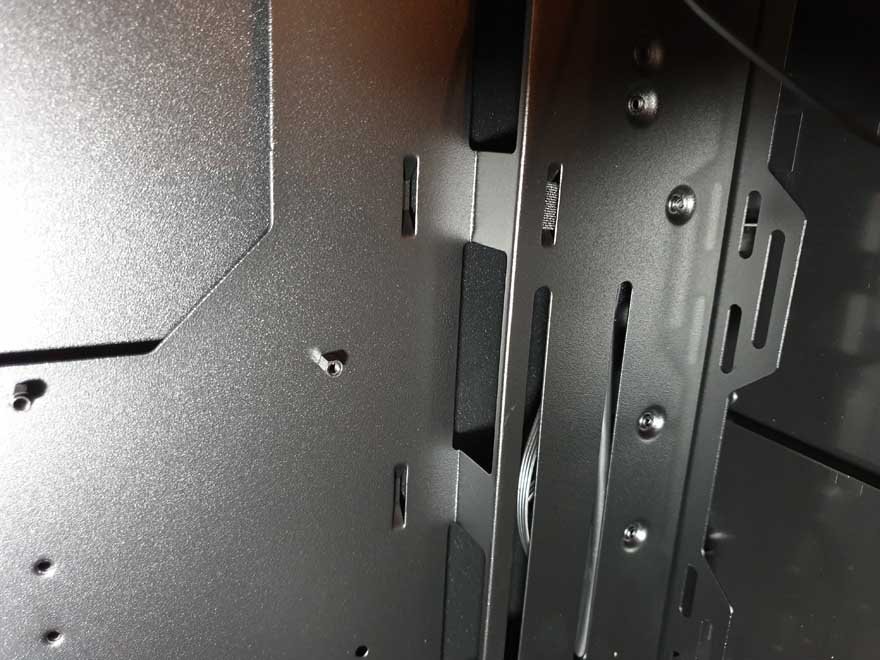
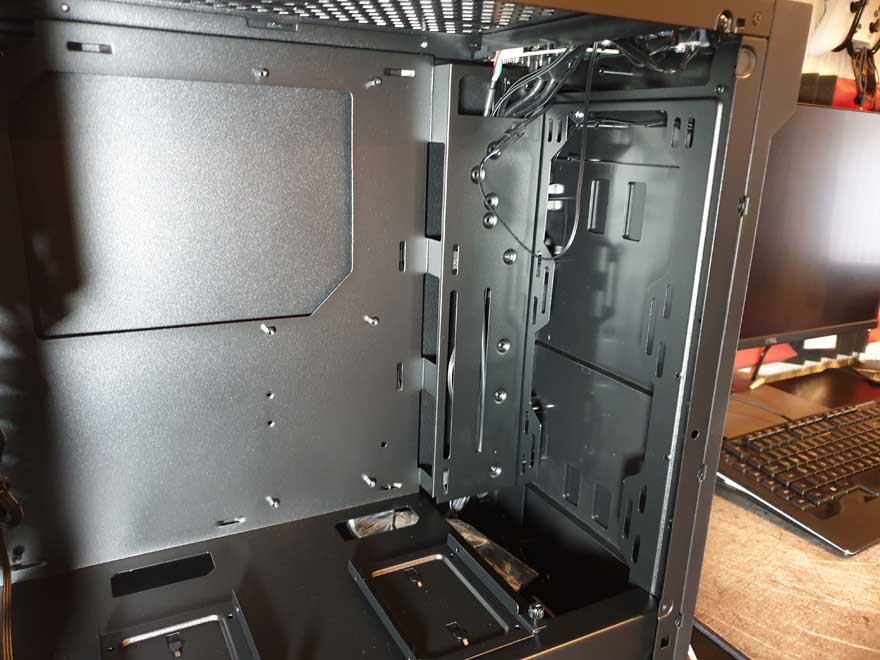
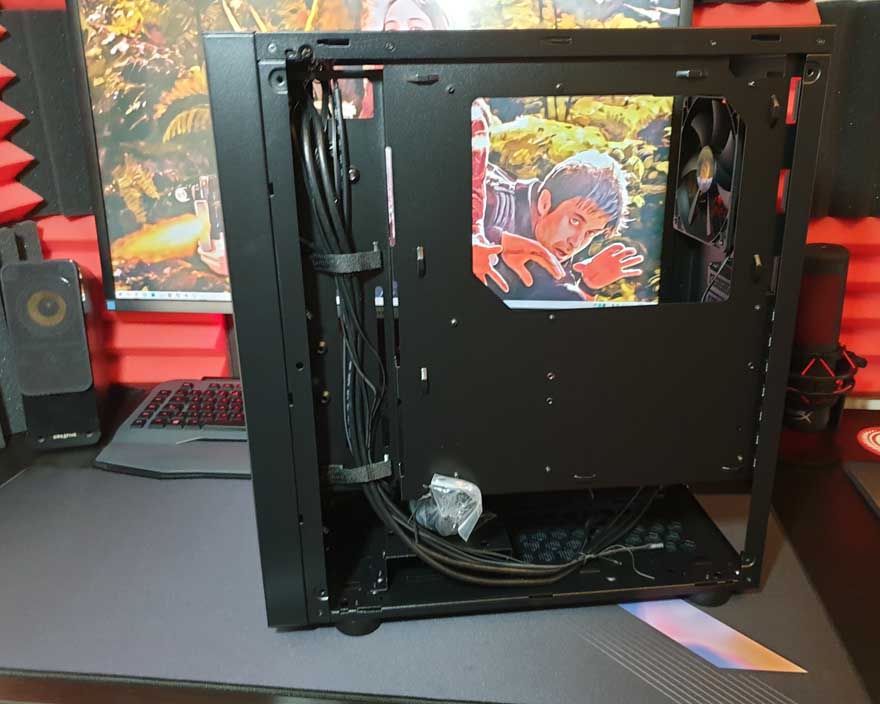
Behind the Motherboard
Behind the motherboard, you can easily see that there’s a huge cut-out for mounting your CPU coolers. Or a handy (albeit not on purpose) place to frame a scared Lt., Colonel John Sheppard.
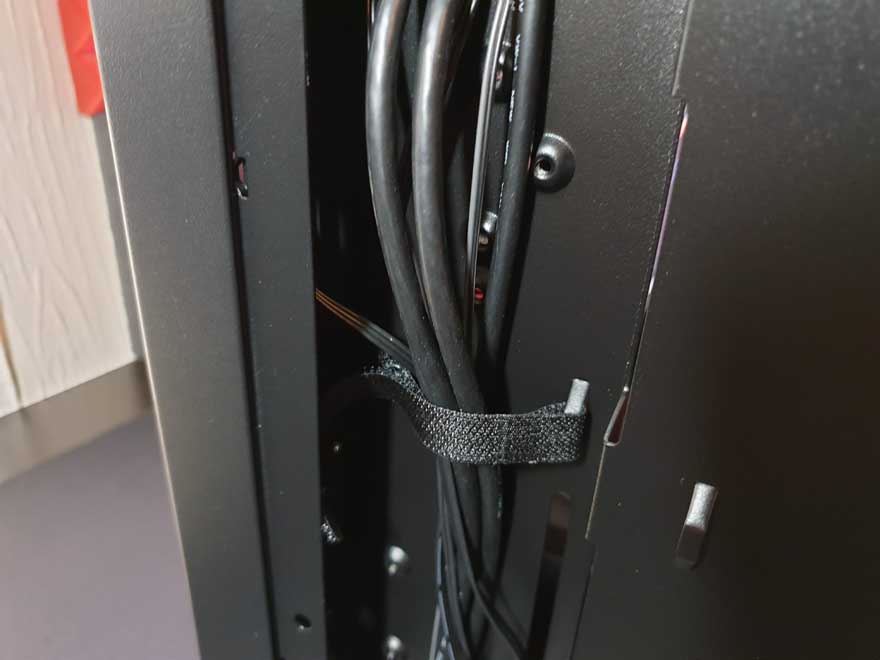
The cable routing channel is nice and deep, so it shouldn’t have any issues dealing with the thicker 24-pin cables and more.
There’s only a single bay for the 3.5″ drives in the base, although I do like that it can be fully removed or moved as required. Plus, you can mount another drive to the top of it if required.
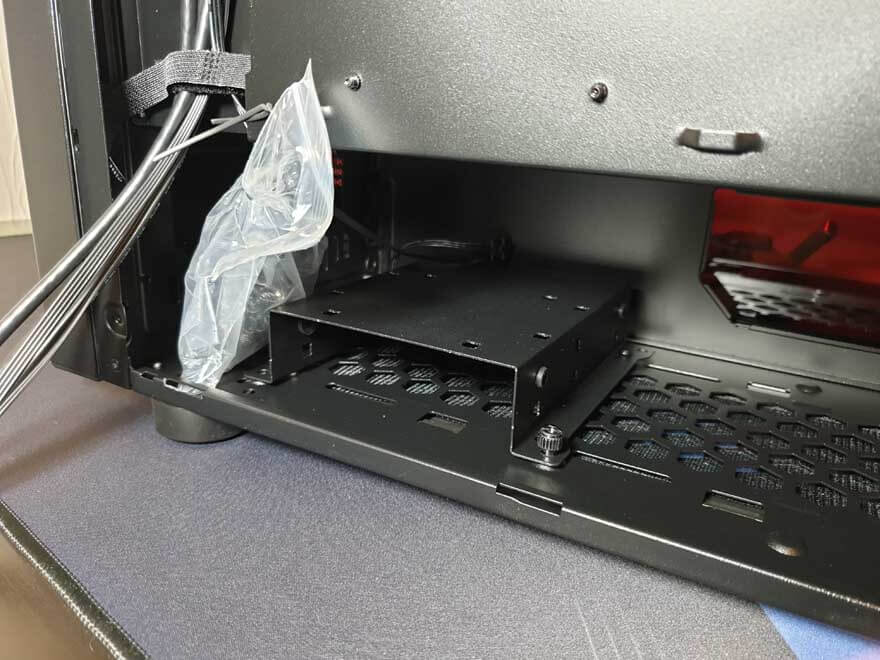
There’s loads of room down here for the PSU and cables. I guess with one 3.5″ tray, it’s unlikely to conflict with PSU cables, so maybe they’re onto something here.


hi! Where did you connect the 4 pin wire? The rgb has 2 wire. 1 for sata and 1 is the 4pin wire.
Hi! Did you ever figured that one out? can’t find the answer anywhere…
I have a similar TT case but can’t find extra SSD mounts that sit atop the PSU shroud. I even checked the TT website and they don’t sell them. Google hasn’t been helpful either. Do you know where they can be purchased?