Thermaltake Smart BX1 RGB 750w Power Supply Review
Mike Sanders / 6 years ago
A Closer Look
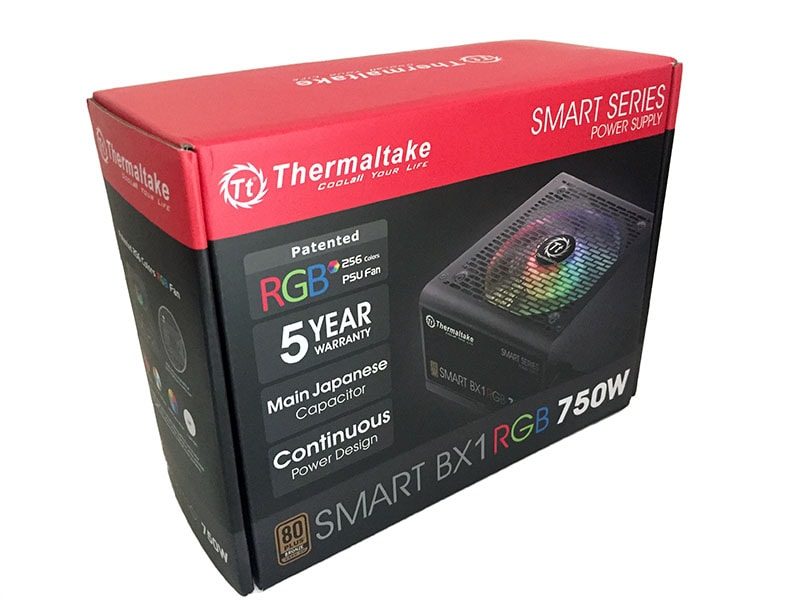
The exterior packaging carries that distinctive red and black colouring we have come to associate very well with Thermaltake. The front provides you will all the information you could need at a glance. You are also given a nice bold image of the power supply with the RGB lighting in effect.
You will also note that Thermaltake pushes the 5-year warranty and main Japanese capacitor. A strong selling point for anyone with some knowledge of power supplies.
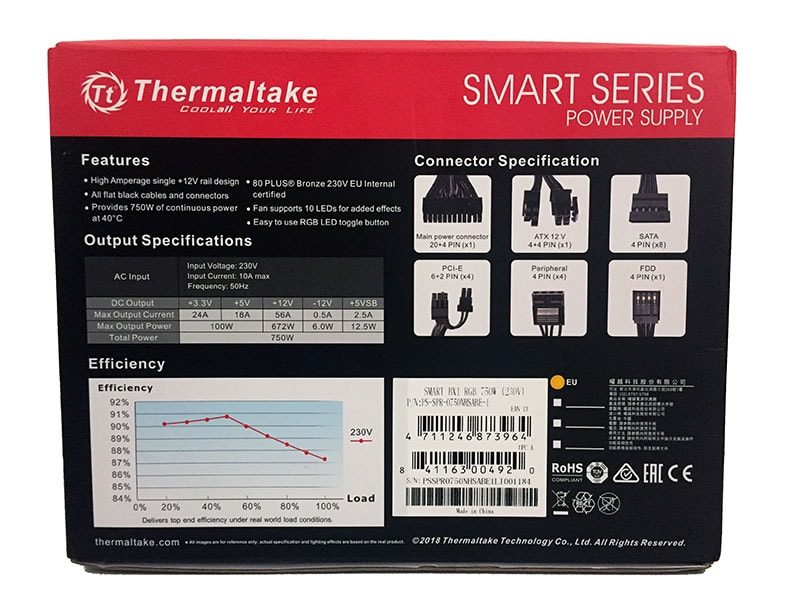
The rear of the box is crammed full of good information. This includes the key features, cables (including pictures), the output specifications and also the energy efficiency ratings chart. Not for the first time, we must credit Thermaltake for not only providing so much information in an easy to read format, but also the efficiency charts. Very few PSU manufacturers have the courage to slap that chart right on the box!
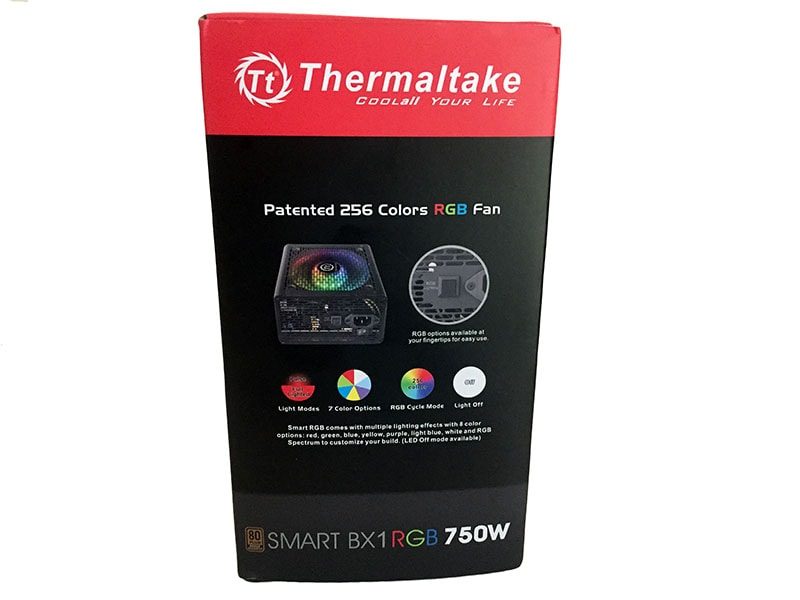
The sides of the packaging details the RGB lighting effects. It highlights the different colours, modes and cycles available as well as pointing out that if RGB isn’t your thing, there is a convenient switch to turn it off.
Whats In The Box?
A closer look a the power supply shows that in terms of presentation, even with the RGB lights off, it looks pretty good. As this is a non-modular power supply you will notice the bank of cables. In regards to these specifically, the cables are nice and flexible while the coating also feels durable.
Getting back to the presentation though, the power supply just have a fair amount of branding and product wording on it. This is, however, all in keeping with the design and actually looks rather good.
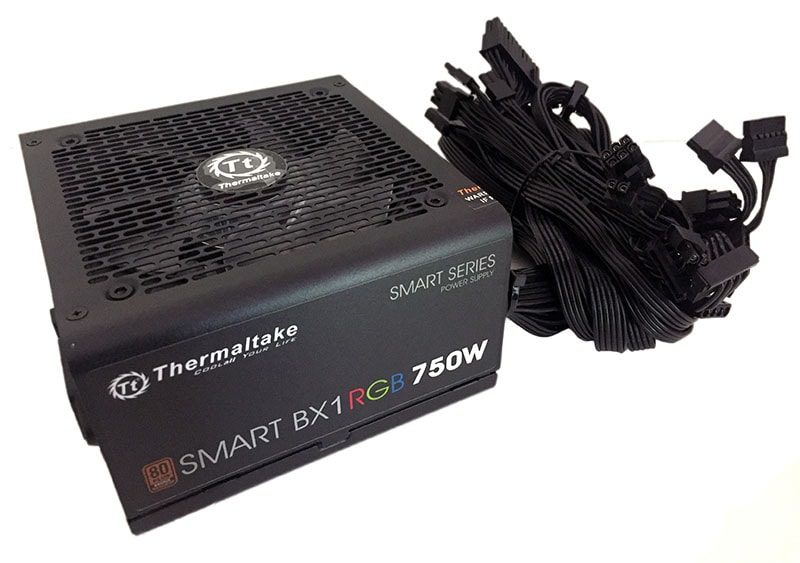
Despite this being quite a hefty power supply (at 750w) the design is neither large nor is it overly heavy. In the picture below you can again see that while a fair amount of branding is there, it’s all in keeping with the overall ethos of the product.
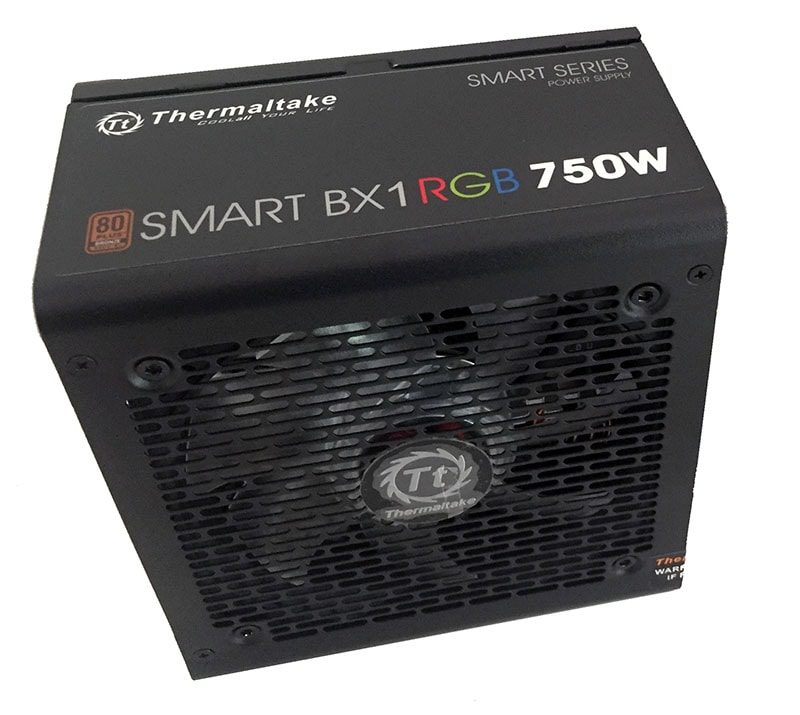
The ‘top’ of the power supply looks very impressive with the Thermaltake logo center to the fan case exterior.

The bottom of the power supply has all the technical details specific to the way the power is outputted. Although not entirely uncommon, it is nice to see this information physically displayed on the power supply.
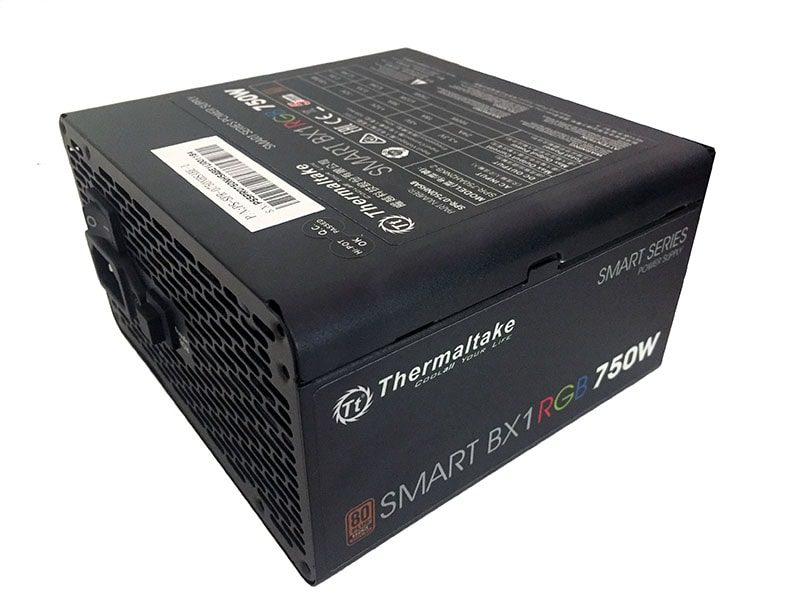
The rear of the power supply has nice large vents which should help promote good exhaust. As with most things PC related, the cooler they are, the better they run and as you can see in the picture, very little space hasn’t been utilised to help promote this as best as possible.

Overall, in terms of design, Thermaltake has achieved something a little unusual with this power supply. While there is a lot of branding and wording on it, it all looks very professional and actually aesthetically really nice. This is, dare I say, a damn fine looking PSU! Even when the RGB isn’t turned on!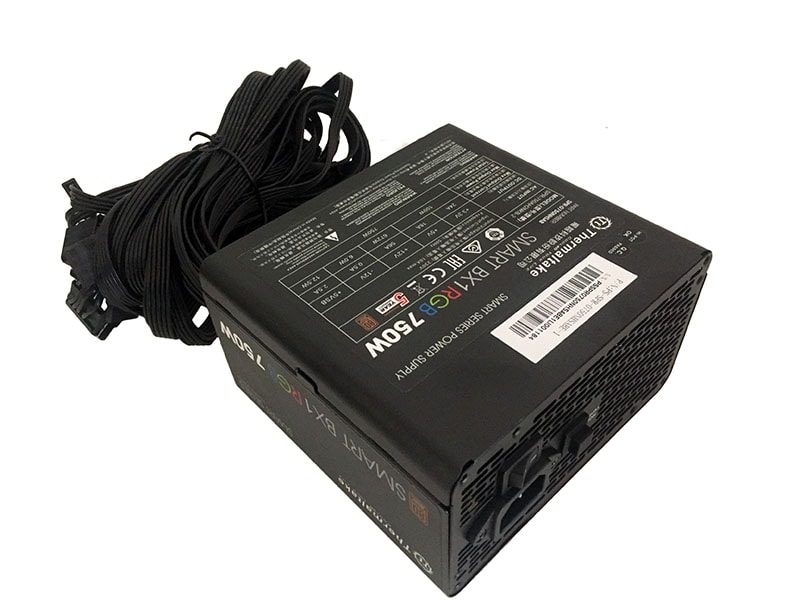
Interior
A closer look at the inside of the power supply adds to our confidence that this will do well in testing. All the componants look well produces with a nice amount of space between them all which should, by proxy, allow for a good air flow. In addition, there did not appear to be any signs of excessive glue ‘blobs’. This has been put together very well.
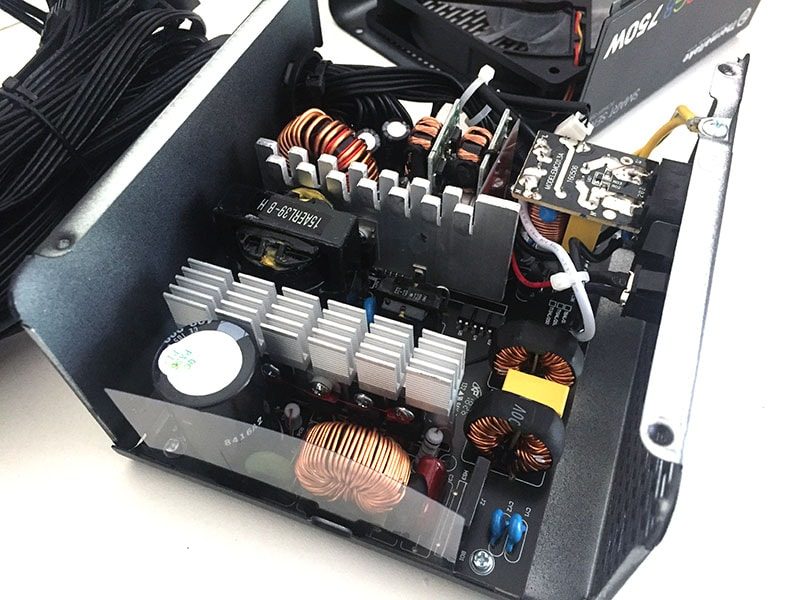
In addition to this, you will note that the 2 banks of heat syncs are located to the near center of the power supply. As these are directly underneath the fan, and well spaced, this should allow for excellent temperature regulation.

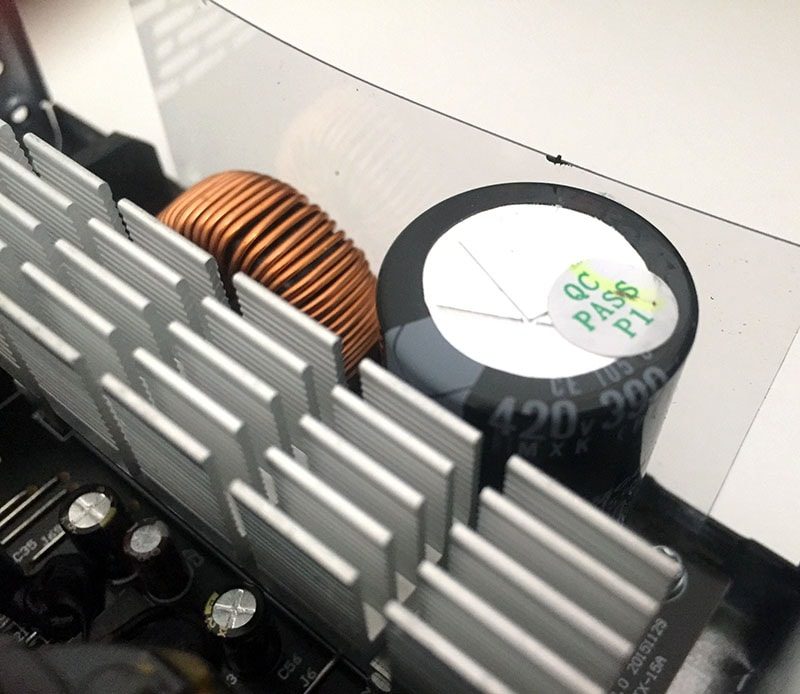
Due to the position of the main capacitor, it was difficult to get a decent photograph of it. Despite this, we were able to confirm that it is Rubycon manufactured. These are a Japanese electronics brand known to us, albeit one that we don’t see as often as, for example, Nichicon. Despite this should, with the main capacitor rated to 105c, this is exactly what you want to see.
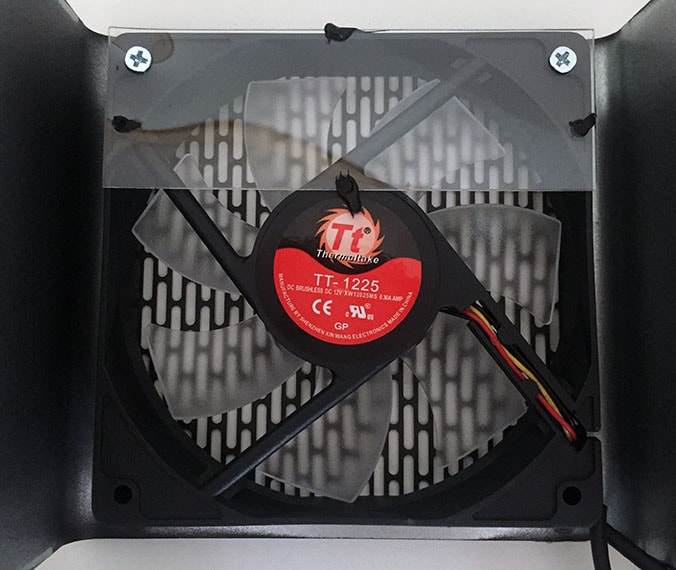
The main cooling fan is a Thermaltake TT-1225. We have seen this fan regularly used by Thermaltake in the past and in terms of performance, it has never failed to impress.
As a whole, in terms of the internal componants, the Thermaltake Smart BX1 looks good. Let’s see if it can keep this up with our testing!
Important – Please Read
To understand the results on the new few pages, please take the time to read our detailed testing methodology page. The next page of this review will help you understand what the results of our testing mean, and educate you on the various qualities we look for in a good PSU.


