Thermaltake Suppressor F31 Silent Mid-tower Chassis Review
Peter Donnell / 9 years ago
Interior
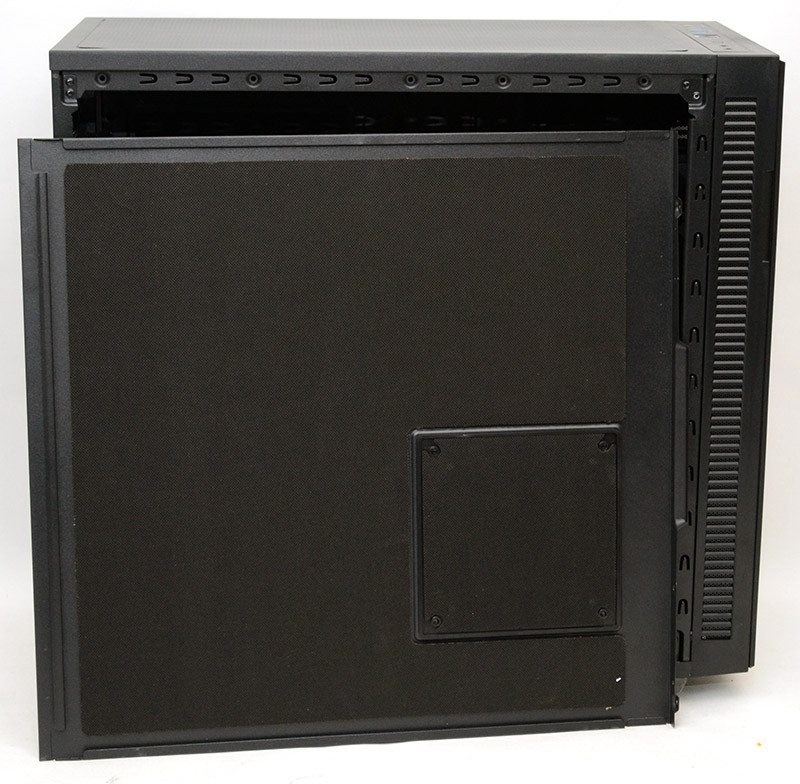
The interior of the left side panel is coated with thick sound dampening material, while the side panel its self is one of the thickest and heaviest I’ve ever seen; it’s virtually bulletproof.
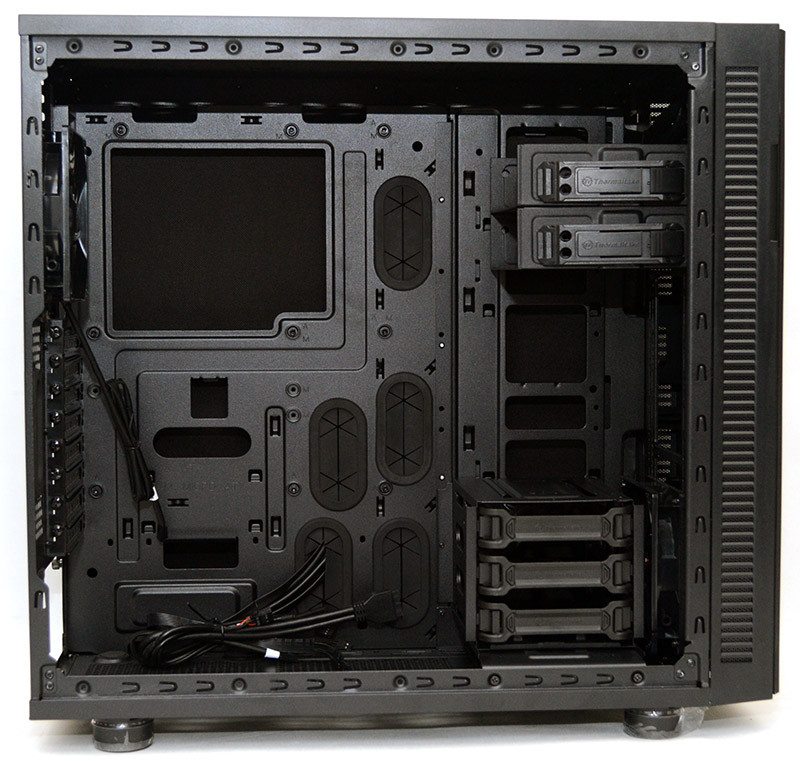
On the interior, we’ve got lots of room for high-end hardware, as well as plentiful cable routing options to help you achieve a neat and tidy build. There’s a large CPU cooler mounting cut out at the back, as well as pre-installed motherboard stand-offs, which should ease the installation process.
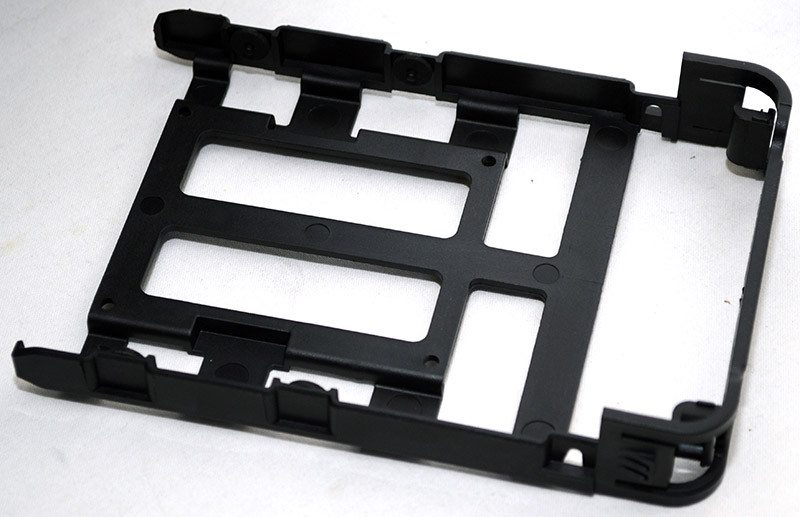
The primary hard drive bay has three slide-out and tool free drives for 3.5″ HDDs, although screws are also included to install 2.5″ drives if required.
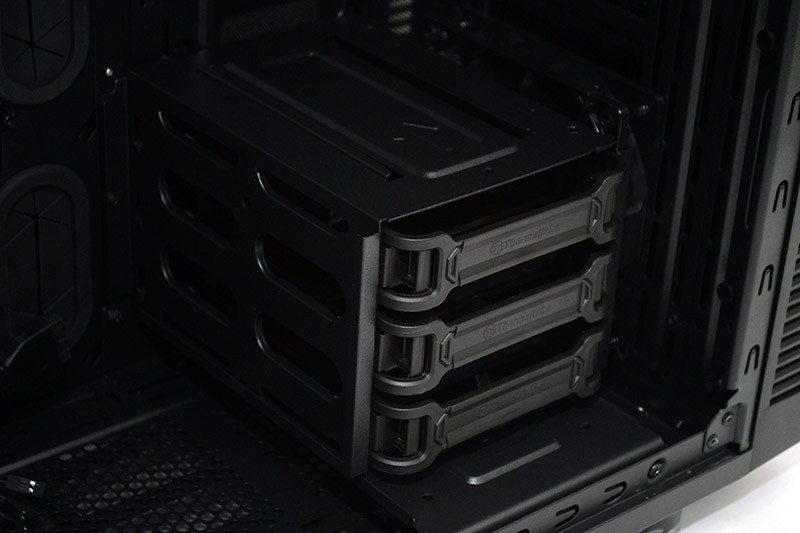
The brackets are plastic and quite sturdy, but their design should also help reduce any vibrations from your drives.
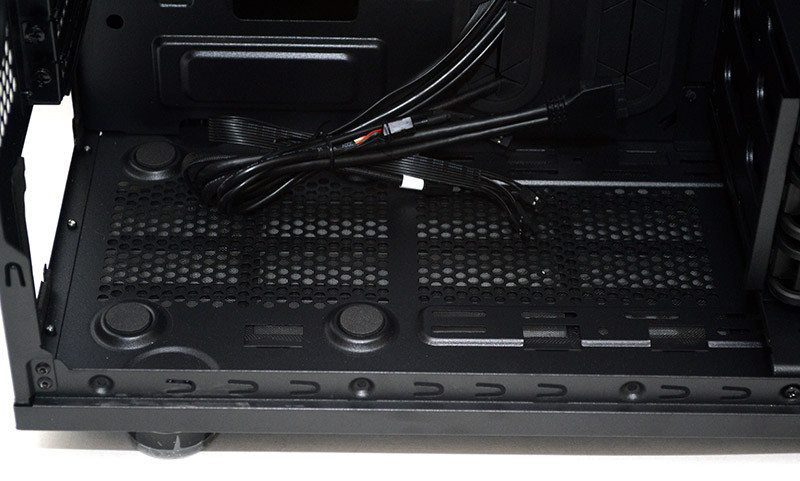
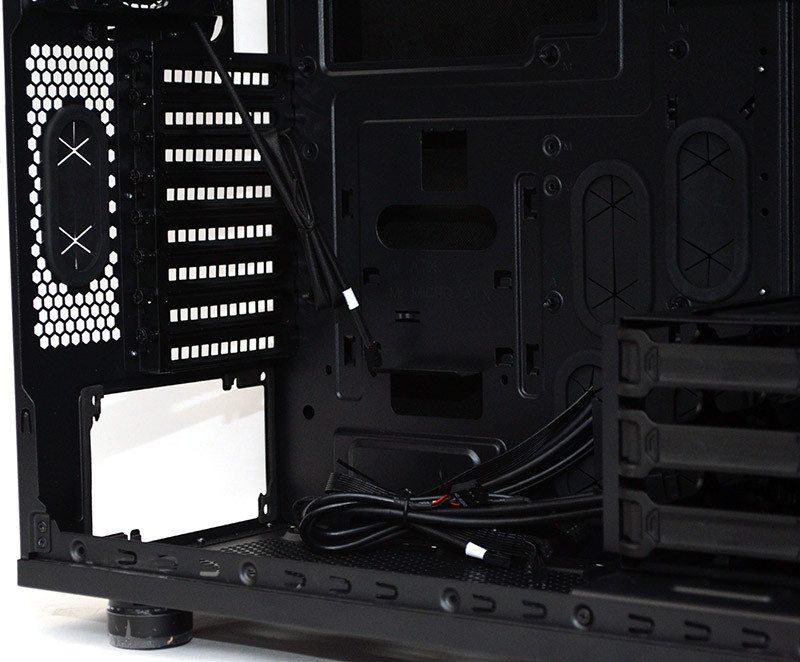
The PSU mounting is slightly raised with four large vibration absorbing pads. There’s room in the base for extra fans or radiators too, but this will require you to remove the HDD bay to make full use of it.
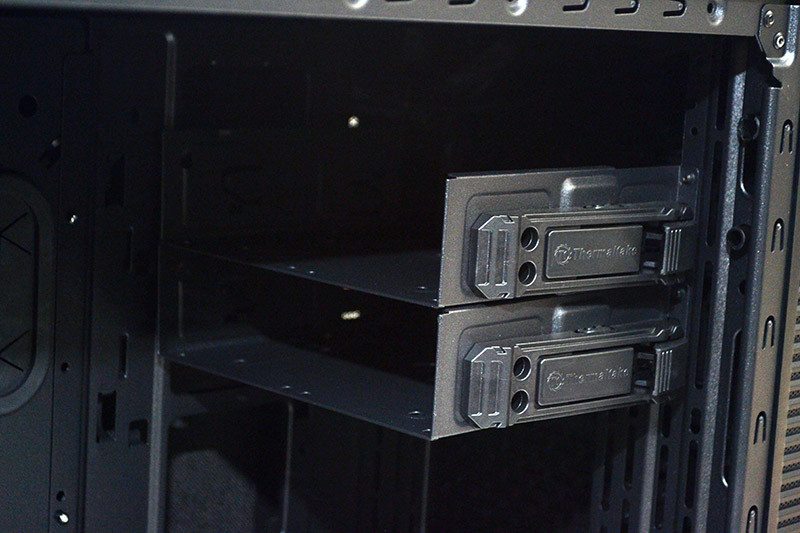
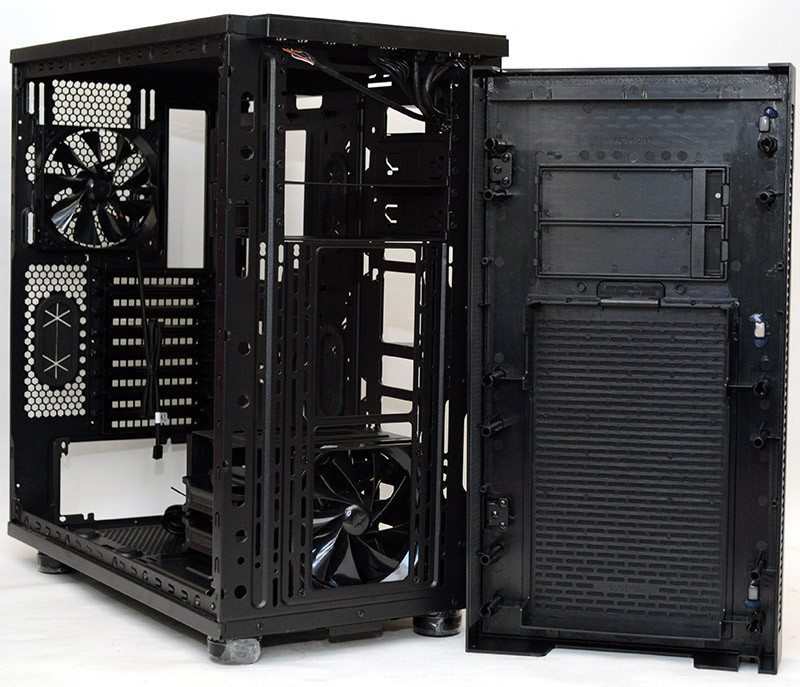
There are two 5.25″ drive bays in the top, which come with a tool free locking system. Even better, if you don’t want to use these bays, they’re completely removable, freeing up more room for fans or large radiators in the front of the chassis.
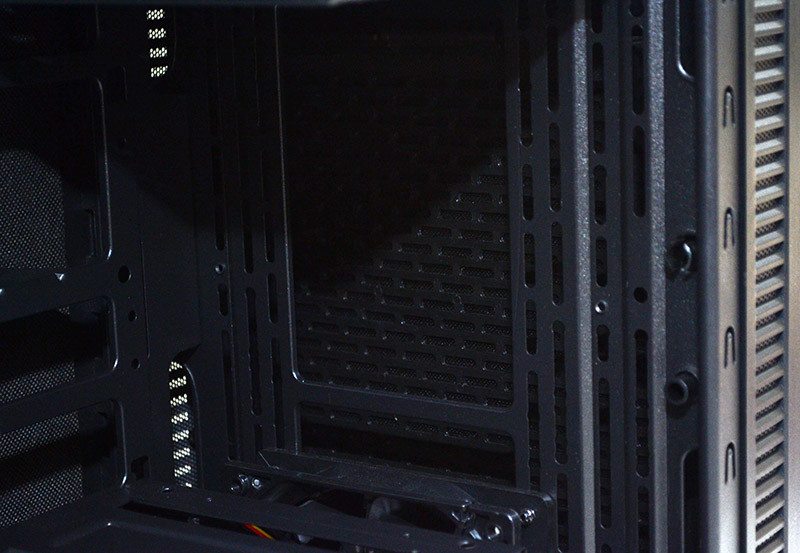
The front cooling mounts are extremely versatile, with 120mm and 140mm spacings and elongated screw holes to allow for a wide range of configurations.
In the back of the chassis, you’ll find a single 120mm fan for the exhaust, you may notice that this big ol’ chassis only has two small fans, which seems like nowhere near enough cooling, but typically most consumers add their own after market fans and/or water cooling, so these fans are really just a small freebie, rather than include lots of fans that are likely to be replaced anyway.
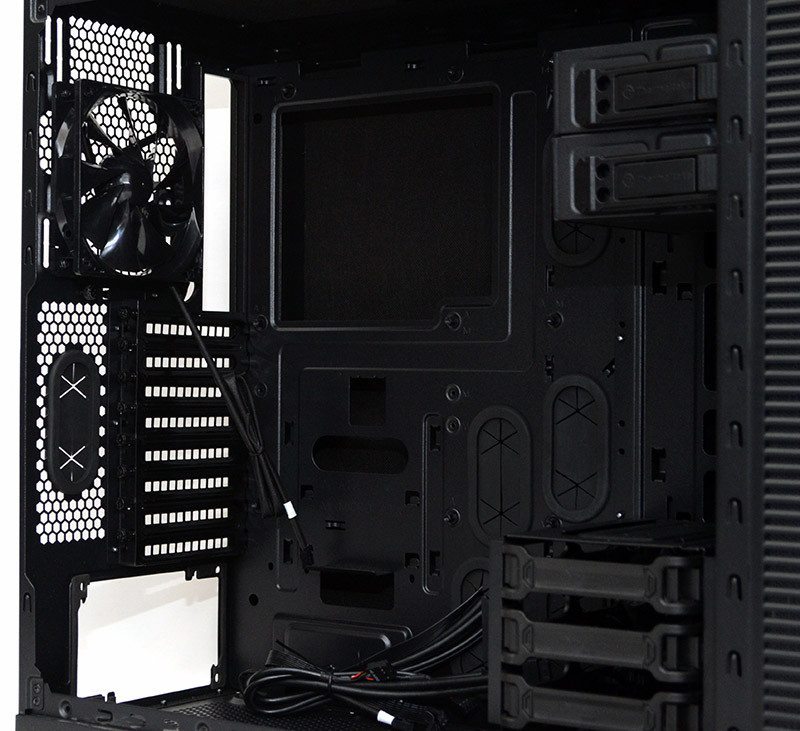
That being said, the fans are of a nice quality and come with black sleeved cables. There’s a huge amount of space at the back too, so AIO or custom loop radiators should fit with ease.
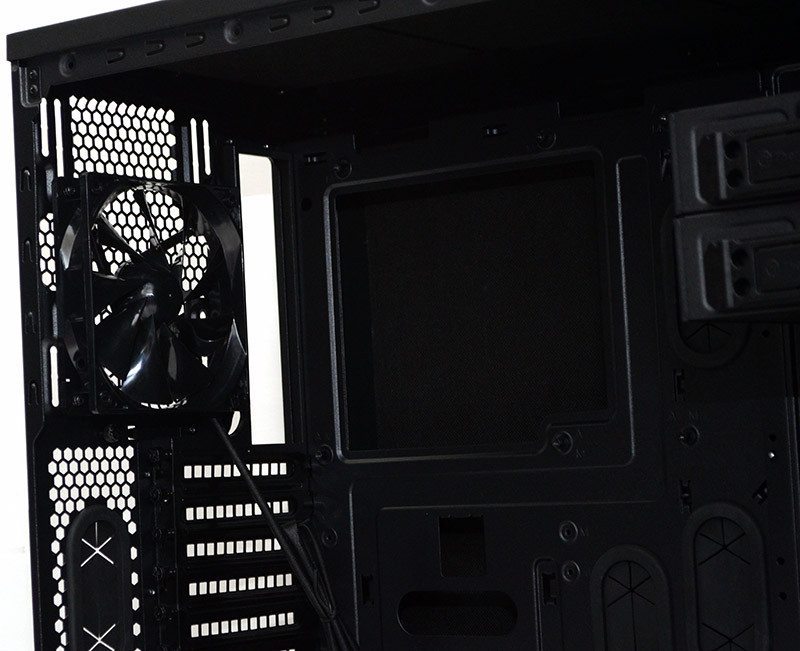
All of the expansion slots are fitted with thumb screw, allowing for quick and easy installation/removal of your components.
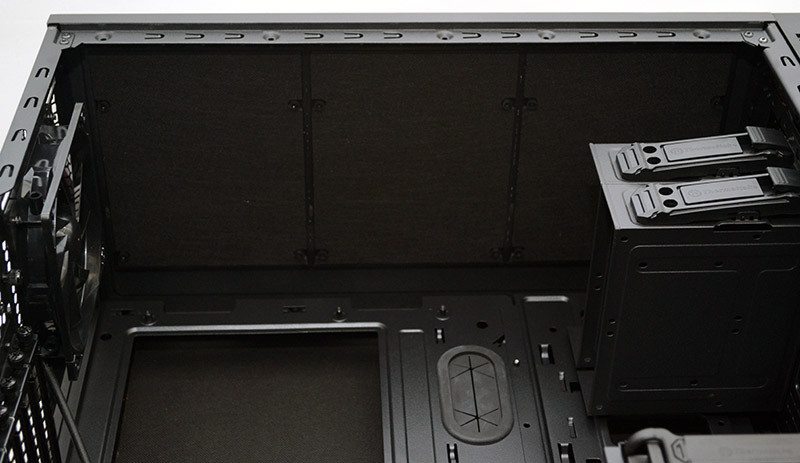
There’s even more thick layers of sound dampening material in the top, split into three easily removable panels should you need to take them out for extra cooling.
The right side panel has, you guessed it, even more sound dampening material. I’m actually starting to think that if you removed all the steel, we’d still have a pretty sturdy chassis just from the padding alone; this panel is also incredibly heavy and strong, just like the one on the left.
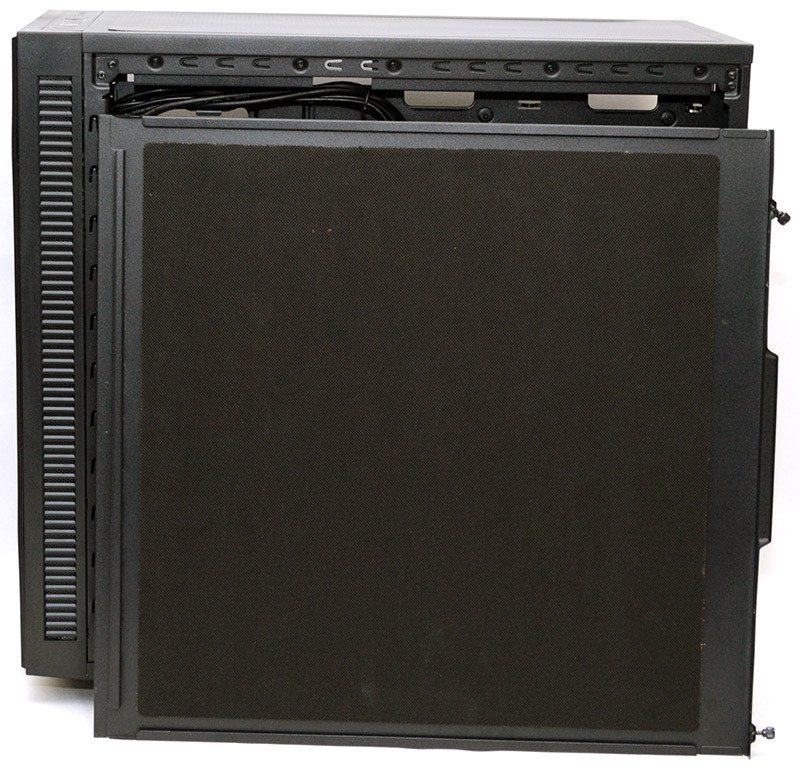
At the back of the motherboard tray, you’ll find a huge amount of space for cable management as well as a good amount of cable tie loops and cable routing holes to help you keep everything neat and tidy.
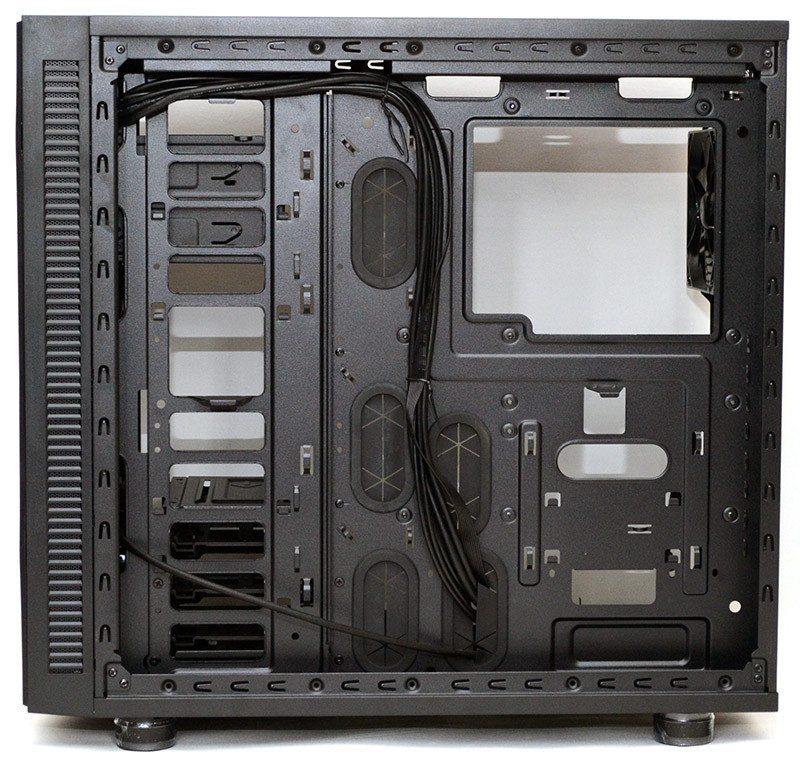
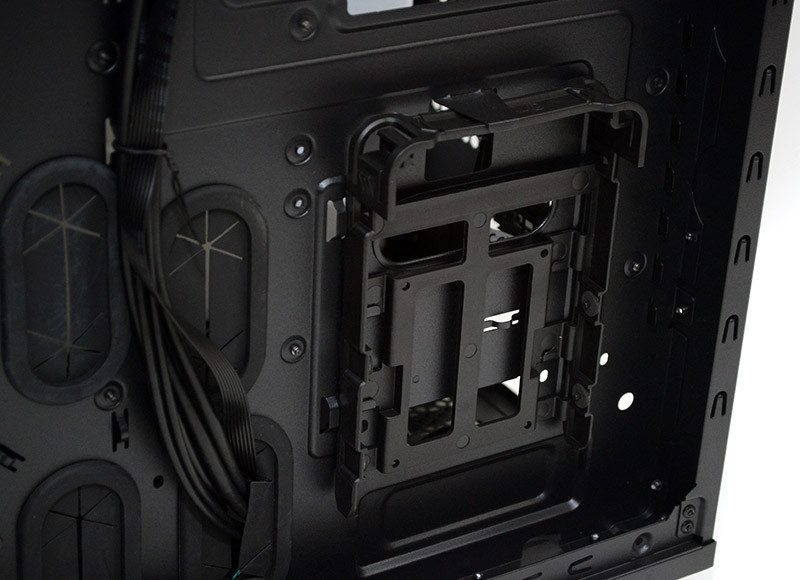
There’s a laughable amount of space here, so much so, that you can actually install 3.5″ drive behind the motherboard and still have room to spare.
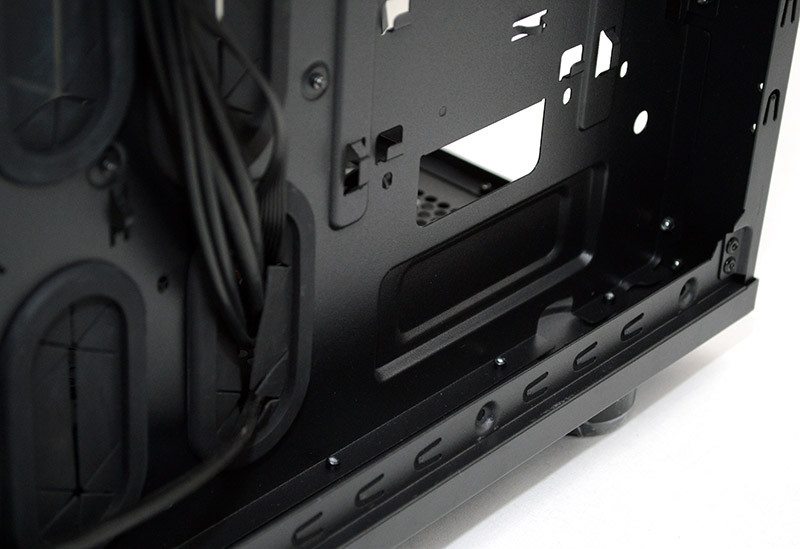
There are three clips like this one, one here in the bottom right.
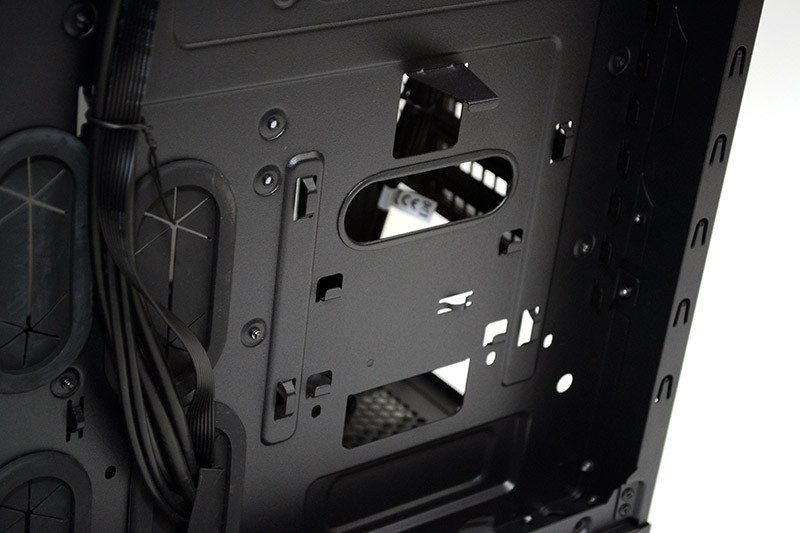
Bottom left.
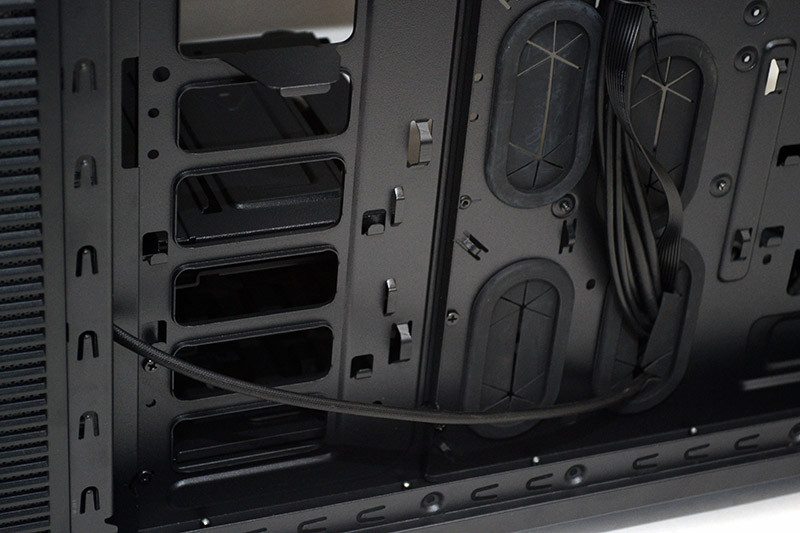
With the last on in the top left. Each of these can be used to mount of the drive trays from the front HDD bay, this means that should you need to remove the HDD bay to make way for cooling hardware, you won’t lose any of the number of bays!
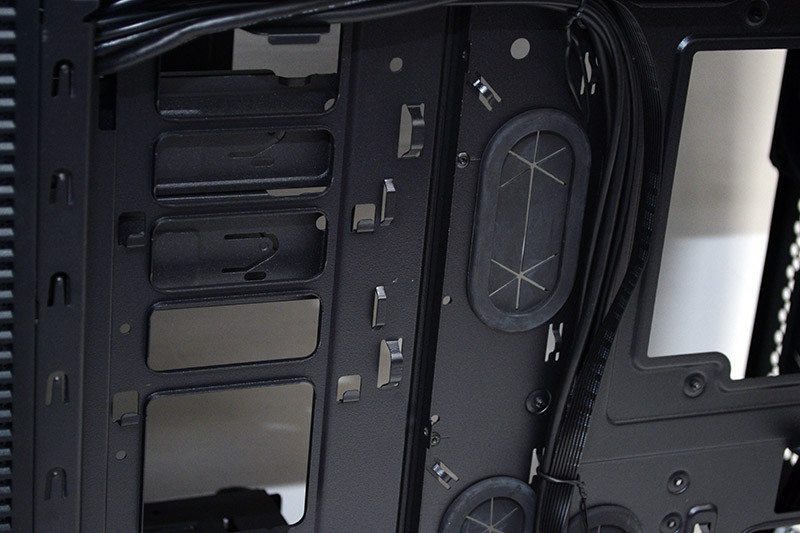
The trays clip in with ease too, no tools required.
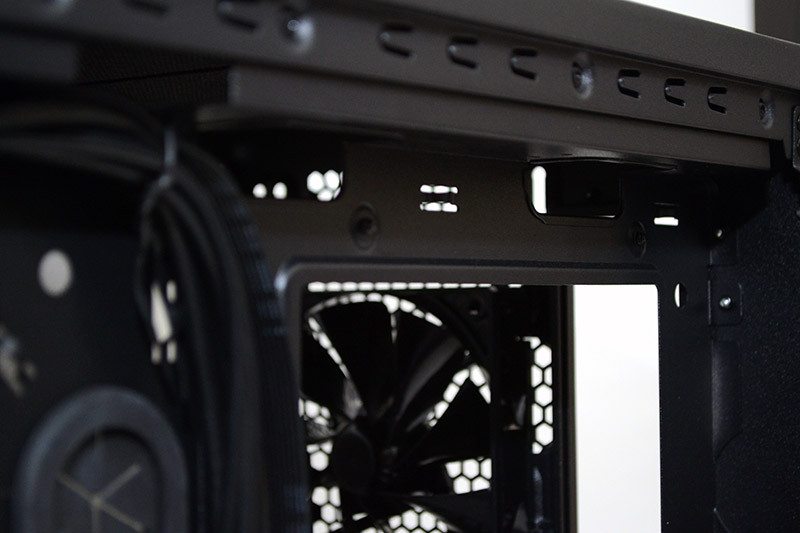
Extra cable routing at the top, handy for motherboard cables and routing fans for the top ventilation.
The front panel can be pulled off, giving you easy access to the fan mounts on the front of the chassis.
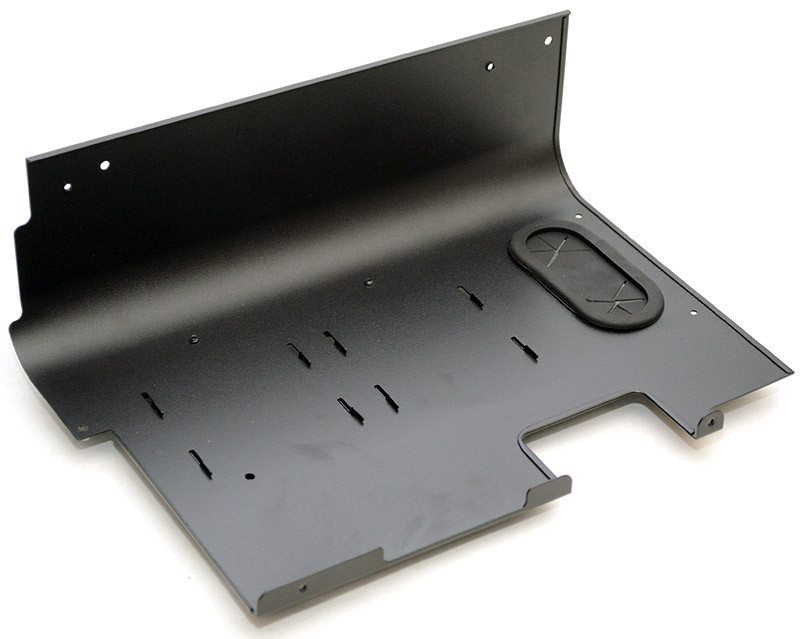
Also included with this chassis, is a handy PSU shroud, which features a pair of 2.5″ drive mounts, as well as a grommet for power cables to any expansion cards.
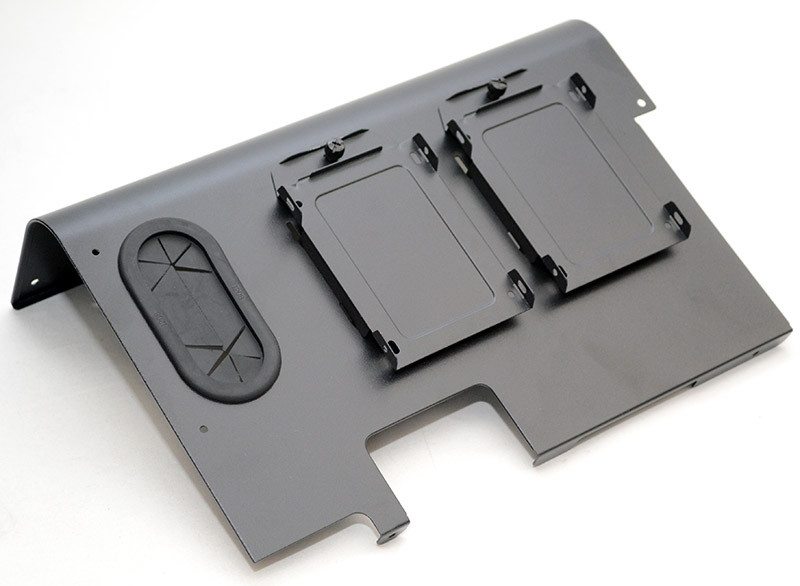
It’s a simple design, but will help tidy up your build and adds more storage with minimal effort.
