Thermaltake Versa H18 Micro-ATX Chassis Review
Peter Donnell / 6 years ago
A Closer Look – Interior
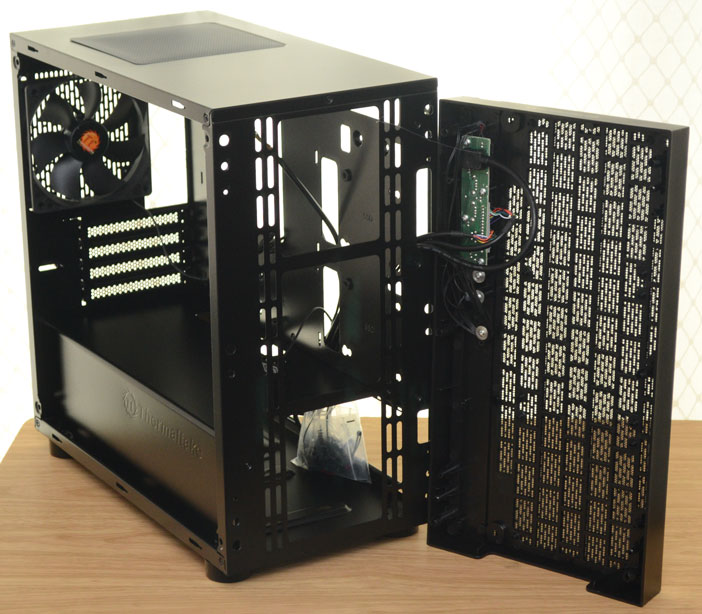
The interior of the H18 is pretty impressive, with a well thought out layout that should easy your hardware installation process. There’s a built-in fixed PSU cover, which hides all your cables and some storage drives, and plentiful cable routing options.
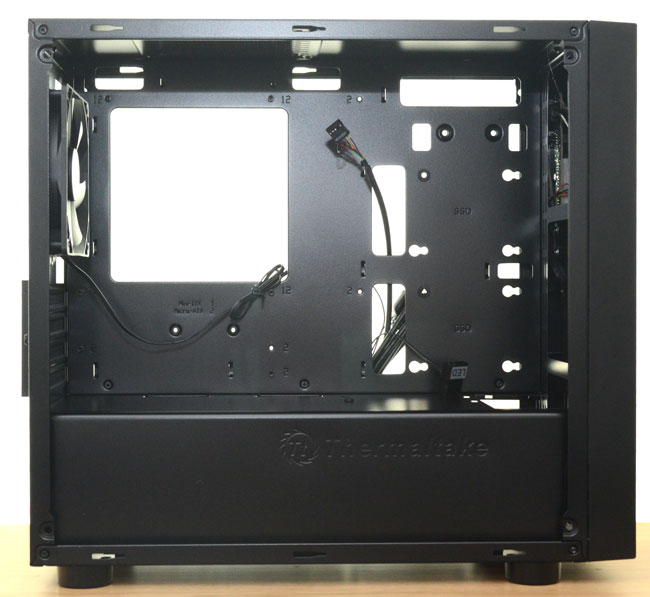
There are no rubber grommets, but again, loads of routing holes that will make easy work of all of your cables.
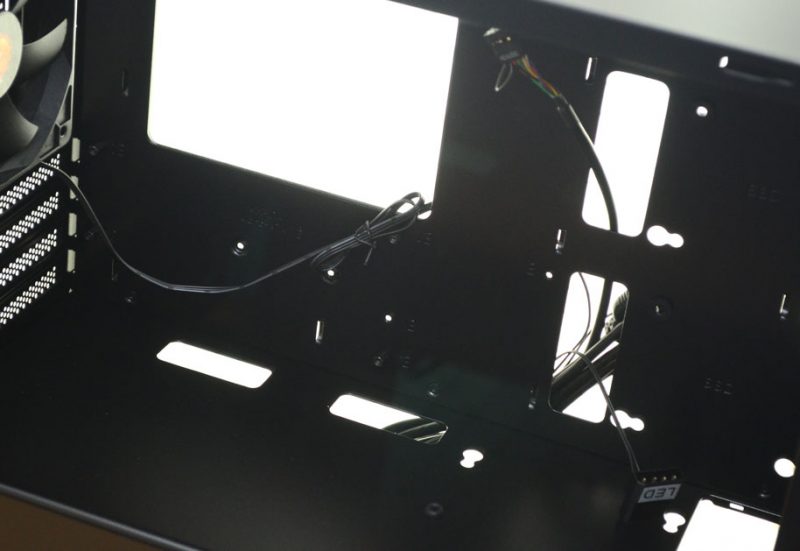
Towards the back, there’s plenty of room for a 120mm AIO cooler installation. Plus, if you did that, you can move that pre-installed fan to the front panel and kill two birds with one stone.
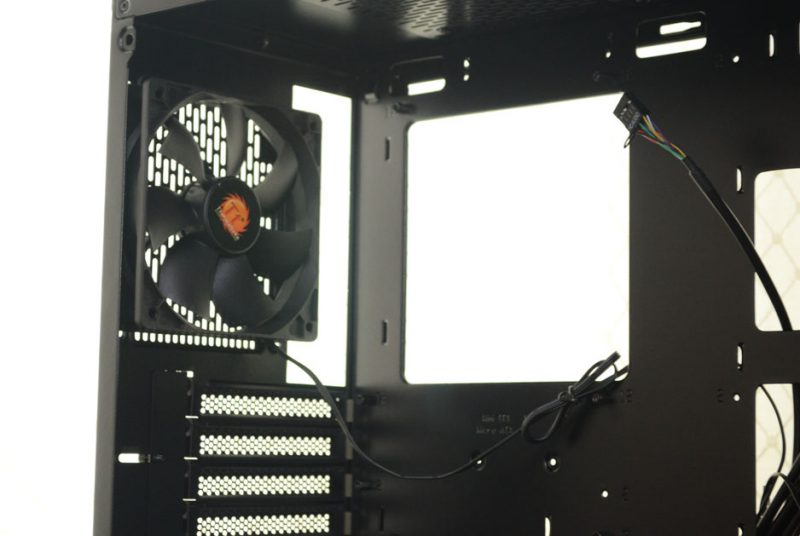
The front panel is all yours to play with. Personally, I would think a 240mm AIO cooler or even a 280mm if you need it, would look great here. There’s a cut-away in the PSU shroud too, so not to restrict the cooler. Of course, you could leave it passive for low-power systems, or add any after market fans of your own if required.
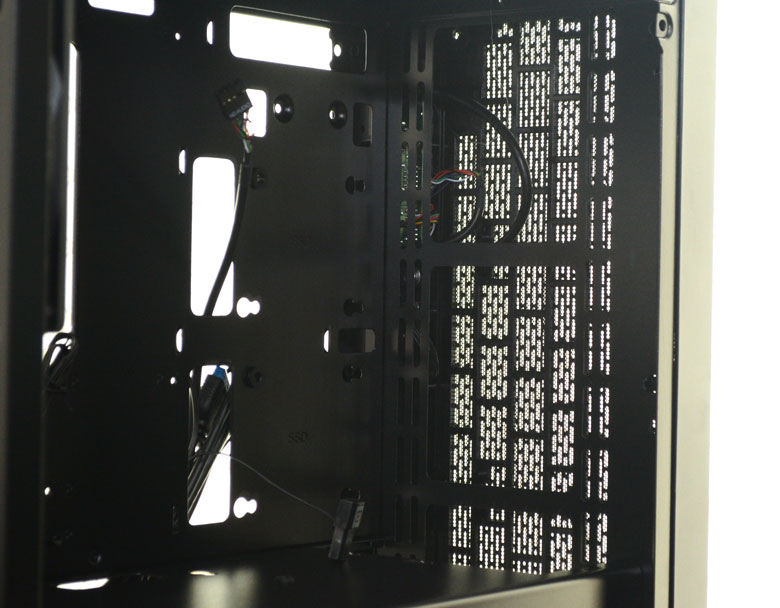
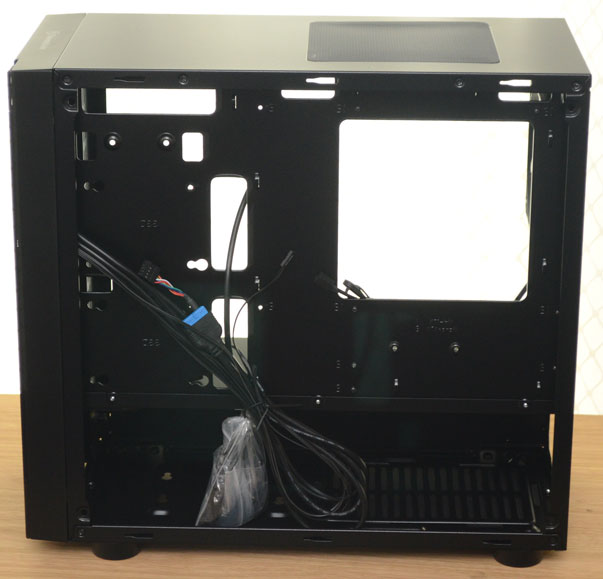
Behind the motherboard, there’s a reasonable amount of room for cable routing. Don’t get me wrong, it’s not huge here, the chassis is small, but with the PSU shroud taking up the slack cables, you’ll be fine.
Finally, if you’re after easy access to the front panel, or need to clean the front panel mesh, the panel pulls off. However, the hard-wired cables mean you can’t fully remove it, but it’ll still open more than enough for servicing.
