Thermaltake View 300 MX Mid Tower Case Review
Peter Donnell / 2 years ago
A Closer Look – Exterior
The case is nice and big, that’s certainly the first thing that stands out. A lot of Thermaltake cases are a bit wider than their rivals though, so this is certainly something I expected. It’s unmistakably a Thermaltake design though, with the material finishes, the angled corners and a bunch of other tiny details all lining up with the aesthetics of their other products. There’s a huge window on the left side, it’s nice and clear glass too, but there’s a thick black trim around the edges to hide the boring parts of the frame.

The front panel has another window on it, allowing a view of those monstrous 200mm fans that reside behind it. Now, what about airflow you ask? Well, there’s actually quite a lot of it, with a perforated mesh running all the way around the glass. It’s certainly more airflow than we typically see on glass fronts, so perhaps closer to the best of both worlds. As I said before though, there’s a secondary front panel included, and I’ll install that for the final build.

On the right side, a large metal panel with quick-release thumbscrews, all standard stuff really. However, there’s also a huge vertical magnetic dust filter. You can actually mount fans/radiators to use this for added cooling, but you’ll see more of how when we look inside.

Around the back, there’s a massive amount of ventilation for the rear fan. The mount supports 120/140mm fittings, but the screw holes are elongated, allowing for some fairly significant height adjustments to improve the compatibility of radiators and other hardware.

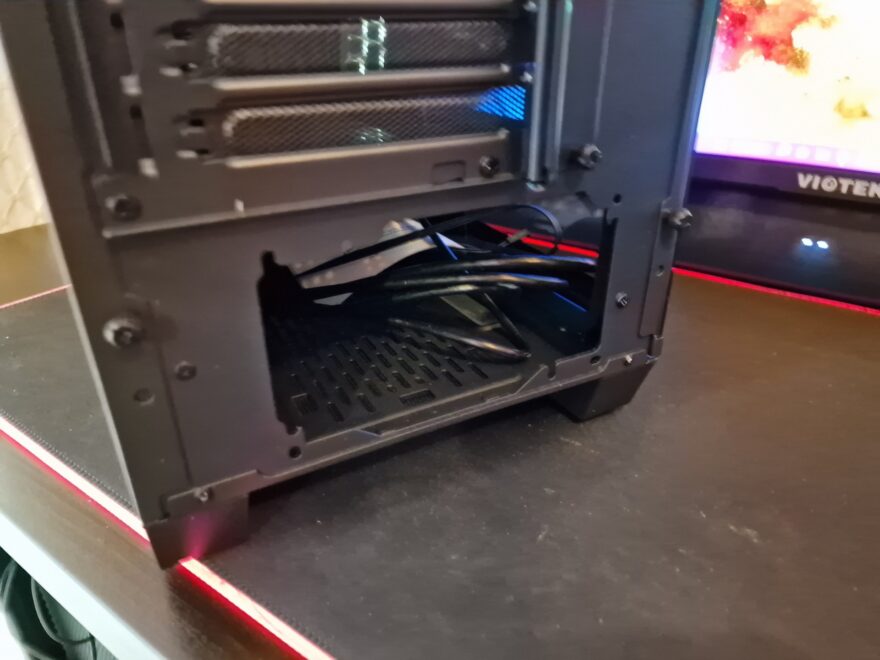
All of the expansion slots are ventilated, metal, and reusable, which is great. However, this entire panel can be removed too, allowing you to rotate it 90 degrees and use it as a more stable vertical GPU mount.

The PSU mount is at the bottom of the case, simple enough really.

On the bottom, there’s a lot of ground clearance and stability thanks to four massive feet with large rubber grips. There’s a clip-in dust filter for the PSU, and a secondary one for the bottom of the case, providing even more cool airflow into the case.

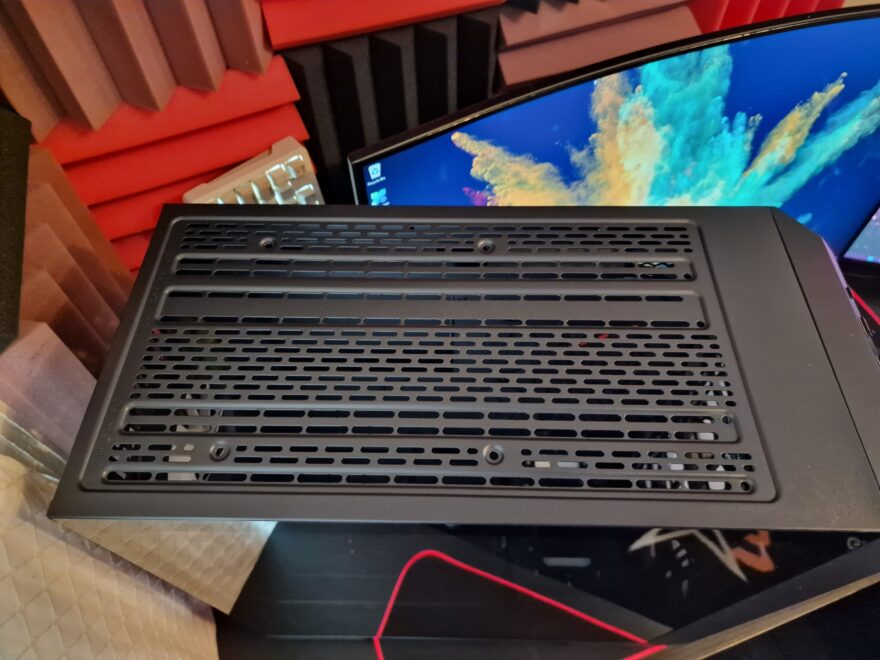
Up on the top, there’s yet another huge magnetic dust filter, ensuring dust and debris doesn’t fall into your case.

Under it, there’s a plethora of mounting options for fans and radiators, and much like the front panel, 120/140/240/280/360mm radiator or fan configurations will fit here.

Finally, at the front, we have this lovely I/O panel that spans the full width of the case. There are two USB 3.0 ports, audio jacks, and even a Type-C port included. This small button is wired into the RGB controller, meaning you can tweak the lights without software if you so desire.

I love this larger power button design too, and overall, the attention to detail and quality design hasn’t gone unnoticed.


