Thermaltake View 300 MX Mid Tower Case Review
A Closer Look – Interior
As you can see, there’s a pretty vast amount of space inside this case, offering space for a CPU cooler of up to 175mm tall, a PSU of 200mm long (with HDD cage still installed), a GPU of 280mm with a radiator in the front or up to 400mm without it.

Up in the front, you’ll find the two 200mm fans are pre-installed, but they’re fitted on the outside of the case, within the depth of the front panel shroud. This frees up more space in the main area of the case, which is great. Obviously, you can strip them out and replace them with whatever fans you want to, but I can’t imagine why, as they look pretty awesome.

There’s an additional fan/radiator mount on the backplate too, albeit I don’t think you could get a radiator there and in the front, they’ll most likely conflict, but I’m sure you could come up with an interesting setup. I’d rather have stock fans in the front, and a radiator on the side, and perhaps another at the top.

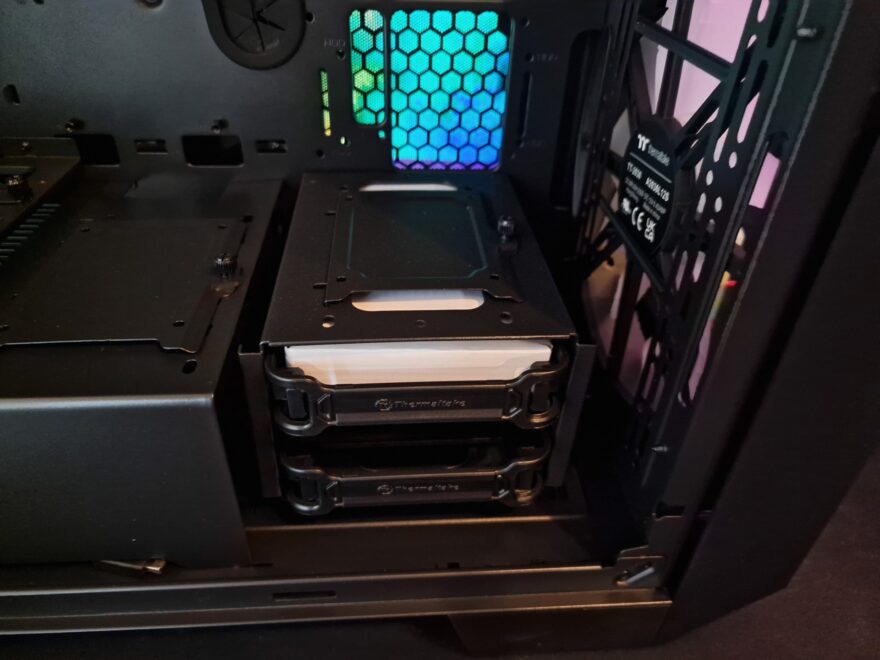
Now, Elephant in the room, because here’s something we rarely see now. That’s right, these are HDD bays in the front of the case! Or at least accessible front the front. Most cases have them here, but they’re obscured by the PSU shroud. I actually like this design though, it’s the base of both worlds and gives you easy access. Plus, it’s fully removable too should you want that space for cooling hardware.

The PSU shroud is packed with features, such as additional ventilation, plentiful routing holes, and a PSU viewing cut-out, which is just three ways of saying it has lots of holes I guess. There’s an SSD mounting bracket on the top, and a vertical GPU support tray there too.

the main motherboard mount supports everything from mini-ITX, which would look stupid in here, I’m sure, all the way up to E-ATX. The routing grommets are nice and large too and should make easy work of dealing with bulky cables.

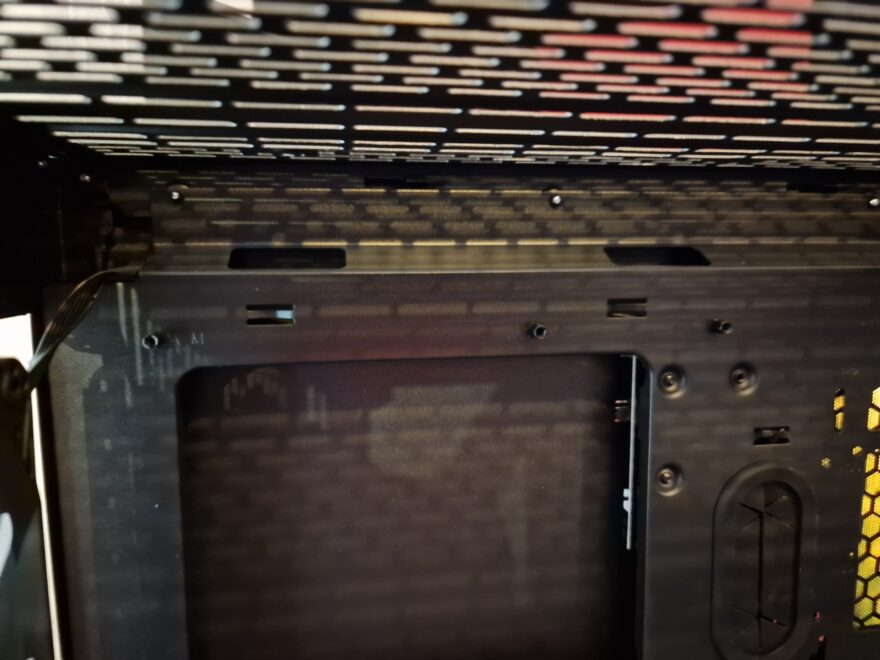
Up at the top, there’s good clearance for any top-mounted cooling, handy if you’re worried about it clashing with large motherboard VRMs. There are some angled cable routing holes up here too.

In the back of the case, there’s loads of room, but that’s hardly surprising. Cable management should be a breeze even for the catastrophically lazy system builders among you. Just cram it all together and slap the side panel on, there’s enough space for it.

There are plenty of additional storage mounts throughout this case, so in total, you can have 2 x 3.5” with 4 x 2.5” or 6 x 2.5”.

Boom, look at those beastly fans!

Four screws will help you whip out the glass panel.

This other panel was included in the box!

Presto Chango, we got a ventilated steel panel now.


