Thermaltake Water 3.0 Riing RGB 240 AIO Cooler Review
Peter Donnell / 8 years ago
Installation
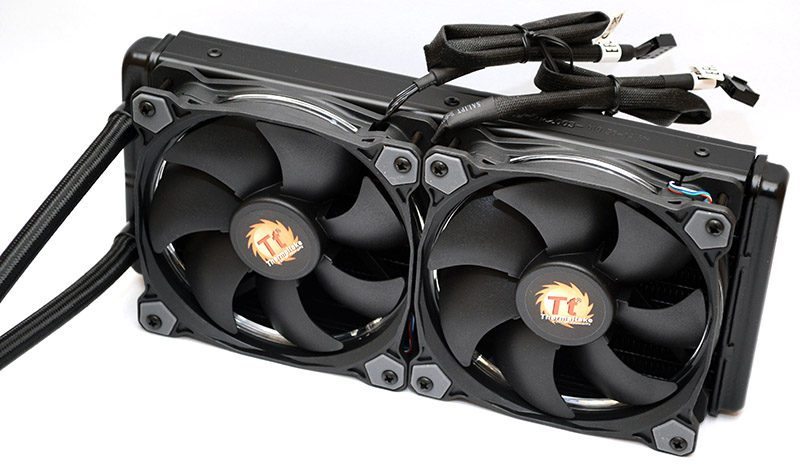
First things first, let’s get those lovely fans mounted on the radiator. This can be done using the eight included long screws, and they can be fitted to either side of the radiator to suit your needs. We have mounted them in the usual push configuration for our review.
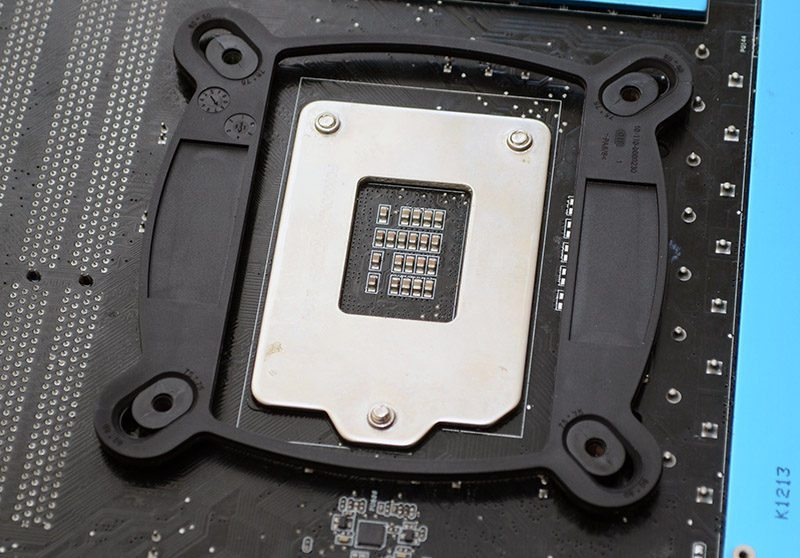
The universal backplate is easy to use, just slide the fittings to the appropriate size for your motherboard and fit it in place.
Now the tricky parts. The Intel or AMD ring needs fitting to the pump/block, then holding in place with a clip-on retention ring. You then need to work out which was the two part plastic clips go in each of the four holes on the corners, which can be tricky and hard to see in the instructions. This does take a while to sort out.
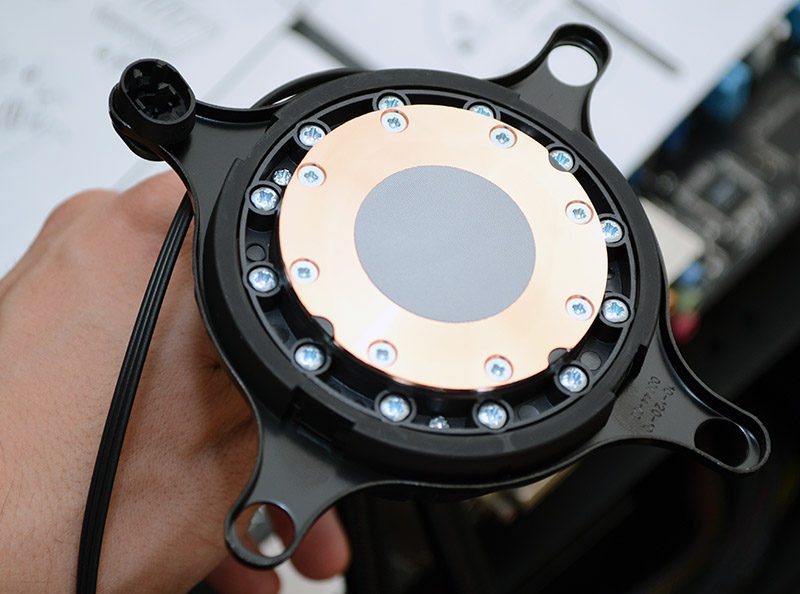
Once worked out, you can put the pump over the CPU and should be able to screw it down with the four retention screws.
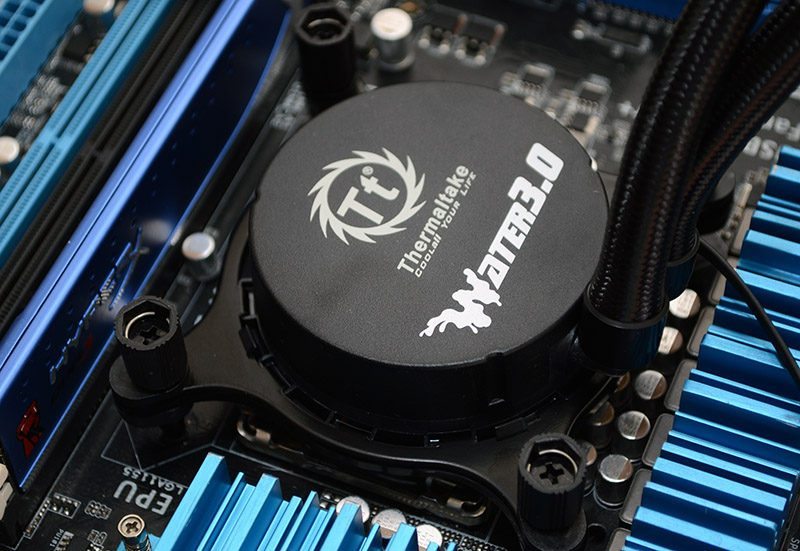
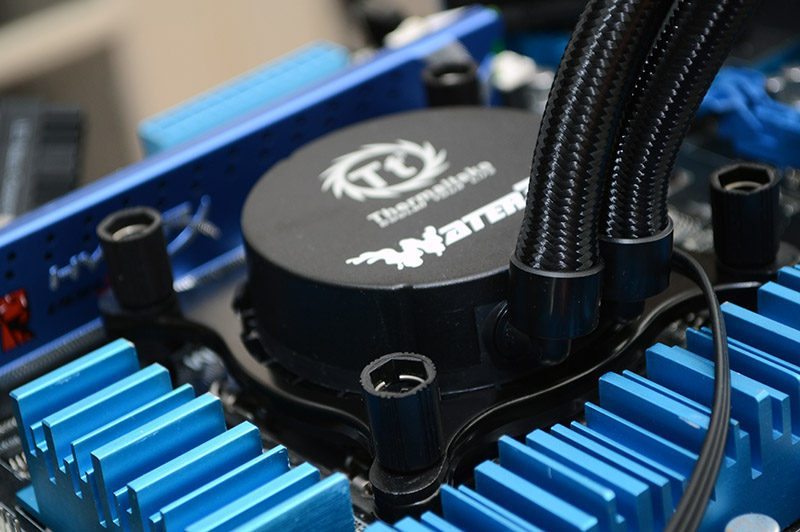
Once complete, you’re good to go, just get all the fans and the pump hooked up to the motherboard and power it up.
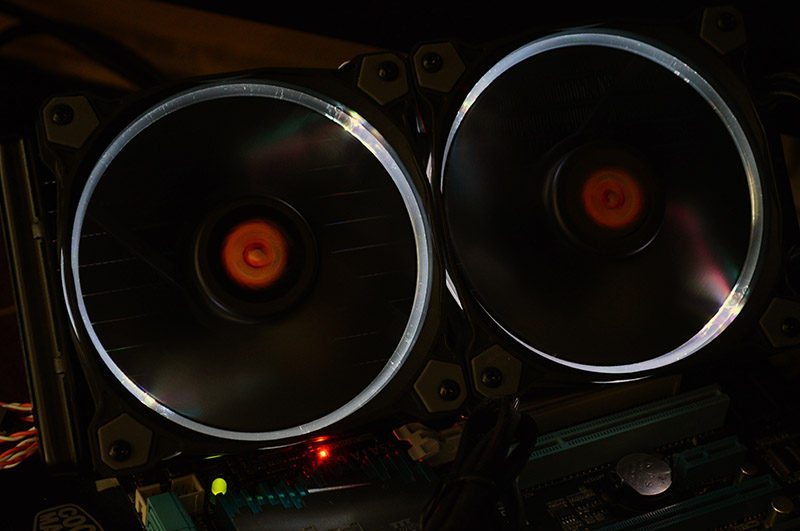
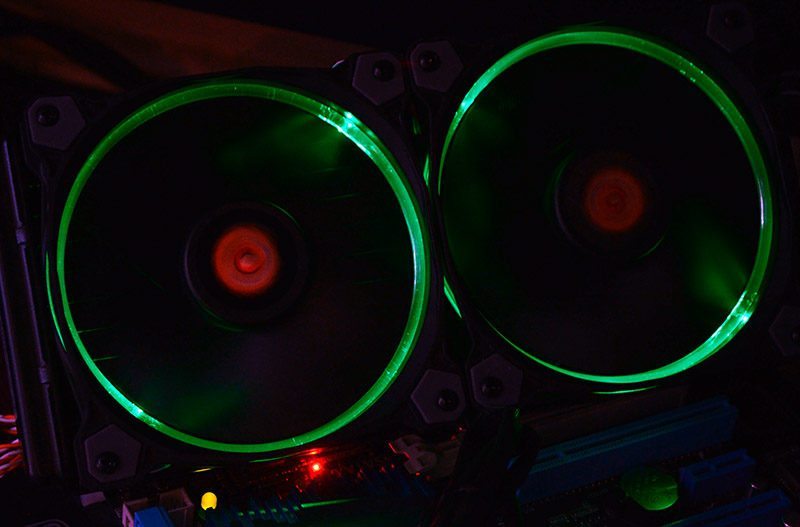
The Riing fans are really cool, giving a nice glow to the fan blades, as well as a ring of light around the edges.
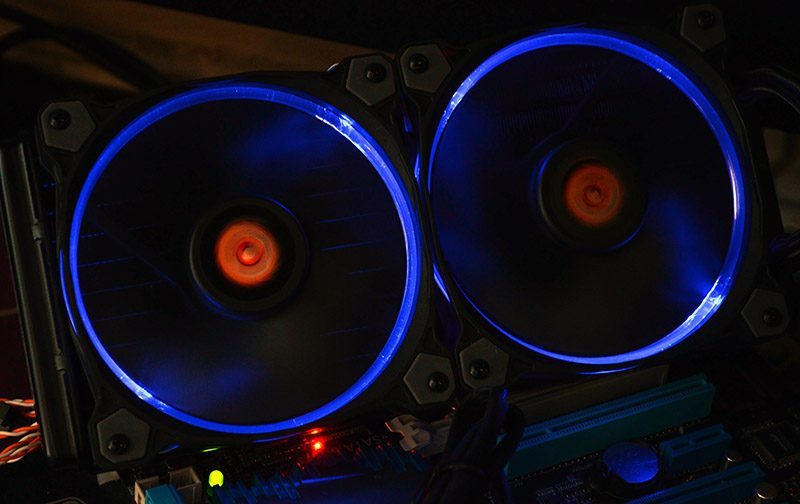
Colours can be changed using the included controller, allowing you to cycle colours, or leave them on effects to give you colourful flowing patterns and more.
