Vertagear Racing Series PL4500 & RGB Upgrade Kit Review
Mike Sanders / 5 years ago
A Closer Look
So, in conducting this review, we’re essentially going to take you through the process of us assembling this gaming chair from out of the box and into its completed design.
So, let’s get into that big box and find out what we’re dealing with here!
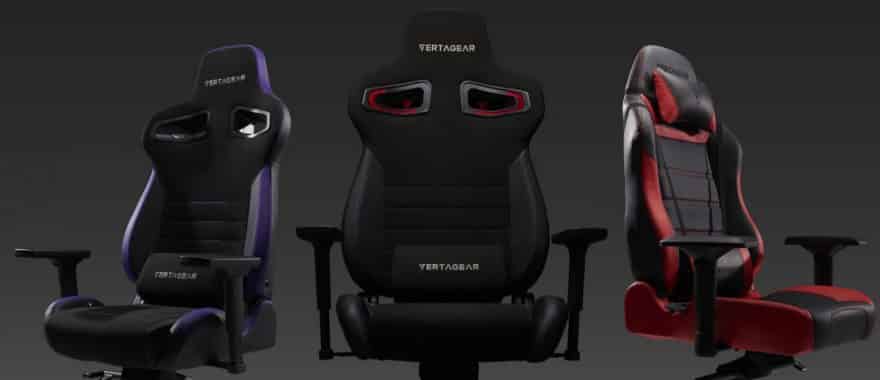
Accessories
Starting with the manual, Vertagear provides you with a nice quality booklet that gives you an easy step-by-step guide as to how to assemble your gaming chair.
The information and diagrams within are nice and clear, meaning that you shouldn’t encounter any problems along the way.

In terms of the parts, aside from the main chair components themselves, you are provided with the tool necessary to attach the parts together as well as the four main screws which attach the base of the chair to the backrest.
The tool itself is nice to hold in the hand and is perfectly designed for the task!

Wheels And Base
The main base is made out of metal which is always a good indicator as to the overall quality of the chair. Metal is, after all, far more expensive than plastic.
This design has a standard ‘5-star’ design which has been finished in a black gloss. To each of the corners, you will find a small Vertagear logo.

The wheels are a combination of plastic and metal and insert well into the base attachment. If anything (and perhaps surprisingly) they’re also pretty easy to remove which was certainly helpful for me when I had to take this all apart again.

Base/Seat
As you might expect, there are a few components surrounding the bottom part of the chair. Firstly, you have the main connector which houses the controls for the height and tilt adjust while also, if it needed to be said, attaching the base of your chair to the seat itself.
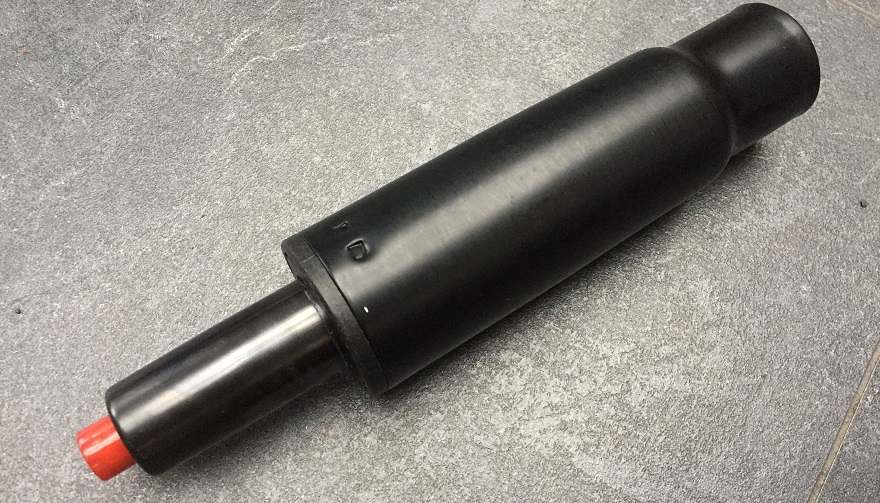
The controls to this feel nice and responsive with the ‘soft-tilt’ resistance being easily managed by a turning handle.

The main seat itself has a soft cloth covering. While I couldn’t ascertain the exact material, it felt like velour or velveteen which is very soft to the touch. If anything, it reminded me of the seating in my car.
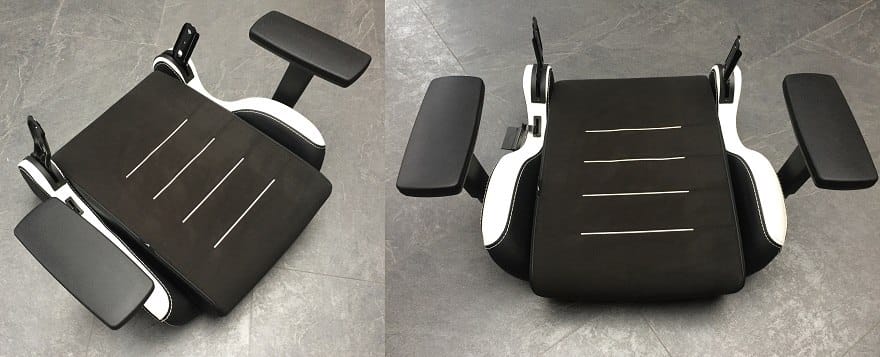
This particular model has a small white striped pattern which is very pleasing on the eye. It should be noted though, that other colour variants are available.
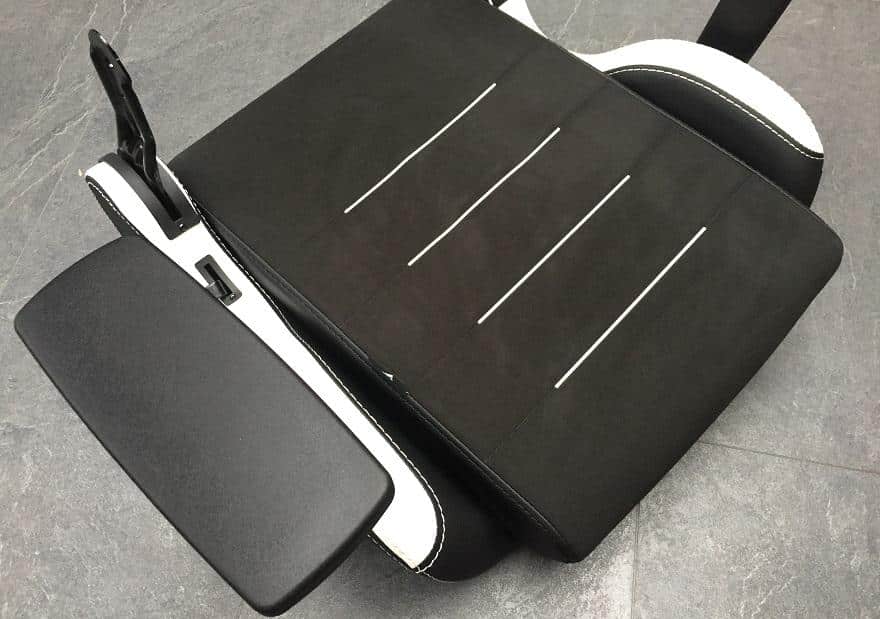
The seat feels well cushions and mildly resistant. You’ll likely need to use this chair for a week or two before you break it into your buttocks, but once you’re there, you can expect some supreme levels of comfort.
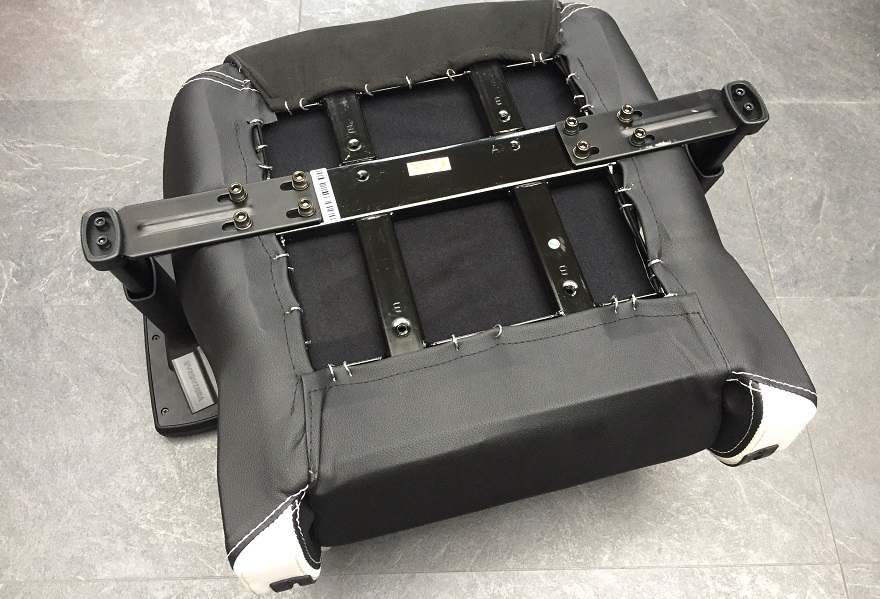
Attaching The Base to the Seat
Attaching the base is a very simple processor that, thanks for Vertagear, has been turned into a practically fool proof exercise.

As you may be aware with gaming chairs, it’s important that you install the main connection plate (between the seat and the base) the right way around. If you don’t, you could potentially see you soft-tilting in the wrong direction. Thankfully, Vertagear has made getting this right a lot simpler by including ‘front’ stickers on both aspects.
Once you know which way round it goes, all you have to do is remove the pre-fitted screws using your handy tool, place the base, and then re-attach them.

It’s a minor point as well, but we should note that the tool itself is the absolute perfect height for this job. Ensuring that you have plenty of clearance between the screw fixing and the underside of the connecting plate.
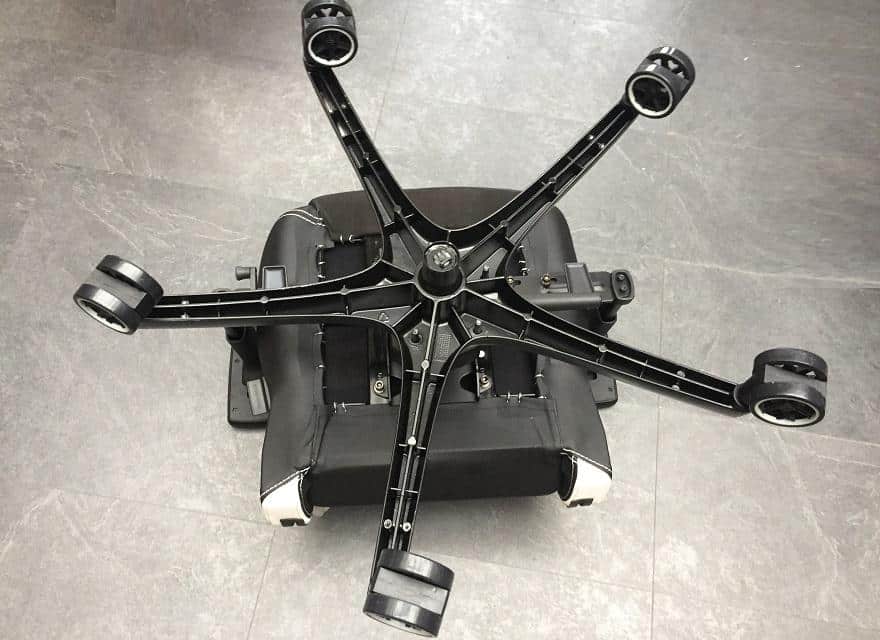
So, we have our wheels attached to the base and the base attached to the seat. So far so good!

Backrest
The backrest continues with the black and white aesthetic of the seat and, in truth, looks every bit as good. You’ll note in the pictures below the ‘Vertagear’ which is repeated with the logo to the back (more on that when we get into the RGB kit).
Again, the design quality is unquestionably good with absolutely nothing to fault in the comfort nor style.

Putting the Pieces Together!
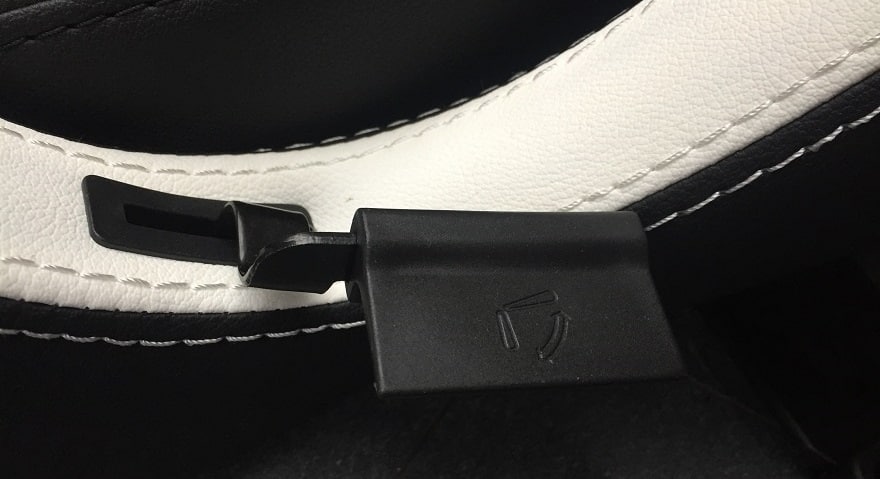
Attaching the backrest to the seat features a semi-unusual method. Utilizing Vertagears Patended design, the steel connectors insert up and into the backrest. From there, you apply 2 fixings to each side of the exterior and, et voila, you have your gaming chair.
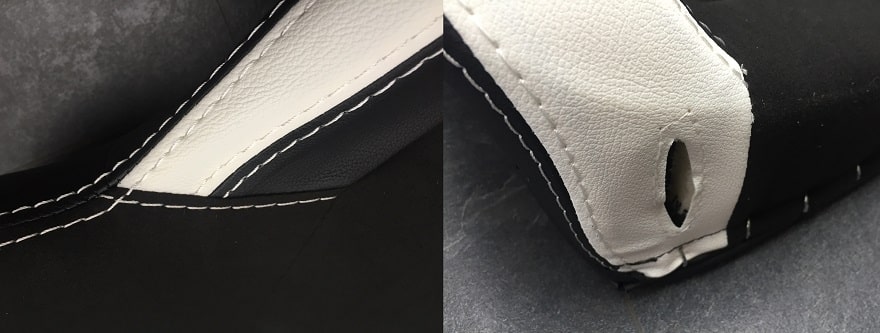
While the design is excellent (in that you have no metal plates to the exterior of the gaming chair) there is an aspect of it that concerns me. Given that the screws attach and but up to the pleather edges to the chair, I have concerns that an over-exuberant tightening could result in this material being stretched or potentially torn.
Having discussed the matter with Vertagear, they don’t believe that this issue has occurred to date and as such, seem pretty confident in the design. For me personally, however, I think I’d have liked to have seen just a small plastic washer to separate the metal from the pleather.

Cushions
With the Vertagear PL4500, you are provided with both a head and lumbar support cushion. Both look and feel that they have been made to an exceptionally high standard. Unlike many of the cheaper alternatives, while they do provide resistance, they are still more than comfortable to use and attach easily to your gaming chair.

Stitching Quality
One of the easiest ways to tell (at a quick look) the quality of a gaming chair is to scrutinize the stitching. Namely, it’s uniformity and how close together the points are.
The short version is, the Vertagear PL4500 is faultless. The white switching looks excellent contrasted with the black and, throughout the entire gaming chair, we found no areas of concern.

Controls and Functionality
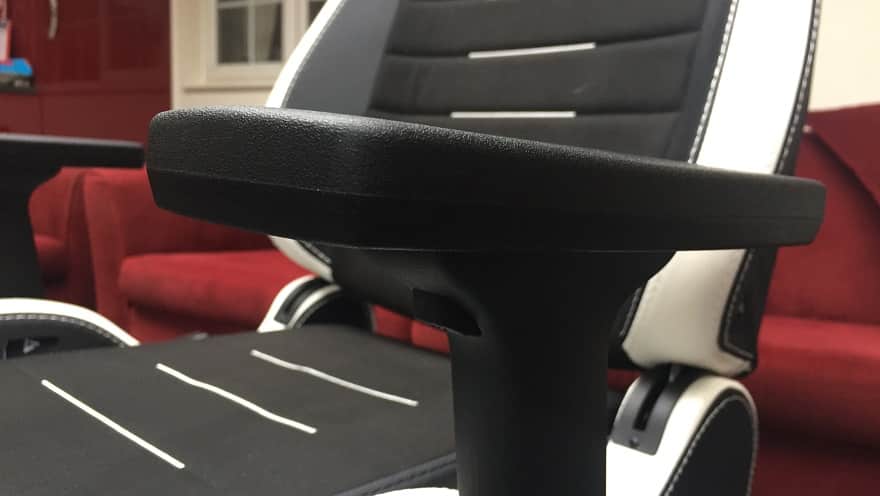
Offering high levels of control and tilt functionality, we’ll start with the armrest. While we’ll admittedly say that we’re disappointed to find that this is a plastic design (rather than cushioned) you are offered a lot of options here.
Not only can you adjust the height through the touch of a button, but you can also extend the length and internal or external angle.
My only criticism of this design is that with the latter aspects only being controlled by resistance when I went to tilt the chair back, I often found that the armrests would move into the extended position.
You can, of course, also adjust many other features of this chair including the height and resistance of the soft-tilt function. While the height is controlled by a standard lever, the soft-tilt operated on a semi-crank handle that you wind in or out to suit your wishes.
Finally, the backrest is controlled by a handle to the side. While this may, on the surface, look pretty standard, it does have a particularly nice feature. Namely, that pulling the handle doesn’t cause the backrest to slam into your back. It instead has a much smoother flow which, through using your back as light resistance, you can easily find the perfect setting.
This Chair is Making Me Tilt! – (But in a Good Way!)
So, how far back does it tilt? Well, under the manual best rest control, the chair takes you back to around 160-170 degrees. With the soft-tilt function, however, this chair can go effectively up to around 180 degrees. In other words, you can be practically horizontal on this!

Now, I must admit that when testing these chairs, I always feel a little nervous when going into full recline mode. With the Vertagear PL4500, however, I felt perfectly stable and more than a little comfortable. Albeit the free-flowing movement of the wheels on my tiled flood did give me a brief moment of alarm!


