WD My Cloud EX4100 4-Bay Expert Series 16TB NAS Review
Bohs Hansen / 10 years ago
Setup – Initialization & Storage
There are several ways to get started with your new NAS, but in most cases you can do it really simple. You’ll just have to open your normal Windows File Explorer and navigate to your network environment. If auto-discovery is turned on, your brand new WD MyCloud EX4100 will show up and all you have to do is right-click it and select view device web page. This method will work with almost any networked device
This method will work with almost any networked device, but there are more. You can use either of the URLs provided in the installation guide and also get the Android or iOS mobile apps.

Initialization
One of the great things about this unit is that it comes pre-setup. This means that you just have unpack, connect and power it on to be ready to serve your files. Well, that is almost. We do need to provide 3 things.
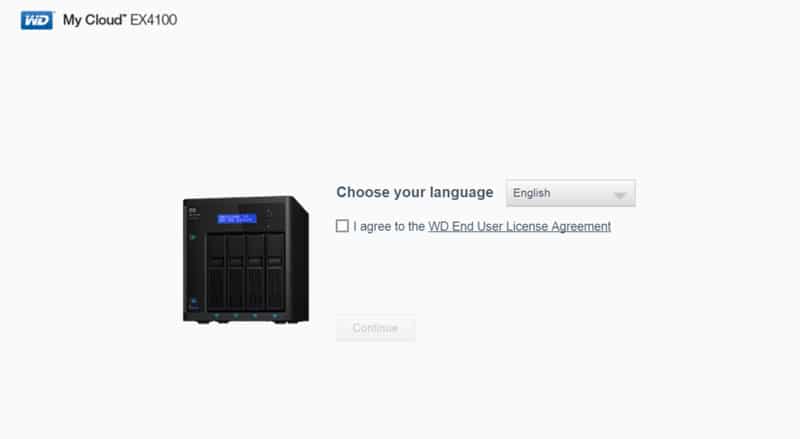
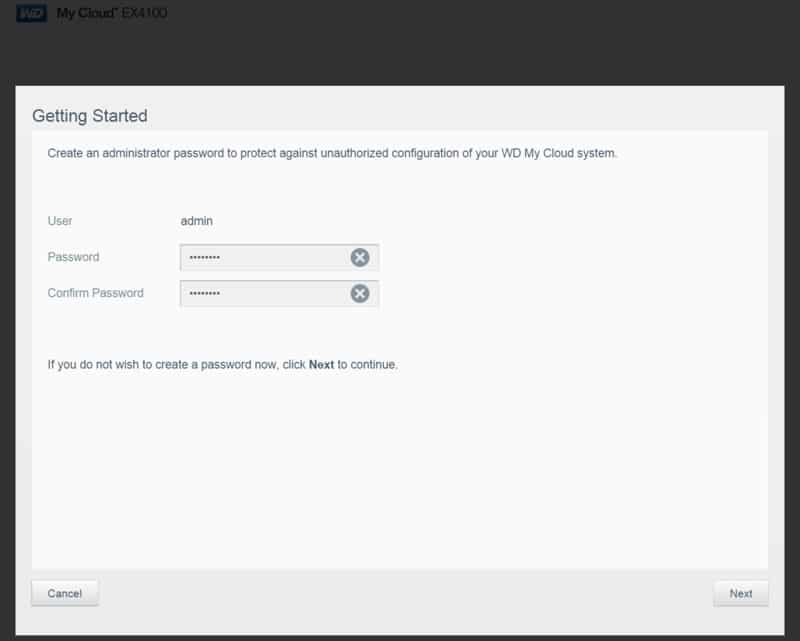
We need to set an administrator password to be able to connect to it add change things if you want to and you can also connect directly with your WD account – or create a new one if you don’t have one already.
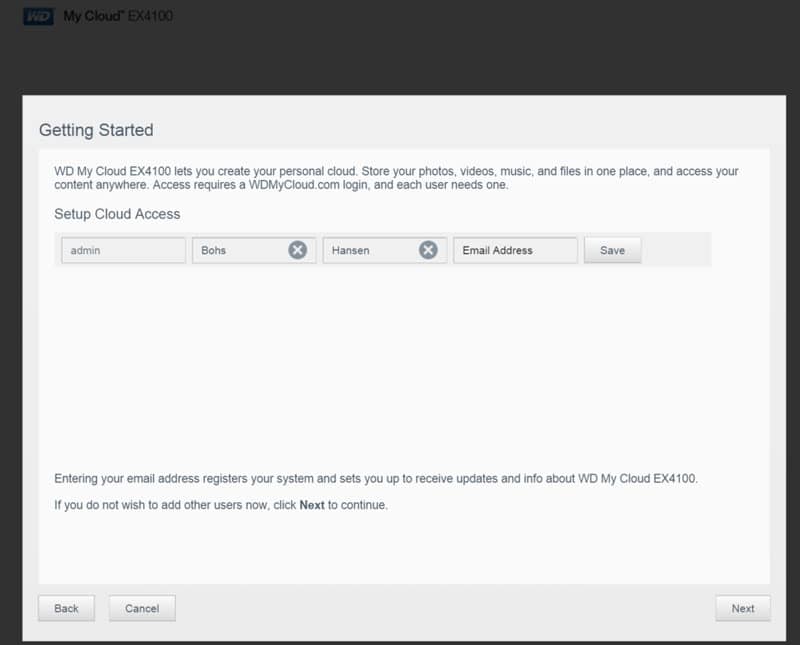
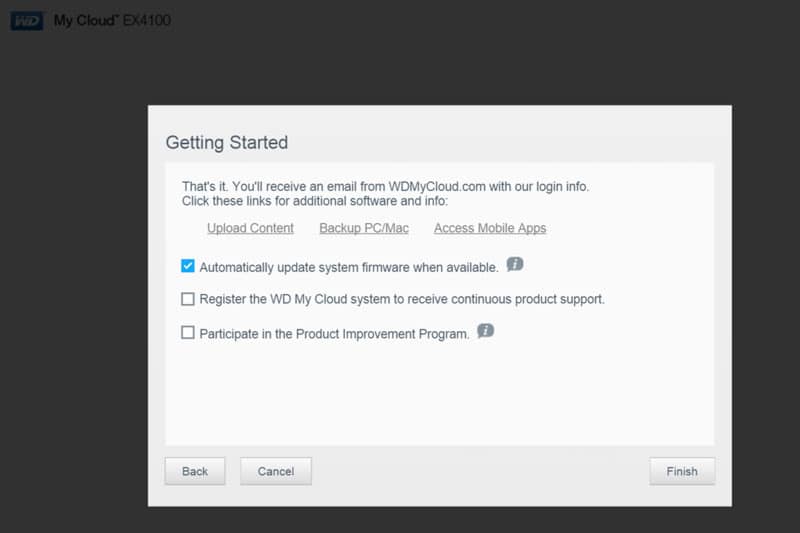
And that’s all she wrote. Before you close the initialization you can specify whether you want to the NAS to automatically download and apply new updates, you can register for better support, and also participate in the product improvement program.
Storage Setup
As previously mentioned, the My Cloud EX4100 comes pre-setup and you don’t need to change anything – but that doesn’t mean that you can’t. WD’s My Cloud operating system works very simple and is easy to use even for beginners.
If you want to change your storage setup, this should be one of the first things you do – you wouldn’t want to lose the data you already copied to the NAS and have to do it again.
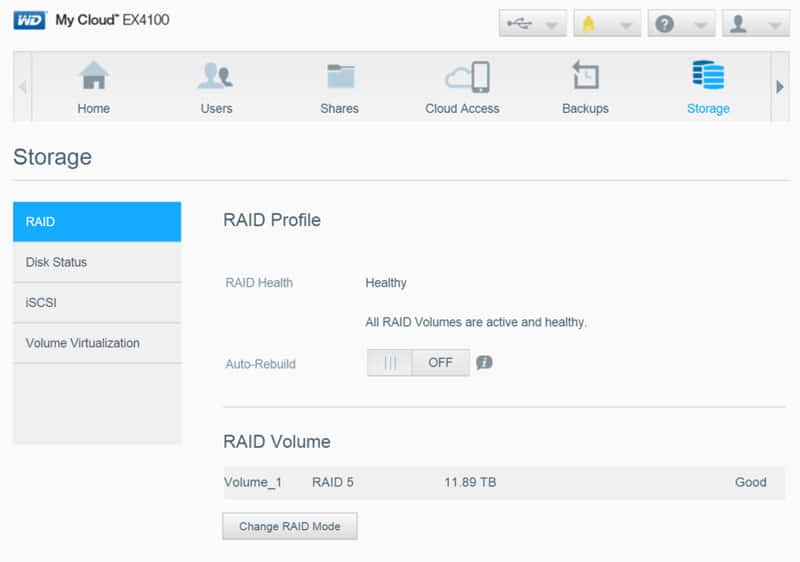
Changing the RAID mode is as easy as the initialization was. A few simple steps and you’re done. The first thing you need to pick is the disk mode.
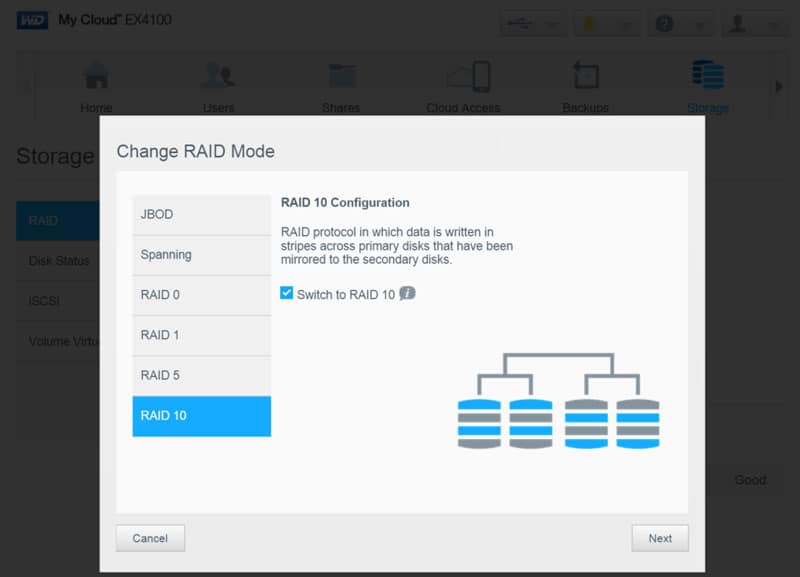
The NAS will run a short self-test on all drives to make sure that they are in working order.
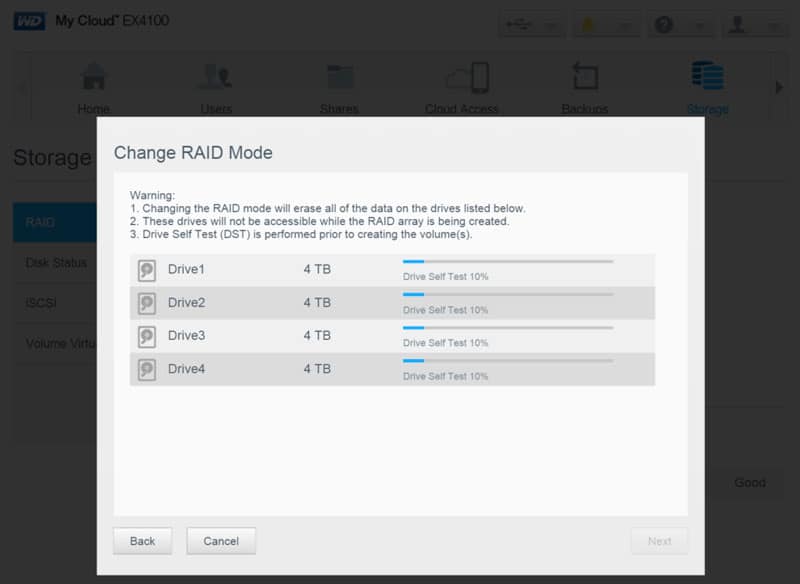
Next you can set the amount of space you want to assign as a new volume, the most obvious choice will be everything – but the choice is yours. You can also create multiple volumes on the same disk array.
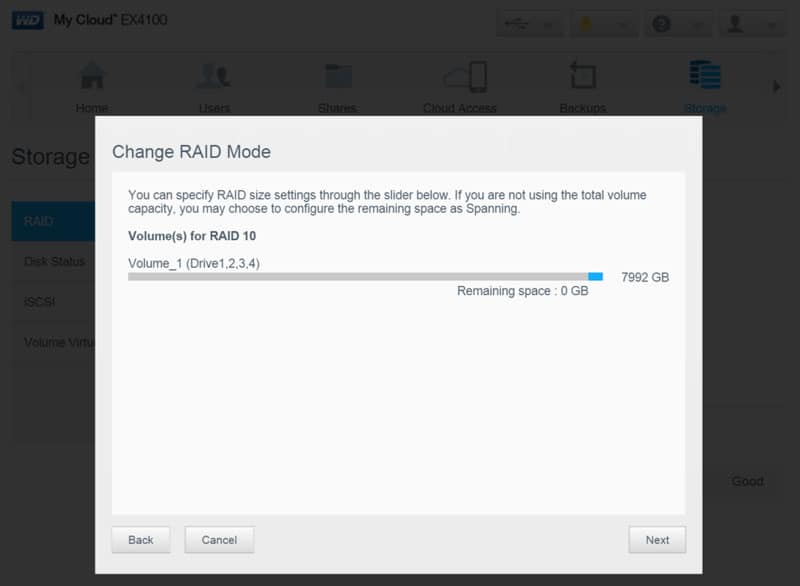
The last two steps could have been put into one as they don’t involve much. You can set whether the system should auto-rebuilt the RAID setup if needed and whether encryption should be enabled or not. Encryption adds another layer of security to your system, but also costs you some performance in return.
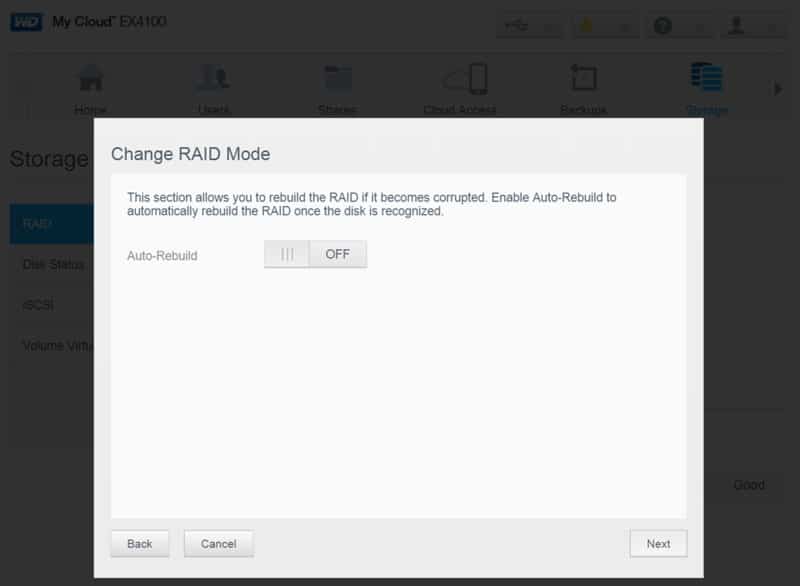
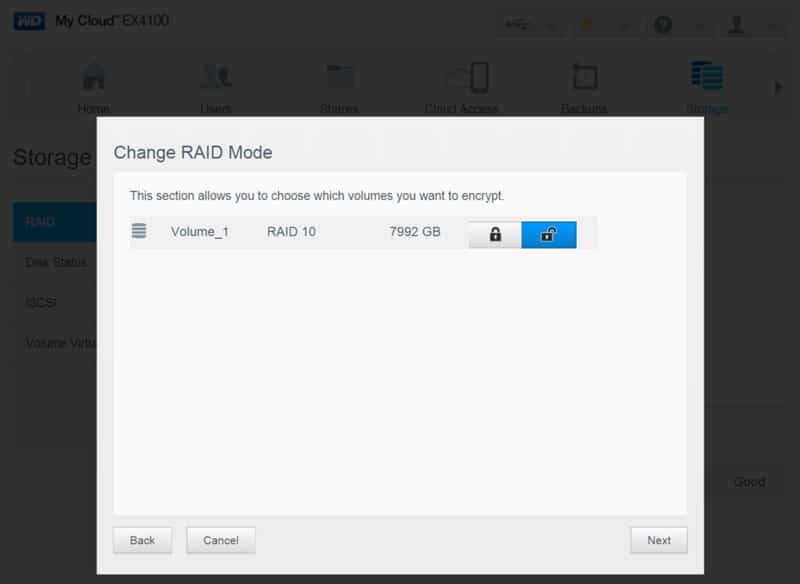
Some RAID modes can migrate where others will need to re-format the whole thing. Press the finish button to set the process in motion.
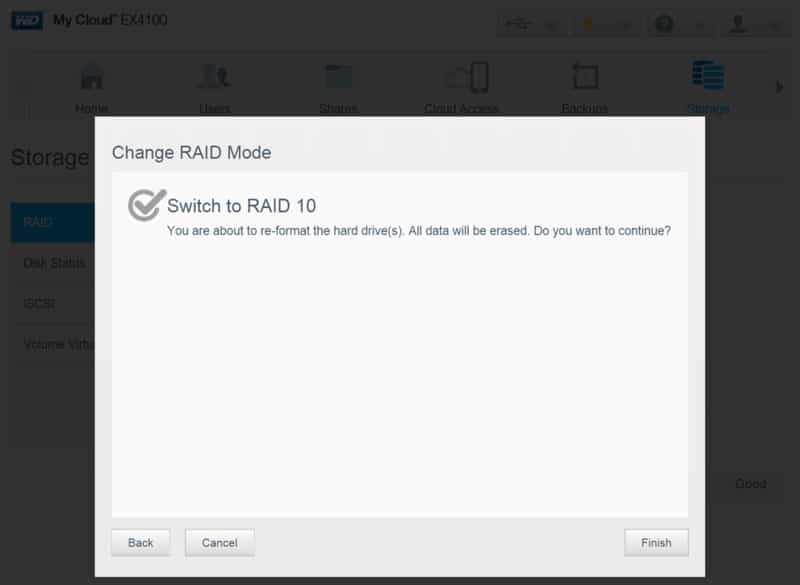
The NAS will work for a little while after which it will post the result and you can close the popped guide. That’s all there is to it.
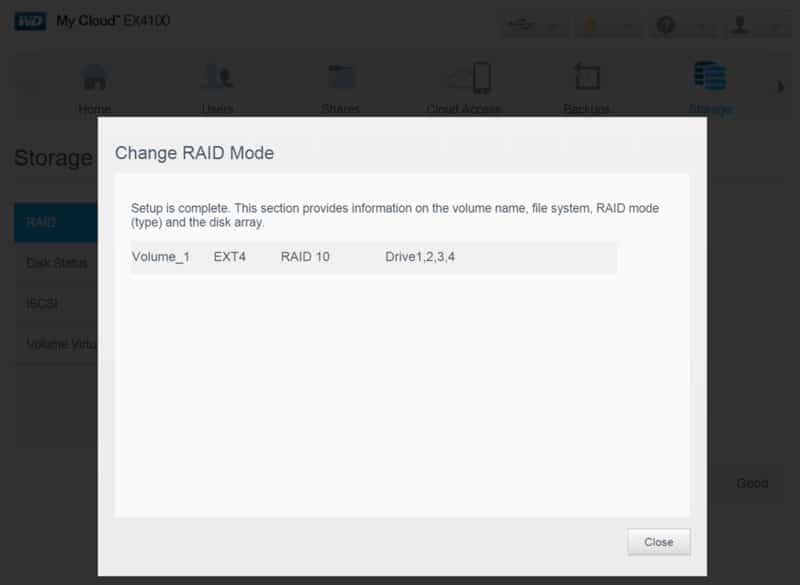
Encryption works per volume and can be enabled when you create it or at a later time through the settings.


