In Win D-Frame Mini-ITX Chassis Review
Peter Donnell / 10 years ago
Complete System
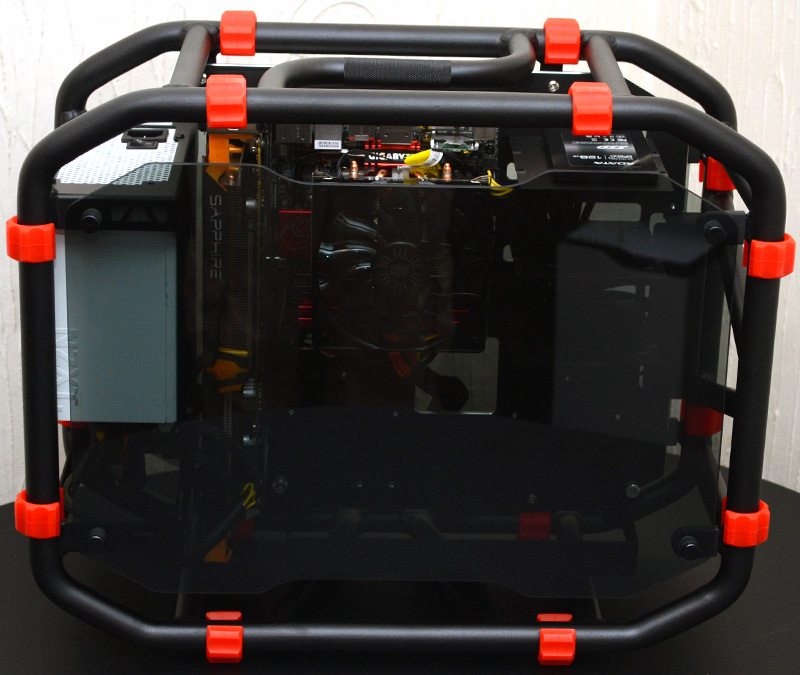
It took me just twenty minutes to install my test rig. This isn’t exactly surprising given that the chassis is so easily accessible.
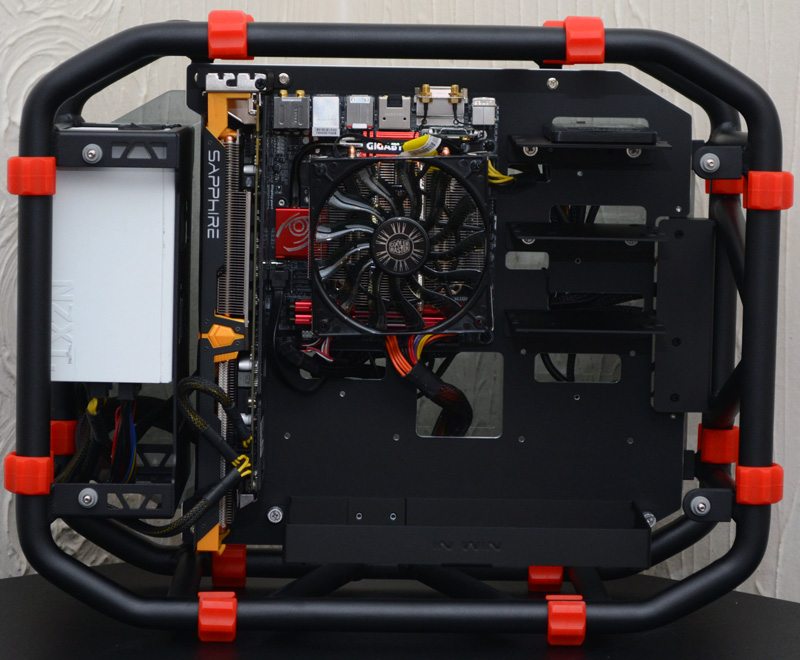
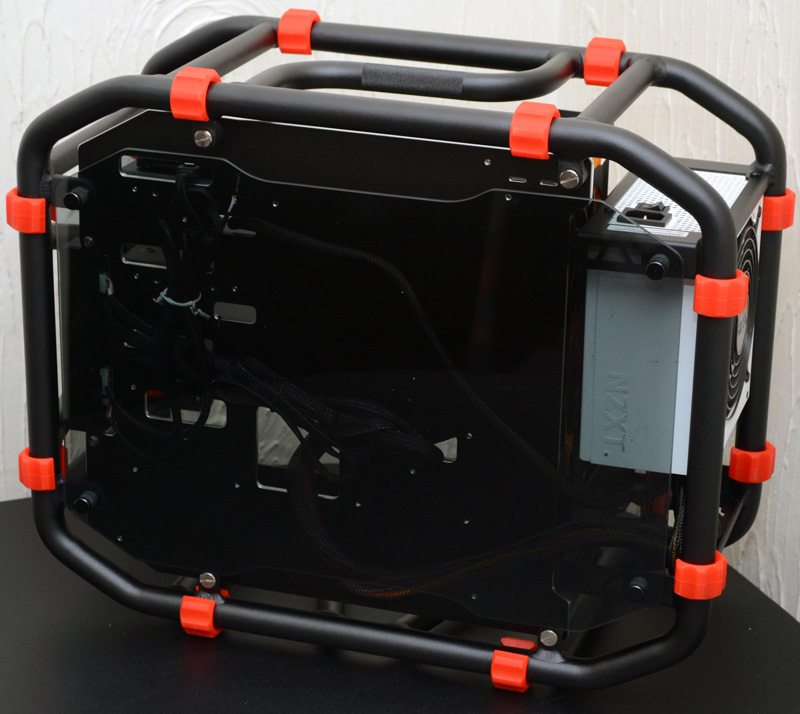
The PSU mount is easy to work and I even found a little extra space to bundle excess cables. Of course, a little work to create cut-to-length custom cables and some cable ties would look a whole lot better.

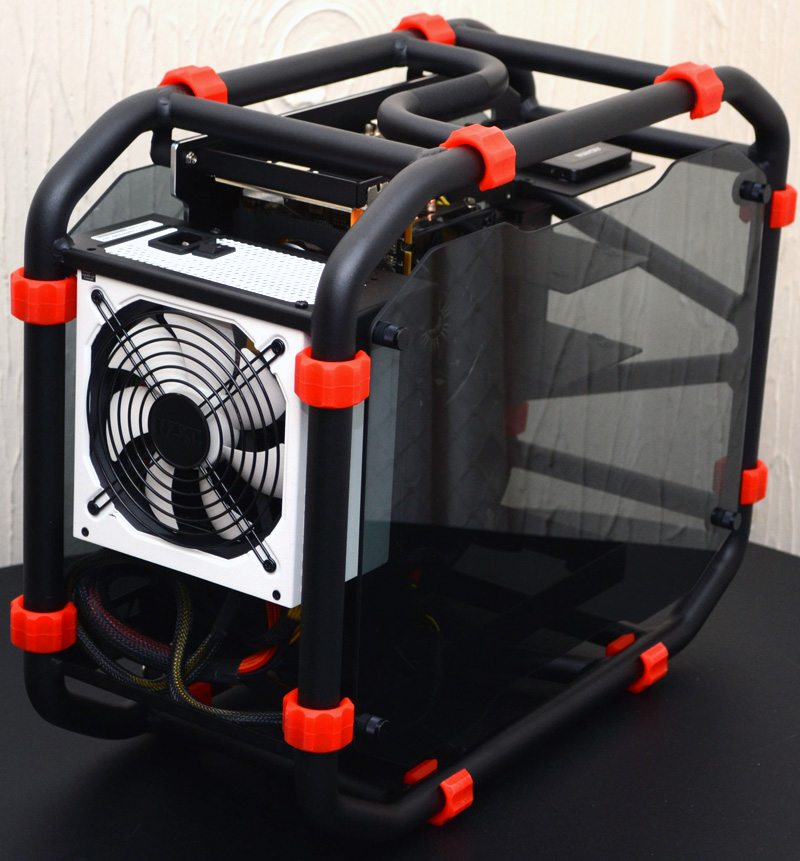
I’ve mounted the PSU to the top mount, as I found it easier to snug extra cables below the PSU than above it.
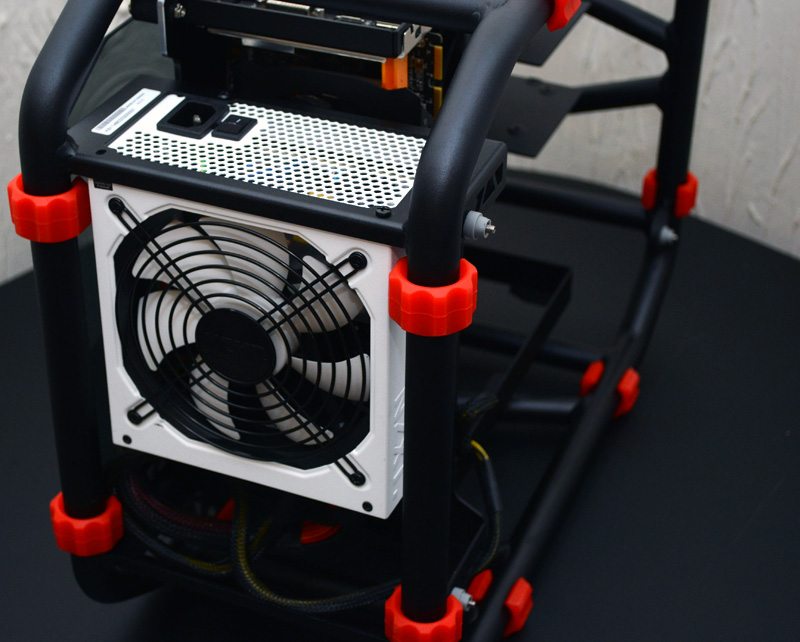
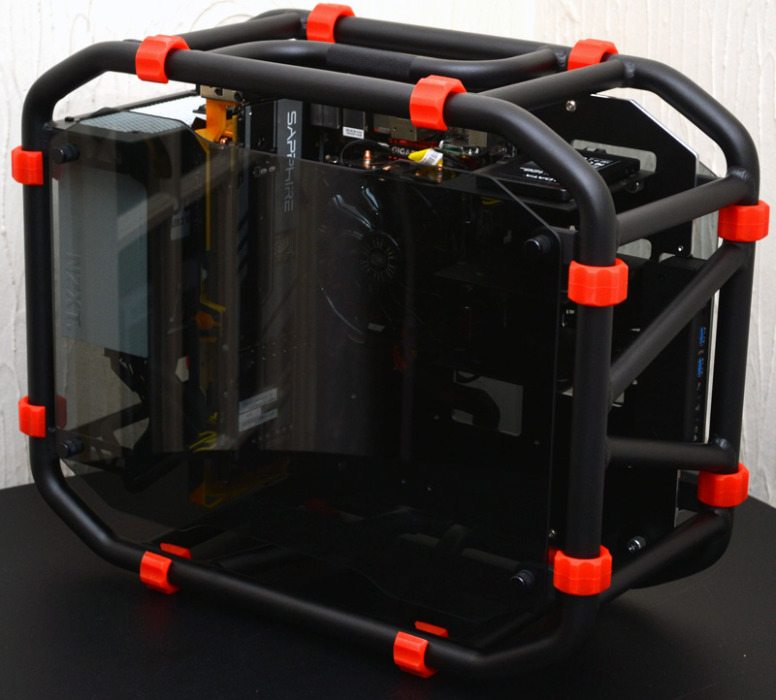
The PSU mount is really nice and it’s a great way of showing off your graphics card. Of course, it’s also a great way to show off all your other components too, as the CPU cooler and motherboard are also prominently displayed.
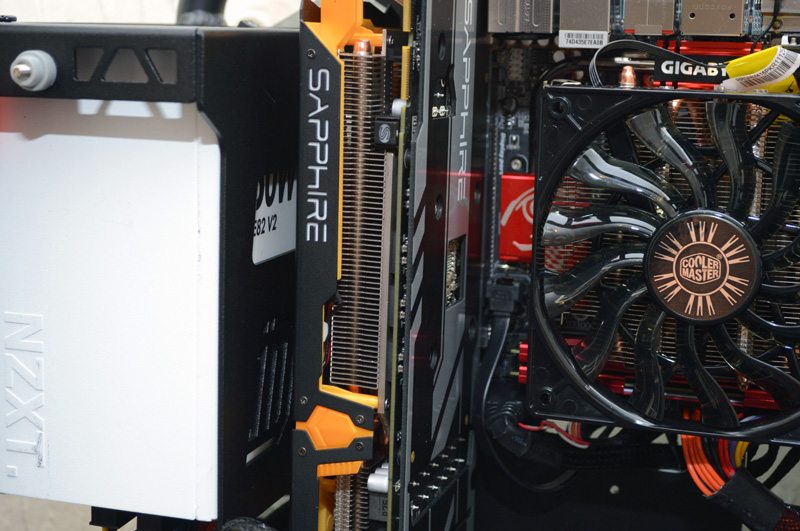
As I said before, there’s no backplate on this chassis. The motherboard I/O is exposed at the top of the chassis; no more fishing around the back for those pesky USB ports! Just don’t spill a drink over it.
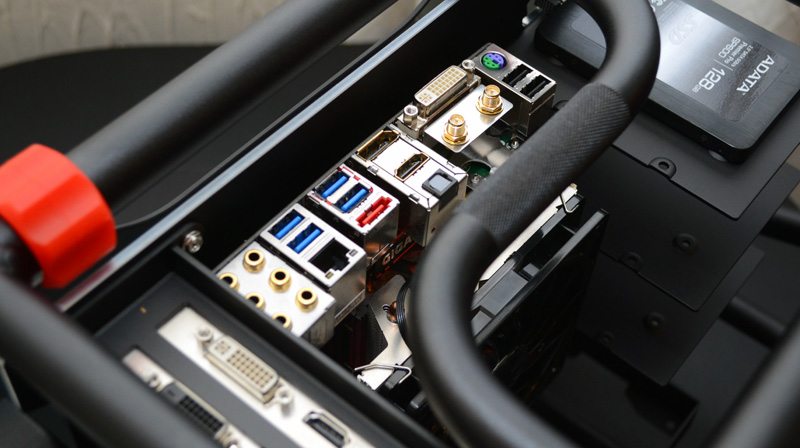
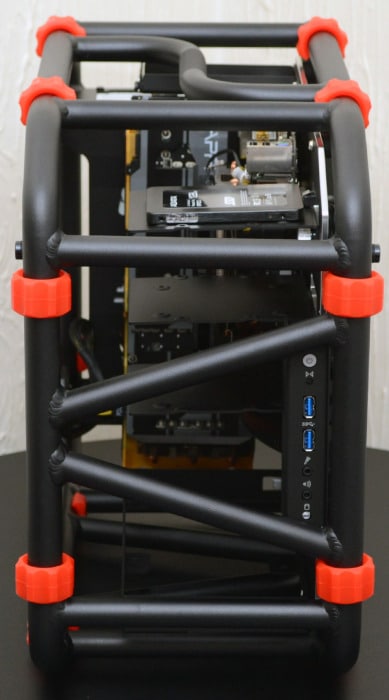
Our Adata 128GB SSD is mounted on the top tray; which I think looks really cool mounted exposed like this.
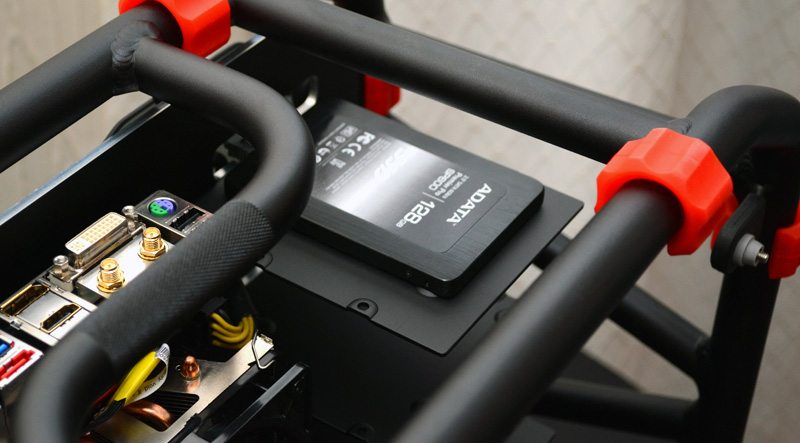
Side panels back in place and you can still see all the interior workings of the rig. Throw a few subtle chassis lights in here and this thing will look incredible in a dark room.
