In Win Tou Tempered Glass Special Edition PC Chassis Review
Peter Donnell / 11 years ago
Complete System
First things first, here you can better see how the power cable routes into the chassis, while the 2nd gap just above would be used to route all other cables such as monitor and peripheral cables.
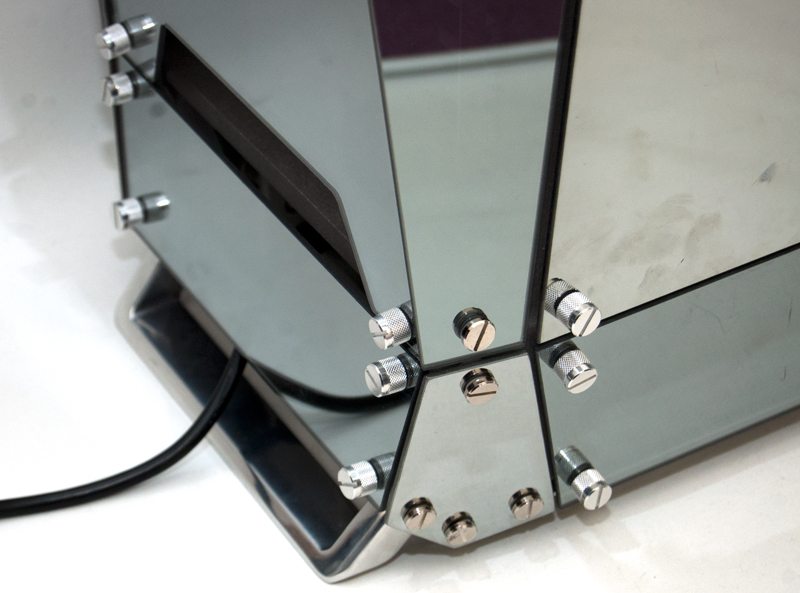
Total build time on the Tou was about an hour, could I have done it quicker? Absolutely! Did I take my time in case I broke something, you bet I did! Although after half an hour of tinkering, it soon became apparent that I was being over cautious, this thing is solid as a rock, tempered glass is very strong and the sand cast aluminium frame is incredibly sturdy.
As you can see, we’ve made good use of the cable management, things are looking very neat and tidy with just a few trailing fan cables looking a little out of place.
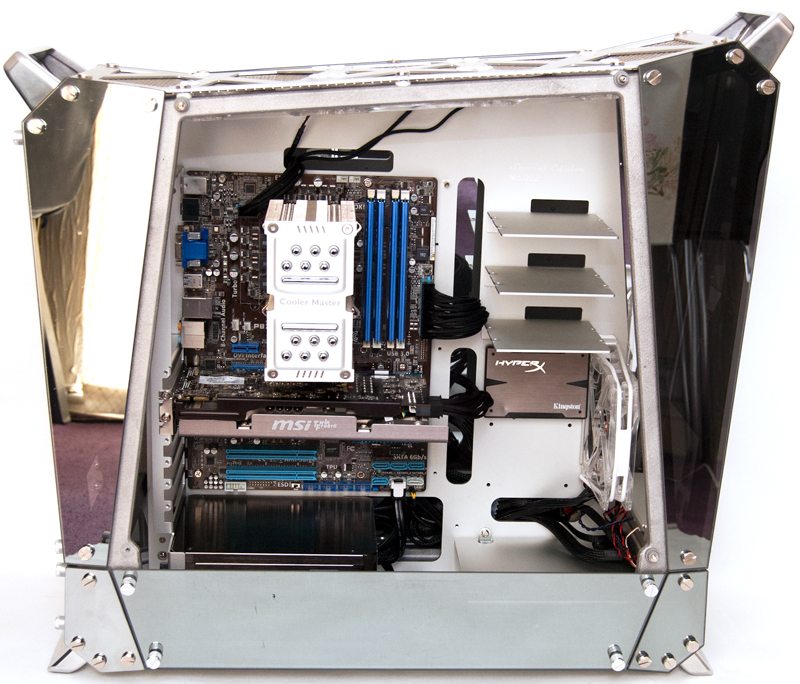
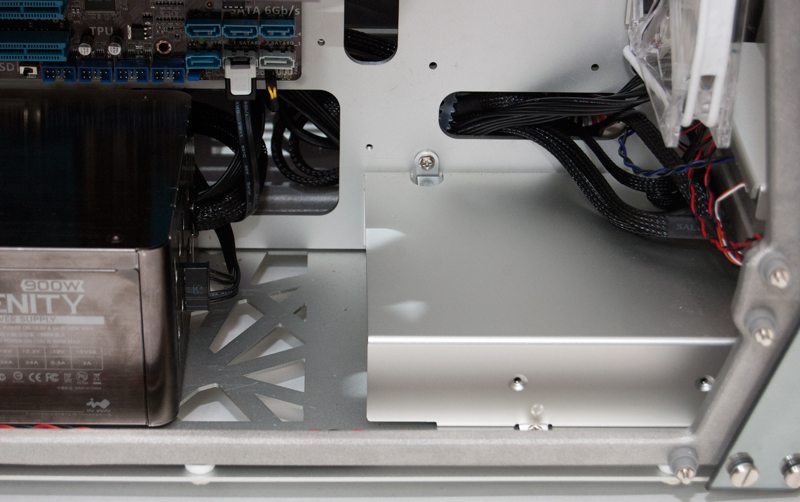
I was able to tidy up the front cables a little, and I’ve made good use of the modular In Win Serenity 900W power supply to minimise the cables we required for the build, although we were hardly struggling for cable routing space I was just making every effort for a clean build.
One interesting choice I made was to use a passive CPU cooler (Cooler Master TPC 800), partly because it has a similar colour that compliments the build, but it’s also a tall cooler and fit with 5mm to spare. I had originally gone to install the Corsair H100i and it looked absolutely horrible, it’s a great looking cooler and the Tou does hold it, but it just didn’t feel right. I had to strip out all three top fans from the Tou, mount the rad with a push pull config to avoid the reservoir conflicting…long story short, if you are going to put a radiator in this thing, do it justice and get a custom loop.
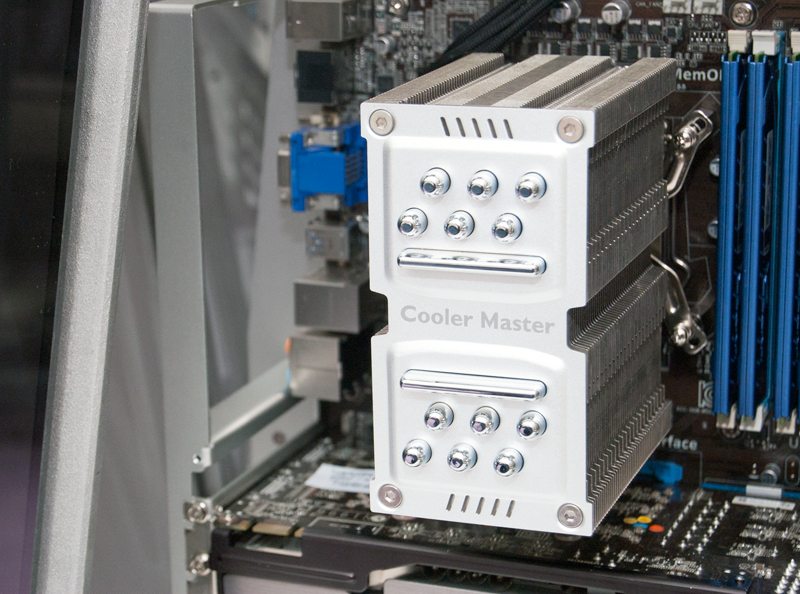
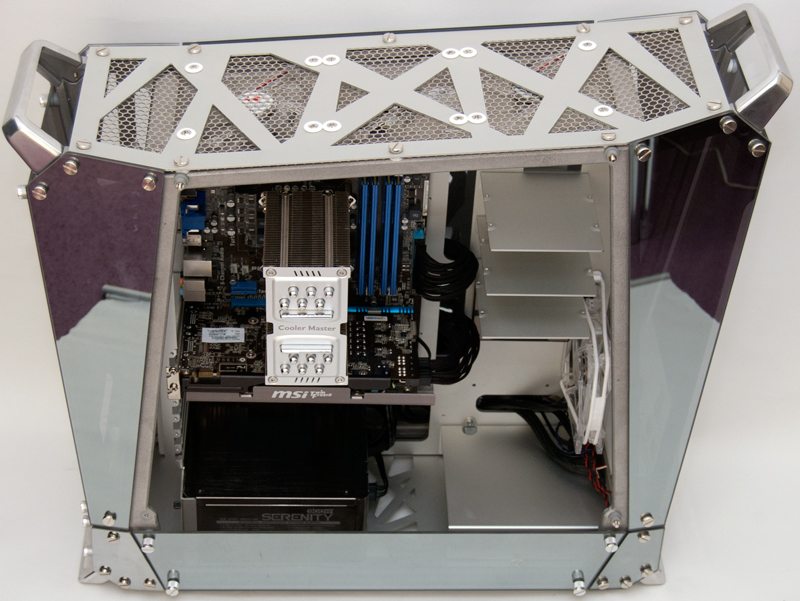
There is more than enough space for our CPU to breath here, certainly more than enough room for a multi-GPU configuration.
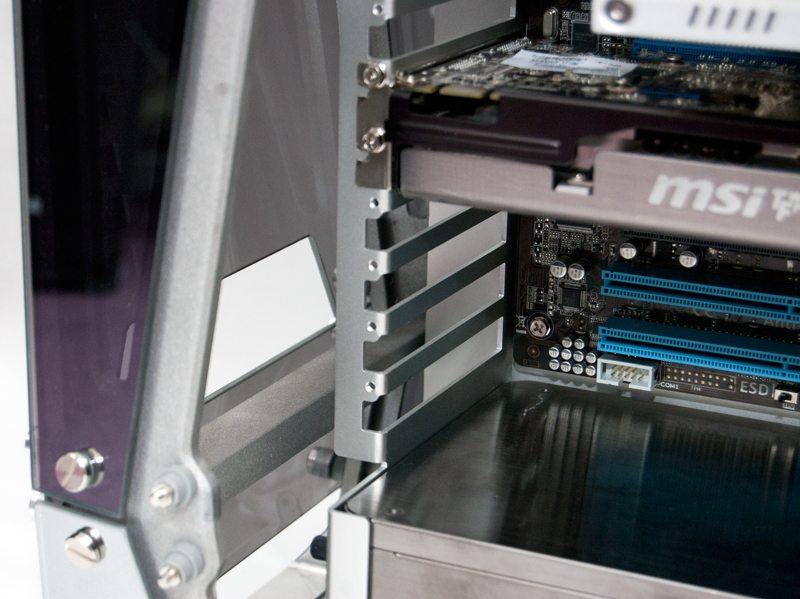
The front fan is unobstructed and thanks to the generous openings at the front of the chassis, as well as the built in fan speed controller, cooling shouldn’t be an issue and our GPU will get a lot of airflow when it is needed.
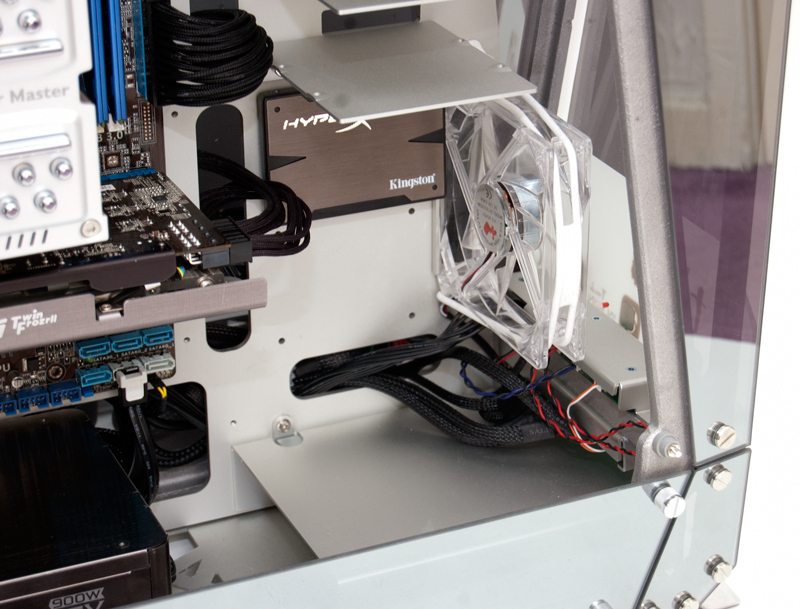
There is a huge amount of clearance above the motherboard, as I said before – I was able to mount the H100i here with a push pull fans mounted, so more than enough for a thick radiator if that is what you wish.
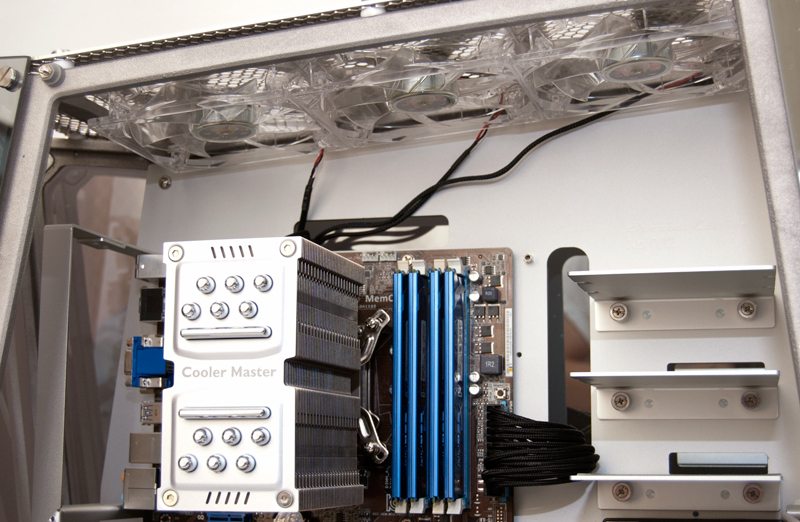
From a standing position the build looks absolutely fantastic, well presented and clean, but best of all, we haven’t even turned the lights on yet! So let’s get that side panel back in place and hit the lights.
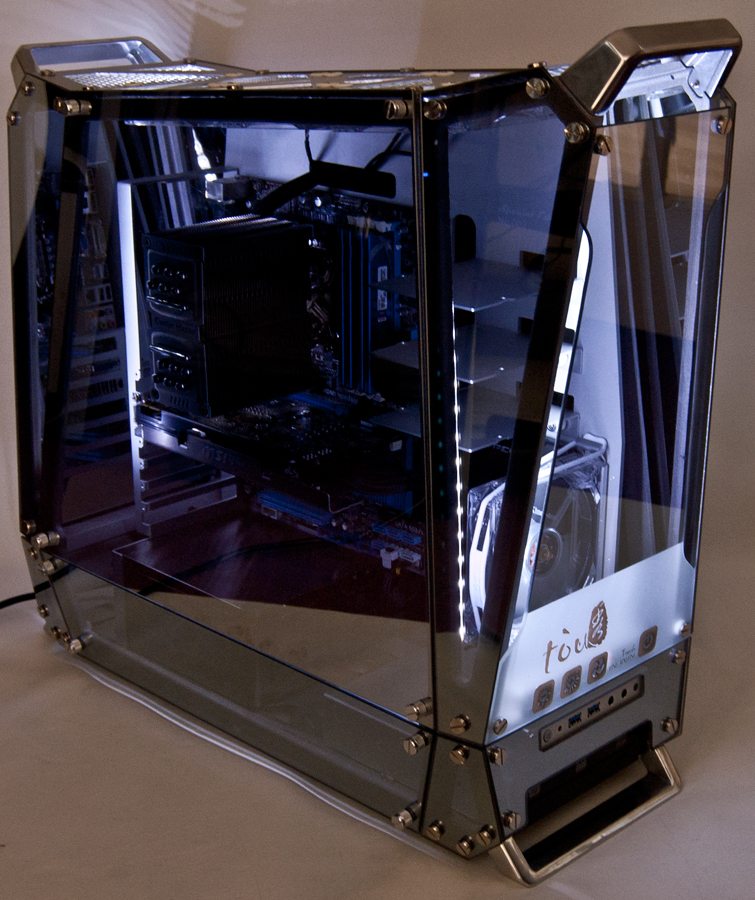
In a fairly bright room with the lights on full we see the chassis glows quite nicely, what was once a mirror that is now transparent and giving off a blue, but slightly purple tinted tone. As you can see it was really important to get cable management right and picking the right components for your build has never been so vital from a design point of view, they really are on show from every angle and if something is out of place, it could ruin the whole design.
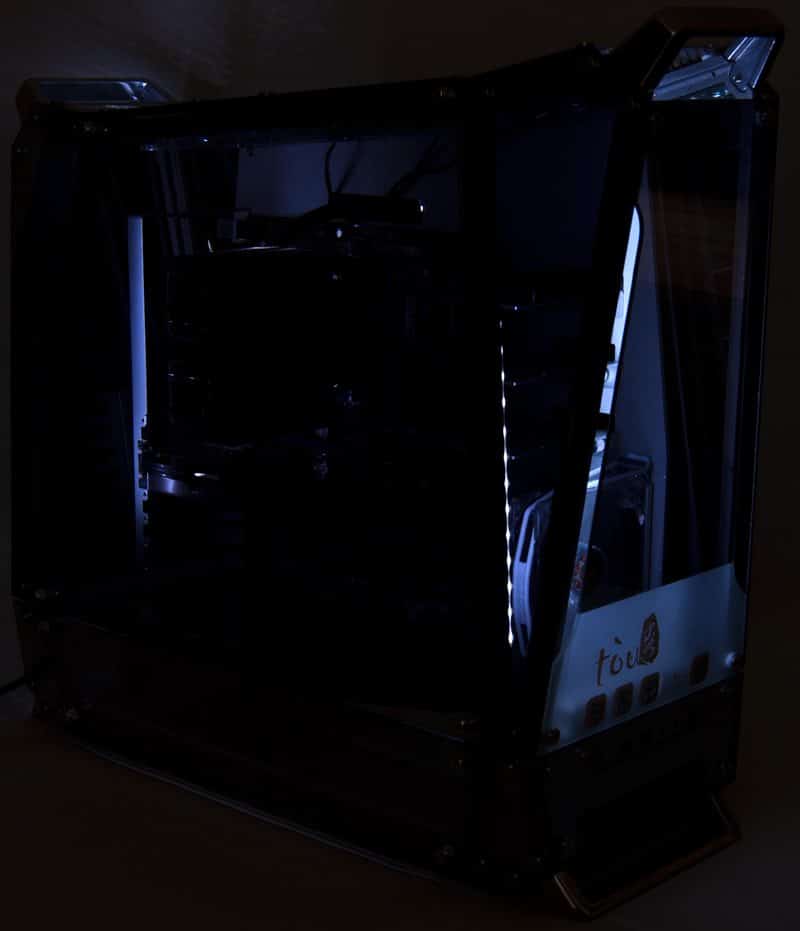
Now we have a much darker room, with the lighting on its lowest setting. My camera is on a slow exposure so it is making the strip light on the right look really bright, but in reality all we have is the subtle glow bouncing off the back plate and the edge of the GPU.
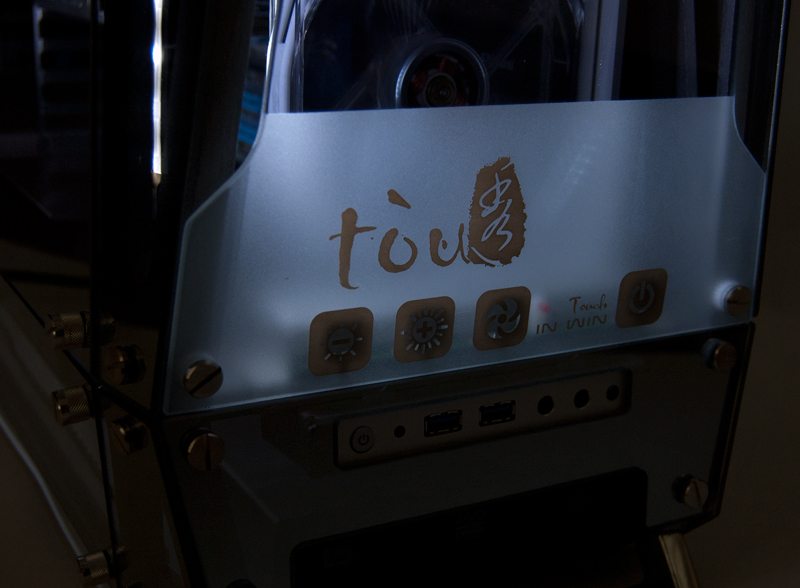
The front panel lights up with such a subtle tone and the frosted glass effect helps capture the light really well, bringing a little bit of focus to the front panel.
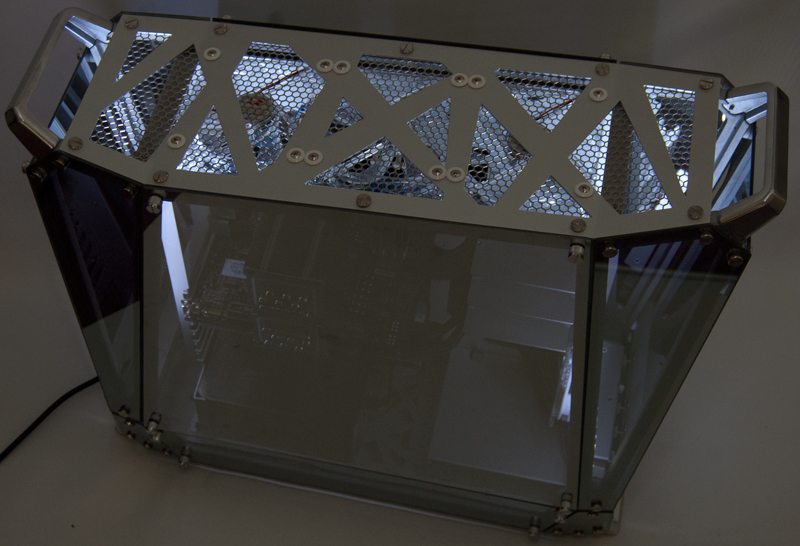
The hard drives could be viewed on their shelves, the CPU cooler hanging in the back and the ram sitting nicely in the middle, it really is quite strange to have this view of a computer from this angle, but it does look pretty cool.
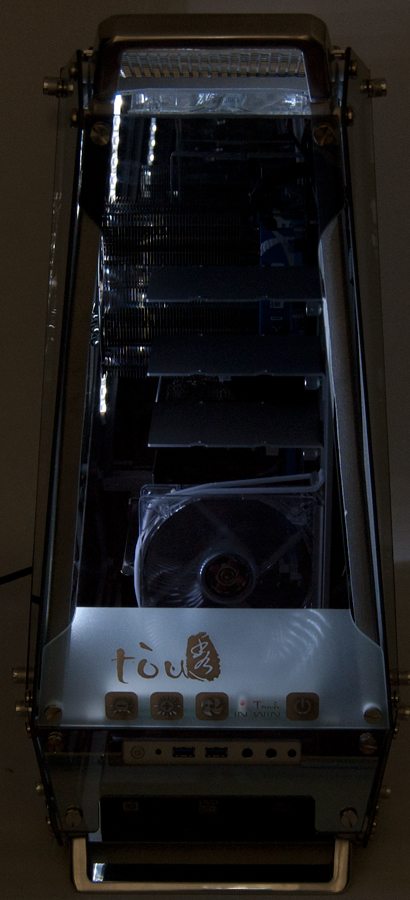
Light does escape the top of the chassis a little more than the rear, but it doesn’t spoil the effect at all and the mixture of bright and dark sections just adds to the whole mood of the design, assenting certain features and panels more than others dependant on the angle you look at it from.
