Xigmatek Aquila Micro-ATX Chassis Review
Peter Donnell / 10 years ago
Interior
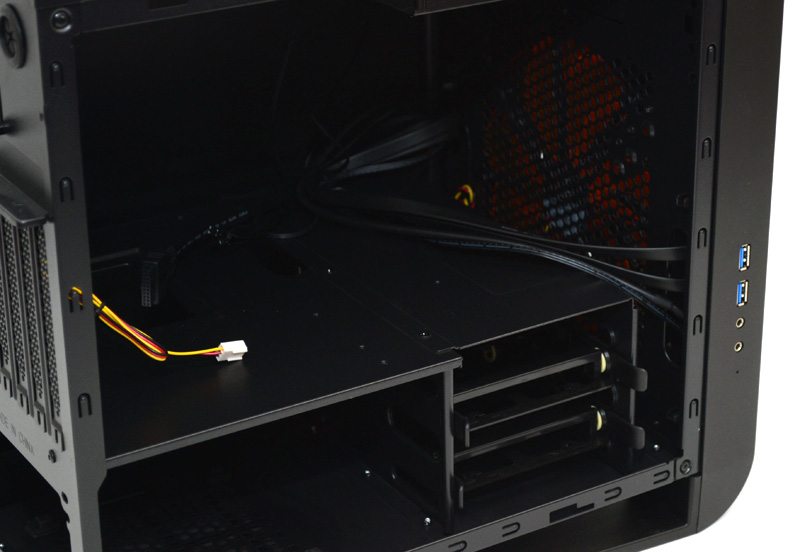
The interior of the Aquila has been treated with the same high-quality powder-black paint job as the exterior, giving it a nice uniform look throughout; it’s just a shame they left those garish cables on the front and back fans, after making the effort of having all the other cables finished in black.
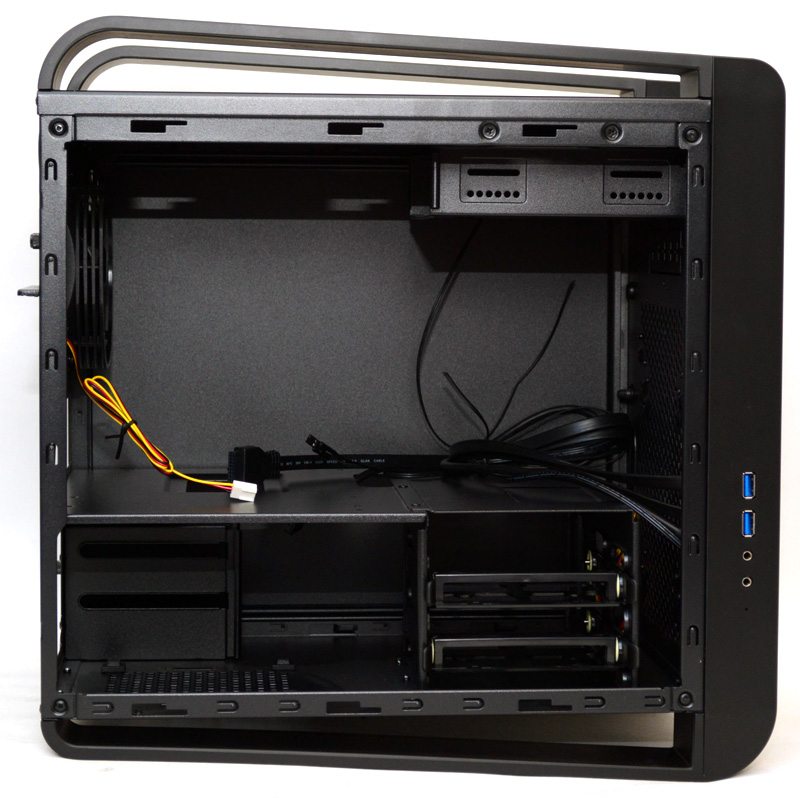
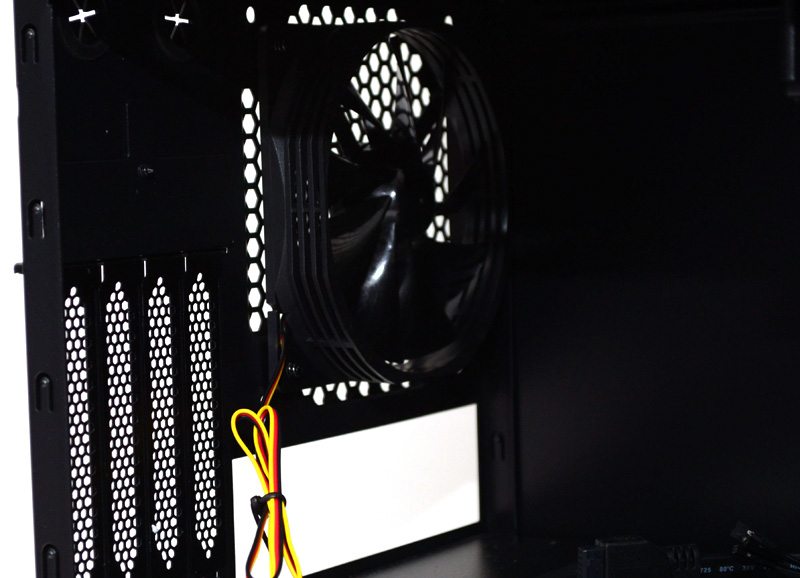
In the back of the chassis, you’ll find a good quality 120mm fan is pre-installed and mounted as an exhaust.
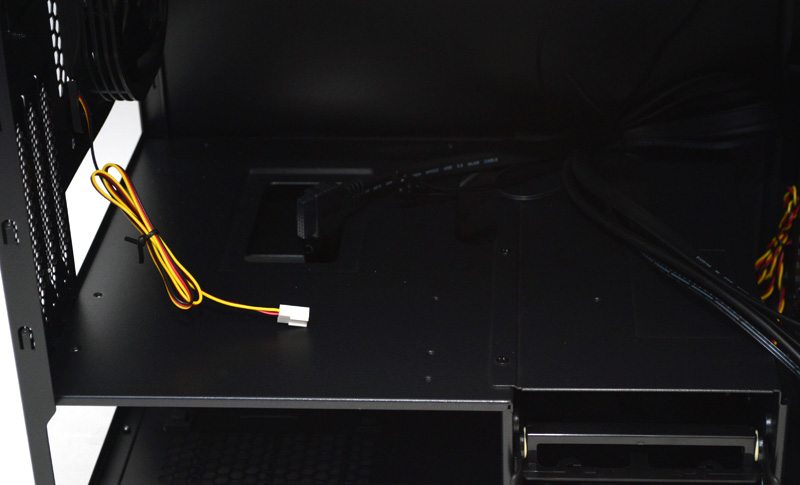
The motherboard is mounted horizontally in the top compartment of the chassis; there’s also a small CPU cooler cut-out to help with backplate compatibility.
There’s a large orange fin fan pre-installed in the front of the chassis; perfect for providing a lot of airflow at low RPM.
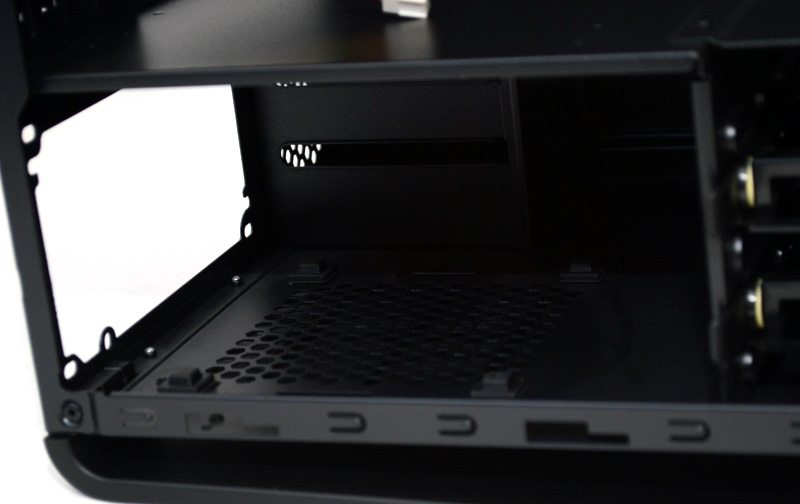
The PSU is mounted in the bottom section of the chassis and there are four rubber mounts to help reduce any vibrations.
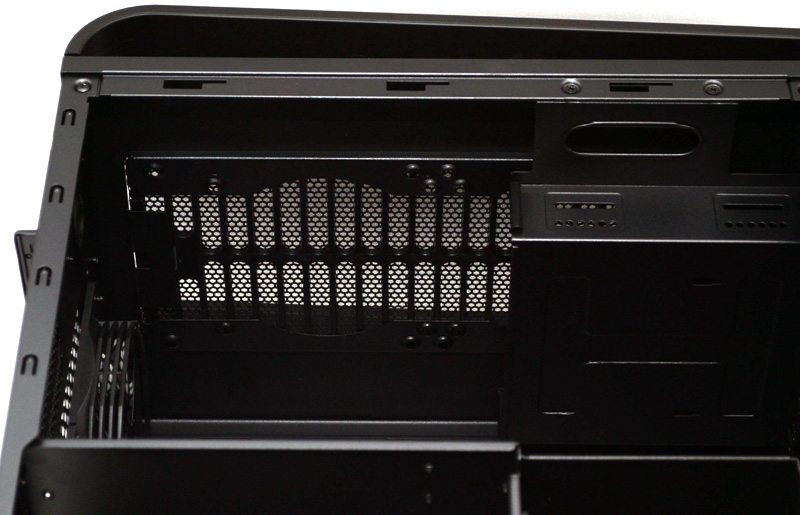
The top fan mounts have space for up to 2 x 120 or 2 x 140mm fans and comparative size radiators. Dependant on your configuration, you may have to remove the 5.25″ drive bay to install radiators longer than 140mm. Removing the 5.25″ drive bay should be relatively easy, as it’s mounted to the chassis with fairly standard screws.
With both side panels removed you get a vast amount of working space within the chassis; this should make it super easy to get all of our components installed.
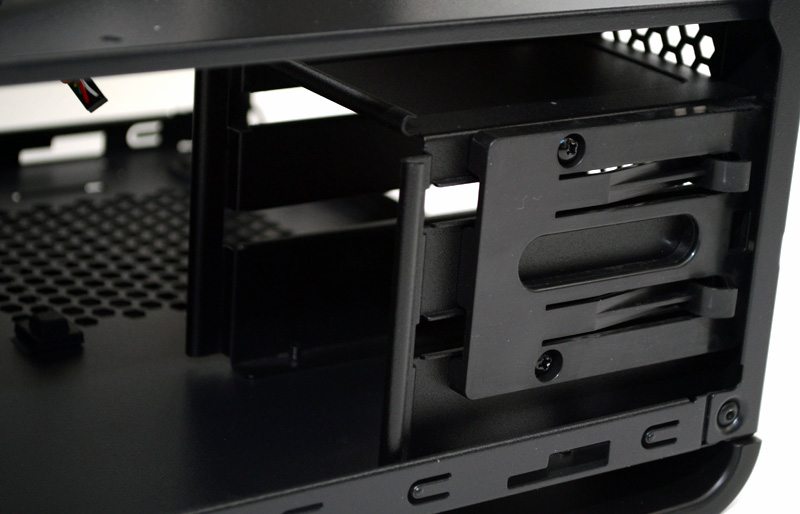
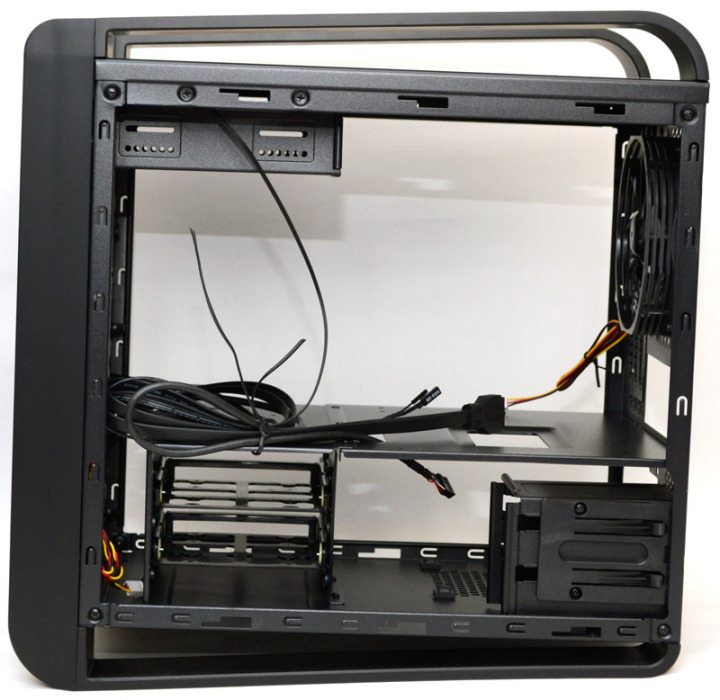 Complimenting the two 3.5″ trays in the front of the chassis, you also get two dedicated 2.5″ bays in the rear of the chassis; these are very handy if you wanted to removed the large bays at the front to make room for water cooling equipment.
