Xilence XQ Series Interceptor Full Tower Chassis Review
Peter Donnell / 12 years ago
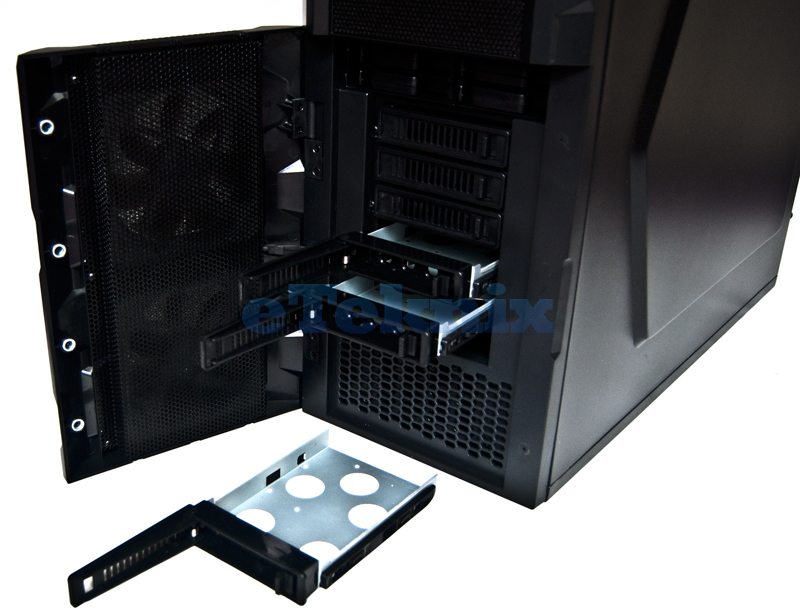
Lets go back to that front panel, as it’s not done unveiling its secrets just yet. For what at first appears to be a simple design soon gives way ones you open the front cover behind which I found a huge array of quick release drive bays and an air intake area.

First up we have six hot swap 3.5″ / 2.5″ drive bays, each with a quick release slide out mechanism.

Above that we have four 2.5″ drive boxes, although I’ve never seen this kind of mounting option as you close the plastic case around the full drive. It’s simple yet highly effective as you need not use any screws to install the drives.

Moving onto the interior of the chassis, the first thing you see are two large rear panel cut-outs, this will aid with CPU cooler installations but also highlights the fact this chassis can handle some dual CPU capable motherboards. We also have six good sized cable management cut-outs, each fitted with good quality rubber grommets and a further large cut-out near the PSU which doesn’t come with a rubber grommet.

In the back of the chassis you’ll find a decent but not amazing quality 120mm exhaust fan, as well as quick release thumb screws for each of the reusable expansion slot covers.

The 5.25″ drive bays come fitted with screw in caps, not unlike those found on the back of high end AV receivers. Below that we have a wave of connections for the quick release hard drive bays. Each bay is powered by 4-pin molex connections, two on the four 2.5″ bays, and 1 for each pair of 3.5″ drive bays. You’ll also find a SATA connection for each drive, 10 of these in total. A nice addition however is that each 3.5″ bay comes with two 3pin fan connections, allowing for a total of six fans to be connected, although the bottom two are taken up by the front panel fans.

In the top part of the chassis we see room for 3 x 120mm fans, two 140 mm fans (mounted on the left and right, but not center, 1 230mm fan or you could of course mount a radiator of up to 360mm. There’s also room for cable routing on both sides of the fan mounts thanks to the generous size cut-outs.

Around the back of the chassis you can see better the pre-wired cables for the front I/O panel as most importantly you can see there is a very generous amount of space for routing your cables. This space is only further improved by the extra room behind the hard drive bays and the large recess in the right side panel, even with a full range of components installed, you shouldn’t have any trouble finding places to stuff excess cables.

The left side panel also features a few fan mounts with room for 120mm, 140mm and even a 230mm fan.


