XPG Defender Pro Mid-Tower PC Case Review
Peter Donnell / 4 years ago
A Closer Look – Interior
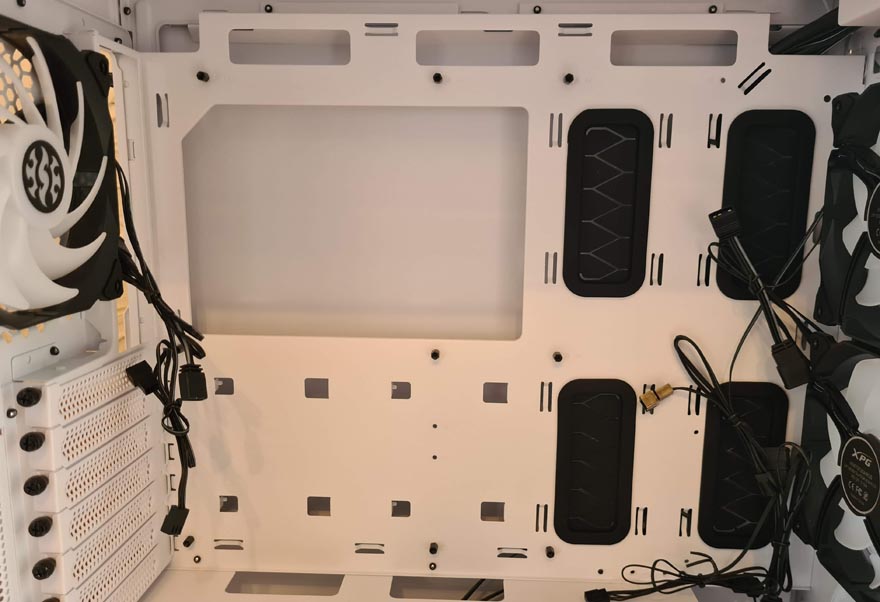
This is a little larger than most mid-towers, but it’s hardly oversized. There’s lots of space on the interior though, allowing for a larger E-ATX motherboard. E-ATX motherboards typically have more I/O too, so I’m happy to see extensive cable routing holes on all sides of the motherboard.
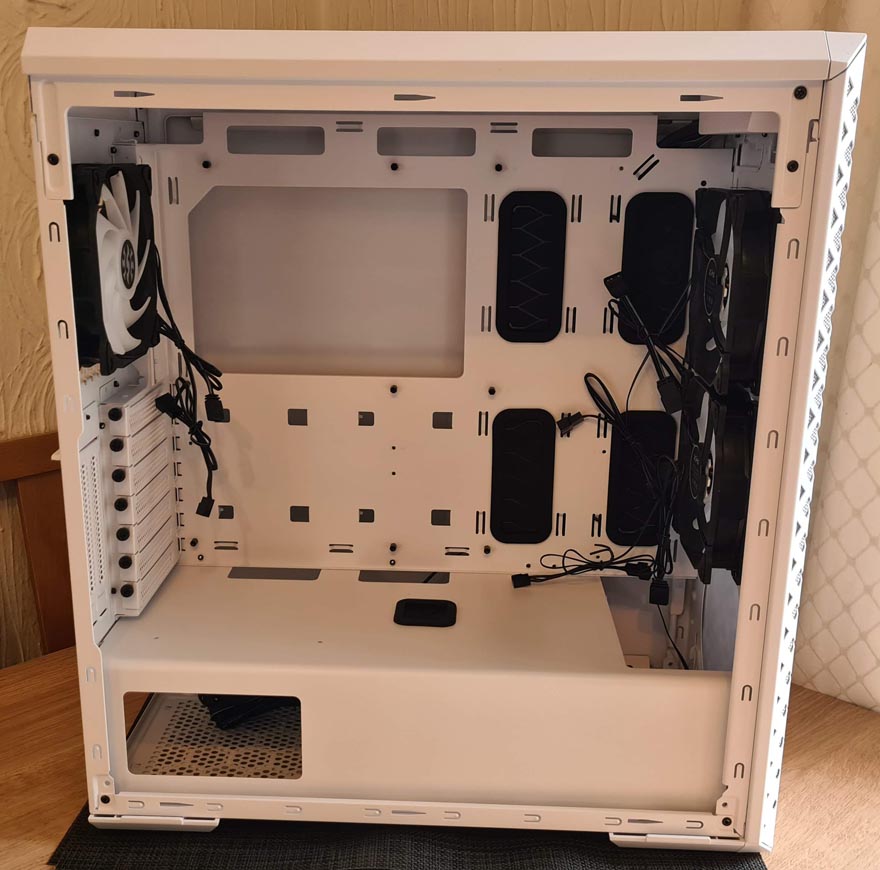
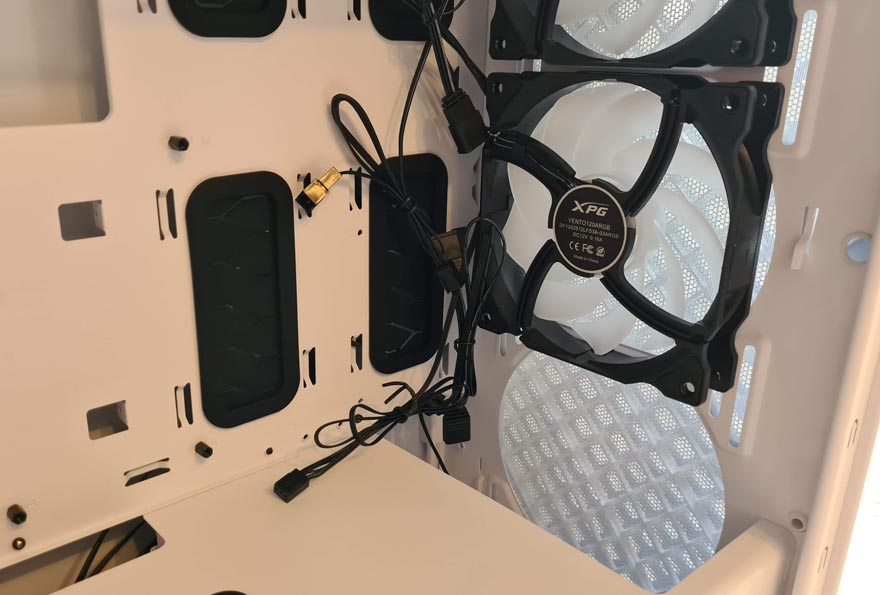
This also includes some massive ones on the right with thick rubber grommets.
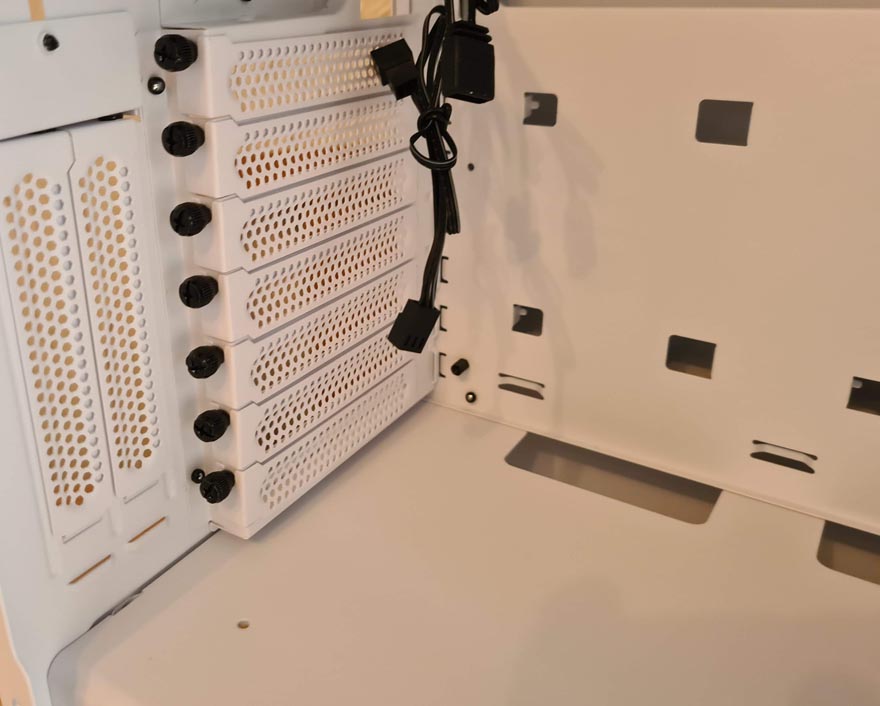
All of the expansion slots come with thumbscrews, and there’s a slight cut-away to the case frame too, so you won’t have to put your screwdriver in at a wonky angle.
The PSU shroud is fixed in place, but it comes with a nice cut-out at the side, so you can see the PSU design.
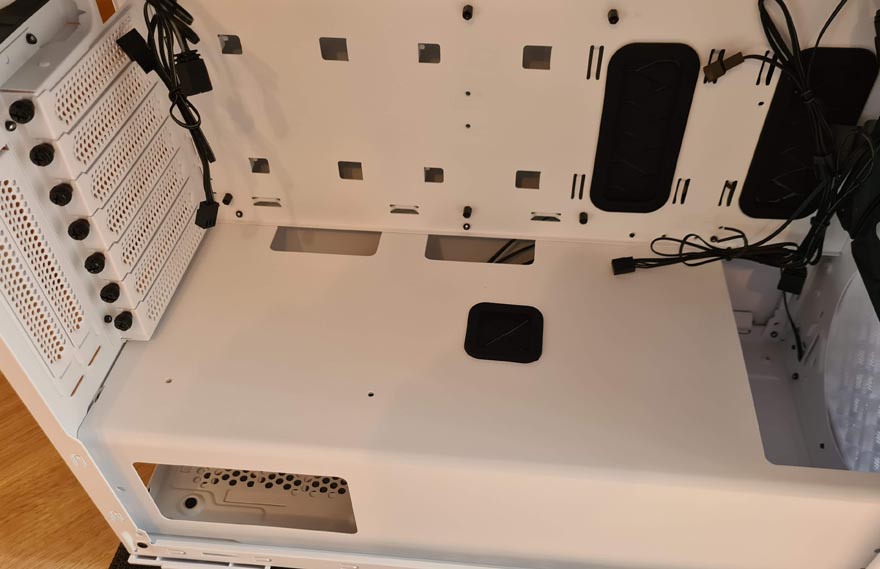
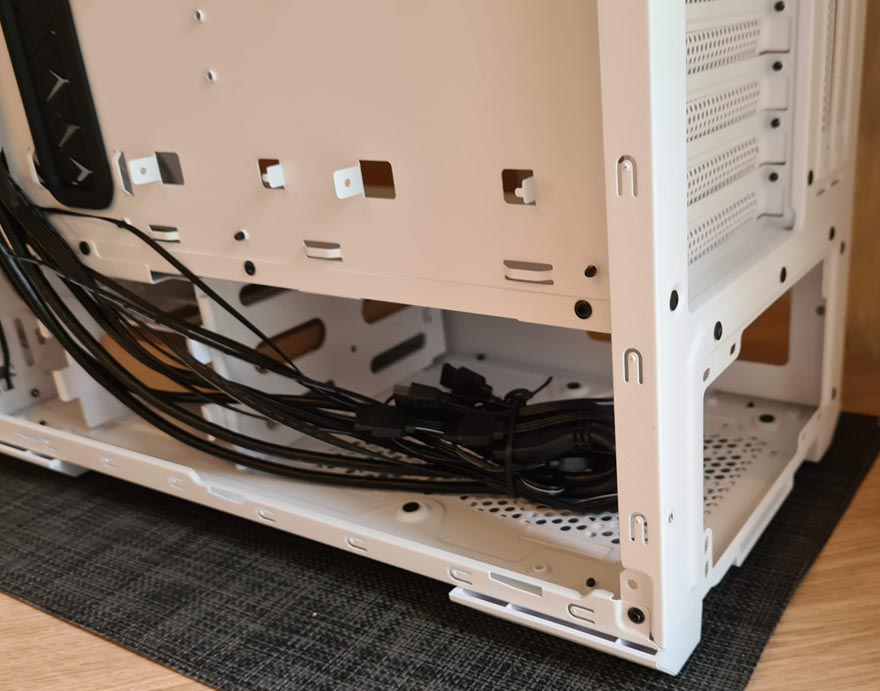
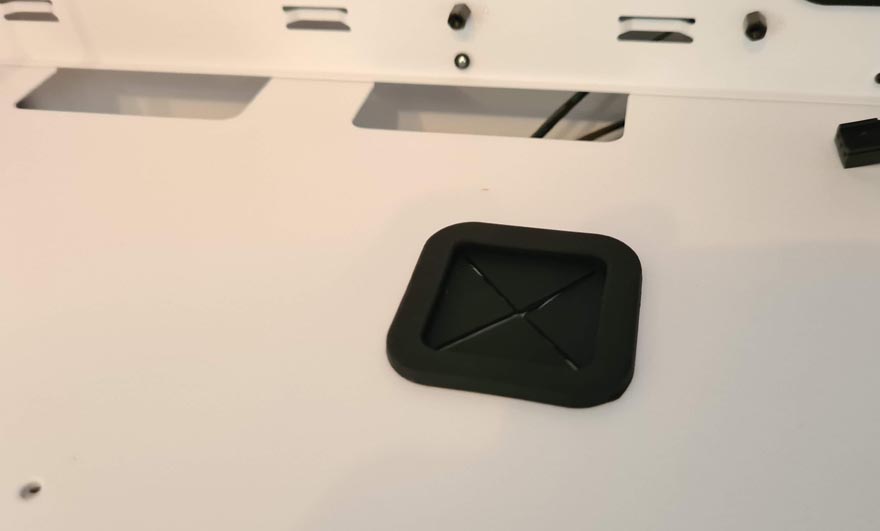
There are two cable routing holes at the back. Then a grommeted one here, allowing for vertical pass-through of the GPU power cables.
There’s a larger cut-away at the front too, so you can use the full height of the front panel for larger radiators.
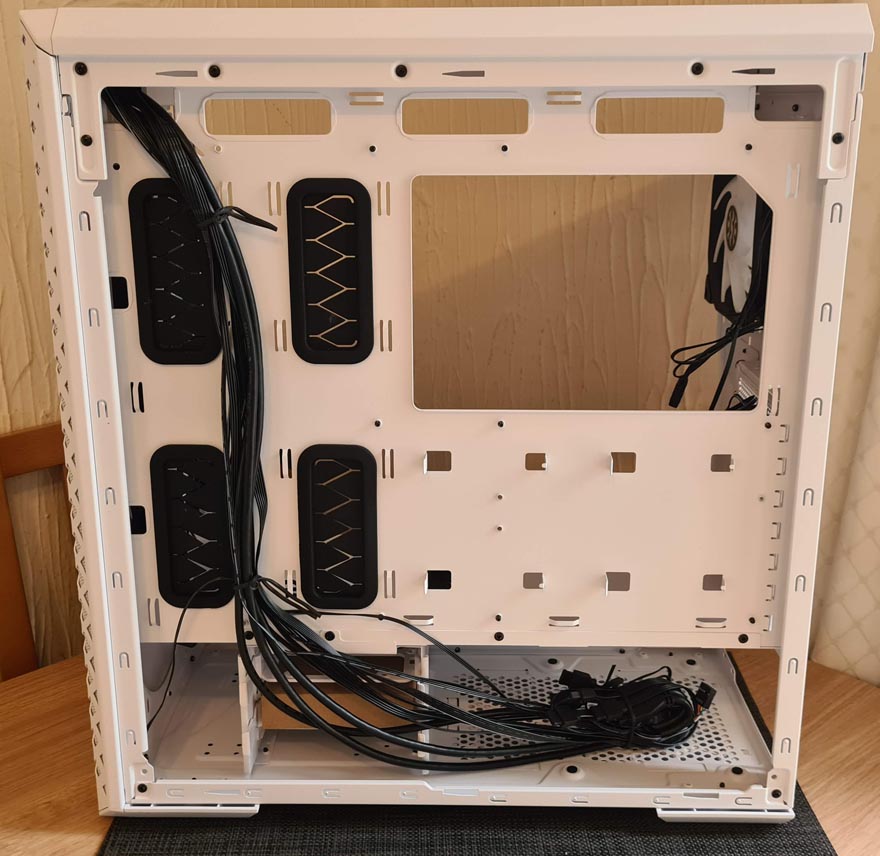
Behind the motherboard, there’s a good amount of space for routing cables. However, the PSU shroud will help you deal with a few cable horrors… by cramming them out of sight. You’ll notice there are lots of cable tie loops too. There are a couple at the top. There are four surrounding all four of the rubber grommets. Then are more along the bottom and some on the right.
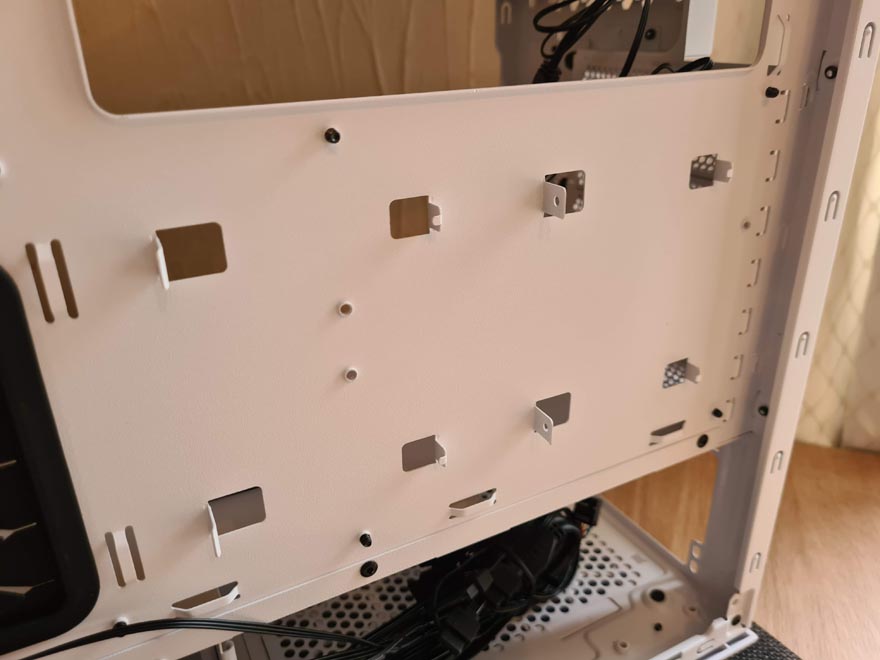
There are two SSD mounts here, but strangely they use two pints on one side and two screws on the other. But I fail to see how I’m supposed to get the screwdriver in here? I guess I’ll find out soon enough. I should note that I write this section of the review BEFORE I’ve actually built the system.
There’s a two bay drive cage on the bottom of the case, offering tool-free mounting for 3.5″ drives, and screw mounts for 2.5″ drives.
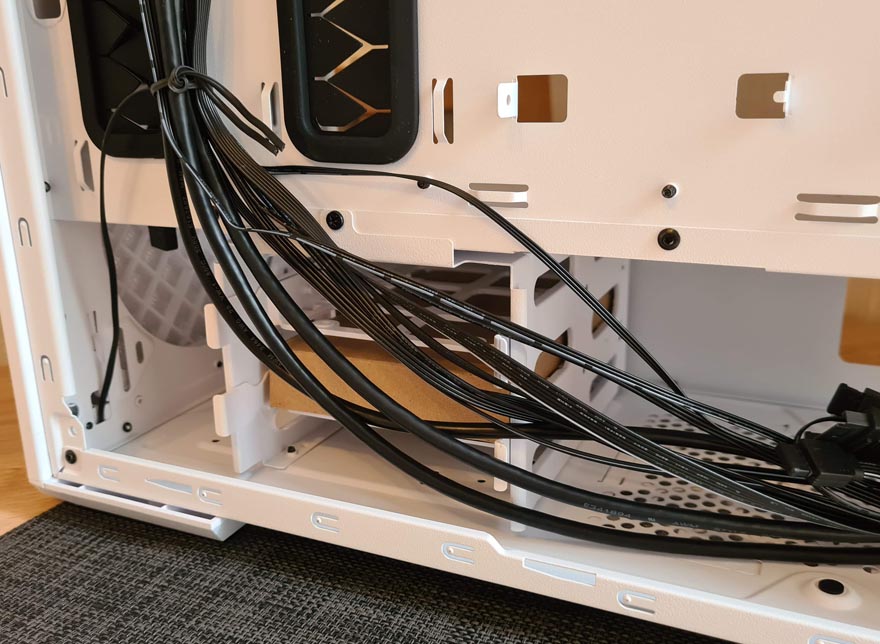
Finally, there’s a spot for the PSU, with some hard rubber pads in there to reduce unwanted vibrations.
